
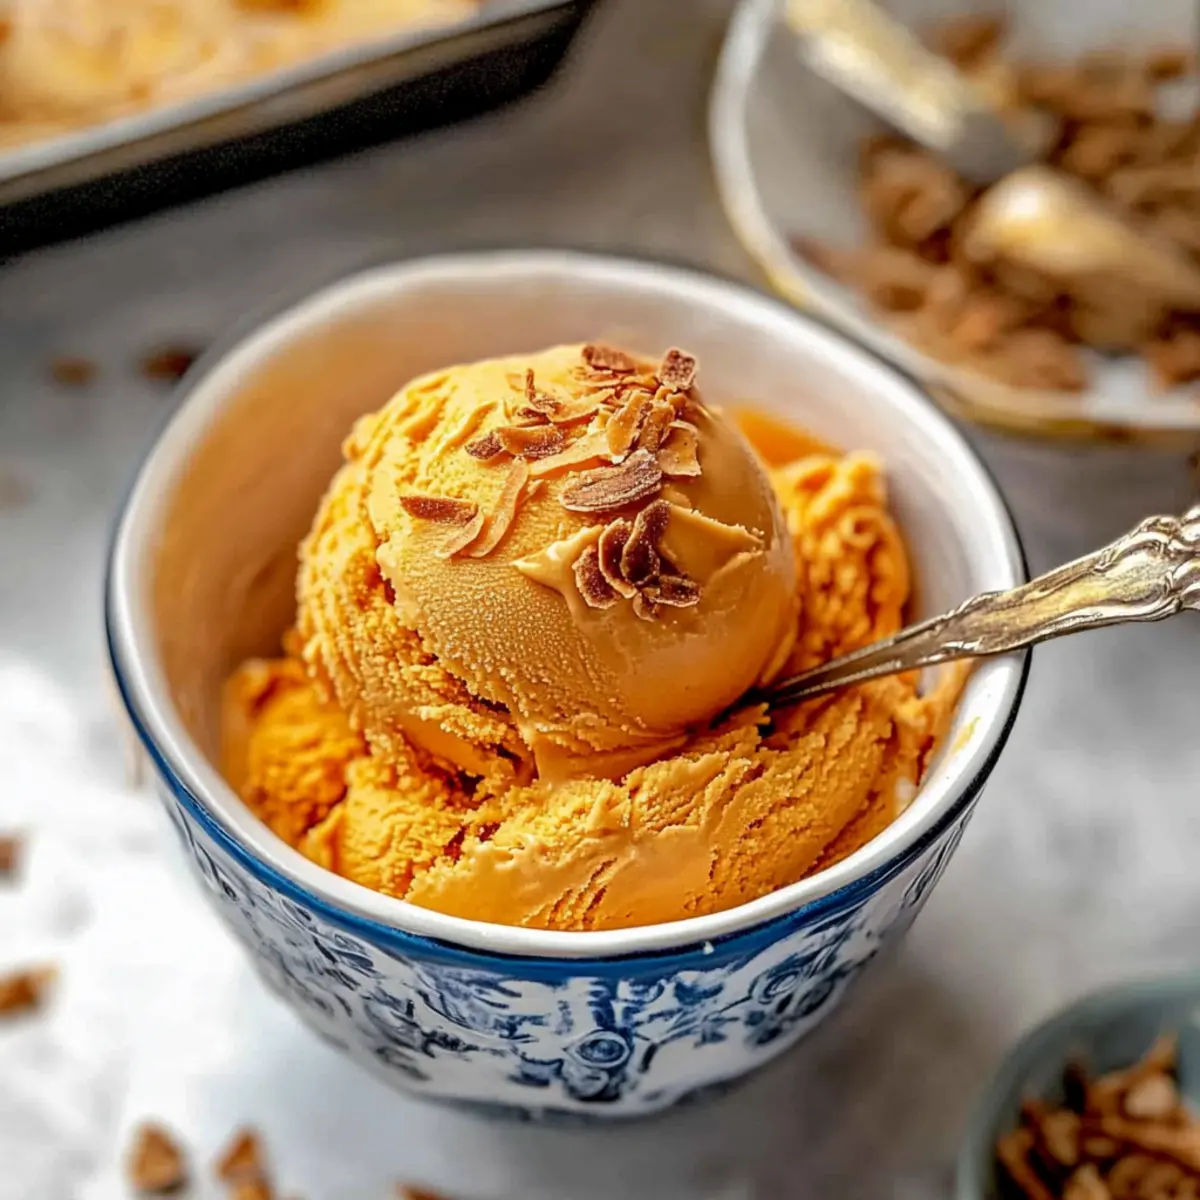
The first time I tasted Thai iced tea, I was transported to a bustling street market, where every sip felt like a warm hug. Now, I’ve turned that experience into a delightful treat that you can enjoy at home: No-Bake Thai Tea Ice Cream! This recipe captures the rich aroma and vibrant color of traditional Thai tea without any fuss—no ice cream maker required. Not only is it incredibly easy to whip up, but this creamy dessert is also a brilliant way to impress guests during summer gatherings. With sweetened condensed milk lending a luscious quality, it’s comfort food that feels exotic. Are you ready to dive into a scoop of this dreamy concoction?
Why is this Thai Tea Ice Cream so special?
Exotic Flavor: This No-Bake Thai Tea Ice Cream brings the delightful aroma of traditional Thai iced tea right to your home, taking your taste buds on an adventure.
Easy and Convenient: No ice cream maker means it’s as simple as blending your ingredients and letting the freezer do the hard work!
Creamy Indulgence: With sweetened condensed milk creating a luxurious texture, every scoop is as creamy as it is flavorful—perfect for satisfying your sweet tooth.
Crowd-Pleasing Dessert: Whether it’s a summer BBQ or a cozy dinner, this ice cream will impress your guests and leave them asking for more. Check out how to serve it alongside refreshing options like Woon Sen Thai for a lovely balance.
Versatile Variations: Feel free to make it your own! Add nuts or fruit purees for unique twists that keep the flavors exciting.
Thai Tea Ice Cream Ingredients
Gather these simple ingredients to create your creamy Thai Tea Ice Cream!
For the Base
- Thai Tea Mix – Provides that iconic flavor and vibrant color; search for Pantai brand online or in Asian markets.
- Whole Milk – Helps create a smooth, rich base for the perfect creamy texture.
- Heavy Whipping Cream – Essential for a luxurious consistency; for a lighter version, consider using a dairy-free alternative.
- Sweetened Condensed Milk – Adds sweetness and creaminess; crucial for authentic flavor—don’t skip this ingredient!
For Flavor Enhancement
- Vanilla Paste or Extract – Elevates the dessert’s flavor; can be swapped for any preferred vanilla flavoring.
For Garnish
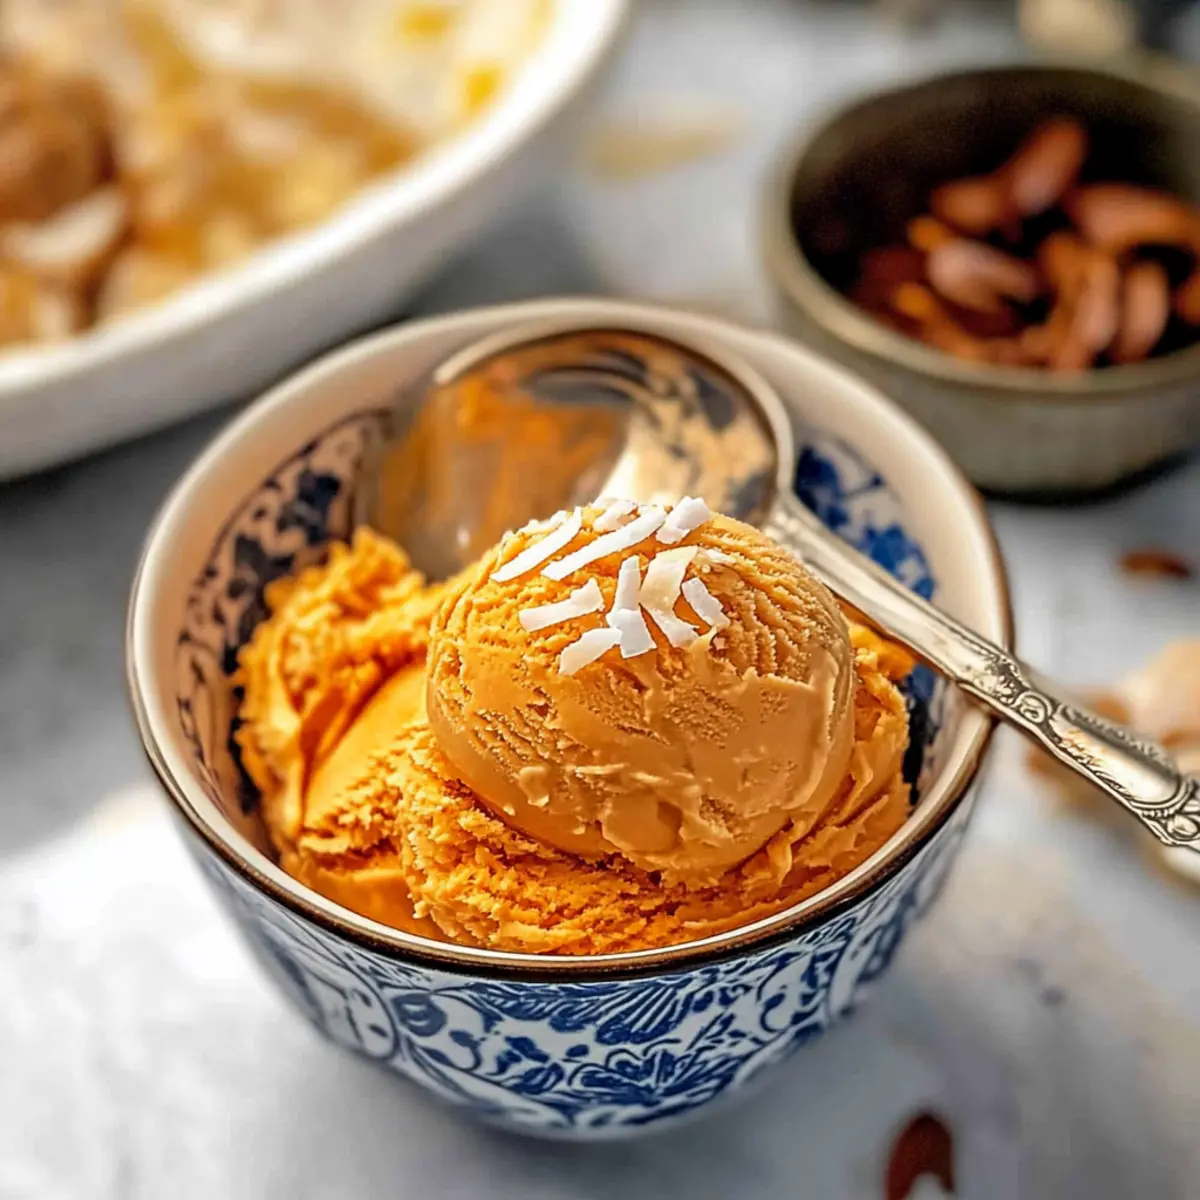
- Coconut Flakes – Adds a delightful crunch and tropical flavor; use toasted flakes for extra texture.
Dive into this delicious recipe and enjoy every scoop of this dreamy Thai Tea Ice Cream!
Step‑by‑Step Instructions for No-Bake Thai Tea Ice Cream
Step 1: Infuse the Tea
In a medium saucepan, combine Thai tea mix with whole milk and half of the heavy cream. Heat over medium-low, stirring occasionally until the mixture is steaming and exhibits a bright orange hue, about 5–7 minutes. Avoid boiling to preserve the tea’s delicate flavor. This step infuses the creamy base with the rich aroma of Thai tea, setting a lovely foundation for your No-Bake Thai Tea Ice Cream.
Step 2: Strain the Mixture
Remove the saucepan from heat and use a fine mesh sieve to strain the mixture into a large bowl, discarding the tea leaves. Press the tea leaves gently to extract every last drop of liquid and enhance the flavor. Allow the strained mixture to cool for a few minutes before proceeding, ensuring you maintain the depth of flavor in your ice cream.
Step 3: Whisk in Sweet Ingredients
To the strained tea mixture, add the sweetened condensed milk and vanilla extract, whisking until everything is smooth and well incorporated. This adds a creamy sweetness that perfectly complements the Thai tea flavor. Make sure to combine thoroughly to achieve a consistent base before moving on to the next step in creating your No-Bake Thai Tea Ice Cream.
Step 4: Whip the Heavy Cream
In a separate bowl, whip the remaining heavy cream with an electric mixer on medium speed until stiff peaks form, about 3–5 minutes. When done, the cream should be thick and hold its shape. This is essential for achieving a fluffy texture in your ice cream, so keep an eye on it to avoid over-mixing, which can result in a grainy consistency.
Step 5: Fold It All Together
Gently fold the whipped cream into the tea mixture in two to three batches, using a spatula to create a light and airy texture. It’s important to be gentle here—over-mixing can deflate the whipped cream. The goal is to maintain the volume while combining the rich flavors of your No-Bake Thai Tea Ice Cream into a luscious mixture.
Step 6: Freeze the Mixture
Pour the ice cream mixture into a freezer-safe container, like a loaf pan or cake pan, and smooth the top with a spatula. Cover tightly with plastic wrap to prevent ice crystals from forming. Place it in the freezer and let it chill for at least 8 hours or overnight—this is crucial for achieving a firm, scoopable texture that lets the flavors develop fully.
Step 7: Serve and Enjoy
When you’re ready to indulge in your No-Bake Thai Tea Ice Cream, take it out of the freezer and let it sit at room temperature for about 10–15 minutes if it feels too hard. This softens it just enough for easy scooping. Optional: Garnish with toasted coconut flakes for an extra bit of crunch and tropical flair before serving this delightful dessert.

Make Ahead Options
These No-Bake Thai Tea Ice Cream delights are perfect for meal prep enthusiasts! You can prepare the ice cream base up to 24 hours in advance. Start by infusing the Thai tea mix with milk and heavy cream, straining it, and whisking in the sweetened condensed milk and vanilla. Store the mixture in a tightly sealed container in the refrigerator to maintain its quality. When you’re ready to enjoy, whip the remaining heavy cream and fold it into the chilled mixture. Then, pour it into your container and freeze for at least 8 hours or overnight. This way, you’ll have a delicious treat ready for any occasion, saving you precious time on busy weeknights!
How to Store and Freeze Thai Tea Ice Cream
Fridge: Store any leftover Thai tea ice cream in an airtight container in the fridge for up to 2 weeks. However, for best texture, freezing is preferred.
Freezer: Keep the ice cream in a tightly sealed container or loaf pan, covered with plastic wrap directly on the surface, to prevent ice crystals. It will stay fresh for up to 2 months.
Thawing: When ready to enjoy your Thai tea ice cream, let it sit at room temperature for 10–15 minutes to soften before scooping. This ensures each scoop is creamy and easy to serve.
Reheating: There’s no need to reheat this frozen delight—just scoop and indulge! If it seems overly firm, allow more time to soften before serving.
Thai Tea Ice Cream Variations
Customize your No-Bake Thai Tea Ice Cream to suit your taste buds with these delightful twists!
-
Nutty Crunch: Swap coconut flakes for chopped nuts like almonds or cashews for a delicious texture variation. The nuttiness complements the creamy base beautifully.
-
Choco-Thai Fusion: Add mini chocolate chips to the mixture before freezing for a sweet contrast to the Thai tea flavor. Each bite will offer a delightful surprise!
-
Fruity Twist: Blend in fruit purees, such as mango or strawberries, for a refreshing twist. This adds a burst of fruity goodness and natural sweetness that brightens every scoop.
-
Dairy-Free Delight: Use coconut milk or almond milk for the base, and coconut cream in place of heavy cream for a lighter, dairy-free version that’s still creamy and dreamy.
-
Vanilla-Infused: Replace vanilla extract with a scoop of malted milk powder. It enhances the creaminess and adds a comforting flavor dimension, reminiscent of classic desserts.
-
Spiced Version: Incorporate a pinch of cinnamon or cardamom for a fragrant twist. This infusion adds warmth and an exotic depth to the silky ice cream.
-
Zesty Lime Kick: Mix in lime zest and a bit of juice before freezing for a zesty brightness. This citrus note balances the sweetness and brings a refreshing element.
Don’t forget to enjoy your ice cream alongside fresh fruit or a scoop of another delicious dessert like Tomato Garlic Pasta for an easy but eclectic summer gathering!
Expert Tips for Thai Tea Ice Cream
- Steeping Time: Ensure the Thai tea is steeped adequately to bring out its rich flavor; a bright orange color indicates optimal steeping.
- Straining Technique: When straining, press the tea leaves gently using the back of a spoon—this maximizes the flavor extraction without any grit.
- Whipping Cream Care: Watch for stiff peaks while whipping the cream—this is key to achieving a fluffy texture. Avoid over-mixing to keep it light.
- Covering Ice Cream: Cover your ice cream tightly with plastic wrap directly touching the surface to prevent ice crystals from forming; this ensures smooth and creamy Thai Tea Ice Cream.
- Garnish Smartly: Add toasted coconut flakes just before serving to maintain their crunch; this enhances both flavor and presentation beautifully.
What to Serve with No-Bake Thai Tea Ice Cream
Imagine a delightful outdoor gathering, where refreshing flavors dance on your palate as you savor your No-Bake Thai Tea Ice Cream.
- Coconut Macaroons: These chewy, sweet treats echo the tropical flavors of Thai tea, creating a luscious pairing you won’t forget.
- Fresh Mango Slices: The juicy sweetness of ripe mango complements the creamy texture of the ice cream, adding a fresh, summery note to your dessert spread.
- Spicy Thai Spring Rolls: Crisp rolls filled with veggies and herbs provide a nice contrast to the richness of the ice cream while keeping the meal vibrantly fresh.
- Gingerale Spritzers: A light, fizzy drink with a hint of ginger adds a refreshing zing, enhancing the sweet and spicy elements of the Thai tea.
- Pineapple Upside-Down Cake: The caramelized sweetness of this classic dessert pairs beautifully, balancing the creaminess of your ice cream with a delightful texture.
- Chilled Coconut Water: Simple but refreshing, the subtle taste of coconut water cleanses the palate and sets off the flavors of your creamy treat.
- Sesame Seed Brittle: Crunchy and nutty with a hint of sweetness, this unique garnish adds an exciting texture to each scoop of your Thai tea delight.
- Lemongrass Infused Iced Tea: A herbal tea with a hint of citrus brightens up the dessert experience, making it comforting yet refreshing.
- Chocolate Dipped Fortune Cookies: Their crisp texture and hidden surprises are perfect for a light dessert that will leave your guests smiling.
- Lychee Sorbet: An exotic counterpart that mirrors the ice cream’s luxurious profile, making every bite feel like a tropical getaway.
No-Bake Thai Tea Ice Cream Recipe FAQs
What type of Thai tea should I use?
Absolutely! For the best flavor and vibrant color, I recommend using Pantai Thai Tea Mix, which you can find online or at Asian grocery stores. If you can’t find it, look for similar brands that specifically label their tea as “Thai tea,” ensuring that it’s a blend suitable for brewing.
How should I store leftover Thai tea ice cream?
Very important! Store your Thai tea ice cream in an airtight container in the fridge for up to 2 weeks for best texture. However, for longer storage, freeze it in a tightly sealed container or loaf pan, covered with plastic wrap directly on the surface. It can last up to 2 months in the freezer, maintaining its delightful creaminess.
Can I freeze this ice cream? How?
Of course! To freeze your No-Bake Thai Tea Ice Cream, pour the mixture into a freezer-safe container, like a loaf pan or cake pan. Press plastic wrap directly onto the surface of the ice cream and seal it tightly with the lid or more plastic wrap to prevent ice crystals from forming. Let it freeze for at least 8 hours or overnight to achieve that perfect scoopable consistency.
What if my ice cream is too hard to scoop?
Don’t worry, that happens! If your Thai tea ice cream is overly firm, simply let it sit at room temperature for about 10–15 minutes before serving. This softening time ensures you can scoop it out smoothly without bending spoons or frustration. Enjoy the creamy texture after the slight wait!
Is this recipe suitable for my friend with dairy allergies?
Absolutely! You can adapt this recipe for those with dairy allergies by substituting the whole milk and heavy cream with plant-based alternatives—like coconut milk or almond milk. However, ensure that your sweetened condensed milk is a suitable dairy-free option, as traditional brands are made with milk. The texture may vary, but it’ll still be delicious!
What should I do if I don’t have sweetened condensed milk?
Great question! While I highly recommend using sweetened condensed milk for the best results, you can substitute it with evaporated milk mixed with sugar. For every cup of evaporated milk, add approximately ½ cup of sugar and whisk until dissolved. Keep in mind this may alter the texture slightly, making it less creamy, but it will still offer a delightful flavor!

Creamy Thai Tea Ice Cream: No Churn Bliss at Home
Ingredients
Equipment
Method
- Infuse the Thai tea mix with whole milk and half of the heavy cream over medium-low heat until steaming, about 5-7 minutes.
- Strain the mixture into a large bowl, discarding tea leaves and allowing to cool.
- Whisk in sweetened condensed milk and vanilla extract until smooth.
- Whip remaining heavy cream until stiff peaks form, about 3-5 minutes.
- Fold the whipped cream into the tea mixture in batches until combined.
- Pour into a freezer-safe container, cover tightly, and freeze for at least 8 hours or overnight.
- Before serving, let it sit at room temperature for 10-15 minutes for easier scooping and garnish with coconut flakes if desired.
Leave a Reply