
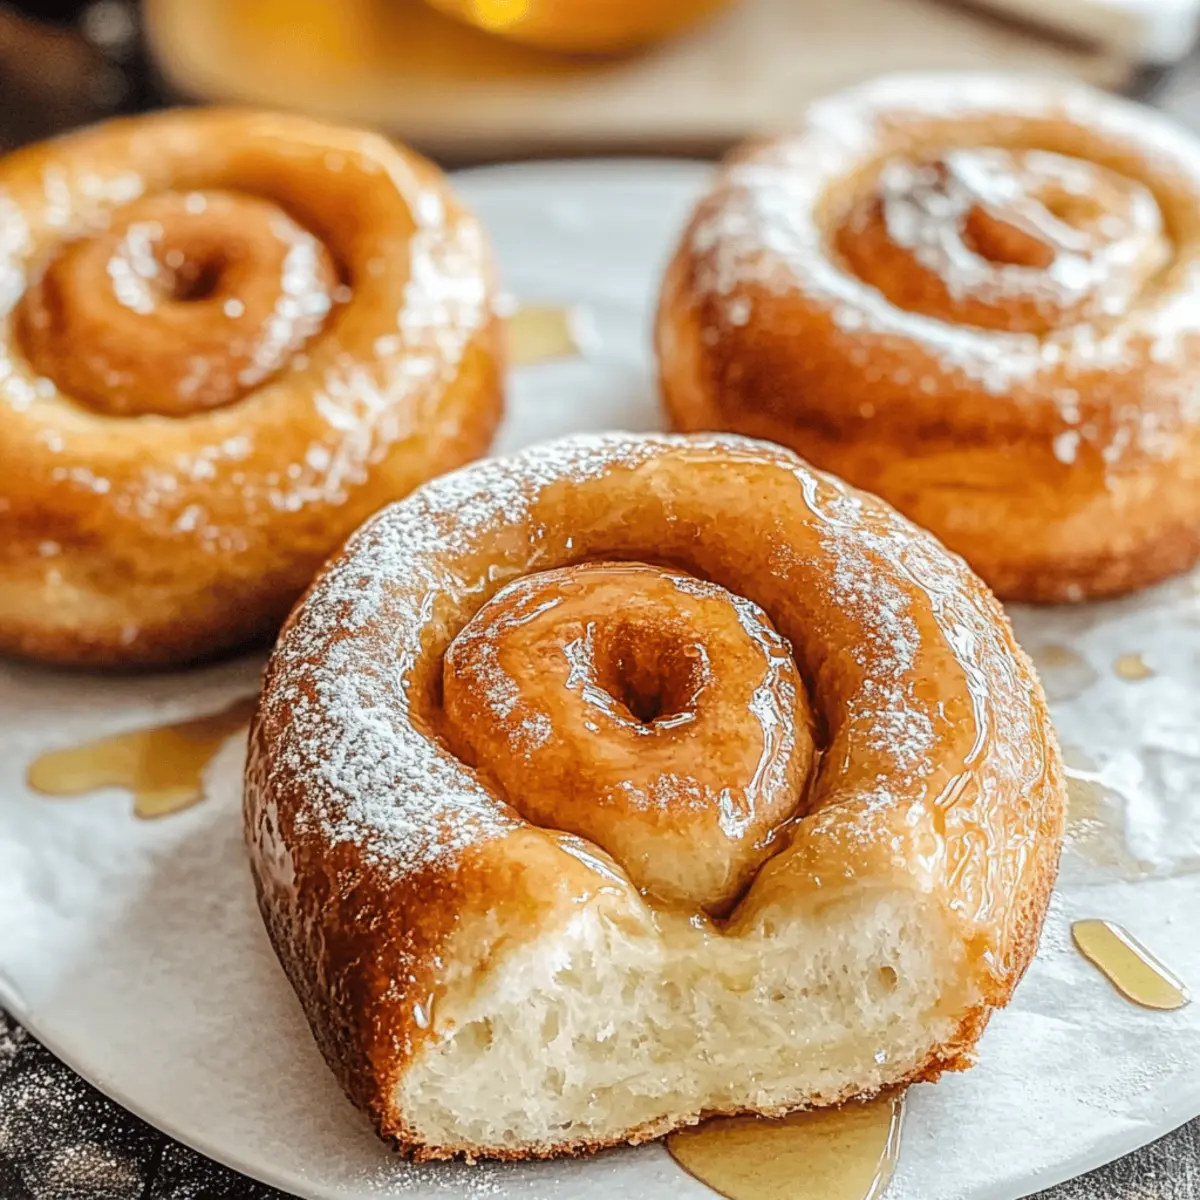
As I stood in my cozy kitchen, the sweet fragrance of honey wafted through the air, instantly transporting me back to my childhood. There’s something magical about Homemade Honey Buns that makes them feel like a warm hug on a cold day. These delightful treats, with their golden, fluffy centers and crispy exteriors, are perfect for brightening mornings or indulging in as a decadent snack. Easy to make with just a handful of everyday ingredients, this recipe not only offers bakery-quality results straight from your own oven, but it also allows for flexibility to bake or fry based on your mood. Whip up a batch of these warm, sweet gems, and imagine the smiles around your table. What adventurous twist will you add to your honey buns?
Why Are Homemade Honey Buns Irresistible?
Comforting sweetness: The warmth of honey combined with the heavenly aroma makes these honey buns a nostalgic treat.
Flexible cooking methods: You can choose between frying for that classic crispy texture or baking for a healthier option!
Quick to prepare: With minimal ingredients and straightforward steps, you’ll have these delicious buns ready in no time.
Customizable goodness: Whether you want to add some cinnamon or experiment with nuts, there’s no limit to how you can make them your own! And for another delightful dessert, consider trying the amazing Russian Honey Cake.
Guaranteed crowd-pleaser: Perfect for breakfast or as a snack, these honey buns will delight friends and family alike!
Homemade Honey Buns Ingredients
• Make your baking experience seamless with these simple ingredients.
For the Dough
- Warm Water – Activates the yeast; ensure it’s lukewarm for optimal rising.
- Granulated Sugar (2 tsp + 1/3 cup) – Enhances sweetness and helps the yeast bloom; cut down on sugar if preferred.
- Active Dry Yeast – The leavening star that creates a fluffy texture.
- All-Purpose Flour – Provides structure; substitute with bread flour for extra chewiness.
- Honey – Infuses sweetness and moisture into the dough; use less for a lighter flavor.
- Melted Shortening – Ensures a tender bite; swap with unsalted butter for richer taste.
- Egg Yolks (2) – Boosts color and enriches the dough’s interior.
- Vanilla Extract – Elevates the flavor; feel free to substitute with almond extract for a unique twist.
- Salt – Balances sweetness and enhances overall flavor.
For the Filling
- Cinnamon – Adds warmth and depth to your honey buns.
For Frying & Glazing
- Vegetable Oil – Perfect for frying; maintain at 365°F (185°C) for the best results.
- Powdered Sugar – The base for your glaze; lessen for a lighter sweetness.
- Butter (melted for glaze) – Adds a rich finish to the honey glaze.
With these Homemade Honey Buns ingredients, you’re set to create a delightful dish that will have everyone returning for seconds!
Step‑by‑Step Instructions for Perfect Homemade Honey Buns
Step 1: Activate Yeast
In a mixing bowl, combine 1 cup of warm water, 2 teaspoons of granulated sugar, and 2 teaspoons of active dry yeast. Stir gently and let it sit for about 5 minutes until the mixture is frothy, which indicates that your yeast is alive and ready to create those delightful honey buns.
Step 2: Make Dough
Switch to a dough hook and add the remaining sugar, 4 cups of all-purpose flour, 1/4 cup of honey, 1/4 cup of melted shortening, 2 egg yolks, 1 teaspoon of vanilla extract, and 1 teaspoon of salt to the yeast mixture. Mix on medium speed for about 8 minutes, until the dough is smooth and slightly sticky, pulling away from the sides of the bowl.
Step 3: First Rise
Transfer the dough into a greased bowl, ensuring it is well coated to prevent sticking. Cover it with a clean kitchen towel and let it rise in a warm, draft-free area for approximately 1 hour, or until it has doubled in size. Make a note of how beautifully it swells; that means your homemade honey buns will be fluffy!
Step 4: Prepare Filling
While the dough is rising, prepare the cinnamon-sugar filling by combining 2 tablespoons of granulated sugar with 1 tablespoon of ground cinnamon in a small bowl. This fragrant mix will add warmth and sweetness to the center of your honey buns, enhancing their irresistible flavor.
Step 5: Shape Dough
Once the dough has risen, punch it down gently to release the air. On a floured surface, roll the dough into a large rectangle, about 1/2 inch thick. Evenly sprinkle the cinnamon-sugar mixture over the dough, making sure to cover it well. Then, starting from one edge, roll the dough tightly into a log, sealing the edges as you go and creating a lovely spiral effect.
Step 6: Second Rise
With your rolled dough, cut it into equal pieces, about 1 to 1.5 inches thick, using a sharp knife or bench scraper. Place the individual pieces on a parchment-lined baking sheet, ensuring some space between them. Cover loosely with a kitchen towel and allow them to rise again for about 45 minutes, or until they look puffed and plump.
Step 7: Fry Buns
In a heavy-bottomed pot, heat vegetable oil to 365°F (185°C) using a deep-frying thermometer for accuracy. Once the oil is at the right temperature, carefully drop in the honey buns, frying for approximately 90 seconds on each side until they turn a perfect golden brown. Remove them and let them drain on paper towels to absorb excess oil.
Step 8: Glaze Buns
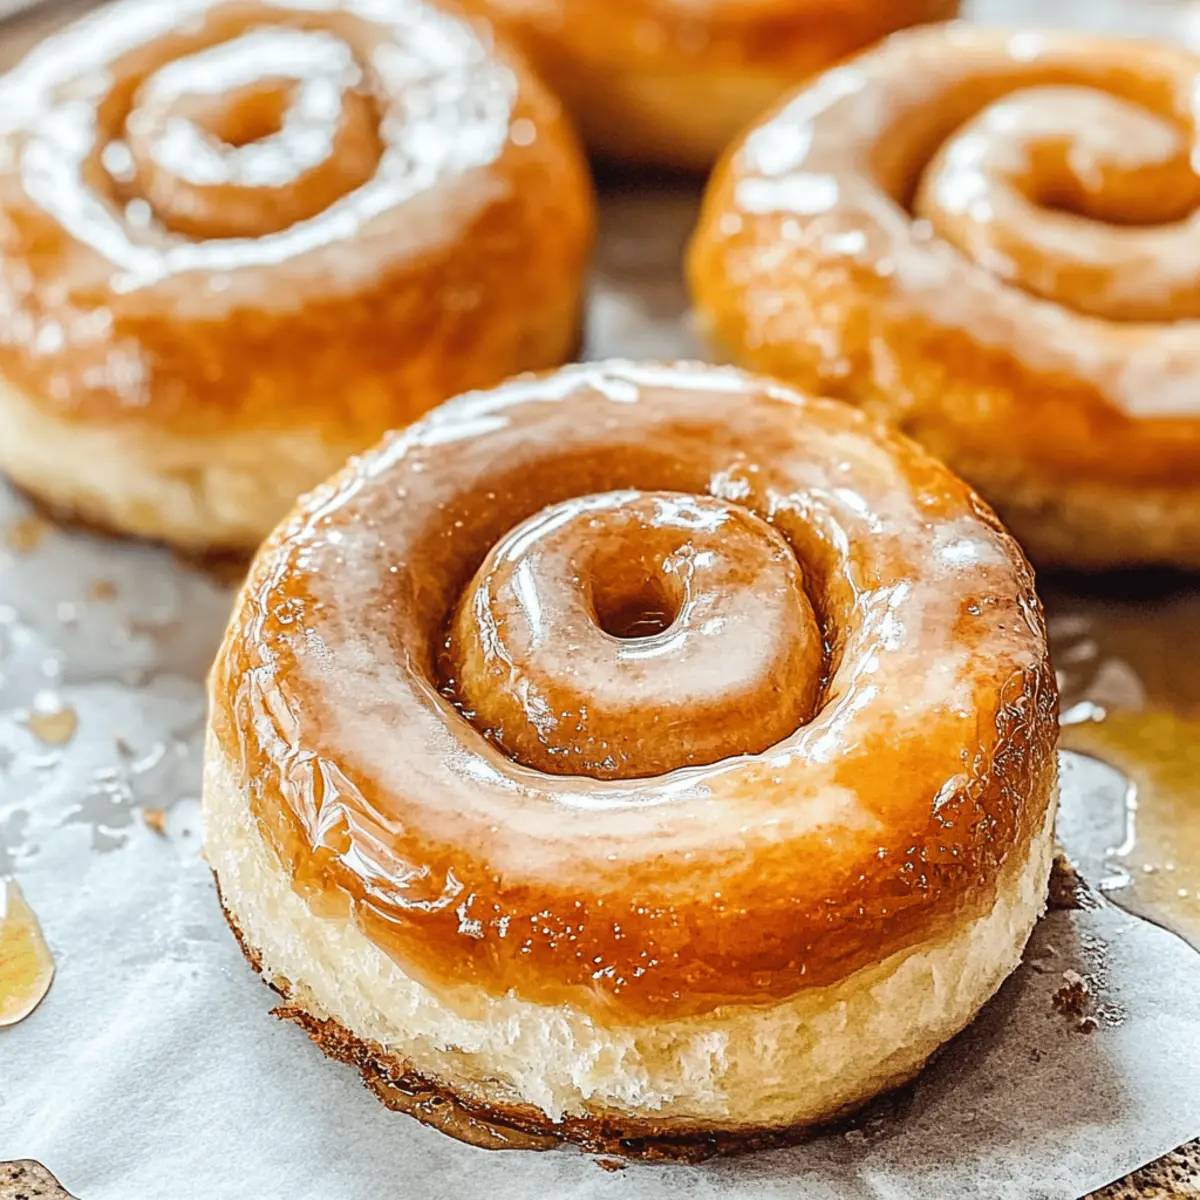
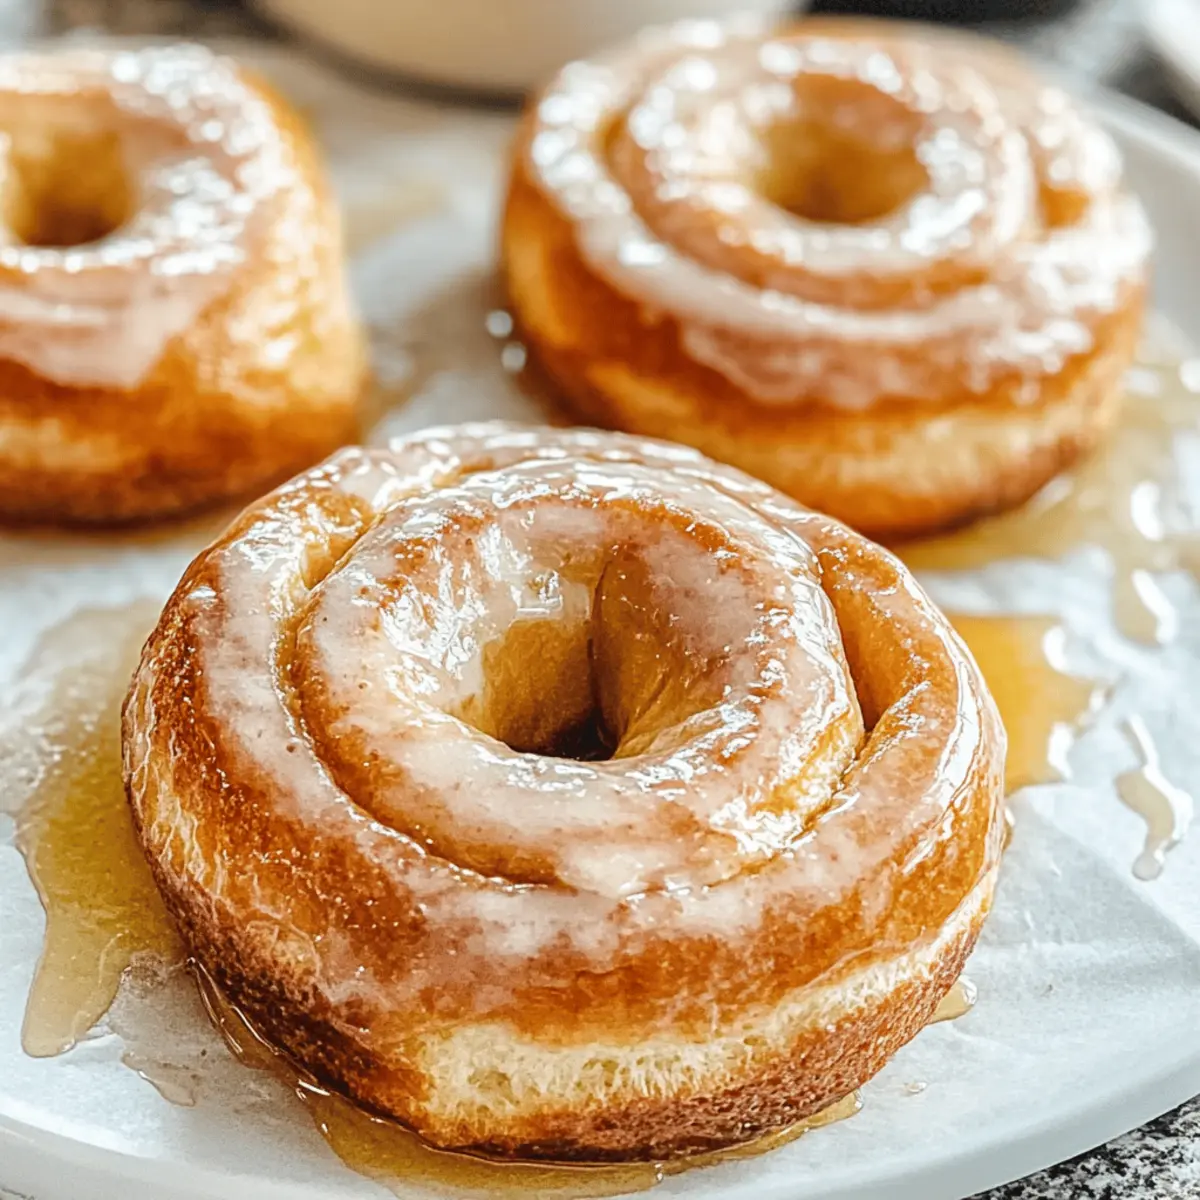
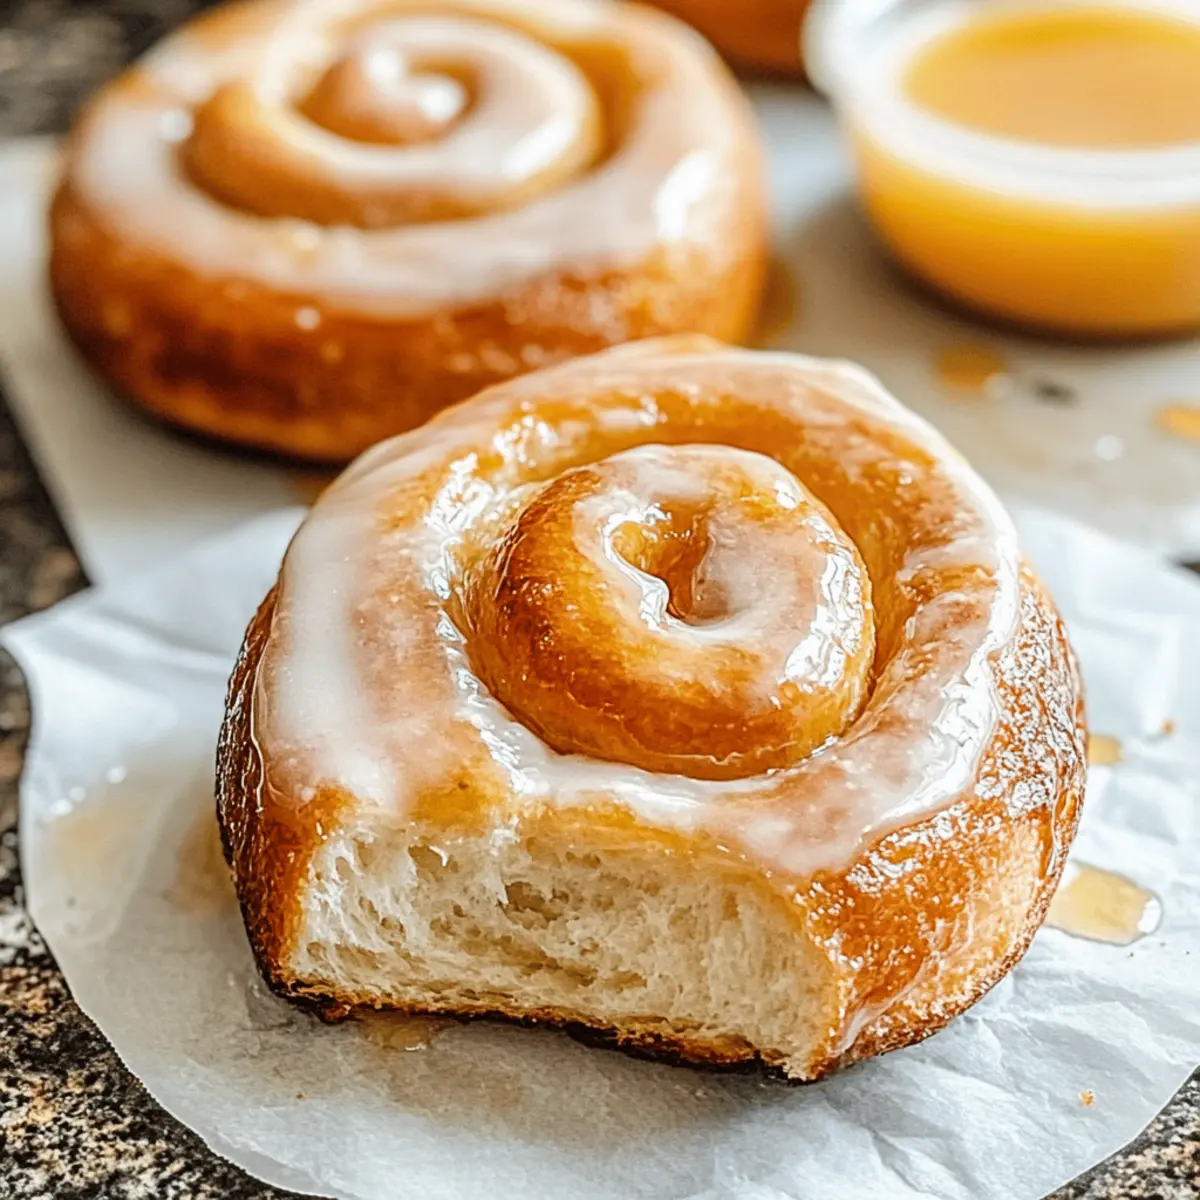
As the honey buns cool slightly, prepare the glaze by whisking together 1 cup of powdered sugar and 2 tablespoons of melted butter in a bowl until smooth. Dip each warm bun into the glaze and then place them on a cooling rack. Allow them to sit until the glaze sets, creating a beautiful sweet coating that enhances every bite of these homemade honey buns.
Expert Tips for Homemade Honey Buns
-
Proper Yeast Activation: Ensure your warm water is between 100°F to 110°F. Too hot can kill the yeast, leading to flat buns.
-
Kneading Time: Mix the dough for about 8 minutes until smooth and slightly sticky; under-kneading can result in dense buns.
-
Rise Time: Allow sufficient time for both rises. Rushing this process may yield dough that doesn’t have that desired fluffy texture.
-
Fry Temperature: Keep the oil at 365°F (185°C). Use a thermometer for accuracy; too hot will burn the buns, while too cold will make them greasy.
-
Glaze While Warm: Dip the buns in glaze while still warm for maximum absorption; this creates a delightful, sweet crust on your homemade honey buns.
-
Storage Tips: Store uneaten buns in an airtight container at room temperature for up to 3 days—if they last that long!
Storage Tips for Homemade Honey Buns
Room Temperature: Store honey buns in an airtight container at room temperature for up to 3 days to maintain freshness and fluffiness.
Fridge: If you prefer a longer shelf life, you can store them in the fridge for up to a week; however, this may affect their texture.
Freezer: For longer storage, freeze unopened honey buns in a freezer-safe bag for up to 3 months. Thaw at room temperature before reheating.
Reheating: To enjoy that freshly made taste, warm honey buns in the oven at 350°F (175°C) for about 5–10 minutes before serving.
Homemade Honey Buns Variations & Substitutions
Feel free to explore different twists on this classic recipe, and let your creativity shine through every delicious bite!
- Baked Alternative: Instead of frying, preheat your oven to 350°F (175°C) and bake shaped buns for 15-20 minutes until golden.
- Nutty Surprise: Add chopped walnuts or pecans to the filling for an enjoyable crunch and flavorful depth.
- Spicy Kick: Incorporate a pinch of cayenne pepper or ginger into the cinnamon sugar mixture for an exciting flavor twist.
- Citrus Zing: Stir in the zest of an orange or lemon into the dough for a refreshing citrus note that brightens each bite.
- Fruity Delight: Fold dried fruits like apricots or cranberries into the dough for an unexpected fruity surprise. This addition takes these honey buns to another level!
- Gluten-Free: Use a gluten-free all-purpose flour blend to make these sweet gems accessible for those avoiding gluten. Just ensure you add extra moisture if needed!
- Dairy-Free: Replace melted shortening with coconut oil or a vegan butter substitute for a scrumptious dairy-free treat.
- More Honey: For a more intense flavor, increase the honey in both the dough and glaze, bringing a delightful sweetness to every bite.
These variations not only cater to different palates but also invite you to play with textures and flavors. Remember, if you’re looking for more sweet inspiration, the Russian Honey Cake is another fantastic treat to try! Embrace the joy of cooking and delight your loved ones with these bespoke homemade honey buns!
Make Ahead Options
These Homemade Honey Buns are perfect for busy weeknights and meal prep! You can prepare the dough up to 24 hours in advance by mixing and kneading it, then refrigerating it in a covered bowl. This method ensures your buns maintain their fluffy texture when cooked. Simply allow the dough to come to room temperature before continuing with the shaping process. Additionally, you can freeze the cooked buns for up to 3 days; just ensure they’re cooled completely before freezing to retain their quality. When ready to serve, warm them briefly in the oven and glaze for that fresh-baked taste. Enjoy these delightful treats with minimal effort!
What to Serve with Perfect Homemade Honey Buns
There’s nothing like creating a full, delightful meal around the warmth of honey buns fresh from your kitchen.
- Fresh Fruit Salad: Bright and refreshing, a colorful mix of seasonal fruits contrasts beautifully with the sweet honey glaze.
- Creamy Greek Yogurt: The tartness of yogurt complements the buns’ sweetness, making it a perfect pairing for breakfast or brunch.
- Savory Breakfast Sausage: The richness of hearty sausage balances the sweet flavors, creating a satisfying and indulgent start to your day.
- Fluffy Scrambled Eggs: Light and airy scrambled eggs add a touch of protein, making this combination a well-rounded meal that’s both sweet and savory.
- Cinnamon Spice Coffee: Enhance the flavors of your honey buns with a warm cup of coffee, infused with a hint of cinnamon for a cozy vibe.
- Honey Butter Spread: For an extra layer of sweetness, spread some homemade honey butter over these buns, taking your treat to the next delicious level.
- Lemonade or Iced Tea: A refreshing beverage with a hint of acidity helps cut through the richness of the honey buns, making every bite even more enjoyable.
- Chocolate Sauce Drizzle: For the ultimate indulgence, drizzle warm chocolate sauce over the warm buns for a dessert that feels even more decadent.
- Vanilla Ice Cream: Create a delightful dessert experience by serving warm honey buns alongside a scoop of creamy vanilla ice cream.
Homemade Honey Buns Recipe FAQs
How do I choose the right ripeness for the ingredients?
Absolutely! When selecting ingredients, ensure your eggs are fresh, and if you’re using honey, go for a pure, high-quality variety for the best flavor. For the yeast, check the expiration date; it should be active and bubbly when mixed with warm water. Older yeast may not rise effectively, leading to dense buns.
What’s the best way to store leftover honey buns?
To keep your honey buns fresh, store them in an airtight container at room temperature for up to 3 days. If you want to keep them longer, you can also refrigerate them for up to a week, though this may affect their fluffiness. Be sure to let them come to room temperature before enjoying!
Can I freeze homemade honey buns, and if so, how?
Definitely! To freeze your homemade honey buns, wait for them to cool completely. Wrap each bun tightly in plastic wrap, then place them in a single layer in a freezer-safe bag. They can be frozen for up to 3 months. When you’re ready to enjoy them, simply thaw at room temperature for a few hours, then warm them in the oven at 350°F (175°C) for about 5-10 minutes to regain that fresh-baked texture.
What should I do if my dough doesn’t rise?
Oh no, don’t worry! If your dough doesn’t rise, check the yeast solution. It should be frothy after resting for about 5 minutes; if not, the yeast might be old or the water too hot. Make sure your rising environment is warm and draft-free, as cooler temperatures can slow down fermentation. You can also place the dough near a warm oven to encourage rising.
Are there any dietary considerations for homemade honey buns?
Very! Be mindful of allergies if you’re serving these to others. This recipe contains wheat, eggs, and dairy, so if anyone has gluten intolerance or egg allergies, consider alternatives like gluten-free flour blends or egg substitutes. Remember to double-check your shortening or butter choices if you’re accommodating dietary restrictions.
Can I make the dough ahead of time?
Absolutely! You can prepare the dough in advance. After kneading, place it in a greased bowl, cover it tightly, and refrigerate for up to 24 hours. When you’re ready to bake, take it out, let it come to room temperature for about 30 minutes, and proceed with the shaping and rising steps. This makes it easier to enjoy fresh buns whenever you want!
Irresistibly Soft Homemade Honey Buns You Can Bake Today
Ingredients
Equipment
Method
- Activate Yeast: Combine warm water, 2 tsp of granulated sugar, and yeast in a bowl. Let sit 5 mins until frothy.
- Make Dough: Add remaining sugar, flour, honey, melted shortening, egg yolks, vanilla, and salt to the yeast mixture. Mix on medium for 8 mins until smooth.
- First Rise: Transfer dough to a greased bowl, cover, and let rise in a warm area for 1 hour until doubled.
- Prepare Filling: Combine 2 tbsp of sugar with 1 tbsp cinnamon in a bowl.
- Shape Dough: Roll dough into a rectangle, sprinkle filling, roll tightly into a log, and seal edges.
- Second Rise: Cut rolled dough into 1-1.5 inch pieces, place on a lined baking sheet, cover, and let rise for 45 mins.
- Fry Buns: Heat oil to 365°F (185°C), fry buns for 90 seconds on each side until golden brown.
- Glaze Buns: Whisk together powdered sugar and melted butter, dip warm buns, and place on rack until glaze sets.
Leave a Reply