
The aroma of hard-boiled eggs wafting through the kitchen takes me back to Sunday brunches filled with laughter and fun. Those memorable moments remind me how a simple dish can bring people together, and there’s no better classic appetizer than my favorite—Classic Deviled Eggs. This creamy, tangy delight is not only incredibly easy to prepare, but it also makes for a show-stopping party treat, ensuring your guests keep coming back for more! With a sprinkle of paprika and the option to customize with different flavors, this gluten-free recipe is perfect for any gathering. Trust me, they can be made ahead of time, letting you bask in the compliments. Curious about how to whip them up? Let’s dive in!
Why are Classic Deviled Eggs a Must-Try?
Simplicity at Its Finest: Preparing these classic deviled eggs requires minimal ingredients and effort, making them perfect for both novice cooks and seasoned chefs.
Endless Customization: With the option to add flavors like bacon, jalapeños, or even a sweet twist with pickle relish, there’s a deviled egg variation for everyone’s palate.
Perfect Party Pleaser: Their creamy texture and bright flavors guarantee they’ll be the star of your potluck or holiday gathering, just like our savory Patty Melt can be.
Make-Ahead Magic: Cook eggs a few days ahead and have the filling ready to go. This recipe allows you to entertain stress-free and enjoy the fun.
Gluten-Free Goodness: This delightful appetizer meets dietary needs while pleasing everyone at the table, making it a win-win.
Classic Deviled Eggs Ingredients
• Dive into the creamy goodness of classic deviled eggs with these must-have ingredients!
For the Base
• Large Eggs – Essential for structure and a perfect hard-boiled base; boil for 14 minutes to avoid green yolks.
• Mayonnaise – Adds creaminess and moisture; Greek yogurt can be a lighter substitute if desired.
For the Flavoring
• Dijon Mustard – Introduces depth and a hint of tang; regular mustard works if that’s what you have.
• Apple Cider Vinegar – Brightens the flavors wonderfully; pickle juice can be used as an alternative.
• Kosher Salt and Ground Black Pepper – Simple seasoning to enhance the dish; adjust according to your taste preference.
For the Garnish
• Paprika – A classic garnish that adds flavor and a pop of color; smoked paprika offers a more robust taste.
Get ready to assemble these classic deviled eggs into a stunning appetizer that your family and friends will adore!
Step‑by‑Step Instructions for Classic Deviled Eggs
Step 1: Boil Eggs
Start by bringing a pot of water to a rolling boil over medium-high heat. Carefully add large eggs into the boiling water using a slotted spoon, then reduce the heat to medium-low. Let the eggs cook for 14 minutes for perfectly hard-boiled yolks without any green tinge, ensuring they are firm yet not overcooked.
Step 2: Ice Bath
While the eggs are cooking, prepare an ice bath by filling a large bowl with ice and cold water. Once the eggs have cooked for 14 minutes, immediately transfer them to the ice bath to cool down for about 5–10 minutes. This will not only stop the cooking process but also make peeling the eggs easier and faster for your classic deviled eggs.
Step 3: Peel and Slice
Once the eggs are cool, gently tap each egg on a countertop to crack the shell, then peel them under running water to remove any stubborn bits. Slice each egg in half lengthwise with a sharp knife. Carefully scoop out the yolks into a mixing bowl, while leaving the egg whites intact, creating a perfect pocket for the creamy filling.
Step 4: Make Filling
In the mixing bowl with the yolks, add mayonnaise, Dijon mustard, apple cider vinegar, kosher salt, and ground black pepper. Use a fork to mash the mixture until smooth and creamy, making sure to incorporate all the ingredients evenly. Taste the filling and adjust the seasoning if needed, ensuring a rich and tangy flavor that will enhance your classic deviled eggs.
Step 5: Fill Eggs
Now it’s time to assemble your classic deviled eggs! Using a spoon or a piping bag, carefully fill the cavities of the egg whites with the yolk mixture until they are generously heaping. Take your time to create a beautiful presentation, ensuring each egg half is perfectly filled and ready for garnishing.
Step 6: Garnish and Serve
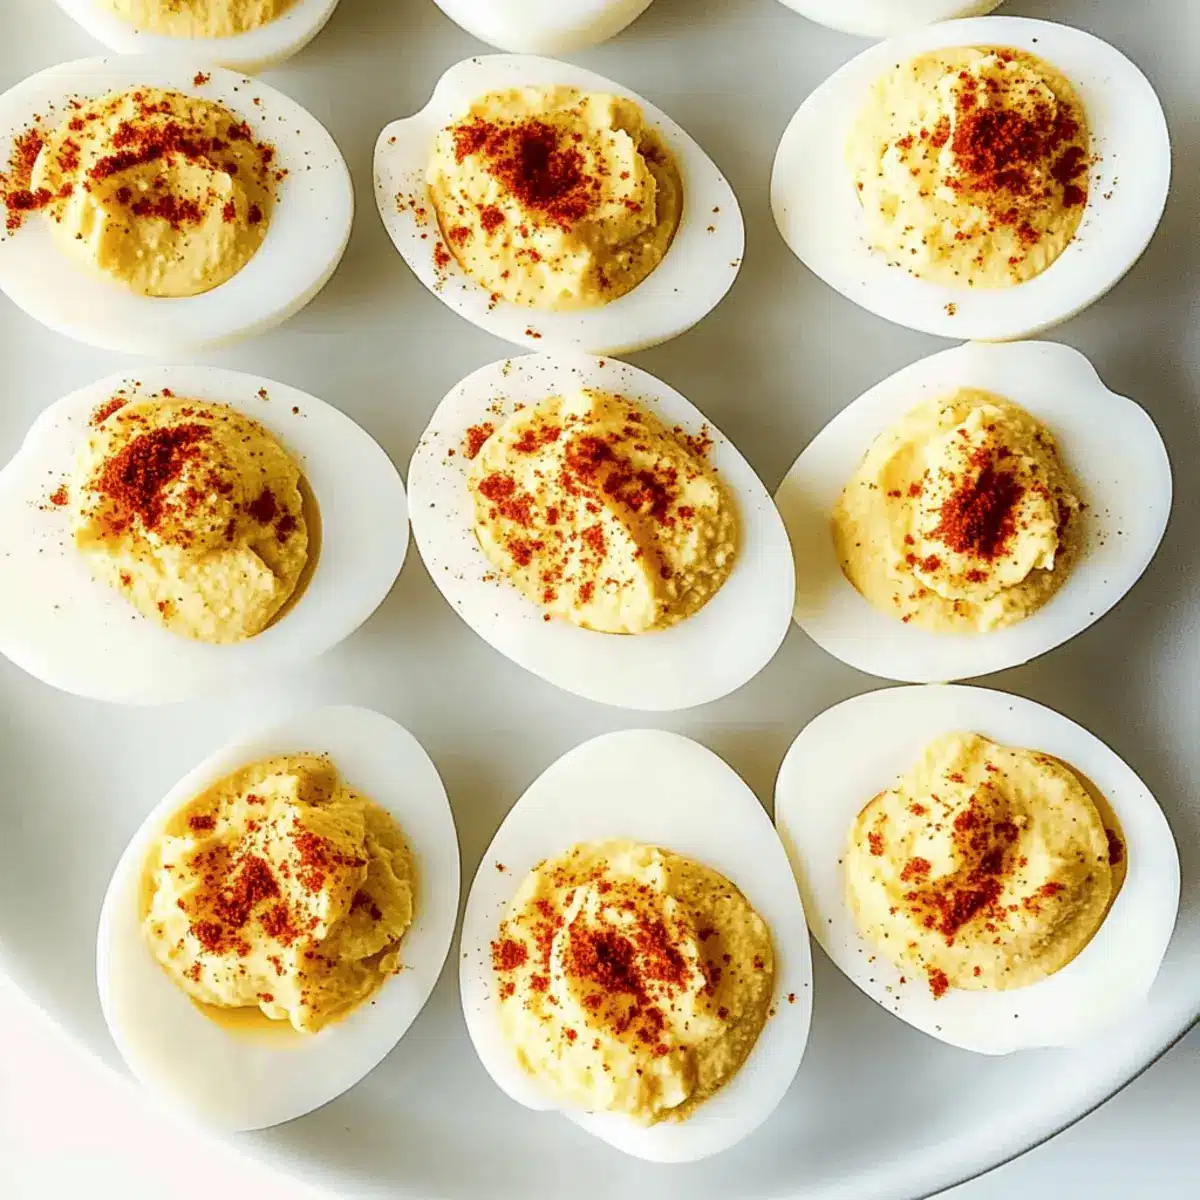
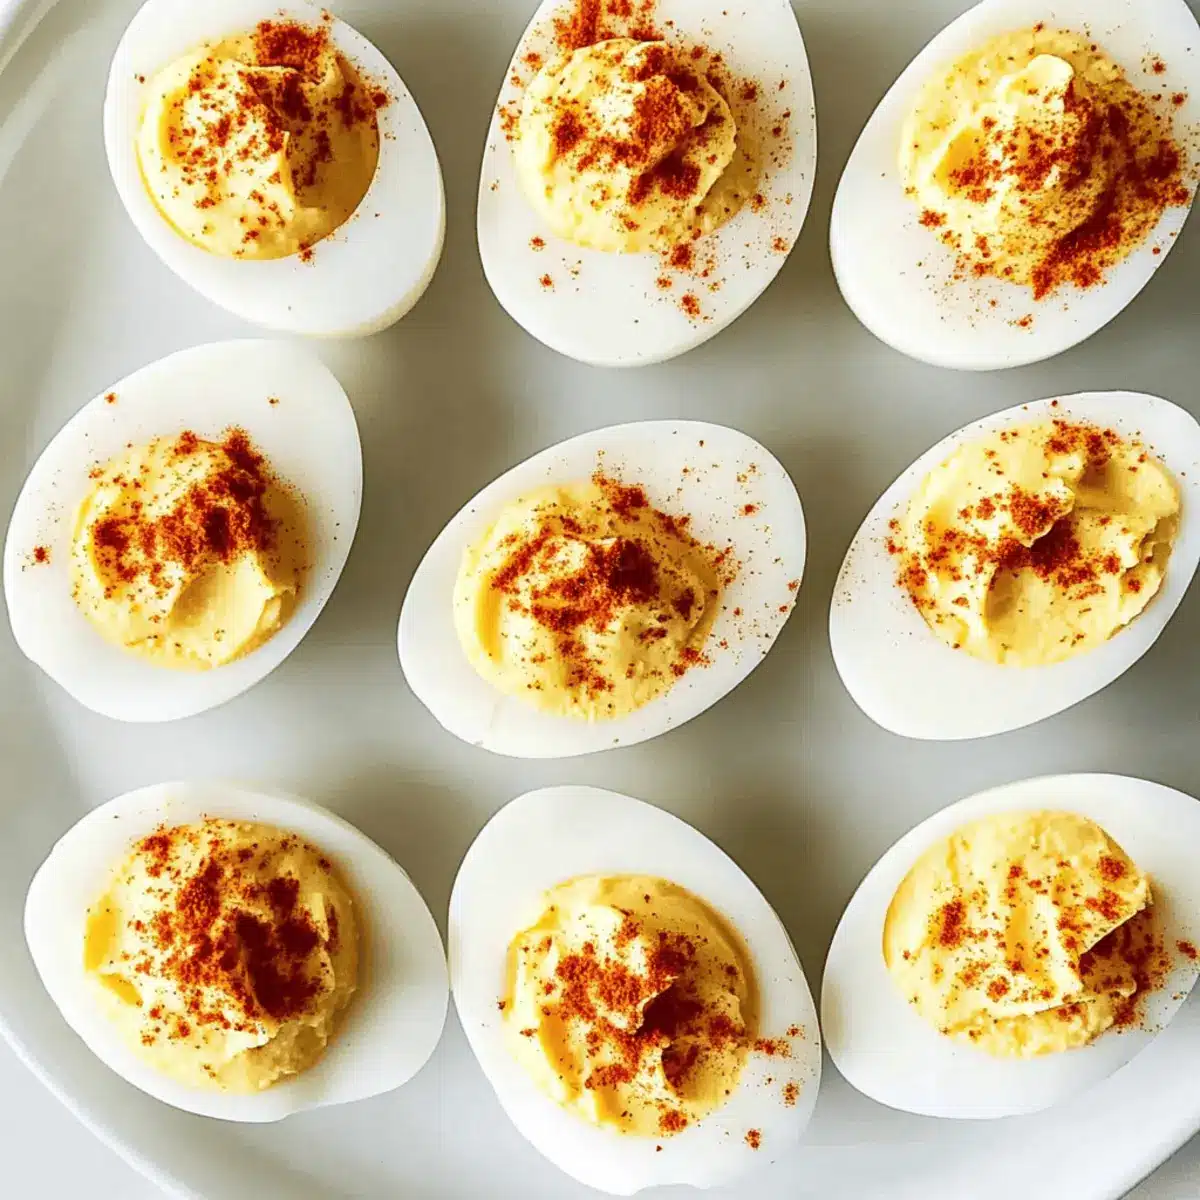
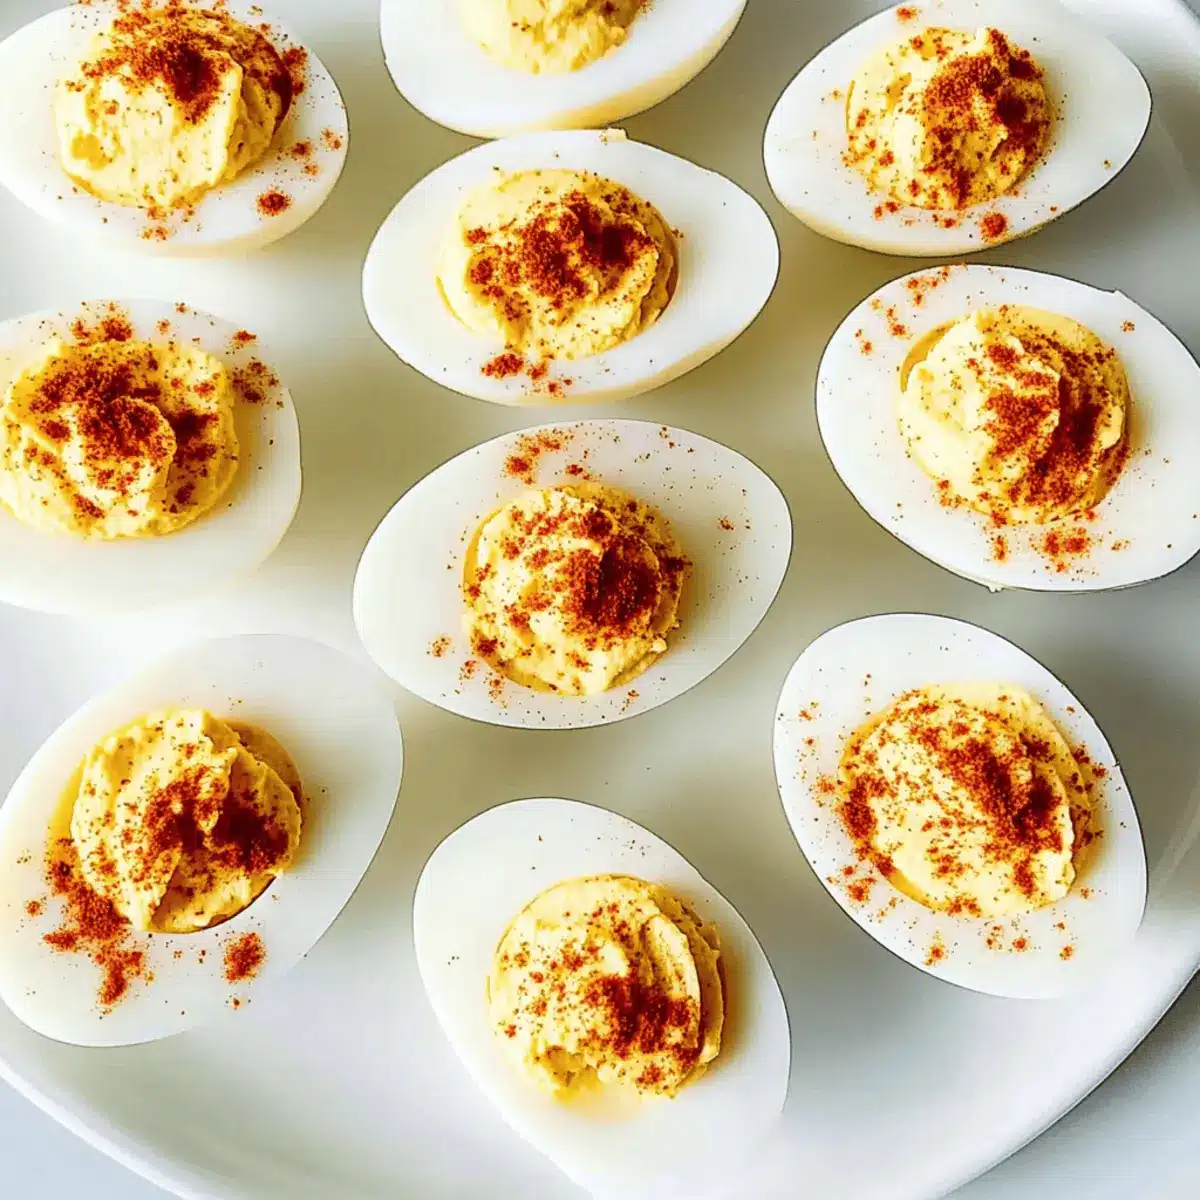
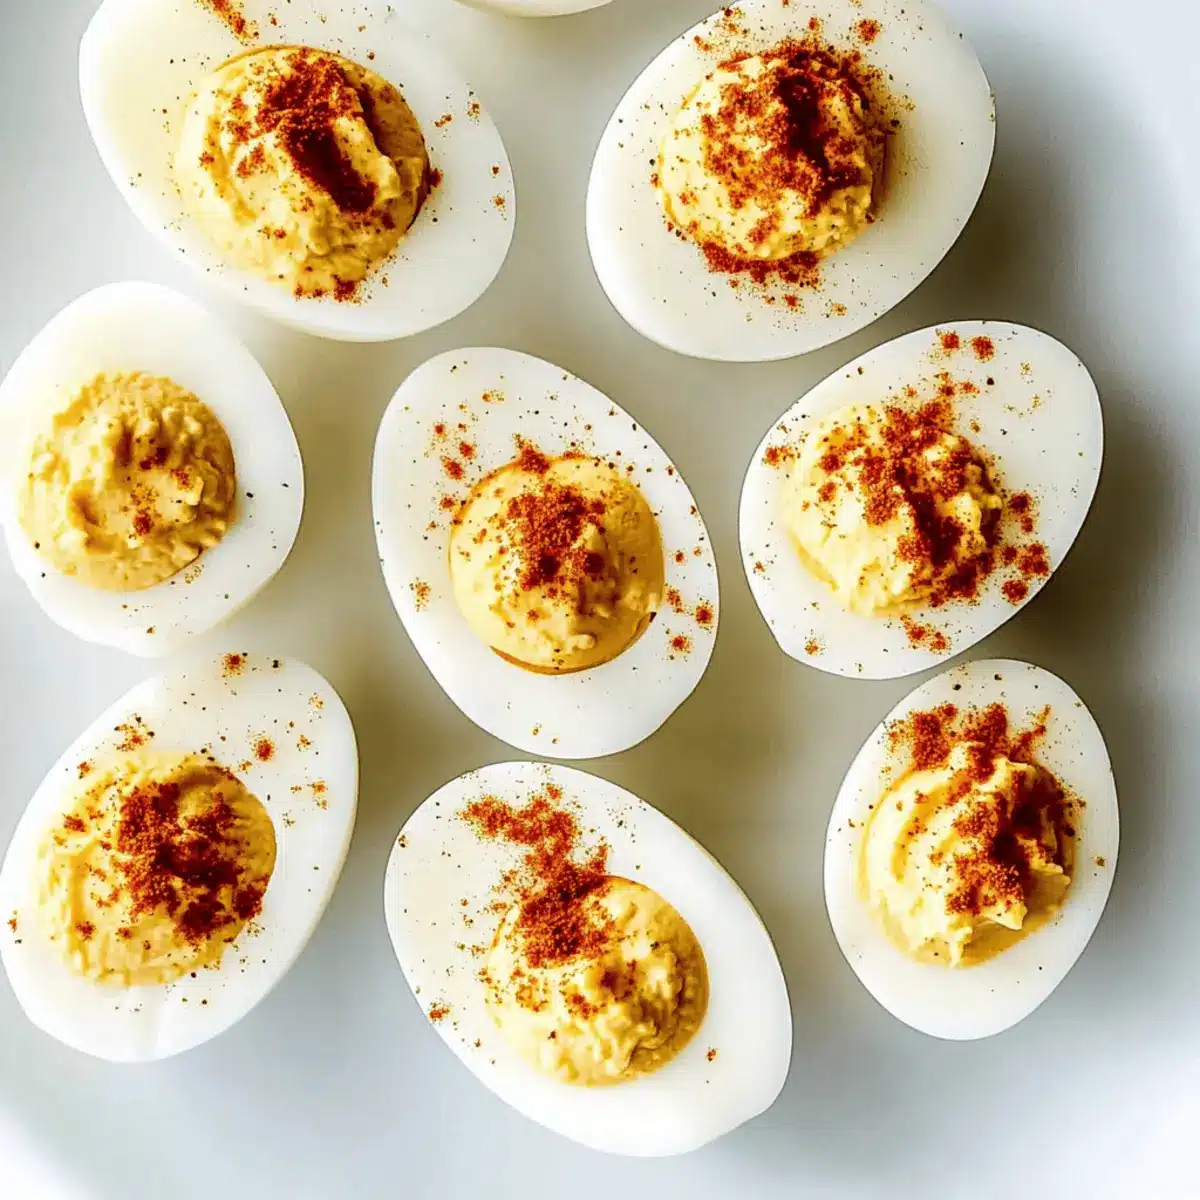
Finally, sprinkle a dash of paprika over the filled eggs to add a pop of color and smoky flavor. Arrange the classic deviled eggs on a platter and refrigerate until serving. These delectable bites can be enjoyed cold, making them a refreshing and eye-catching appetizer for any occasion!
What to Serve with Classic Deviled Eggs
Elevate your gathering with an array of delightful pairings that complement the creamy richness of deviled eggs.
-
Crispy Roasted Asparagus: These tender stalks add a crunchy texture and earthy flavor, creating a refreshing contrast to the creamy filling.
-
Classic Caesar Salad: The garlicky dressing and crunchy croutons enhance the meal’s richness while providing a refreshing bite.
-
Savory Spinach Artichoke Dip: This creamy dip pairs beautifully with the deviled eggs, offering another layer of flavor ideal for sharing.
-
Herbed Crostini: The crunch of toasted baguette slices topped with fresh herbs provides a delightful textural contrast to the smoothness of the eggs.
A chilled white wine, such as Sauvignon Blanc, perfectly complements the flavors, making it an excellent drink pairing for enjoying these delightful bites.
-
Sweet Potato Fries: With their natural sweetness and crispy finish, these fries bring a pleasant contrast to the tangy eggs, making for a delicious combo.
-
Fruit Platter: A colorful assortment of seasonal fruits not only adds freshness but also offers a sweet balance to the rich deviled eggs.
-
Lemonade or Iced Tea: Refreshing drinks with a hint of sweetness will elevate this appetizer spread, creating the perfect atmosphere for any occasion.
How to Store and Freeze Classic Deviled Eggs
Fridge: Store filled classic deviled eggs in an airtight container for up to 2-3 days. This keeps them fresh and flavorful, ready for snacking or serving.
Make-Ahead: Boil and peel the eggs up to 3 days in advance. Prepare the yolk filling 2 days ahead, and combine just before serving for best results.
Freezer: Freezing is not recommended for filled deviled eggs as the texture may suffer. However, you can freeze hard-boiled eggs for up to 6 months; just thaw and enjoy in other recipes.
Reheating: Serve classic deviled eggs cold straight from the fridge. Avoid reheating; they are best enjoyed chilled for optimal taste and texture!
Expert Tips for Classic Deviled Eggs
- Perfect Cooking Time: Always boil your eggs for 14 minutes to prevent a green yolk while ensuring they are perfectly cooked for your classic deviled eggs.
- Ice Bath Essential: Use an ice bath right after boiling to stop the cooking process, making peeling easier and enhancing the final presentation.
- Flavor Balance: Be cautious with apple cider vinegar; too much can overpower the filling. Adjust gradually for a harmonious flavor in your classic deviled eggs.
- Piping for Presentation: For an elegant look, use a piping bag to fill the egg whites. It offers a beautiful finish and is easier than spooning the filling.
- Make-Ahead Options: Prepare the eggs and filling separately up to two days in advance. Assemble shortly before serving to maintain freshness.
Make Ahead Options
Classic Deviled Eggs are a lifesaver for busy home cooks looking to save time! You can boil and peel the eggs up to 3 days in advance, which allows you to enjoy hassle-free prep when entertaining guests. Simply store the egg whites in an airtight container in the refrigerator to keep them fresh. You can also prepare the creamy yolk filling up to 2 days ahead; just keep it in a separate container to prevent the eggs from getting soggy. When you’re ready to serve, simply fill the egg whites with the prepared yolk mixture and garnish with paprika. This way, you can make your Classic Deviled Eggs ahead of time and still present a delightful, homemade appetizer that’s just as delicious!
Classic Deviled Eggs Variations & Substitutions
Looking to add your personal touch to classic deviled eggs? Let your creativity shine with these delightful variations!
- Bacon Boost: Add crispy bacon bits for a smoky, savory twist that will have everyone’s taste buds dancing.
- Fresh Herbs: Incorporate chives, dill, or parsley into the filling for a fresh and vibrant flavor.
- Nuttier Flavor: Consider adding a spoonful of tahini or almond butter for a creamy, nutty surprise that complements the eggs beautifully.
- Spicy Jalapeños: Mix in diced jalapeños or a pinch of cayenne pepper for an exciting heat that’ll wake up the palate! The right amount can take these classic deviled eggs to the next level.
- Sweet Relish: A dollop of sweet pickle relish will add a hint of sweetness that contrasts delightfully with the creamy filling.
- Avocado Twist: Swap out mayo for mashed avocado for a creamy, healthy twist that offers a wonderful flavor without sacrificing richness.
- Curried Delight: Introducing curry powder lends an exotic flair and warmth – it’s a great match for the classic flavors.
- Cheesy Goodness: Stir in crumbled feta or goat cheese for a tangy kick; it’s a fun addition that makes each bite even creamier.
Feeling inspired? You might also love to check out our scrumptious Deviled Strawberries Cheesecake for a fun dessert twist. Pair it with more savory options like the delightful Patty Melt for a complete spread!
Classic Creamy Deviled Eggs Recipe FAQs
How do I choose the best eggs for my deviled eggs?
Absolutely! Look for large eggs that are free from cracks, and check for freshness by placing them in water; fresh eggs will sink while old ones float. For the best results in your classic deviled eggs, select eggs that are around a week old, as they tend to peel more easily after boiling.
How should I store my leftover classic deviled eggs?
Store your filled classic deviled eggs in an airtight container in the refrigerator for up to 2-3 days. Make sure to cover them gently to prevent the yolk filling from sticking to the lid. They can be a quick snack or delightful addition to any meal!
Can I make classic deviled eggs ahead of time? What’s the best approach?
Yes, you can! I often prepare the eggs and yolk filling separately for convenience. Boil and peel the eggs up to 3 days ahead. You can mix your yolk filling up to 2 days in advance; just keep the components stored separately in the fridge and assemble right before serving to maintain freshness.
Are classic deviled eggs suitable for freezing? How do I do it?
Freezing filled classic deviled eggs is not recommended due to texture changes that can occur. However, if you want to freeze hard-boiled eggs, wrap them tightly in plastic wrap and store them in an airtight container for up to 6 months. When ready to use, thaw them in the refrigerator and use them in other recipes, but not directly for deviled eggs!
What can I do if my mayonnaise makes the filling too runny?
Very! If your mayonnaise made the filling too runny, gradually add more mashed yolk until you reach your desired consistency. For balance, you can also add a pinch of extra Dijon mustard or a small dash of both salt and pepper for flavor enhancement. Adjusting ingredients slowly also allows you to maintain control over the texture.
Can I use alternatives for dietary considerations in classic deviled eggs?
Absolutely! If you have dietary restrictions, substitute mayonnaise with Greek yogurt for a lighter option or consider vegan mayonnaise for a plant-based version. Always check the ingredients for any allergens, especially if you have guests with food sensitivities, to ensure everyone can enjoy these lovely bites!
Classic Deviled Eggs with a Tangy Twist - Easy and Delicious
Ingredients
Equipment
Method
- Start by bringing a pot of water to a rolling boil and carefully add large eggs. Cook for 14 minutes.
- Prepare an ice bath with ice and cold water. Transfer the eggs to cool down for about 5–10 minutes.
- Tap each egg on a countertop to crack and peel under running water. Slice each egg in half lengthwise.
- In a mixing bowl, add yolks, mayonnaise, mustard, vinegar, salt, and pepper. Mash until smooth.
- Fill the cavities of the egg whites with yolk mixture using a spoon or piping bag.
- Sprinkle paprika over the filled eggs, arrange on a platter, and refrigerate until serving.
Leave a Reply