
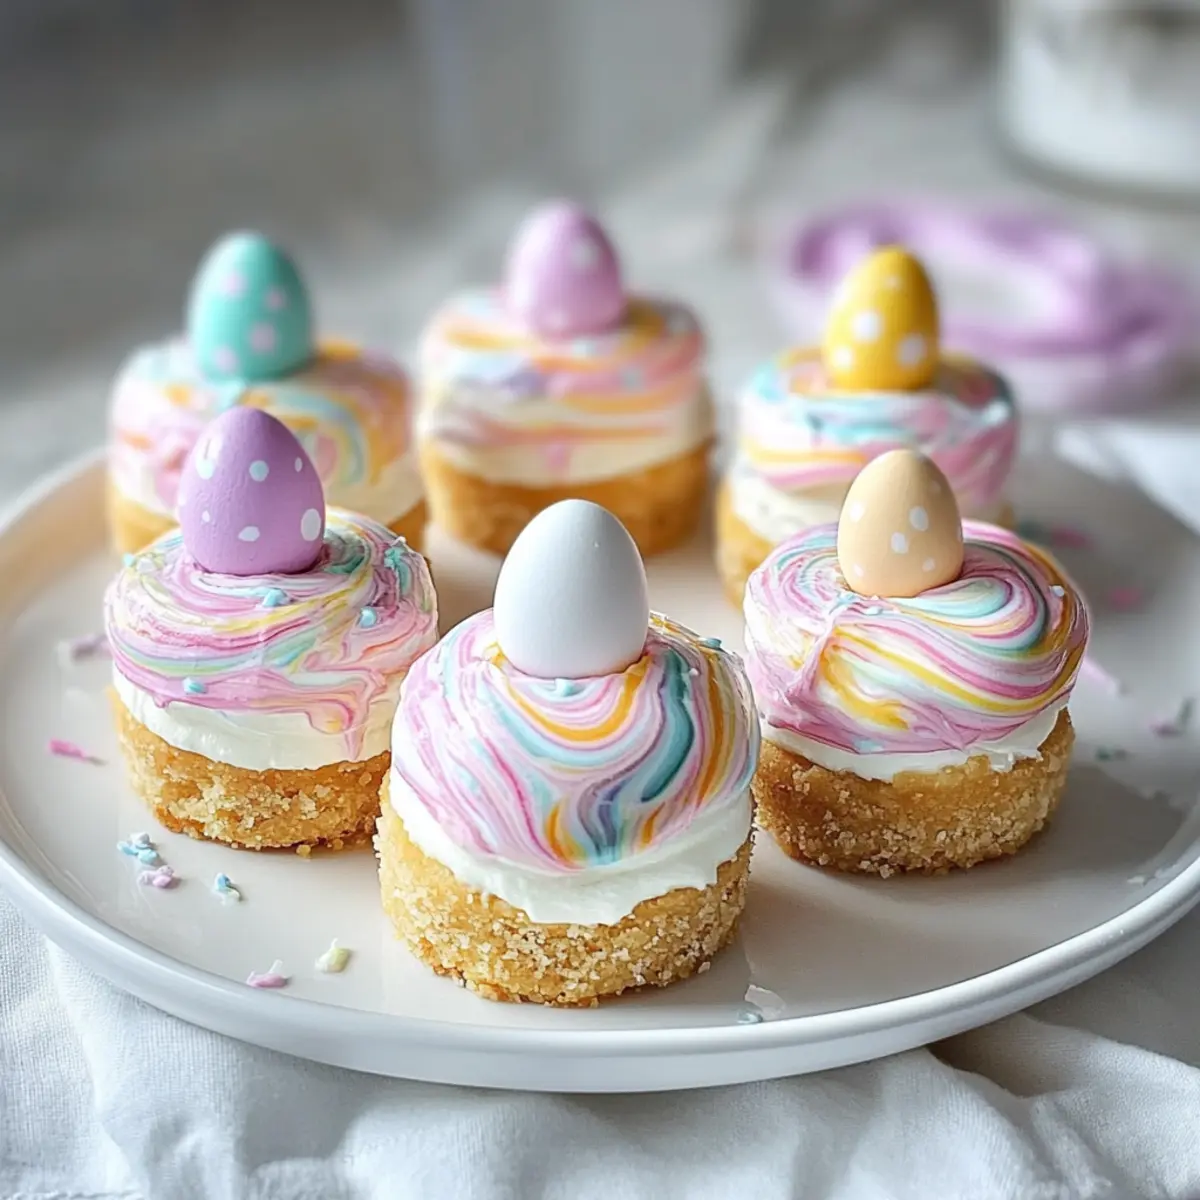
As I was setting the table for our Easter brunch, I couldn’t help but think about those delightful little treats that bring a smile to everyone’s face—Easter No-Bake Mini Cheesecakes! These creamy, colorful beauties are not just easy to make, but they also add a touch of springtime magic to your celebrations. With a buttery graham cracker crust and a light, airy filling, these no-bake cheesecakes allow you to spend less time in the kitchen and more time enjoying the company of family and friends. Plus, their festive colors are sure to impress your guests and leave them craving more! Are you ready to learn how to whip up these gorgeous mini desserts? Let’s dive in!
Why Make Easter No-Bake Mini Cheesecakes?
Ease of Preparation: These no-bake mini cheesecakes are a breeze to whip up, requiring minimal time and only a few simple ingredients.
Stunning Presentation: Their vibrant pastel colors make them the perfect showstopper for your Easter brunch or festive gathering.
Customizable Flavor: Enjoy the flexibility to switch the crust or fillings, allowing you to tailor them to your desired taste.
Catering to Dietary Needs: Being vegetarian and adaptable, these treats can easily accommodate various dietary preferences, including dairy-free options.
Crowd-Pleasing Treat: Their delightful combination of flavors and textures make them irresistible to guests of all ages. If you’re looking for more dessert inspiration, check out our tasty Banana Split Cake or delightful Raspberry Chocolate Mousse Cups.
Easter No-Bake Mini Cheesecakes Ingredients
• Ready to create these delightful springtime treats?
For the Crust
• Graham Cracker Crumbs – Provide the perfect structure for the crust; feel free to substitute with crushed vanilla wafers or shortbread cookies for a twist.
• Granulated Sugar – Sweetens the crust; using brown sugar can lend a deeper flavor profile.
• Unsalted Butter (melted) – Binds the crust ingredients together; coconut oil serves as a great dairy-free alternative.
For the Cheesecake Filling
• Cream Cheese (softened) – The star of the filling, delivering a creamy texture; make sure it’s at room temperature for a smooth mix.
• Powdered Sugar – Adds sweetness to the filling; swap with a sugar alternative for a lighter option.
• Vanilla Extract – A key flavor enhancer; opt for pure vanilla for richness or use almond extract for a unique flavor twist.
• Lemon Juice – Brightens the cheesecake flavor; lime juice works well as a substitute if desired.
• Heavy Whipping Cream (cold) – Creates a light and fluffy texture; coconut cream can replace it for a non-dairy version.
For the Topping
• White Chocolate Chips (melted) – Foundation for the beautiful pastel swirl topping; using dark chocolate can give a different flavor dimension.
• Pastel Food Coloring – Adds a fun, festive splash of color; consider using natural food coloring for a healthier alternative.
• Mini Candy Eggs – Perfect for decoration, these add a playful touch; you can opt for any pastel candies that fit the theme.
• Whipped Cream – Enhances the final presentation; store-bought whipped cream is a convenient option to save time.
These Easter No-Bake Mini Cheesecakes are delightful and easy to make, perfect for your spring celebrations!
Step‑by‑Step Instructions for Easter No-Bake Mini Cheesecakes
Step 1: Prepare the Molds
Begin by lining a muffin tin or silicone mini cheesecake molds with cupcake liners, which will help release the cheesecakes later. This step ensures your Easter No-Bake Mini Cheesecakes come out beautifully. Set aside the molds while you prepare the crust mixture, making sure everything is ready for the next step.
Step 2: Make the Crust
In a medium bowl, combine graham cracker crumbs, granulated sugar, and melted butter until the mixture resembles wet sand. Press about 1½ tablespoons of this mixture firmly into each prepared cavity, creating an even layer. Chill the crusts in the refrigerator for at least 15 minutes to allow them to firm up before adding the cheesecake filling.
Step 3: Prepare the Cheesecake Filling
In a large bowl, beat the softened cream cheese with a hand mixer on medium speed until smooth and creamy. Gradually mix in the powdered sugar, vanilla extract, and lemon juice until fully incorporated, forming a luscious filling. This step is crucial for ensuring your Easter No-Bake Mini Cheesecakes have a velvety texture.
Step 4: Whip the Cream
In a separate cold bowl, whip the heavy whipping cream using an electric mixer until it reaches stiff peaks, which should take about 2-3 minutes. This whipped cream will lighten your cheesecake filling, making it airy and fluffy. Gently fold the whipped cream into the cream cheese mixture, being careful not to deflate it for the best texture.
Step 5: Fill the Crusts
Spoon or pipe the creamy cheesecake filling over the chilled crusts, smoothing the tops with a spatula or the back of a spoon as needed. Ensure each mini cheesecake is filled to the top for a delightful presentation. Place the filled molds back into the refrigerator for at least 30 minutes to set.
Step 6: Create the Topping
Melt the white chocolate chips using a microwave or double boiler until smooth, then divide the chocolate into small bowls, adding pastel food coloring to each. Using a toothpick, create swirls and designs on top of the set cheesecake filling for a festive touch. Allow the colorful toppings to cool slightly before proceeding.
Step 7: Chill the Cheesecakes
Once decorated, refrigerate the Easter No-Bake Mini Cheesecakes for at least 4 hours, or overnight if time permits, to ensure they hold their shape and flavors meld beautifully. This extended chilling time is key for achieving the perfect texture and taste in your mini desserts.
Step 8: Final Touches
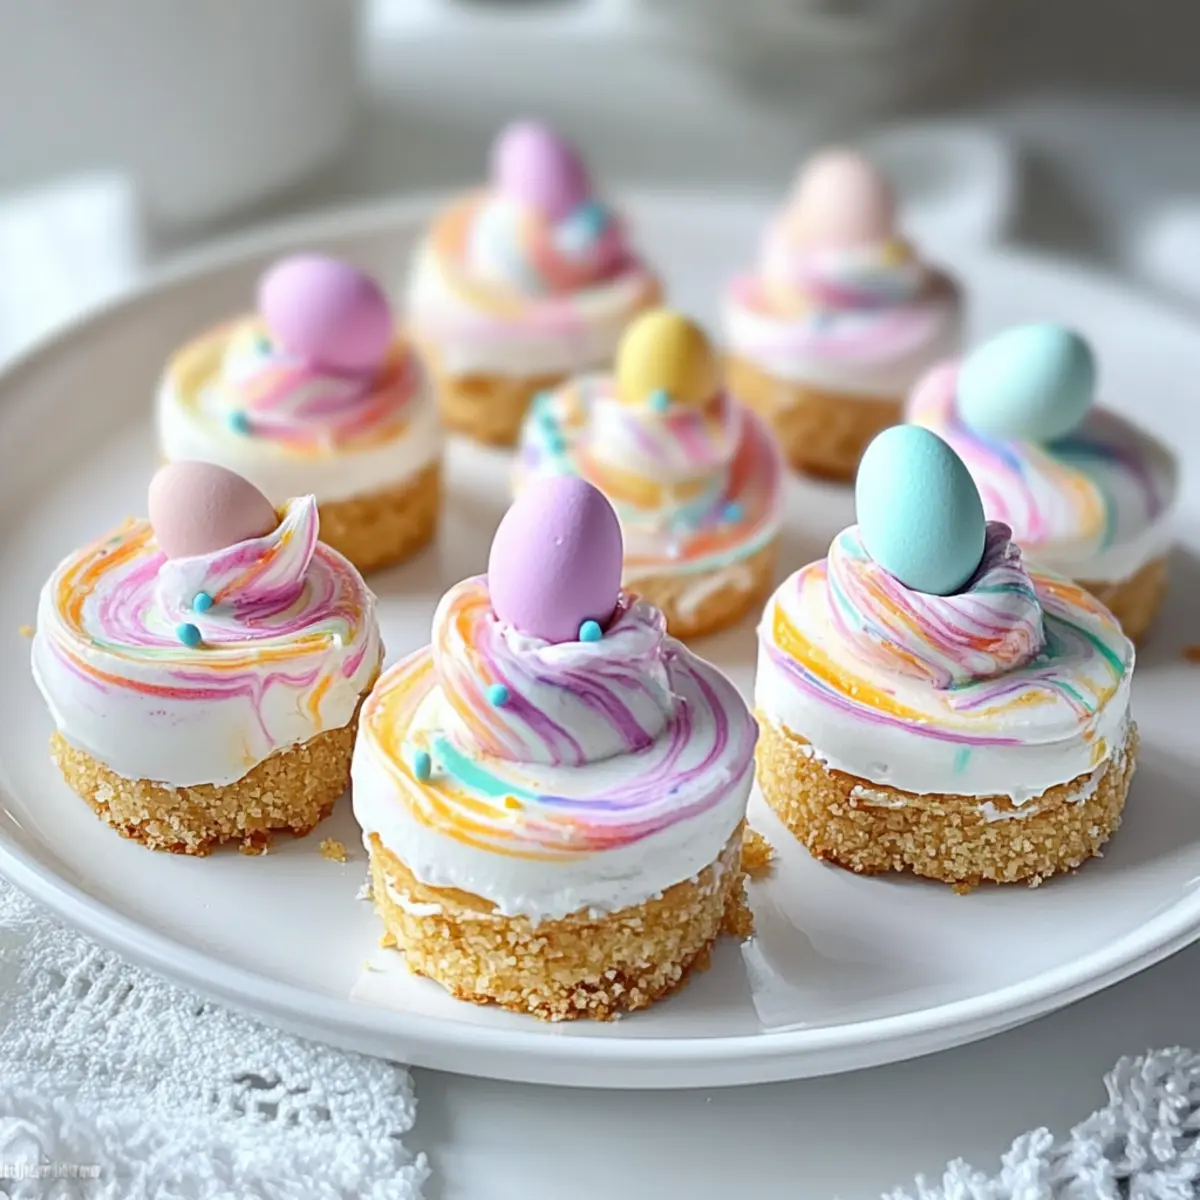
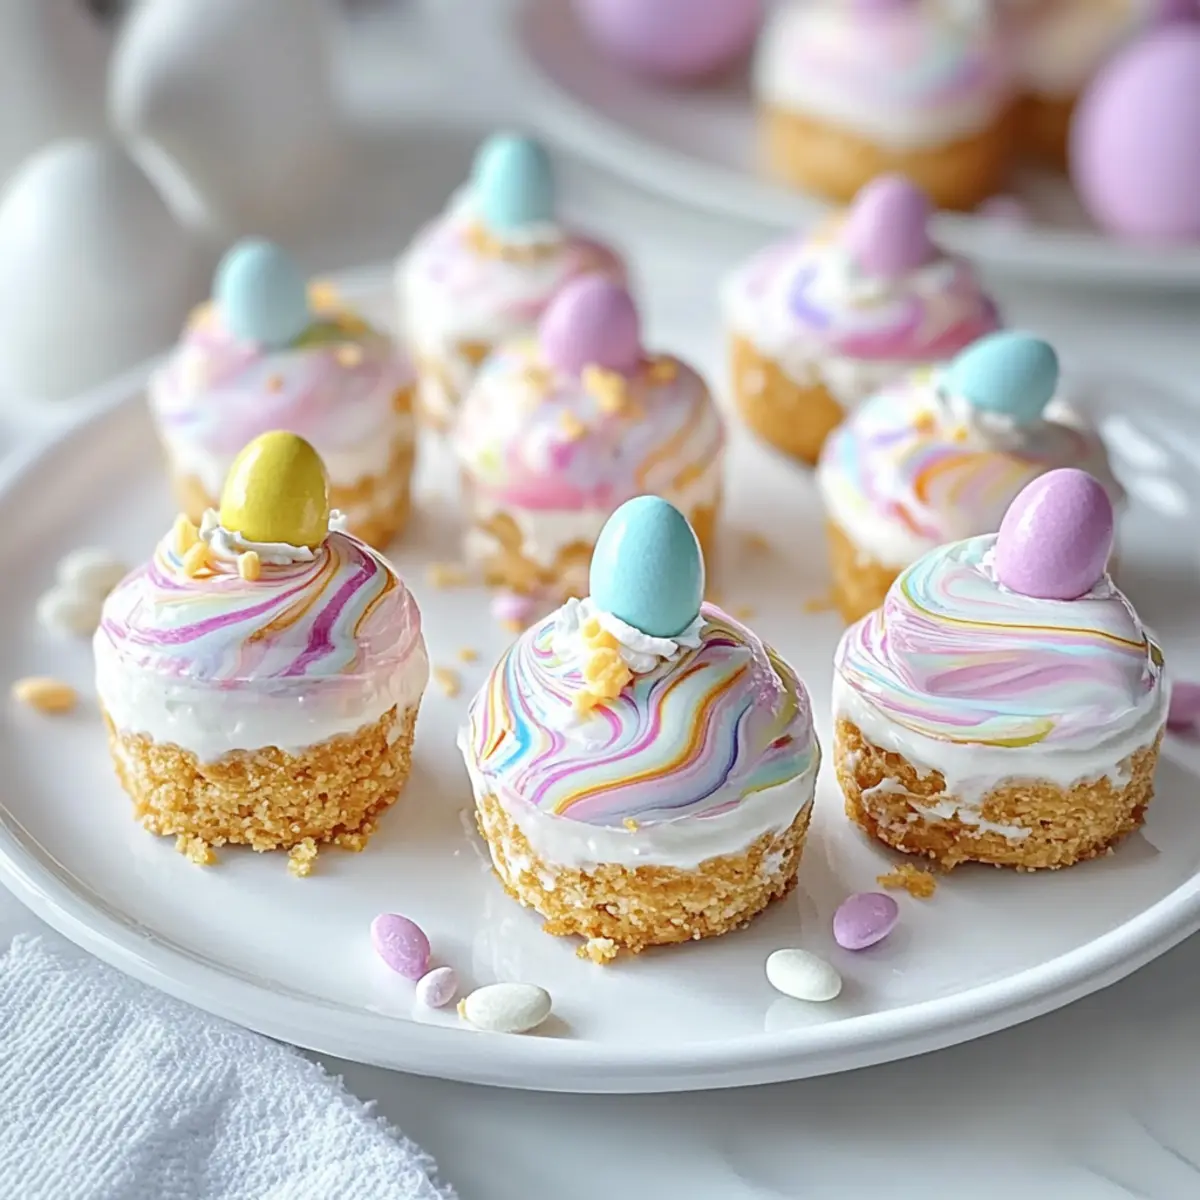
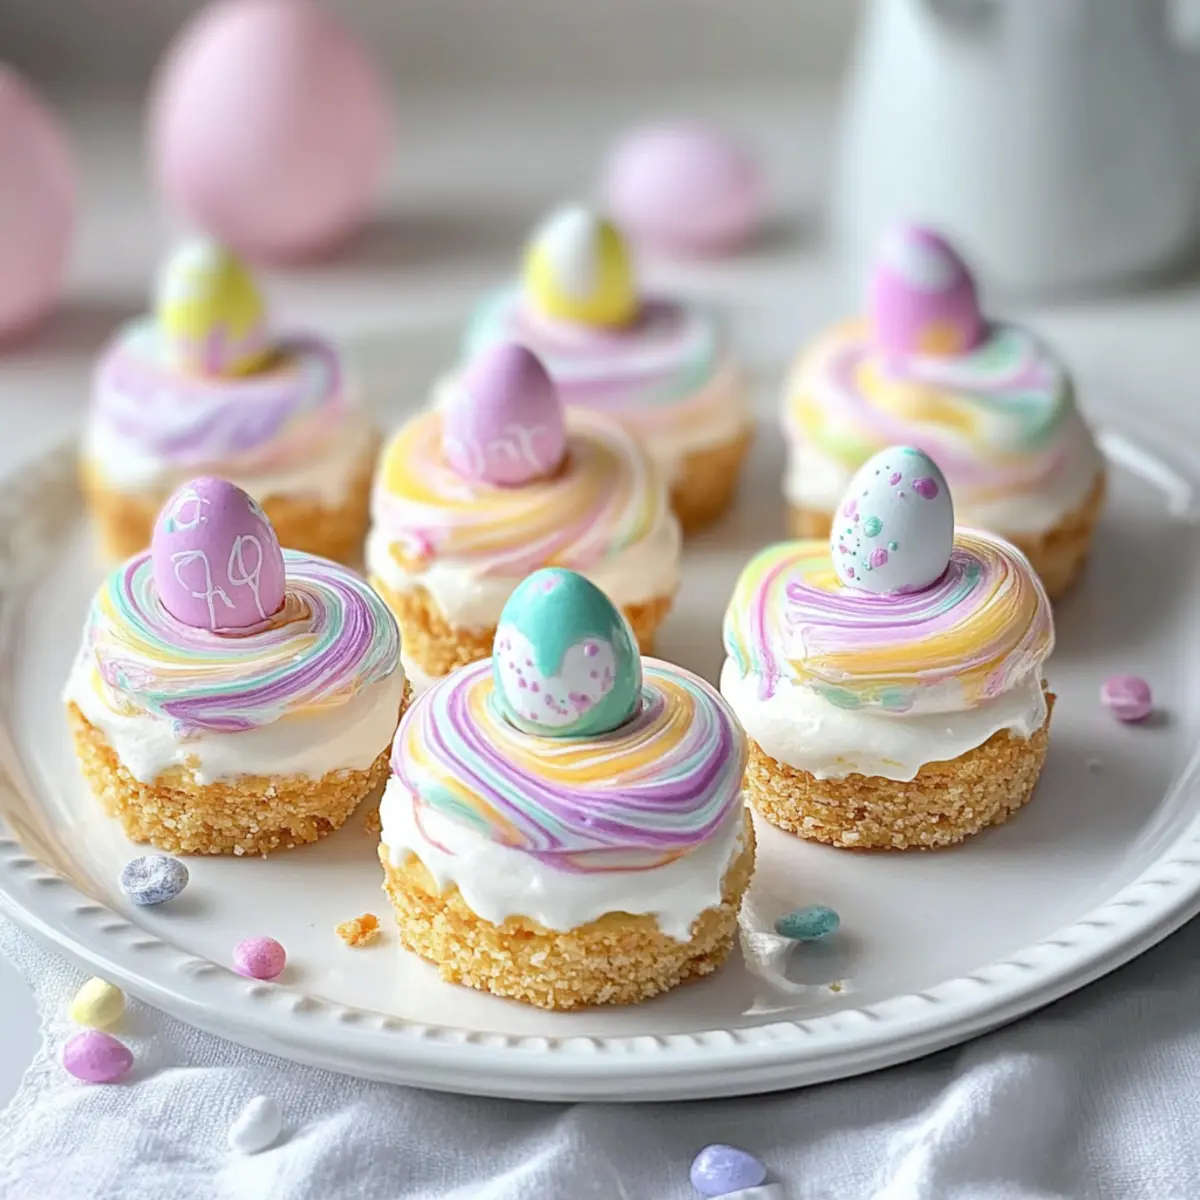
When ready to serve, remove the cheesecakes from the molds and top each one with a dollop of whipped cream, a few mini candy eggs, and colorful sprinkles for added flair. This final step elevates your Easter No-Bake Mini Cheesecakes, making them a delightful treat for your springtime celebrations.
What to Serve with Easter No-Bake Mini Cheesecakes?
Pair these delightful mini cheesecakes with complementary dishes that create a memorable springtime feast.
- Fresh Berries: Their tartness contrasts beautifully with the sweet cheesecakes, adding a juicy freshness to each bite. Think strawberries, blueberries, and raspberries for a vibrant medley.
- Minty Fruit Salad: Refreshing and light, a fruit salad with mint enhances the spring theme and cleanses the palate between bites. Use seasonal fruits like watermelon, pineapple, and kiwi for a colorful option.
- Chocolate-Covered Strawberries: Sweet and indulgent, they add a touch of luxury. The rich chocolate pairs beautifully with the creamy filling of the cheesecakes.
- Iced Tea or Lemonade: Refreshing beverages like classic iced tea or sparkling lemonade complement the sweetness of the cheesecakes, making them a perfect accompaniment for outdoor gatherings.
- Mini Quiches: Serve these savory pastries to balance the sweetness of the mini cheesecakes. They offer a delightful contrast in flavor and texture, creating a well-rounded brunch experience.
- Mimosas: These bubbly cocktails add a celebratory touch to any gathering and their citrus notes blend nicely with the creamy cheesecakes. Perfect for elevating your festive brunch!
Expert Tips for Easter No-Bake Mini Cheesecakes
• Room Temperature Cream Cheese: Ensure your cream cheese is softened to room temperature before mixing to achieve a smooth, lump-free filling.
• Whip Cream Separately: Whipping the heavy cream separately and folding it into the mixture helps maintain the airy texture. Don’t rush this step!
• Avoid Overmixing: When combining the whipped cream with the cheesecake filling, fold gently to prevent deflating the mixture, ensuring your Easter No-Bake Mini Cheesecakes are light and fluffy.
• Chill Time is Essential: Allow the cheesecakes to chill in the refrigerator for at least 4 hours or overnight for the best texture and flavor development.
• Creative Decorations: Don’t hesitate to experiment with natural food coloring or different toppings; it adds a personal touch and enhances the visual appeal of your treats.
Make Ahead Options
These Easter No-Bake Mini Cheesecakes are ideal for those busy days when you want to treat your family without spending all day in the kitchen! You can prepare the crust and filling up to 24 hours in advance; simply refrigerate the crust until you’re ready to add the filling. To maintain their delightful texture and taste, make sure to cover them securely. When it’s time to serve, just fill the chilled crusts with the cheesecake mixture and allow them to set for a minimum of 4 hours or overnight for the best results. Decorate right before serving to ensure they look as appealing as they taste!
How to Store and Freeze Easter No-Bake Mini Cheesecakes
Fridge: Store your Easter No-Bake Mini Cheesecakes in an airtight container in the refrigerator for up to 3 days. This will help maintain their creamy texture and vibrant colors.
Freezer: For longer storage, freeze the cheesecakes without toppings in a freezer-safe container for up to 3 months. Thaw in the fridge before decorating and serving.
Reheating: There’s no need to reheat these treats; simply let them sit at room temperature for a few minutes before enjoying for the best flavor and texture.
Wrapping: If storing individually, wrap each cheesecake tightly in plastic wrap and then place them in a container to prevent freezer burn while preserving the easter festivities charm.
Easter No-Bake Mini Cheesecakes Variations
Feel free to get creative with these delightful cheesecake treats; they’re all about personalization and flavor!
- Chocolate Crust: Swap the graham cracker crust with crushed chocolate cookies for a decadent twist. The rich chocolate flavor will beautifully complement the creamy filling.
- Fruit-Infused Filling: Incorporate fresh fruit purée, like strawberry or mango, to add a natural sweetness and vibrant color. Your mini cheesecakes will burst with tempting fruity goodness.
- Nutty Flavor: Mix in finely chopped nuts, such as pecans or almonds, into the crust for added texture and a delightful crunch. This gives your dessert a lovely nutty undertone.
- Plant-Based Option: Use vegan cream cheese and coconut cream instead of heavy whipping cream to make a completely dairy-free dessert. It’s just as creamy and delectable!
- Different Extracts: Experiment with flavored extracts, like raspberry or hazelnut, to change the cheesecake’s flavor profile. The options are endless—get inspired by your favorite desserts!
- Spiced Cheesecake: Incorporate spices like cinnamon or nutmeg for a warming note. These spices can transport your cheesecake into a cozy dessert territory.
- Mini Cheesecake Pops: Turn your cheesecakes into fun pops! After setting, dip them in chocolate and insert a stick for a delightful handheld treat. Perfect for parties!
- Lemon Curd Swirl: Add a dollop of lemon curd before chilling for a tangy surprise in every bite. This twist brings a burst of citrus freshness that captures the essence of spring.
Looking for more inspirations to satisfy your sweet tooth? Don’t forget to check out our scrumptious Banana Split Cake and luscious Raspberry Chocolate Mousse Cups!
Easter No-Bake Mini Cheesecakes Recipe FAQs
How do I choose the right ripeness for the ingredients?
Absolutely! For the best flavor and texture, ensure your cream cheese is at room temperature and softened, which allows it to blend smoothly. The heavy whipping cream should be cold for whipping to stiff peaks while the lemon juice should be fresh for optimal brightness in flavor. If using fruit for topping, choose fruits that are ripe but firm, avoiding overly soft ones.
How should I store the Easter No-Bake Mini Cheesecakes?
To keep your cheesecakes fresh, store them in an airtight container in the refrigerator. They are best consumed within 3 days to maintain their creamy texture and vibrant colors. Just make sure to cover them well to prevent drying out or absorbing other flavors from the fridge.
Can I freeze these mini cheesecakes, and if so, how?
Absolutely! To freeze your Easter No-Bake Mini Cheesecakes, place them in a freezer-safe container without toppings for up to 3 months. When you’re ready to enjoy, simply thaw them in the refrigerator overnight. This way, you can have a delightful dessert ready to go whenever you want!
What should I do if my whipped cream isn’t reaching stiff peaks?
Very common! If your whipped cream isn’t achieving stiff peaks, ensure that your bowl and beaters are entirely clean and chilled. Also, be sure you’re using heavy whipping cream—it has a higher fat content that helps create that beautiful fluffy texture. If it’s still not working, try reducing your mixing speed to medium and beat until you reach the desired consistency.
Are there any dietary considerations for pets or allergies?
Definitely! These Easter No-Bake Mini Cheesecakes contain dairy ingredients and sugar, which aren’t safe for pets, so keep them out of reach. For allergies, be cautious of ingredients like cream cheese, and consider using dairy-free alternatives for those who are lactose intolerant. If anyone has a nut allergy, ensure that the toppings you choose and any substitutes are also nut-free.
Can I customize the toppings or flavors for these cheesecakes?
Very much so! Feel free to switch up the toppings with fresh fruits like berries or a drizzle of fruit puree for a twist on flavor. You could also experiment with different extracts, such as almond or raspberry, in the filling for a fun flavor profile. The possibilities are endless to make these Easter No-Bake Mini Cheesecakes truly your own.
Easter No-Bake Mini Cheesecakes for Springtime Celebrations
Ingredients
Equipment
Method
- Step 1: Prepare the Molds - Line a muffin tin or silicone mini cheesecake molds with cupcake liners.
- Step 2: Make the Crust - Combine graham cracker crumbs, sugar, and melted butter; press into molds and chill for 15 minutes.
- Step 3: Prepare the Cheesecake Filling - Beat cream cheese until smooth; add powdered sugar, vanilla, and lemon juice.
- Step 4: Whip the Cream - Whip heavy cream to stiff peaks and fold into the cream cheese mixture.
- Step 5: Fill the Crusts - Spoon or pipe cheesecake filling into chilled crusts and smooth the tops.
- Step 6: Create the Topping - Melt white chocolate, mix with food coloring, and create designs on each cheesecake.
- Step 7: Chill the Cheesecakes - Refrigerate filled cheesecakes for at least 4 hours.
- Step 8: Final Touches - Remove from molds, top with whipped cream, mini eggs, and colorful sprinkles.
Leave a Reply