
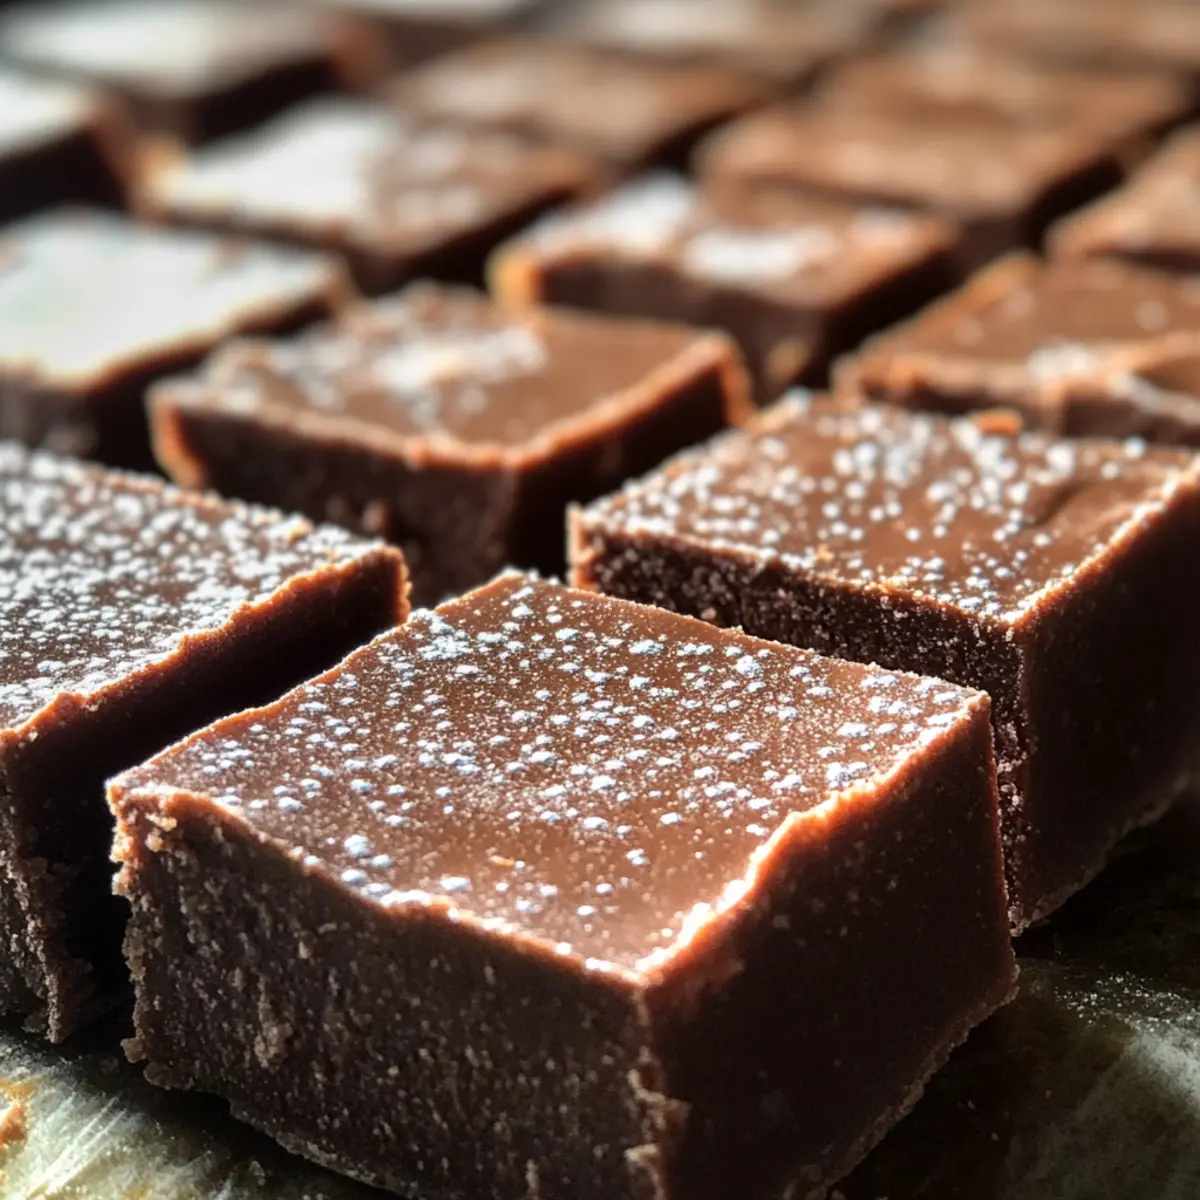
As I rummaged through my pantry one rainy afternoon, I stumbled upon a treasure trove of chocolate and some simple ingredients just begging to be transformed into a delicious treat. That’s how my Easy Fudge Recipe Without Condensed Milk was born! This recipe not only satisfies those relentless chocolate cravings but also does so with minimal fuss. With just a handful of pantry staples and no sweetened condensed milk in sight, you can whip up a rich, creamy fudge in mere minutes. It’s the perfect indulgent dessert that’s sure to impress, whether you’re chatting with friends over coffee or seeking a quick snack after a long day. Ready to dive into this delightful, dairy-free confection? Let’s create something sweet together!
Why is this fudge recipe a must-try?
Simplicity at its Core: This fudge recipe includes only five basic ingredients, making it super easy for anyone to try their hand at homemade treats.
Dairy-Free Delight: Perfect for those with dietary restrictions, you can enjoy creamy fudge without any dairy.
Quick Preparation: Ready in minutes, this recipe is ideal for last-minute cravings or unexpected guests.
Versatile Variations: Use different chocolates or add-ins like nuts or sea salt for a personal touch, much like my Baked Teriyaki Salmon showcasing variety.
Impressive Crowd-Pleaser: Whether served at a gathering or as a comforting after-dinner treat, this fudge is sure to wow your family and friends!
Get your mixing bowl ready and let’s make some magic happen in the kitchen!
Fudge Recipe Without Condensed Milk Ingredients
• Let’s dive into the essential components that make this fudge a delightful treat!
For the Fudge Base
- Dark Chocolate – Rich in flavor, this is the core chocolate component for a decadent taste; feel free to substitute with chocolate chips if you prefer.
- Butter – This adds creaminess and helps bind everything together; dairy-free butter works just as well for a vegan option.
- Milk – Essential for moisture and a smooth texture; any dairy-free milk, such as almond or oat, can be used.
- Powdered Sugar – Provides sweetness and thickness to the fudge; avoid granulated sugar as it will change the fudge’s texture.
- Vanilla Extract – This enhances the fudge’s flavor; if needed, you can omit it, but it’s recommended for the best taste.
Enjoy creating your delicious fudge recipe without condensed milk!
Step‑by‑Step Instructions for Fudge Recipe Without Condensed Milk
Step 1: Melt the Chocolate and Butter
In a microwave-safe bowl, combine equal parts dark chocolate and butter. Heat the mixture in the microwave for about 30 seconds, then stir well. If not fully melted, continue heating in 15-second intervals, stirring between each, until the mixture is smooth and completely combined. This rich blend forms the luscious base for your fudge recipe without condensed milk.
Step 2: Incorporate the Milk
Once the chocolate and butter are smooth, slowly pour in your choice of dairy-free milk while stirring constantly. Aim for a creamy consistency, ensuring that the milk is fully integrated into the chocolate mixture. This step not only adds moisture but also enhances the fudge’s melt-in-your-mouth texture, setting the foundation for a delightful fudge experience.
Step 3: Sweeten with Powdered Sugar
Gradually sift in the powdered sugar while continuing to mix vigorously. Use a spatula or whisk to blend until the mixture is thick and smooth. Be patient as you combine—the goal is to achieve a uniform texture without any lumps. This sweetness is key to balancing the rich chocolate in your fudge recipe without condensed milk!
Step 4: Add the Vanilla Extract
Stir in the vanilla extract, which will elevate the flavor profile of your fudge. Mix thoroughly to incorporate the extract evenly, ensuring every bite bursts with delightful taste. This aromatic addition complements the chocolate and brings out deeper flavors in the fudge recipe, creating a treat that’s irresistible.
Step 5: Pour into Baking Dish
Line an 8×8-inch baking dish with parchment paper for easy removal. Carefully pour the fudge mixture into the prepared dish, using a spatula to spread it out evenly. Tap the dish lightly on the counter to eliminate air bubbles and create a smooth surface. This level of care helps your fudge look as good as it tastes once set.
Step 6: Refrigerate to Set
Place the baking dish in the refrigerator and allow the fudge to chill for at least 2 hours, or until fully firm. The cooling process is crucial, as it transforms the luscious batter into a sliceable confection. Once set, the fudge will have a velvety finish, making it the perfect indulgent treat for any occasion.
Step 7: Cut and Serve
After chilling, remove the fudge from the dish using the parchment paper as a lift. Transfer it to a cutting board and slice into squares or bars, as desired. This easy fudge recipe without condensed milk is now ready to be shared or enjoyed alone—perfect for snacking or serving with coffee to impress family and friends!
How to Store and Freeze Fudge
Fridge: Store leftover fudge in an airtight container in the refrigerator for up to 1 week. This will help maintain its rich, creamy texture and delicious flavor.
Freezer: For longer storage, freeze the fudge for up to 3 months. Wrap it tightly in plastic wrap, then place it in a freezer-safe container to prevent freezer burn.
Reheating: To enjoy the fudge again, simply let it thaw in the fridge overnight. You can also microwave individual pieces for a few seconds to slightly soften them before serving.
Room Temperature: If serving the fudge right away, keep it at room temperature for up to 2 hours. Don’t let it sit out longer than this to ensure it stays fresh and delicious.
Fudge Recipe Without Condensed Milk Variations
Feel free to get creative with this rich fudge recipe, adding your own personal touch for an even more delightful experience!
-
Milk Chocolate: Swap dark chocolate for milk chocolate if you prefer a sweeter fudge. This option is especially loved by kids!
-
Nutty Addition: Fold in chopped nuts like walnuts or pecans for an extra crunch. The contrast of textures will make each bite more delightful.
-
Fruit Fusion: Dried fruits such as cranberries or cherries can add a pop of flavor to your fudge. They also contribute a chewy texture that contrasts beautifully with the creamy base.
-
Sea Salt Sprinkle: Dust the top of your fudge with a pinch of sea salt before it sets for a delicious salty-sweet finish. This simple addition could elevate your fudge like my Gyoza Homemade Japanese.
-
Extra Creaminess: For those who want an even creamier fudge, add a tablespoon of coconut cream during the mixing process. You’ll love the tropical twist it brings.
-
Flavored Extracts: Mix in a splash of mint or almond extract for a unique flavor twist. Just a little goes a long way!
-
Spicy Kick: Want some heat? A dash of cayenne pepper can give your fudge an unexpected kick. It’s a fun twist that can keep everyone guessing!
-
Chocolate Drizzle: Melt some additional chocolate and drizzle it over the set fudge for a decorative touch. It makes for a stunning presentation that will impress family and friends, much like your classic Baked Swordfish.
Now, roll up your sleeves and let your creativity shine through!
Expert Tips for Easy Fudge Success
-
Use Quality Chocolate: Choose high-quality dark chocolate for the best flavor. Poor-quality chocolate can lead to a less rich fudge recipe without condensed milk.
-
Stir Constantly: When melting chocolate and butter, stir continuously to prevent burning. A consistent stir will ensure a smooth mixture.
-
Correct Milk Choice: Ensure you’re using a dairy-free milk that complements the chocolate flavor, such as almond or oat milk. Avoid non-dairy milks with strong flavors that might overwhelm your fudge.
-
Thicker Fudge: If you prefer a firmer texture, leave the fudge in the fridge for an extra hour or so. Patience will lead to a perfect texture!
-
Mix Well: Be thorough when blending in the powdered sugar. You want a lump-free consistency for a dreamy fudge experience.
-
Storage Matters: Keep leftover fudge in an airtight container in the fridge to maintain its softness and rich flavor. Enjoy your fudge recipe without condensed milk for days!
What to Serve with Easy Fudge Recipe Without Condensed Milk
Indulge in a delightful meal by pairing your creamy fudge with these tasty companions.
-
Fresh Berries: Juicy strawberries and raspberries offer a refreshing contrast to the rich fudge, balancing sweetness with a slight tartness. Their natural juices can even help cleanse your palate between decadent bites.
-
Vanilla Ice Cream: A scoop of classic vanilla ice cream alongside your fudge creates a delightful creaminess, elevating your dessert to a double treat. The cold, smooth texture beautifully complements the thick fudge, offering a heavenly experience.
-
Decadent Coffee: A cup of rich coffee enhances the chocolate flavors of your fudge. The slight bitterness from the brew pairs perfectly, bringing out the fudge’s sweetness and adding depth to each bite.
-
Nutty Trail Mix: A handful of nutty mix brings a satisfying crunch to the table. The contrast between creamy fudge and crunchy nuts makes for an inviting snack, while dried fruits add a hint of natural sweetness.
-
Dairy-Free Hot Chocolate: For a cozy treat, a warm cup of dairy-free hot chocolate can harmonize wonderfully with your fudge. The combination of chocolate flavors makes for a luxurious experience that will warm your heart.
-
Chocolate Dipped Pretzels: The salty crunch of chocolate-dipped pretzels creates a delightful contrast to the smooth fudge. Each bite delivers a sweet and savory balance that will keep you coming back for more.
-
Almond Milkshake: This creamy, dairy-free shake can elevate your fudge experience to an entirely new level. Its smooth texture and nutty flavor create an indulgent pairing that’s perfect for a special occasion.
Make Ahead Options
These Easy Dairy-Free Fudge Recipe Without Condensed Milk is ideal for meal prep, allowing you to satisfy those chocolate cravings ahead of time! You can prepare the fudge mixture and refrigerate it for up to 24 hours before pouring it into the baking dish. Simply melt and mix the ingredients, then follow through with all steps until pouring, and cover the mixture tightly to maintain freshness. When you’re ready to enjoy the fudge, just pour the mixture into the prepared dish, smooth it out, and refrigerate until set. This way, you’ll have delicious, homemade fudge ready with minimal effort during busy weeknights or unexpected gatherings!
Fudge Recipe Without Condensed Milk Recipe FAQs
What type of chocolate should I use for the fudge?
I recommend using high-quality dark chocolate for the richest flavor, but you can definitely substitute with chocolate chips if you prefer a sweeter option. Just keep in mind that using milk chocolate may require you to adjust the sugar level since it’s already sweeter.
How do I store leftover fudge?
To keep your fudge fresh, store it in an airtight container in the refrigerator for up to 1 week. This will help maintain its delicious, creamy texture. If you’re looking to keep it for longer, slice it into squares, wrap each piece in plastic wrap, and place in a freezer-safe container for up to 3 months.
Can I freeze the fudge?
Absolutely! Freezing is a great option for preserving your fudge. Wrap it tightly in plastic wrap, then place the wrapped fudge in a freezer-safe container to avoid freezer burn. When you’re ready to enjoy it again, thaw it overnight in the refrigerator, or microwave individual pieces for just a few seconds to soften them.
What should I do if my fudge is too sticky?
If your fudge turns out too sticky, don’t worry! You can add a little more powdered sugar to adjust the texture. If it’s soft but not too sticky, simply refrigerate it for a longer period to help firm it up. Aim for extra chilling for about 30 minutes, checking until it reaches your desired consistency.
Are there any dietary considerations I should keep in mind?
This fudge recipe without condensed milk is naturally dairy-free, making it suitable for those with lactose intolerance. However, if you’re preparing it for guests, always check for any nut allergies if you decide to add nut toppings, and ensure your dairy-free milk choices are free from other allergens if necessary.
Dairy-Free Fudge Recipe Without Condensed Milk to Melt For
Ingredients
Equipment
Method
- In a microwave-safe bowl, combine equal parts dark chocolate and butter. Heat for 30 seconds, then stir. Continue heating in 15-second intervals until smooth.
- Slowly pour in your choice of dairy-free milk while stirring constantly until creamy and well incorporated.
- Gradually sift in powdered sugar, mixing vigorously until thick and smooth. Ensure a lump-free consistency.
- Stir in vanilla extract until evenly mixed to enhance flavors.
- Line an 8x8-inch baking dish with parchment paper. Pour in the mixture, spreading it out evenly. Tap to eliminate air bubbles.
- Refrigerate for at least 2 hours until fully firm.
- Remove the fudge using parchment paper, transfer to a cutting board, and slice into squares or bars.
Leave a Reply