
As the days get shorter and shadows grow longer, thoughts of Halloween creep in—like gooey gummy worms peeking out of a dirt cup. This year, let’s embrace the thrill of the spooky season with 12 Halloween desserts that are not just delicious, but also visually stunning! From no-bake options to festive decadence, these creations are sure to impress your guests and add a playful twist to any autumn gathering. With simplicity at their core, you can whip up these delightful treats without spending hours in the kitchen, making them perfect for both busy weekdays and spooky celebrations. Are you ready to discover which frighteningly fun dessert will steal the show this Halloween?
Why Love These Spooky Treats?
Simplicity at its core: Preparing these Halloween Dirt Cups requires minimal effort, so you can focus on fun rather than fuss.
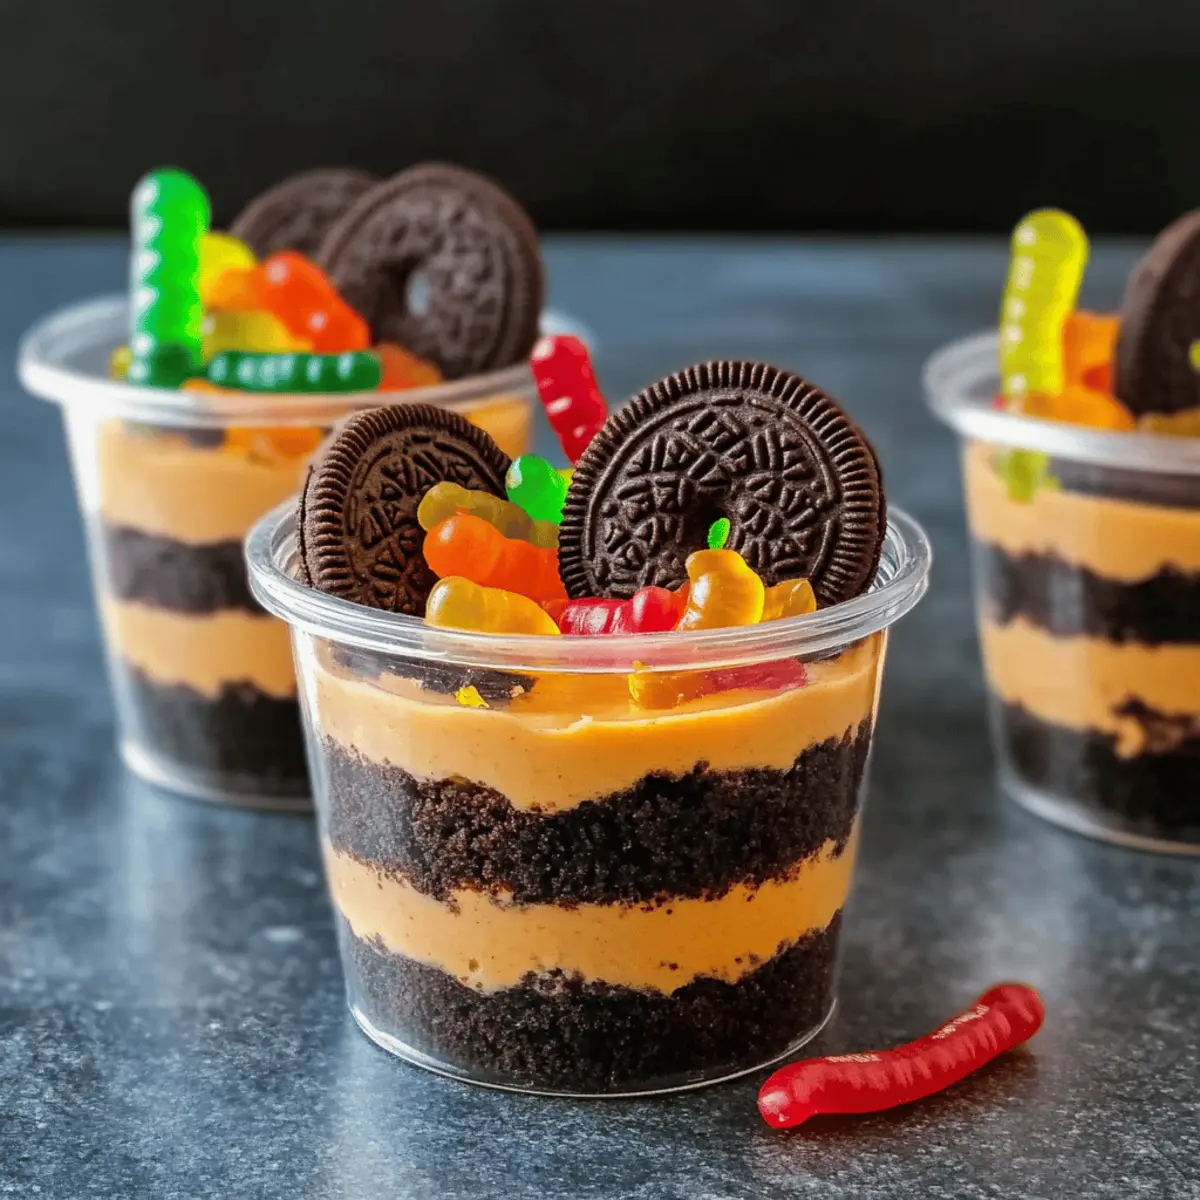
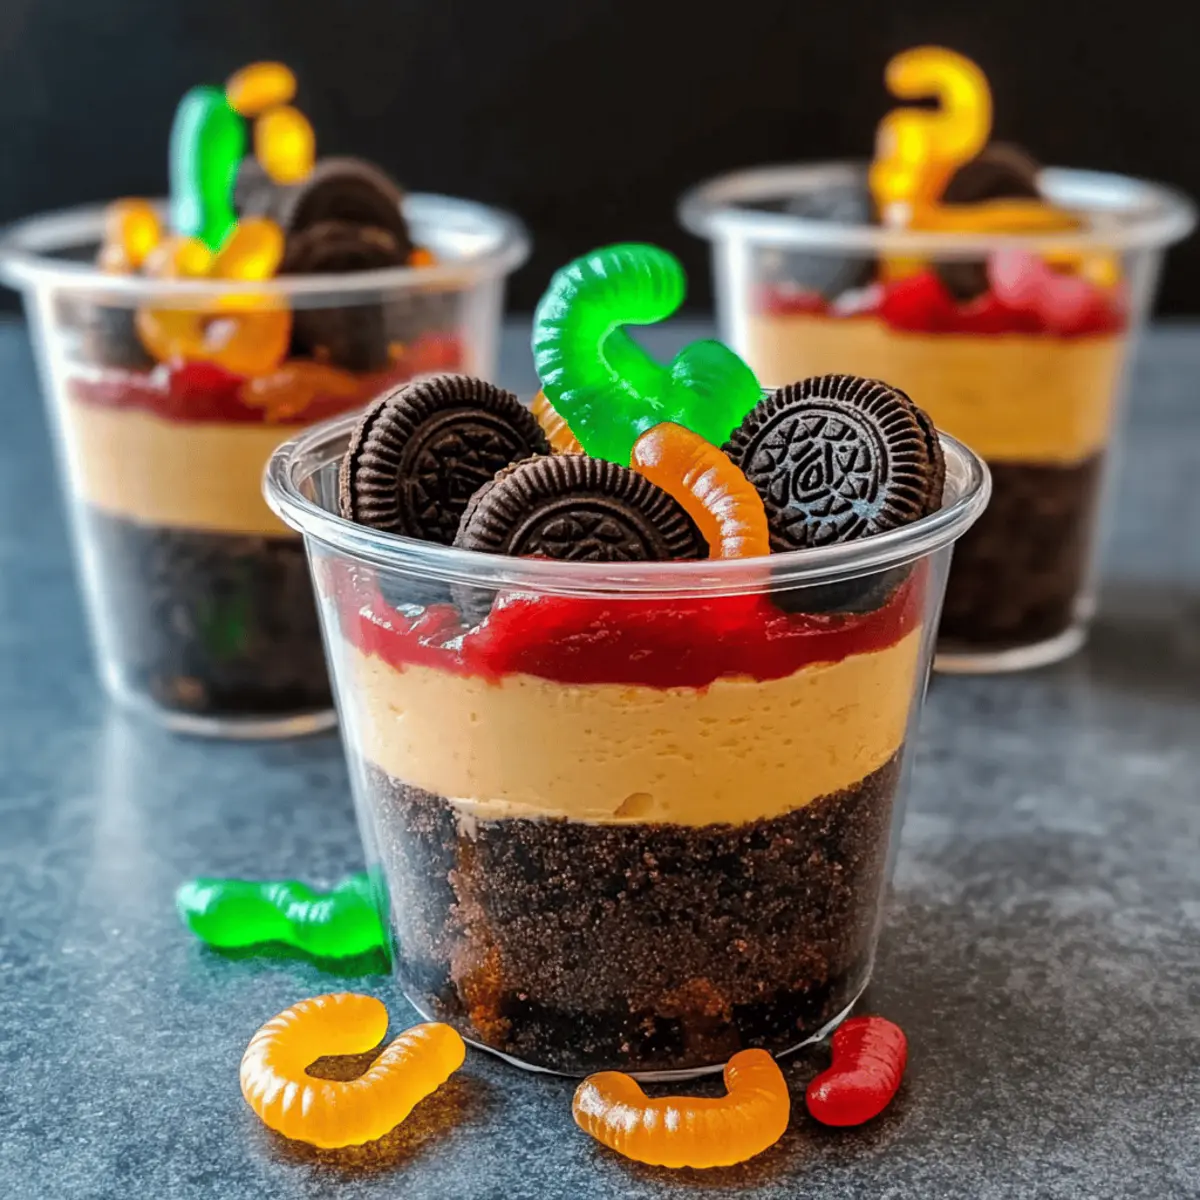
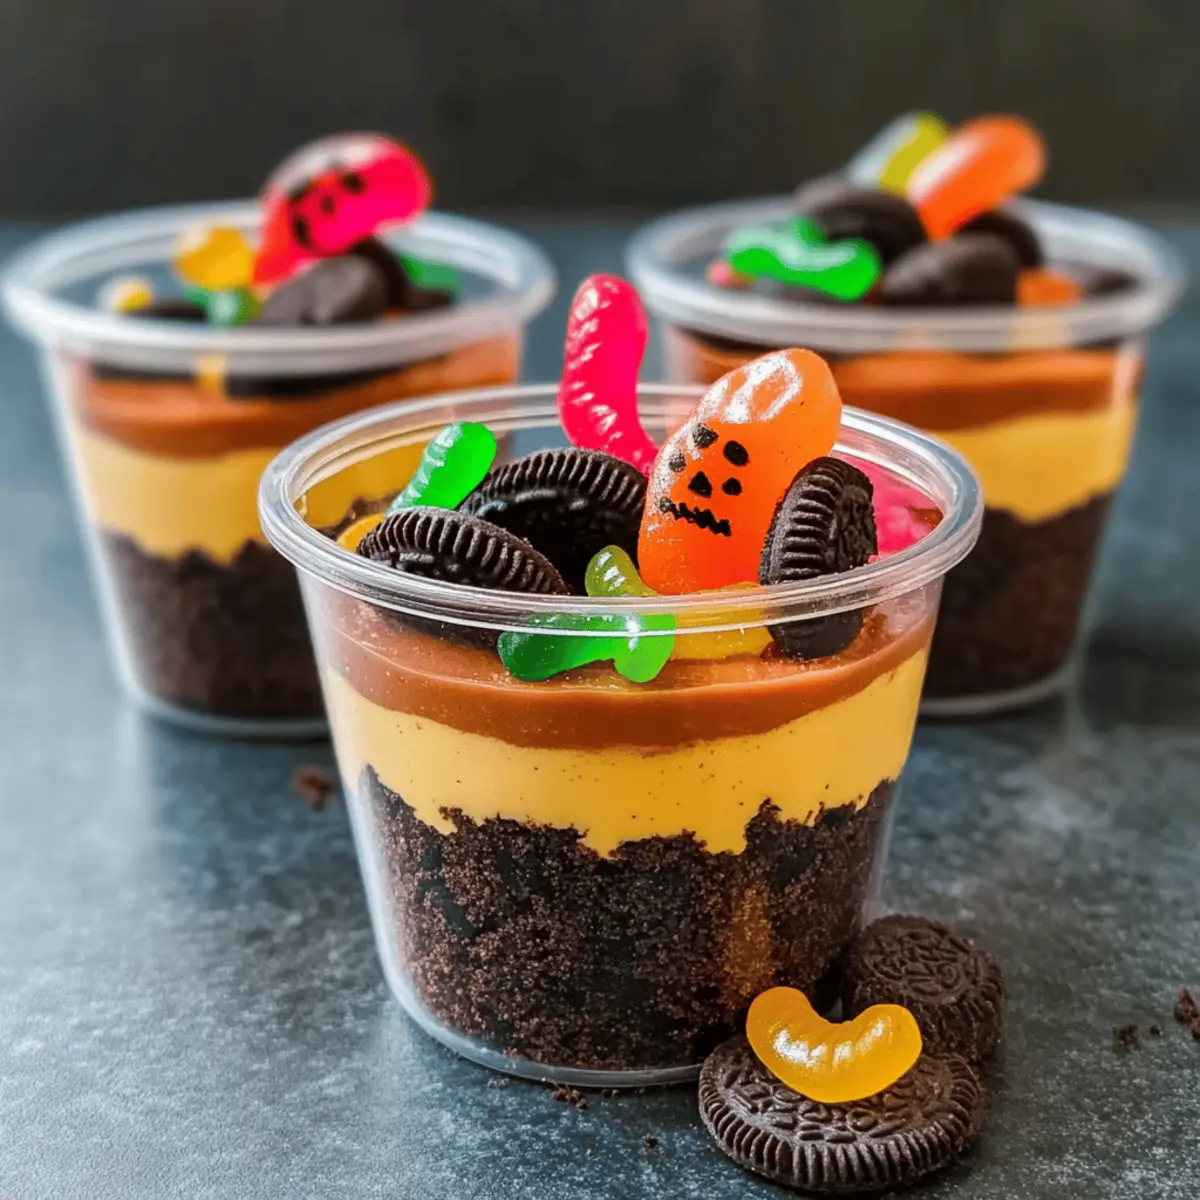
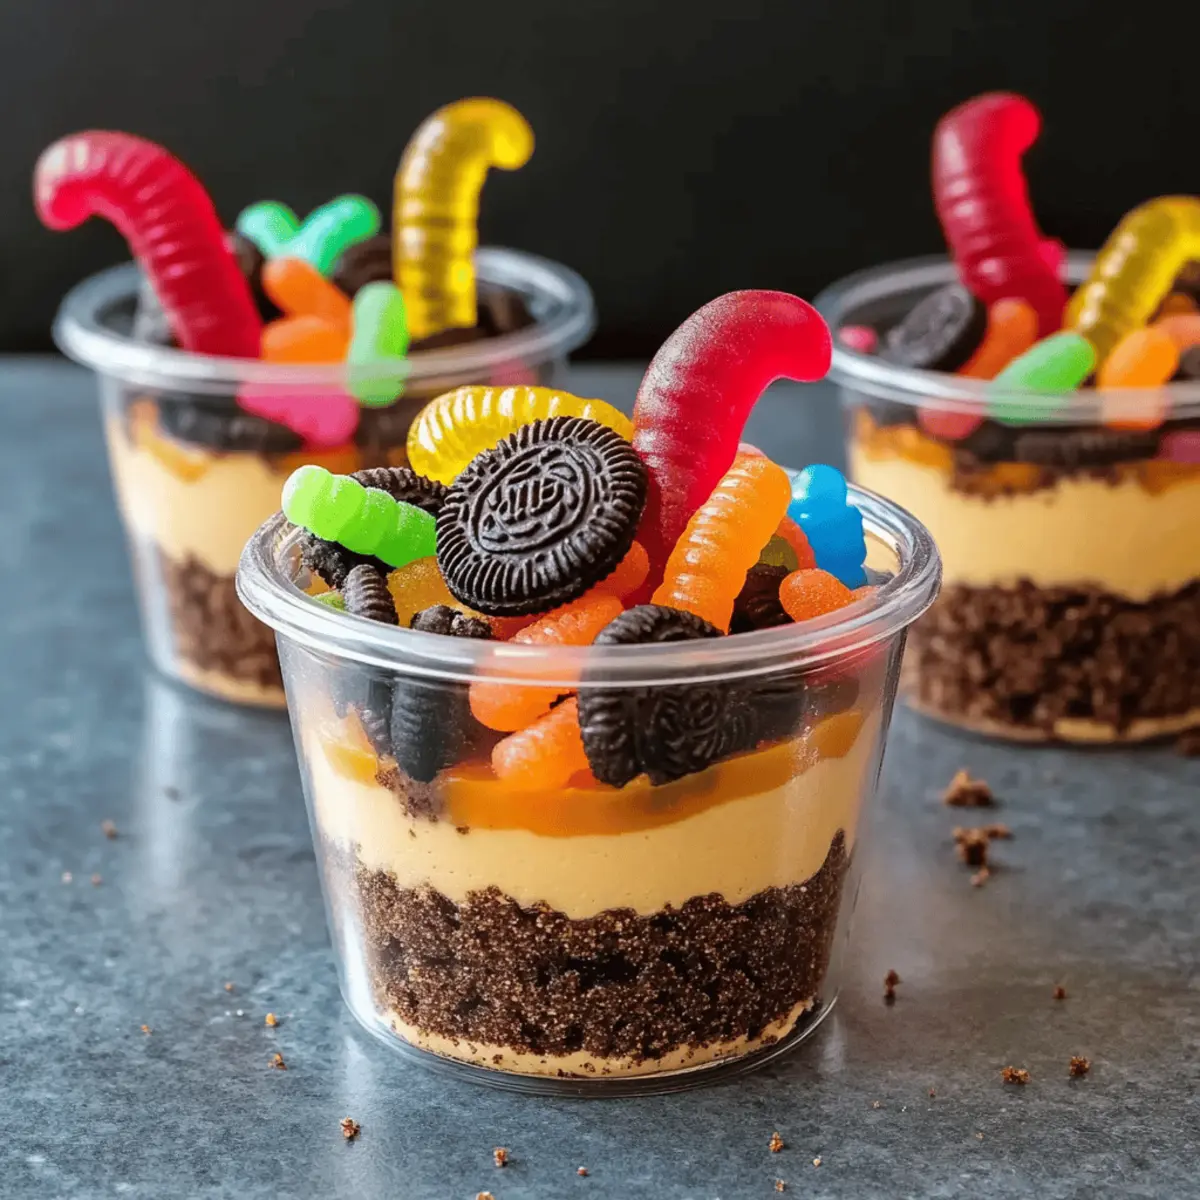
Visually Striking: With layers of creamy pudding, crushed Oreos, and colorful gummy worms, these delights are as fun to look at as they are to eat!
No-Bake Option: Perfect for when you’re short on time—just assemble and chill for a dreamy dessert experience.
Crowd-Pleasing: A hit with kids and adults alike, these playful treats will be the star of any Halloween party!
Versatile: Personalize them easily with different toppings or flavors, just like our Marry Bake Cups or Breakfast Granola Cups for year-round creativity!
Halloween Dirt Cups Ingredients
• Get ready to mix up some spooky sweetness!
For the Base
- Chocolate Pudding – Adds rich creaminess to dirt cups; consider using instant pudding for quicker prep.
- Crushed Oreos – Mimics dirt texture for layering; regular or gluten-free varieties work well.
For the Topping
- Gummy Worms – Fun, colorful toppings for dirt cups; can substitute with chocolate-covered pretzels for a twist.
- Cream Cheese – Essential for cheesecake mixtures; provides tanginess and structure—Greek yogurt can be used for a lighter alternative.
For Decoration
- Candy Melts – Used for creative designs and decorations; substitute with melted chocolate if preferred.
- Whipped Cream – A delightful addition on top; allows you to achieve a fluffy, ghostly effect.
Optional Fun Add-ins
- Chocolate Sprinkles – Perfect for an extra layer of crunch; can be mixed in or sprinkled on top for added flair.
- Mini Halloween Candies – Fun small candies like pumpkin-shaped chocolates can be used to enhance your decorations.
With these delicious ingredients ready, you’ll be all set to create your own ghoulishly delightful Halloween Dirt Cups!
Step‑by‑Step Instructions for Halloween Dirt Cups
Step 1: Prepare the Chocolate Pudding
Start by whisking together your chocolate pudding mix with cold milk in a large bowl, following the package instructions to ensure the perfect creamy texture. Once combined, let the pudding chill in the refrigerator for about 5 minutes, or until it starts to firm up slightly. This will create a rich, luscious base for your Halloween Dirt Cups.
Step 2: Crush the Oreos
While the pudding chills, open a package of Oreos and place them in a resealable plastic bag. Use a rolling pin or your hands to crush the cookies into fine crumbs, resembling dirt. Aim for an even consistency to create visually appealing layers in your dirt cups. Set these crumbs aside, ready to create that signature “dirt” layer once the pudding is prepared.
Step 3: Assemble the Layers
Grab clear dessert cups to show off your spooky layers! Start by spooning a generous layer of chocolate pudding into each cup, filling them about a third of the way. Next, add a layer of crushed Oreos on top, creating the effect of dirt. This process not only looks fantastic but also adds delightful texture with each bite of your Halloween Dirt Cups.
Step 4: Add More Layers
Repeat the layering process by adding another layer of pudding over the crushed Oreos, followed by another layer of cookie crumbs. Continue this layering pattern until your cups are filled, with the last layer being the crushed Oreos on top. The beautiful contrast between the dark cookie crumbs and creamy pudding will make these spooky treats irresistible for your Halloween gathering.
Step 5: Decorate with Gummy Worms
To bring the Halloween spirit alive, take some gummy worms and place them artfully into the top layer of the dirt cups. You can let them dangle over the sides or bury them slightly in the cookie crumbs for a more playful look. This whimsical decoration will not only excite the kids but also add a fun twist to your Halloween Dirt Cups.
Step 6: Chill Before Serving
Once assembled, place your Halloween Dirt Cups back in the refrigerator for at least 30 minutes to allow the flavors to meld and the pudding to set properly. Chilling is essential for achieving the ideal texture, ensuring each cup delivers a cold, creamy delight. Simply remove them from the fridge when it’s time to serve, and watch your guests be enchanted!
Step 7: Final Touches
For an extra festive flair, top each dirt cup with a dollop of whipped cream or additional crushed Oreos before serving. You can also sprinkle some chocolate sprinkles or mini Halloween candies on top for a burst of color and flavor. These delightful finishing touches not only elevate the presentation but also enhance the playful atmosphere of your Halloween-themed dessert table.
Expert Tips for Halloween Dirt Cups
-
Layering Perfectly: Aim for even layers of pudding and crushed Oreos. This will create a visually appealing contrast and ensure a delightful texture in every bite of your Halloween Dirt Cups.
-
Chill Time Matters: Ensure the pudding is properly chilled for at least 30 minutes after assembling. This helps the layers set and meld together beautifully.
-
Avoid Crumb Clumping: When crushing Oreos, ensure they are finely ground. Large pieces can disrupt your layerings and look less neat in your dirt cups.
-
Customize Toppings: Feel free to swap gummy worms with other fun sweets or seasonal candies. This adds a personal touch and keeps your Halloween treats exciting!
-
Presentation Counts: Use clear cups or jars to showcase those beautiful layers. It creates instant visual impact and excitement when guests see your Halloween Dirt Cups.
Halloween Dirt Cups Variations
Feel free to play around with these delightful variations to make your Halloween Dirt Cups even spookier and more exciting!
- Gluten-Free Base: Use gluten-free Oreo cookies to make your dirt cups suitable for everyone without sacrificing flavor.
- Dairy-Free Option: Substitute chocolate pudding with a dairy-free brand and use coconut cream to maintain that creamy texture.
- Nutty Crunch: Add chopped nuts like almonds or pecans between layers for an unexpected delightful crunch.
- Flavor Twist: Replace chocolate pudding with butterscotch or vanilla pudding for a different taste surprise that thrills the palate.
- Fruit Infusion: Mix in some fruit puree between layers for a fruity contrast—think raspberry coulis or pumpkin puree for autumn flair!
- Mini Mummy Cups: Use puffed rice instead of Oreos and top with candy eyes for an adorably spooky twist, reminiscent of mummies set to haunt your party.
- Spicy Kick: Drizzle some spicy chocolate sauce over the top for an exciting heat that contrasts with the sweetness—be bold!
- Seasonal Sprinkles: Swap out gummy worms with pumpkin-shaped candies or edible glitter to ramp up the festive vibe and celebrate the season.
Feel free to explore these variations or combine a few together to create your perfect Halloween dessert! If you’re looking for even more creativity, check out our Black Velvet Halloween treats or whip up some festive Breakfast Granola Cups to start your spooky day off right!
What to Serve with Delightful Halloween Dirt Cups?
Add some magic to your Halloween gathering with these complementary delights that will elevate your spooky dessert experience.
-
Ghostly Meringues: Light and airy, these spooky treats are perfect alongside the rich textures of dirt cups, adding a delicate bite that mesmerizes.
-
Pumpkin Spice Cupcakes: With their warm spices, these cupcakes bring festive flavors that harmonize beautifully with the creamy chocolate pudding base.
-
Apple Cider: A warm or chilled glass of spiced apple cider enhances the seasonal spirit, balancing the sweetness of your dirt cups with its comforting notes.
-
Candy Corn Parfaits: Layered like the dirt cups, these add a pop of vibrant color and texture while delighting guests with a different flavor profile.
-
Chocolate-Caramel Fondue: This inviting dip will have guests mingling and enjoying scrumptious bites, making it a fun interaction alongside the dirt cups.
-
Spooky Cheese Platter: A mix of sharp cheeses, paired with nutty flavors and seasonal fruits, will create a savory contrast against the sweet sensations of your dessert.
-
Whipped Cream: Lightly flavored with vanilla or cinnamon, this dreamy topping can take your dirt cups to the next level, enhancing the overall dessert experience.
These pairings deliver a spectrum of flavors, textures, and festive fun that ensure a memorable Halloween celebration!
Make Ahead Options
These Halloween Dirt Cups are perfect for busy home cooks looking to save time during the spooky season! You can prepare the chocolate pudding and crushed Oreos up to 24 hours in advance. Simply whisk together the pudding mix and milk and store it in the refrigerator, while the crushed Oreos should be kept in an airtight container to maintain their crunchy texture. When you’re ready to serve, layer the pudding and cookie crumbs in your dessert cups, decorate with gummy worms, and allow them to chill for at least 30 minutes before presentation. This way, you ensure your treats remain just as delicious and visually striking, making for a stress-free Halloween celebration!
How to Store and Freeze Halloween Dirt Cups
- Room Temperature: Serve at room temperature for up to 2 hours during your party, but avoid leaving them out longer to maintain freshness.
- Fridge: Store leftover Halloween Dirt Cups in airtight containers for up to 3 days; this helps preserve flavor and texture.
- Freezer: For longer storage, freeze assembled cups for up to 2 months. Let them thaw overnight in the fridge before serving.
- Reheating: Typically, there’s no need to reheat, but if served chilled from the fridge, allow them to sit at room temperature for about 15 minutes before enjoying!
Halloween Dirt Cups Recipe FAQs
How do I choose ripe ingredients for Halloween Dirt Cups?
Absolutely! When selecting ingredients, ensure your cream cheese is fresh and smooth for the best cheesecake mixture. If using fruit-based decorations, choose firm, ripe strawberries for dipping in chocolate. For gummies, opt for vibrant colors without any white powdery residue, which indicates they’ve started to dry out.
How long can I store Halloween Dirt Cups, and what’s the best method?
Your Halloween Dirt Cups can be stored in the refrigerator for up to 3 days in airtight containers. This helps maintain the creamy pudding texture and prevents the Oreos from becoming too soggy. If you layer them in clear cups, simply cover them tightly with plastic wrap to keep them fresh.
Can I freeze Halloween Dirt Cups?
Yes! You can freeze assembled Halloween Dirt Cups for up to 2 months. To freeze, simply cover them tightly with plastic wrap and then a layer of foil to prevent freezer burn. When you’re ready to enjoy them, simply transfer them to the refrigerator the night before to thaw—no need to rush!
What should I do if my pudding doesn’t set properly?
Very good question! If your pudding seems too runny, it might stem from using too much milk or not allowing it to chill long enough. To troubleshoot, try whisking in a tablespoon of cornstarch while heating the milk before mixing. This helps thicken it up. Also, refrigerate for an additional 10-15 minutes and check its texture again.
Are there any dietary considerations I should be aware of for Halloween Dirt Cups?
Definitely! If you’re serving guests with dietary restrictions, consider using gluten-free Oreos and check for any allergies with your gummy worm and candy choices. For a lighter option, you can substitute cream cheese with a dairy-free cream cheese alternative or Greek yogurt to accommodate lactose intolerant guests, ensuring everyone can enjoy these festive treats!
Delightful Halloween Dirt Cups for a Spooky Sweet Treat
Ingredients
Equipment
Method
- Prepare the Chocolate Pudding by whisking together your chocolate pudding mix with cold milk in a large bowl. Chill in the refrigerator for about 5 minutes until it thickens.
- Crush the Oreos in a resealable plastic bag using a rolling pin or your hands until they resemble fine crumbs.
- Assemble the Layers by spooning a layer of chocolate pudding into clear dessert cups followed by a layer of crushed Oreos.
- Continue layering with more pudding and crushed Oreos until the cups are filled, finishing with cookie crumbs on top.
- Decorate with gummy worms on top, allowing them to dangle or sink them into the crumbs.
- Chill the assembled cups in the refrigerator for at least 30 minutes before serving.
- Top with whipped cream or additional Oreos and sprinkle chocolate sprinkles or mini Halloween candies before serving.
Leave a Reply