
You won’t believe how easy it is to say goodbye to store-bought granola once you start making your own at home! This Customizable Homemade Granola recipe is not only a delicious and nutritious choice for breakfast, but it also allows you to tailor every batch to your unique taste buds or dietary needs. With a quick prep time and the ability to mix in flavors like chocolate, coconut, or even a hint of spice, this versatile snack is a perfect alternative when you’re tired of overpriced, sugar-laden options. Plus, it’s budget-friendly, making it accessible to everyone who loves a wholesome homemade touch in their meals. Ready to whip up a crunchy delight that will transform your morning routine? Let’s dive in!
Why is Homemade Granola a Game-Changer?
Customization is at your fingertips! With this homemade granola recipe, you can discover flavor combinations that match your cravings—think chocolate, coconut, or spicy kick. Healthy indulgence is possible, as you control the sweeteners and ingredients. Budget-friendly too! Say goodbye to overpriced store options. Plus, it’s a versatile snack for yogurt, smoothies, or even straight from the jar. Enjoy a satisfying crunch while making it your own! For a delicious breakfast treat, try serving it with yogurt and fresh fruit alongside other favorites like Breakfast Granola Cups or even mix it up in some Pan Fried Dumplings.
Homemade Granola Ingredients
• To create your own delicious blend of homemade granola, here’s what you’ll need:
For the Base
- Rolled Oats – A hearty base that provides structure; quick oats can be used but alter texture.
- Nuts (e.g., almonds, walnuts, pecans) – Adds delightful crunch and healthy fats; seeds can be a great substitute if you’re nut-free.
- Seeds (e.g., pumpkin seeds, sunflower seeds) – Enhances nutrition and adds extra crunch; mix according to your preference.
For the Sweetness
- Honey/Maple Syrup – This sweetener binds the mixture together perfectly; agave syrup or brown sugar mixed with water works too!
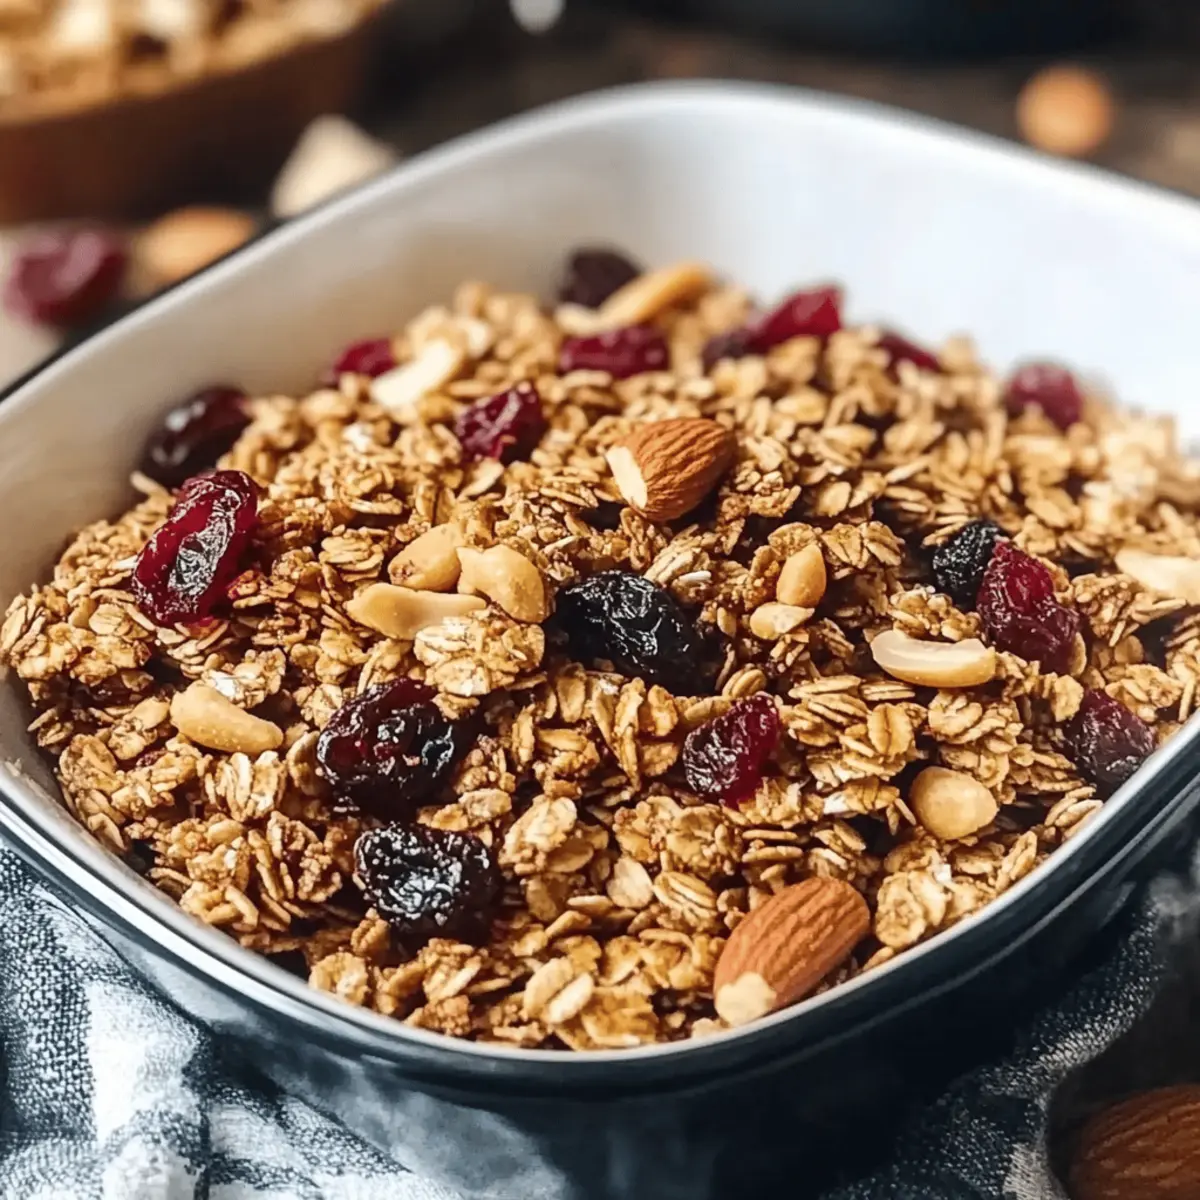
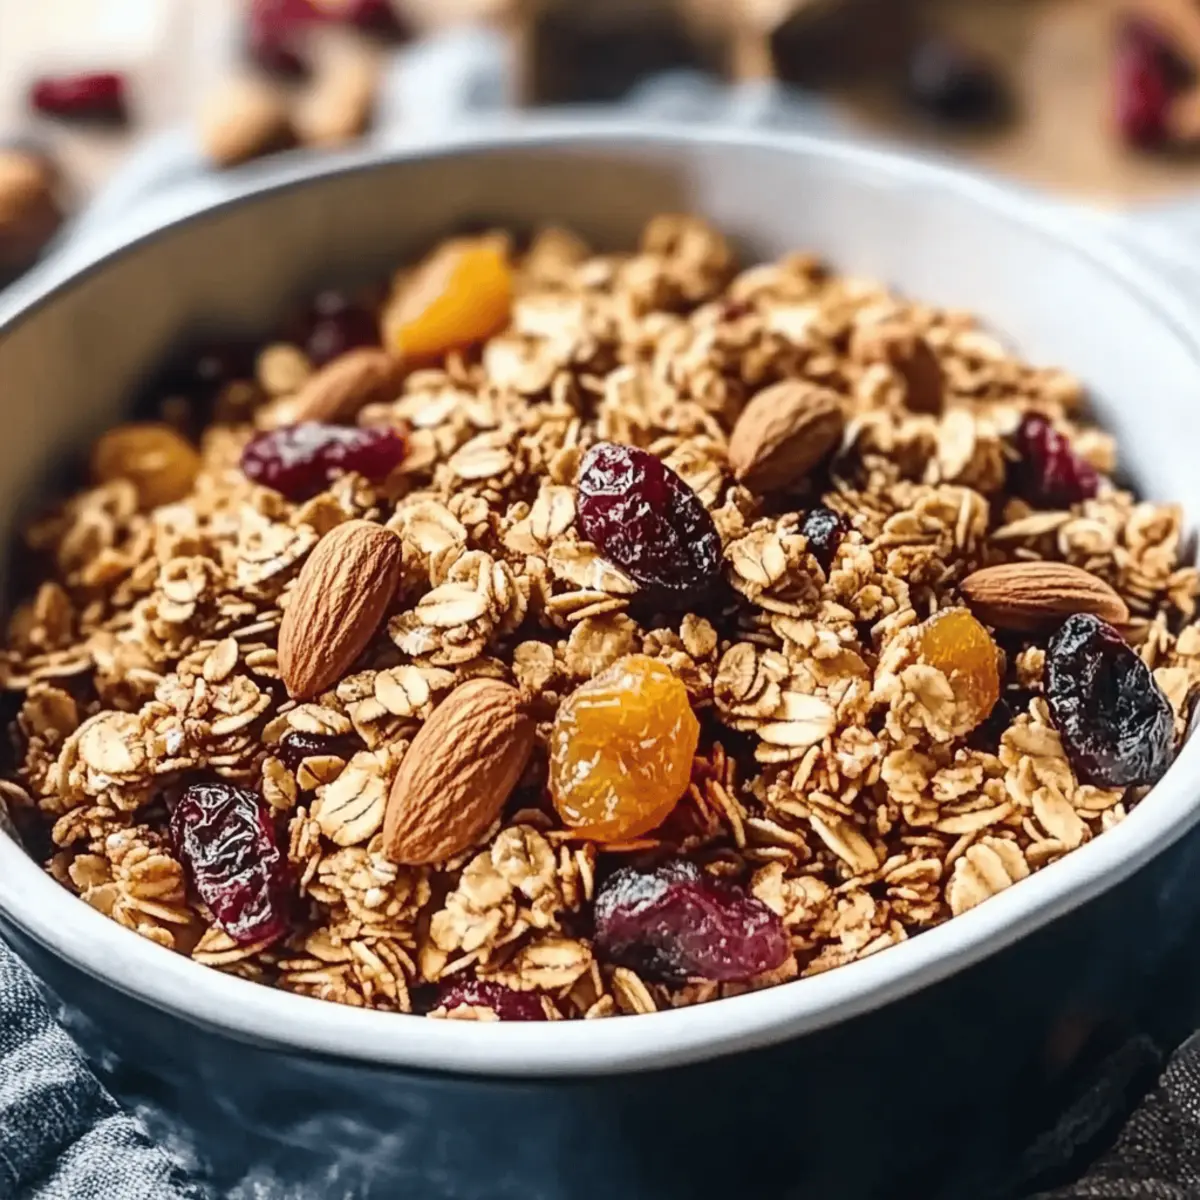
- Dried Fruit (e.g., raisins, cranberries, apricots) – Provides natural sweetness and chewiness; fresh fruit can be used for serving instead.
For Flavor and Texture
- Vegetable Oil (or Coconut Oil) – Keeps the granola moist and aids in browning; feel free to use any neutral oil you enjoy.
- Vanilla Extract – Elevates the overall flavor; you can omit it if you prefer.
- Salt – Essential for enhancing flavor and balancing sweetness; don’t skip this!
- Cinnamon (optional) – This warm spice adds a lovely touch; feel free to replace it with other spices if you like.
Each of these ingredients contributes to the unique taste of your homemade granola, making it an exciting way to start your day!
Step‑by‑Step Instructions for Homemade Granola
Step 1: Preheat Your Oven
Begin by preheating your oven to 350°F (175°C). This ensures an even baking environment for your homemade granola, allowing the oats and nuts to toast beautifully. While the oven warms, prepare your baking sheet by lining it with parchment paper, which will help prevent sticking and make cleanup effortless.
Step 2: Combine Dry Ingredients
In a large mixing bowl, combine rolled oats, your choice of nuts, seeds, salt, and optional cinnamon. Use a sturdy wooden spoon to mix everything thoroughly, ensuring every component is well blended. This dry mixture forms the base of your granola, which provides the crunchiness you love, so make sure to get it just right!
Step 3: Mix Wet Ingredients
In a separate bowl, blend your honey or maple syrup with vegetable oil and vanilla extract until the mixture is smooth and slightly runny. This sweet mixture will help bind the homemade granola together, giving it that delightful cluster texture. Pour this mixture into the bowl with your dry ingredients, ready to come together.
Step 4: Combine Mixtures
Quickly pour the wet ingredients over the dry mixture. Using your wooden spoon again, stir everything together until each dry piece is evenly coated. This ensures that every bite of your homemade granola will be deliciously sweet and full of flavor, so take your time to get it just right!
Step 5: Spread on Baking Sheet
Carefully transfer your granola mixture onto the prepared baking sheet. Use a spatula to spread it out evenly, ensuring there are no clumps. This even layer is key for uniform toasting, allowing the homemade granola to achieve that perfect crunchy texture without burning in some areas.
Step 6: Bake and Stir
Place the baking sheet in your preheated oven and bake for 25–30 minutes. Halfway through baking, take it out and gently stir the granola to promote even browning and prevent burning. You’ll know it’s done when it turns golden brown and releases a wonderful toasted aroma that fills your kitchen.
Step 7: Cool and Add Dried Fruit
Once baked to perfection, remove the granola from the oven and allow it to cool for about 10 minutes on the baking sheet. This cooling period not only promotes crunchiness but also allows you to stir in your choice of dried fruits, adding sweetness and chewiness to your homemade granola.
Step 8: Store the Granola
After the granola has cooled completely on the baking sheet, transfer it to an airtight container for storage. This ensures its freshness and crunchiness for up to two weeks at room temperature. Now, your homemade granola is ready to be enjoyed as a breakfast delight or a wholesome snack whenever cravings strike!
Expert Tips for Homemade Granola
-
Fresh Ingredients: Use fresh nuts and seeds for the best flavor and crunch. Stale items can ruin the taste, so check their freshness before starting.
-
Halfway Stir: Always stir the granola halfway through baking. This ensures even cooking and prevents burnt clumps from forming.
-
Make Granola Bars: To create granola bars, press the mixture firmly into a lined baking dish before baking. This helps achieve that chewy texture.
-
Cooling is Key: Allow your homemade granola to cool completely on the baking sheet. This step maximizes the crunchiness and prevents sogginess.
-
Experiment Freely: Don’t hesitate to mix flavors! Adding spices or different sweeteners can create exciting new variations in your homemade granola.
Homemade Granola Variations & Substitutions
Feel free to get creative with your homemade granola! Whether you want to add a dash of spice or a hint of sweetness, these variations will surely delight your taste buds.
- Chocolate Granola: Mix in cocoa powder or chocolate chips for a rich, indulgent flavor. Perfect for chocolate lovers!
- Coconut Granola: Add shredded coconut before baking for a tropical twist that transports you to paradise with each crunchy bite.
- Spicy Granola: Incorporate cayenne pepper or chipotle powder to bring on the heat and excite your palate. This adventurous option pairs well with yogurt.
- Maple Pecan: Swap out regular sweeteners for maple syrup and add crunchy pecans for a luxurious, nutty flavor. You’ll be amazed at how comforting this combo is!
- Nut-Free Variation: Replace nuts with seeds like sunflower seeds or pumpkin seeds to cater to allergies while still achieving crunch. A nutrient boost that’s equally delightful!
- Fruit-Infused: Toss in some dried fruits like cranberries, apricots, or even chocolate chunks after baking for extra sweetness and chewiness. Just imagine the burst of flavors!
- Savory Granola: Experiment with adding herbs like rosemary or thyme along with a pinch of sea salt for a unique, savory version that’s great as a snack.
- Peanut Butter Crush: Drizzle in melted peanut butter or almond butter before baking for a protein-packed twist. Enjoy the luscious peanut flavor in every bite!
As you embark on your homemade granola journey, don’t forget to enjoy it with a delightful bowl of yogurt and fresh fruit for breakfast. You could even try pairing it with our tasty Breakfast Granola Cups or sprinkle it on top of your favorite smoothie bowl. Get ready for a deliciously satisfying crunch that you can truly call your own!
How to Store and Freeze Homemade Granola
-
Room Temperature: Keep your homemade granola in an airtight container at room temperature for up to two weeks, ensuring it remains crunchy and fresh.
-
Fridge: If you prefer a longer shelf life, store it in the fridge for an extended freshness period, keeping it appropriately sealed to avoid moisture.
-
Freezer: For maximum storage, freeze your granola in a sealed bag for up to three months. Make sure it’s completely cooled before sealing to maintain texture.
-
Reheating: When you’re ready to enjoy, you can eat it straight from the jar, or warm it up in the oven briefly to restore some crunch if it has softened.
Make Ahead Options
These Homemade Granola preparations are ideal for busy home cooks looking to save time during the week! You can mix all dry ingredients (rolled oats, nuts, seeds, and spices) up to 3 days in advance and store them in an airtight container at room temperature. The wet ingredients can also be prepared ahead, just keep them in a separate container in the refrigerator for up to 24 hours. When you’re ready to finish your granola, simply combine the dry and wet mixtures, bake as instructed, and toss in the dried fruit after cooling. With these steps, you’ll have a deliciously crunchy granola ready to kickstart your mornings with minimal effort!
What to Serve with Homemade Granola
Start your morning off right by pairing your homemade granola with delightful accompaniments that elevate its crunchy goodness to new heights!
- Greek Yogurt: Creamy and tangy, Greek yogurt infuses a rich flavor that beautifully complements the sweetness of the granola, adding a protein boost.
- Fresh Berries: Strawberries, blueberries, or raspberries introduce a refreshing burst of flavor and bright color, creating a vibrant and nutritious breakfast bowl.
- Smoothie Bowls: Top your favorite smoothie with homemade granola for an extra crunch and a satisfying mix of textures, turning your drink into a delightful meal.
- Nut Butter: Drizzle some almond or peanut butter over your granola for a satisfying layer of creaminess, adding healthy fats to your morning routine.
- Milk or Plant-Based Alternatives: Pour over a bowl of your preferred milk for a classic taste, transforming your granola into a nostalgic and comforting breakfast.
- Honey or Maple Syrup: A light drizzle of honey or maple syrup enhances the sweetness and ties all the flavors together in a delightful way.
Imagine a beautiful breakfast spread where each bite of your homemade granola harmonizes with these delicious options, creating a satisfying and nourishing start to your day!

Homemade Granola Recipe FAQs
How do I choose the right oats for my granola?
Absolutely! Rolled oats are the best choice for making homemade granola as they provide the perfect balance of chewiness and crunch. Quick oats can be used, but they will alter the texture and may not achieve that desirable cluster formation.
What is the best way to store homemade granola?
For sure! Store your homemade granola in an airtight container at room temperature for up to two weeks. This keeps it crunchy and fresh. If you prefer an even longer shelf life, you can also place it in the fridge, sealing it tightly to prevent moisture.
Can I freeze my homemade granola?
Very much so! You can freeze your homemade granola in a sealed bag for up to three months. Make sure it is completely cooled before sealing it to preserve its crunchy texture. When you’re ready to enjoy, just take out as much as you need, and you can eat it straight from the freezer or warm it slightly in the oven to regain crunchiness.
Why is my granola not clumping together?
No worries, this can happen! Ensure that you are using enough sweetener and oil in your wet mixture, as these help create clumps. Additionally, stirring the granola halfway through the baking process can help it stick together better. If needed, you can also try pressing the mixture firmly into the baking sheet before baking to encourage clustering.
Is homemade granola suitable for people with nut allergies?
Absolutely! If you are allergic to nuts, you can easily substitute with seeds such as sunflower or pumpkin seeds, which enhance the granola’s crunch and nutritional profile without any nut risks. You can also use nut-free sweeteners and oils for perfect customization.
How can I customize my granola to suit different flavors?
The more the merrier! You can add different flavors to your homemade granola by including cocoa powder for a chocolate twist, shredded coconut for a tropical touch, or spices like cinnamon and cayenne for a warm or spicy kick. Think of what you’re in the mood for and mix it in during the dry ingredient stage!
Homemade Granola: Customize Your Crunchy Morning Delight
Ingredients
Equipment
Method
- Preheat your oven to 350°F (175°C) and line a baking sheet with parchment paper.
- Combine rolled oats, nuts, seeds, salt, and optional cinnamon in a mixing bowl.
- In a separate bowl, mix honey or maple syrup, vegetable oil, and vanilla extract until smooth.
- Pour the wet ingredients over the dry mixture and stir until evenly coated.
- Spread the granola mixture evenly on the prepared baking sheet.
- Bake for 25–30 minutes, stirring halfway through to promote even browning.
- Cool for about 10 minutes, then stir in dried fruits.
- Transfer to an airtight container for storage.
Leave a Reply