
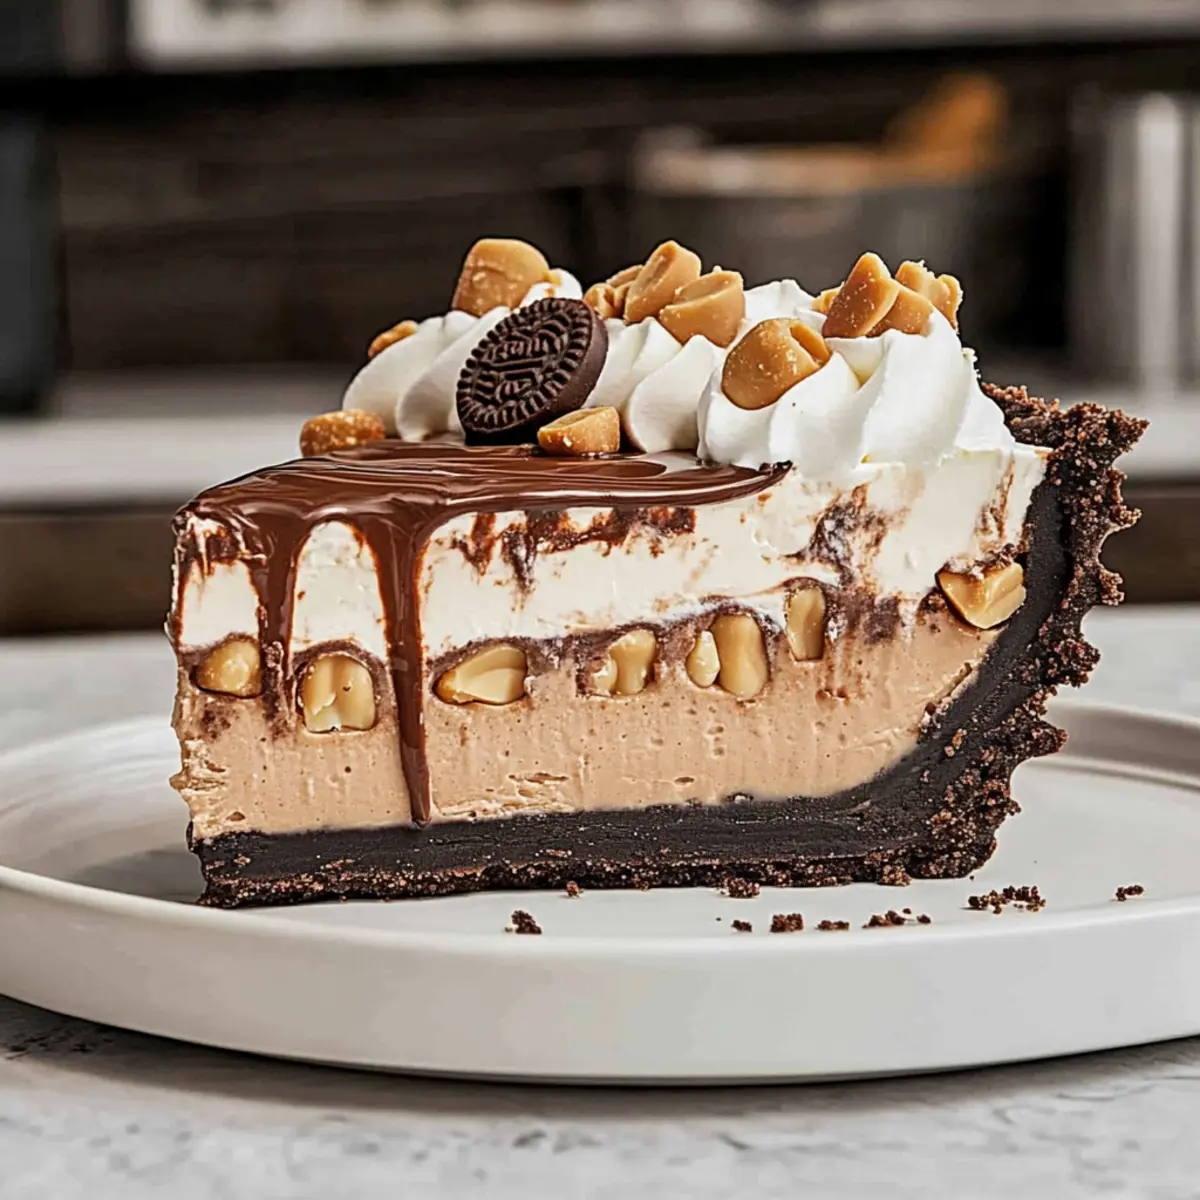
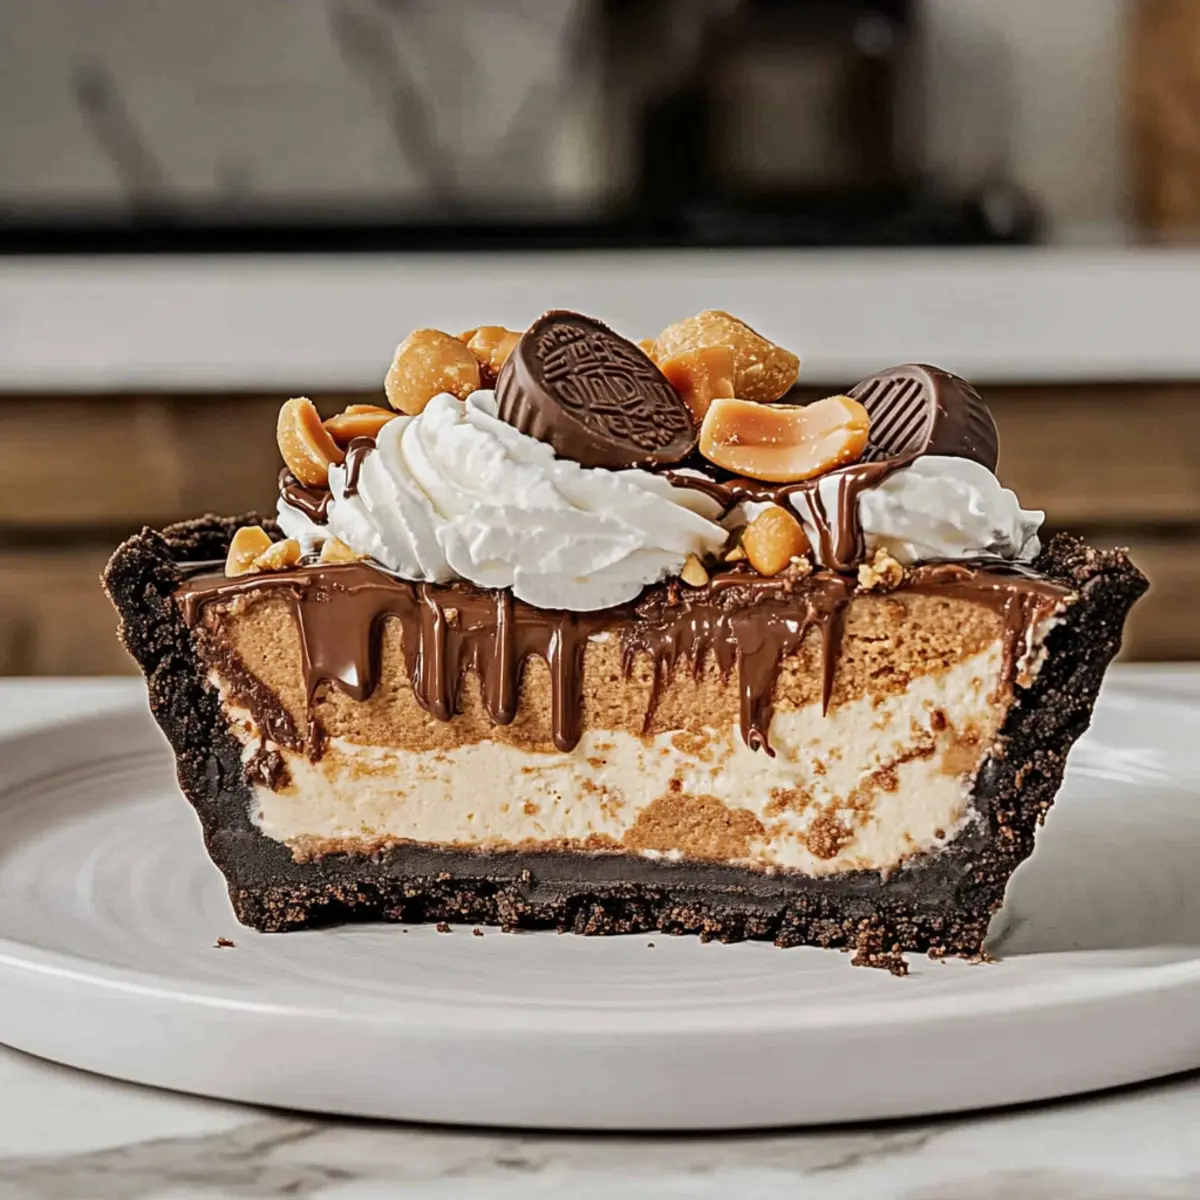
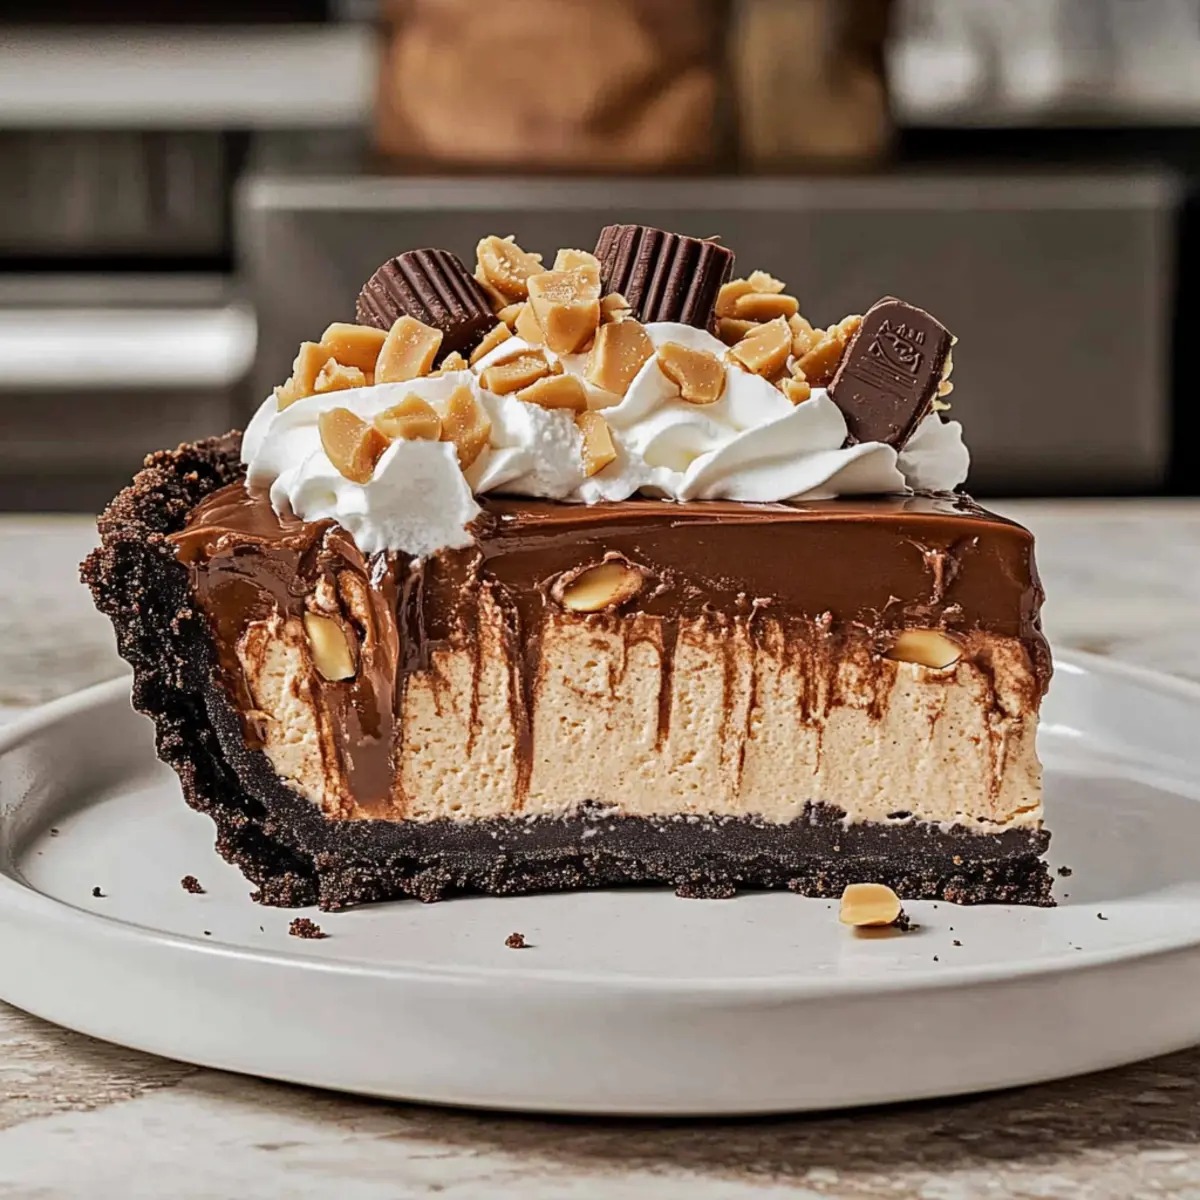
There’s a special kind of magic that happens when creamy peanut butter meets rich chocolate, transporting you to dessert paradise with each blissful bite. My No-Bake Chocolate Peanut Butter Pie is not just easy to whip up, it’s also a guaranteed crowd-pleaser, sure to impress family and friends alike. With a crunchy Oreo crust and a luscious peanut butter cheesecake filling, this indulgent dessert requires zero baking, making it the perfect treat for warm days or spontaneous gatherings. You’ll find joy in the simplicity of preparation, and with how quickly it disappears from the plate, you might want to consider making two! Ready to discover this no-fuss dessert that you can prepare in no time?
Why is this pie a showstopper?
Irresistible Flavor: The combination of creamy peanut butter and rich chocolate creates a stunning flavor explosion that will satisfy any sweet tooth.
No-Bake Convenience: You can enjoy this delightful pie without even turning on the oven, making it a perfect choice for hot summer days.
Quick to Prepare: Made in just a few simple steps, this dish offers a hassle-free baking experience that anyone can master, leaving you more time to enjoy with loved ones.
Visually Stunning: Topped with whipped cream, crushed peanuts, and cute mini peanut butter cups, this pie not only tastes fantastic but also looks amazing on any dessert table.
Endless Versatility: Feel free to customize by using graham cracker crusts or different nut butters to create your perfect flavor combination. Check out other delicious desserts like Vegan Chocolate Mousse or High Protein Chocolate for even more inspiration!
No-Bake Chocolate Peanut Butter Pie Ingredients
For the Crust
• Oreo Cookies – Provides a crunchy, sweet crust; substitute with any chocolate cookie if not available.
• Brown Sugar – Adds sweetness to the crust; can be replaced with granulated sugar.
• Unsalted Butter – Binds the crust together; always melt before mixing with cookies.
For the Cheesecake Layer
• Cream Cheese – Forms the creamy base of the cheesecake; use full-fat for the richest texture.
• Heavy Cream – Adds richness and volume; can swap for whipped coconut cream for a non-dairy version.
• Salt – Enhances flavor and balances sweetness; a pinch is all you need.
• Milk Powder – Contributes to creaminess and stability; optionally, replace with more cream cheese.
• Powdered Sugar – Sweetens the cheesecake; can substitute with granulated sugar but may alter texture.
• Vanilla Extract – Elevates the overall flavor; a little goes a long way.
• Peanut Butter – The star flavor for this cheesecake filling; choose creamy or chunky based on preference.
For the Ganache Topping
• Dark Chocolate – The main component for the ganache; opt for high-quality chocolate for best results.
• Heavy Cream – Ensures a smooth texture for the ganache; a must-have in this indulgent treat.
For the Whipped Cream Topping
• Whipped Cream – Lightens the overall dessert; can be homemade or store-bought.
• Caster Sugar – Optional to sweeten whipped cream; alternatively, use powdered sugar.
For Decoration
• Salted Peanuts – Adds a crunchy texture and salty contrast; sprinkle generously for added flavor.
• Peanut Butter Chips – Optional for an extra pop of decoration and peanut butter flavor.
• Mini Peanut Butter Cups – Garnish for a delightful touch; these are sure to impress when placed on top.
This no-bake chocolate peanut butter pie is a dessert that speaks to the heart and soul of every sweet lover!
Step‑by‑Step Instructions for No-Bake Chocolate Peanut Butter Pie
Step 1: Prepare the Pie Crust
Begin by placing the Oreo cookies and brown sugar into a food processor. Pulse until you obtain fine crumbs, usually about 20 seconds. Next, melt the unsalted butter in the microwave, and combine it with the cookie crumbs in a mixing bowl. Press this mixture firmly into a 2-inch deep tart tin, ensuring it’s evenly packed. Chill in the refrigerator for at least 30 minutes to set the crust.
Step 2: Make the Peanut Butter Cheesecake Layer
In a large mixing bowl, beat together the cream cheese, heavy cream, and a pinch of salt with an electric mixer on medium speed until the mixture is creamy and smooth, around 3 minutes. Gradually add the milk powder, powdered sugar, and vanilla extract, mixing until fully combined. Fold in the peanut butter gently until the mixture is uniform. Pour this luscious filling over the chilled crust, smoothing the top with a spatula, and refrigerate for 30 more minutes.
Step 3: Prepare the Chocolate Ganache
To create the decadent ganache, place chopped dark chocolate in a microwave-safe bowl along with the remaining heavy cream. Heat in the microwave in 30-second intervals, stirring in between, until the chocolate is fully melted and the mixture is smooth, usually taking about 1-2 minutes. Once melted, pour the ganache over the peanut butter cheesecake layer, spreading it evenly. Chill for at least one hour until the ganache has set.
Step 4: Whip the Cream
While the pie is chilling, whip the heavy cream in a separate mixing bowl using an electric mixer until soft peaks form, about 3-4 minutes. Optionally, add caster sugar and vanilla to sweeten the whipped cream. Gently spread this fluffy whipped cream over the set ganache layer, making it as smooth or textured as you prefer.
Step 5: Decorate and Serve
Now it’s time to get creative! Sprinkle chopped salted peanuts generously over the whipped cream, then drizzle additional melted ganache on top for an attractive finish. For an extra touch of indulgence, add mini peanut butter cups. Slice the No-Bake Chocolate Peanut Butter Pie into wedges and serve to your eager guests, savoring the delighted reactions!
Make Ahead Options
Preparing your No-Bake Chocolate Peanut Butter Pie ahead of time is not just smart, it’s a game changer for busy schedules! You can make the Oreo crust and peanut butter cheesecake layer up to 24 hours in advance; just be sure to store them covered in the refrigerator to keep them fresh. The ganache can also be prepared ahead of time and poured over the cheesecake layer a couple of hours before serving for the best texture. When you’re ready to serve, whip the cream and finish with toppings just before serving to maintain that light and fluffy texture. This way, you enjoy delicious, stress-free dessert bliss with minimal effort!
How to Store and Freeze No-Bake Chocolate Peanut Butter Pie
-
Fridge: Store your pie in an airtight container in the refrigerator for up to 3 days. This keeps it fresh and ready to enjoy at a moment’s notice.
-
Freezer: If you want to save it for later, freeze individual slices wrapped tightly in plastic wrap for up to 2 months. Just remember to thaw them in the fridge before serving.
-
Reheating: Since this is a no-bake pie, there’s no need to reheat. Just let it sit at room temperature for about 15 minutes before serving for the best texture.
-
Serving Tip: For an extra touch, consider garnishing thawed slices with additional whipped cream or crushed peanuts to elevate your dessert experience.
Expert Tips for No-Bake Chocolate Peanut Butter Pie
-
Chill Everything: Ensure both the heavy cream and mixing bowl are chilled before whipping for light, fluffy results in your no-bake chocolate peanut butter pie.
-
Careful Ganache Heating: Heat the dark chocolate and cream gradually in the microwave to avoid burning; stirring between intervals helps achieve a smooth ganache.
-
Avoid Watery Filling: When folding in peanut butter, do it gently to maintain the creamy texture; overmixing can lead to a dense cheesecake filling.
-
Perfectly Pack the Crust: Press the Oreo crust mixture firmly to avoid crumble when slicing; a well-packed crust supports the rich filling beautifully.
-
Creative Garnishes: Feel free to experiment with garnishes like drizzled caramel or fresh berries alongside the peanuts and mini peanut butter cups for a delightful presentation.
No-Bake Chocolate Peanut Butter Pie Variations
Feel free to let your creativity shine and customize this delicious pie with these fantastic ideas!
-
Graham Cracker Crust: Swap the Oreo crust for a classic graham cracker crust for a different, delightful flavor. The sweetness of graham crackers brings a nostalgic touch to this treat!
-
Mascarpone Cheese: Substitute cream cheese with mascarpone cheese for a lighter, creamier texture that’s equally luscious and indulgent. This change brings an Italian flair to your pie!
-
Nut Butter Variations: Experiment with almond butter or cashew butter instead of peanut butter for an exciting twist and nutty flavor. Each nut butter brings its own unique taste profile, creating a fun flavor adventure!
-
Add Flavor Extracts: Spice things up by adding almond or hazelnut extract along with the vanilla for an intriguing flavor enhancement. Just a dash can elevate the whole dessert experience!
-
Coconut Cream: For a tropical twist, replace heavy cream in the cheesecake layer with coconut cream for a luscious non-dairy alternative. The hint of coconut pairs beautifully with chocolate and peanut butter.
-
Spiced Layers: Add a sprinkle of cinnamon or a pinch of cayenne pepper into the cheesecake layer for a warm, spicy kick. This subtle heat can truly enliven the dessert!
-
Chocolate Chips: Fold some mini chocolate chips into the cheesecake mixture for extra texture and a surprise burst of chocolate in every slice. Your friends and family will love the added chocolaty goodness!
-
Fruity Accents: Top your pie with fresh berries like raspberries or strawberries for a fruity contrast that balances the richness of the cheesecake. It adds a refreshing note that pairs perfectly with the creamy layers.
With these variations, you can easily make the No-Bake Chocolate Peanut Butter Pie your own, spreading delight with every incredible bite! And if you’re looking for more delectable treats, check out my White Chocolate Raspberry Dream Cake or experience the bliss of a Biscoff Cookie Butter Cake. Happy baking!
What to Serve with No-Bake Chocolate Peanut Butter Pie
Dive into the perfect meal complementing this sinfully rich dessert that will captivate your taste buds.
-
Creamy Vanilla Ice Cream: A scoop adds a delightful contrast, enhancing the pie’s rich flavors while providing a refreshing bite.
-
Chocolate Sauce Drizzle: Elevate each slice with a drizzle of chocolate sauce; it’s a luxurious addition that intensifies that chocolatey goodness.
-
Fresh Berries: A handful of raspberries or strawberries offers a sweet-tart balance, brightening the plate with color and freshness.
-
Coffee: The deep, robust flavor complements the sweet richness of the pie, making it an ideal after-dinner pairing for adult gatherings.
-
Chilled Milk: Classic and simple, a glass of cold milk enhances the peanut butter and chocolate flavors while cooling down the richness of the pie.
-
Crushed Graham Crackers: For a crunchy texture contrast, garnish slices with crushed graham crackers; they add a fun element and refreshing crunch.
-
Nutty Trail Mix: Rounded out with nuts; this snack offers a crunchy complement to the pie’s creamy consistency, perfect alongside slices.
-
Espresso Martini: For a delightful adult treat, pair your dessert with an espresso martini; the coffee-infused cocktail complements the cake beautifully.
-
Coconut Whipped Cream: Swap regular whipped cream with this alternative for an extra hint of tropical flavor, balancing sweetness beautifully.

No-Bake Chocolate Peanut Butter Pie Recipe FAQs
How do I select the best ingredients for this pie?
Absolutely! For the best flavor and texture, choose full-fat cream cheese, fresh heavy cream, and high-quality dark chocolate. When selecting peanut butter, opt for a creamy variety for a smoother filling, though chunky peanut butter adds a delightful texture.
How should I store leftovers of my No-Bake Chocolate Peanut Butter Pie?
You can keep your pie fresh by storing it in an airtight container in the refrigerator for up to 3 days. If you notice it starting to lose its freshness, check for any changes in texture or flavor!
Can I freeze the No-Bake Chocolate Peanut Butter Pie?
Yes, indeed! To freeze, wrap individual slices tightly in plastic wrap and place them in an airtight container. You can store them in the freezer for up to 2 months. When you’re ready to enjoy, simply thaw them in the refrigerator for several hours or overnight.
What should I do if my whipped cream isn’t forming stiff peaks?
This can happen sometimes! Ensure your heavy cream is very cold, and whip with an electric mixer on medium-high speed, which usually takes about 3 to 4 minutes. You can also add a tablespoon of powdered sugar to stabilize the cream and help it hold its shape better.
Are there any allergies I should be aware of with this recipe?
Yes, this recipe contains common allergens like dairy (cream cheese, heavy cream), peanuts (from the peanut butter and peanut butter cups), and gluten (from Oreo cookies). If you have guests with allergies, consider using dairy-free cream cheese, coconut cream, and gluten-free cookies as substitutes.
What’s the best way to decorate the pie?
The more the merrier! After spreading the whipped cream, sprinkle chopped salted peanuts and drizzle some melted chocolate ganache over the top. For a stunning finish, you can also add mini peanut butter cups or chocolate shavings!
Irresistible No-Bake Chocolate Peanut Butter Pie Bliss
Ingredients
Equipment
Method
- Begin by placing the Oreo cookies and brown sugar into a food processor. Pulse until fine crumbs. Melt the unsalted butter and combine with cookie crumbs in a mixing bowl. Press into a tart tin and chill for at least 30 minutes.
- In a large mixing bowl, beat together the cream cheese, heavy cream, and salt until creamy. Gradually add milk powder, powdered sugar, and vanilla, mixing until combined. Fold in peanut butter gently and pour over the chilled crust. Refrigerate for 30 more minutes.
- Place chopped dark chocolate in a microwave-safe bowl with heavy cream. Heat in 30-second intervals, stirring until melted and smooth. Pour ganache over the cheesecake layer and chill for one hour.
- Whip the heavy cream in a mixing bowl until soft peaks form. Optional: add caster sugar to sweeten. Spread whipped cream over set ganache layer.
- Sprinkle chopped salted peanuts over the whipped cream and drizzle melted ganache on top. Add mini peanut butter cups for garnish. Slice and serve.
Leave a Reply