
As I watched the shimmering oil heat in the skillet, the anticipation of crispy perfection filled the room. There’s something truly magical about crispy potato latkes, especially during Hanukkah, when these golden delights take center stage. This recipe for perfect latkes creates beautifully crunchy pancake-like wonders that are crispy on the outside and soft on the inside. With just a handful of pantry staples, whipping up these traditional treats is a breeze, helping you steer clear of tedious fast food options. Plus, they are a fantastic crowd-pleaser sure to make your holiday gatherings feel extra special. Are you ready to transform your kitchen into a latke-making haven? Let’s get to the fun part!
Why are These Latkes So Special?
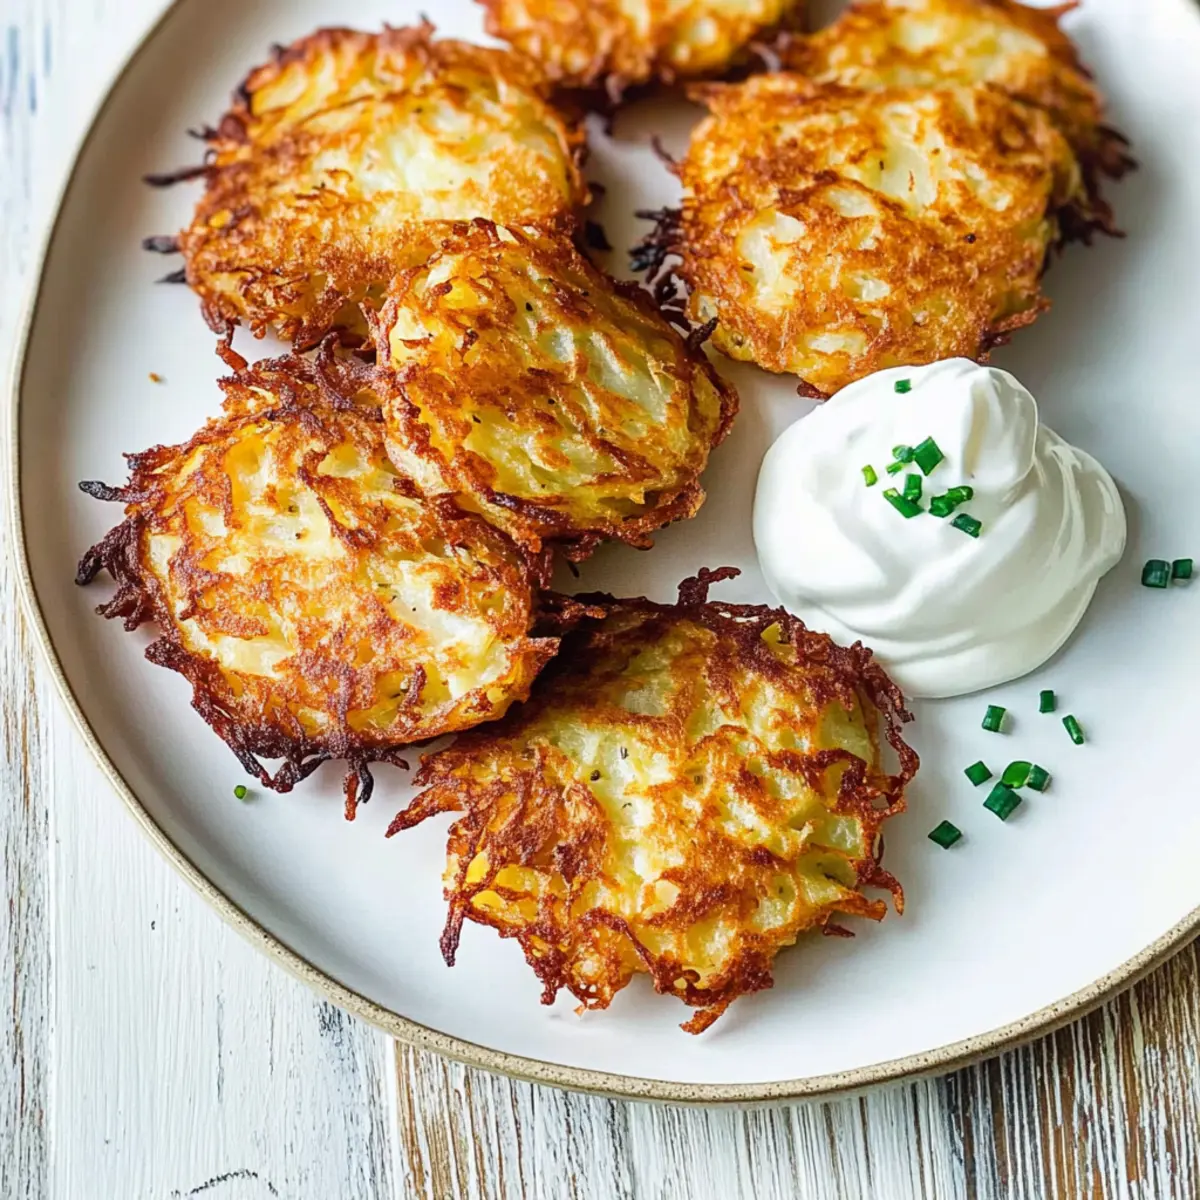
Crispy Texture: The secret to achieving perfect latkes lies in their irresistible crunch—golden and crispy on the outside, with a tender inside.
Versatile Flavors: Enjoy the classic potato taste or switch it up with sweet potatoes or fragrant herbs like dill and parsley for a refreshing twist.
Simple Preparation: With straightforward steps, making your own latkes is a breeze—perfect for both novice home cooks and seasoned chefs alike.
Crowd-Pleaser: These latkes are sure to be the highlight of your holiday gatherings, making them an ideal centerpiece for celebrations like Hanukkah.
Quick to Cook: Fry up a batch in no time, steering clear of the fast food route and filling your home with comforting aromas. Serve them warm with a dollop of sour cream or yogurt for a delightful treat! If you’re looking for similarly comforting recipes, check out my Coffee Pancakes Morning for a delicious way to start your day!
Perfect Latkes Ingredients
• Discover what makes these latkes irresistible!
For the Latkes
- Potatoes – Use starchy varieties like Yukon Gold or Russet for that perfect latke texture.
- Onions – Sweet or yellow onions add moisture and flavor; substitute with scallions for a milder touch.
- Eggs – Two eggs help bind the mixture while keeping the latkes light and airy.
- All-Purpose Flour – 3-4 tablespoons are ideal to maintain structure without turning your latkes into pancakes.
- Salt – 1¼ teaspoons enhances flavor and balances the ingredients perfectly.
- Black Pepper – A pinch adds the right amount of warmth and depth to the mix.
- Oil (Canola or other flavorful) – Use for frying to create that coveted crispy outer layer!
Optional Flavor Variations
- Sweet Potatoes – Swap regular potatoes for sweet ones for a deliciously sweet twist on classic latkes.
- Herbs – Try adding parsley, dill, or chives instead of onions to create a unique flavor profile in your perfect latkes.
Step‑by‑Step Instructions for Perfect Latkes
Step 1: Prep Potatoes and Onions
Begin by grating your Yukon Gold or Russet potatoes and onions using either a food processor or a box grater. Aim for fine shreds to ensure even cooking. You’ll need about 4 medium-sized potatoes and 1 medium onion. Once grated, set them aside for the next step.
Step 2: Remove Excess Liquid
To achieve crispy latkes, it’s crucial to remove excess moisture. Place the grated potato and onion mixture in a colander or on a clean kitchen towel. Press down firmly or wring out liquid until it feels dry. This step helps prevent sogginess and promotes the perfect crispiness in your latkes during frying.
Step 3: Combine Ingredients
In a large mixing bowl, combine the dried grated potatoes and onions with 2 beaten eggs, 3-4 tablespoons of all-purpose flour, 1¼ teaspoons of salt, and a sprinkle of black pepper. Mix thoroughly until all ingredients are well incorporated, ensuring a consistent texture for your perfect latkes.
Step 4: Heat Oil
In a large skillet, pour in enough canola oil to reach ¼ – ½ inch deep. Heat the oil over medium heat until shimmering, a sign that it’s hot enough for frying. You can test the oil by dropping a small amount of the latke mixture; if it sizzles immediately, you’re ready to cook!
Step 5: Fry Latkes
Using a heaping tablespoon, scoop out the latke mixture and carefully drop it into the hot oil. Flatten each mound slightly with the back of the spoon. Fry for about 4 minutes until the bottoms turn golden brown and crispy. Then, gently flip and cook for another 4 minutes on the other side. Repeat until all the mixture is used.
Step 6: Drain and Serve
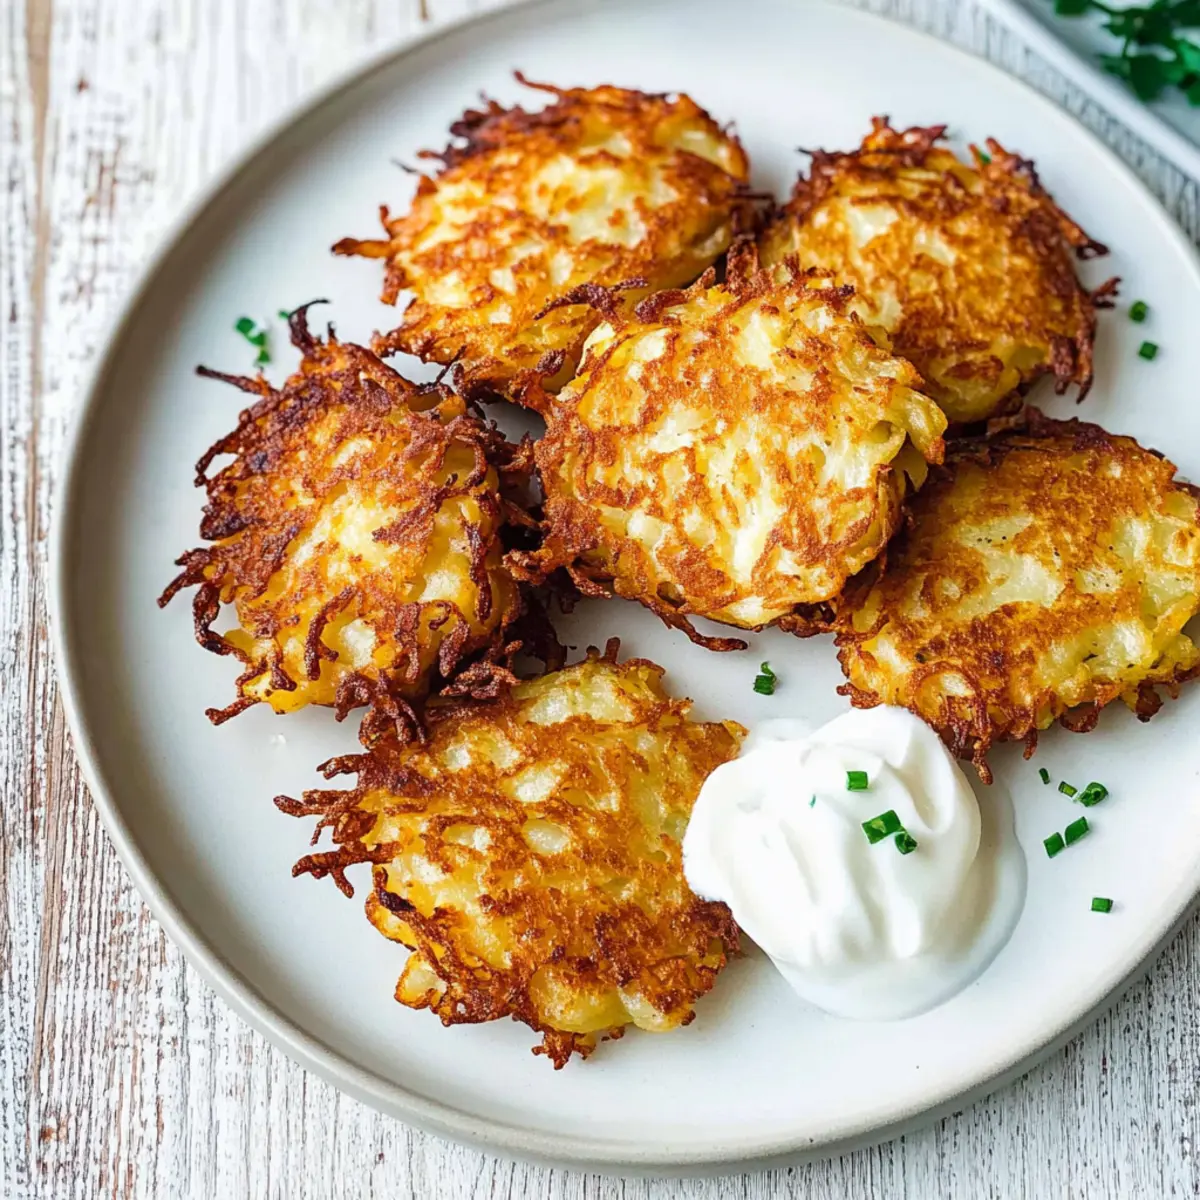
Once cooked, transfer your crispy latkes onto a plate lined with paper towels to absorb excess oil. This keeps them crispy while you finish frying the batch. Serve the latkes warm with a dollop of sour cream or yogurt for a delightful dipping experience that complements their savory crunch.
What to Serve with Crispy Potato Latkes
As you revel in the delightful crunch of fresh latkes, consider these tasty accompaniments that elevate your holiday meal.
-
Sour Cream:
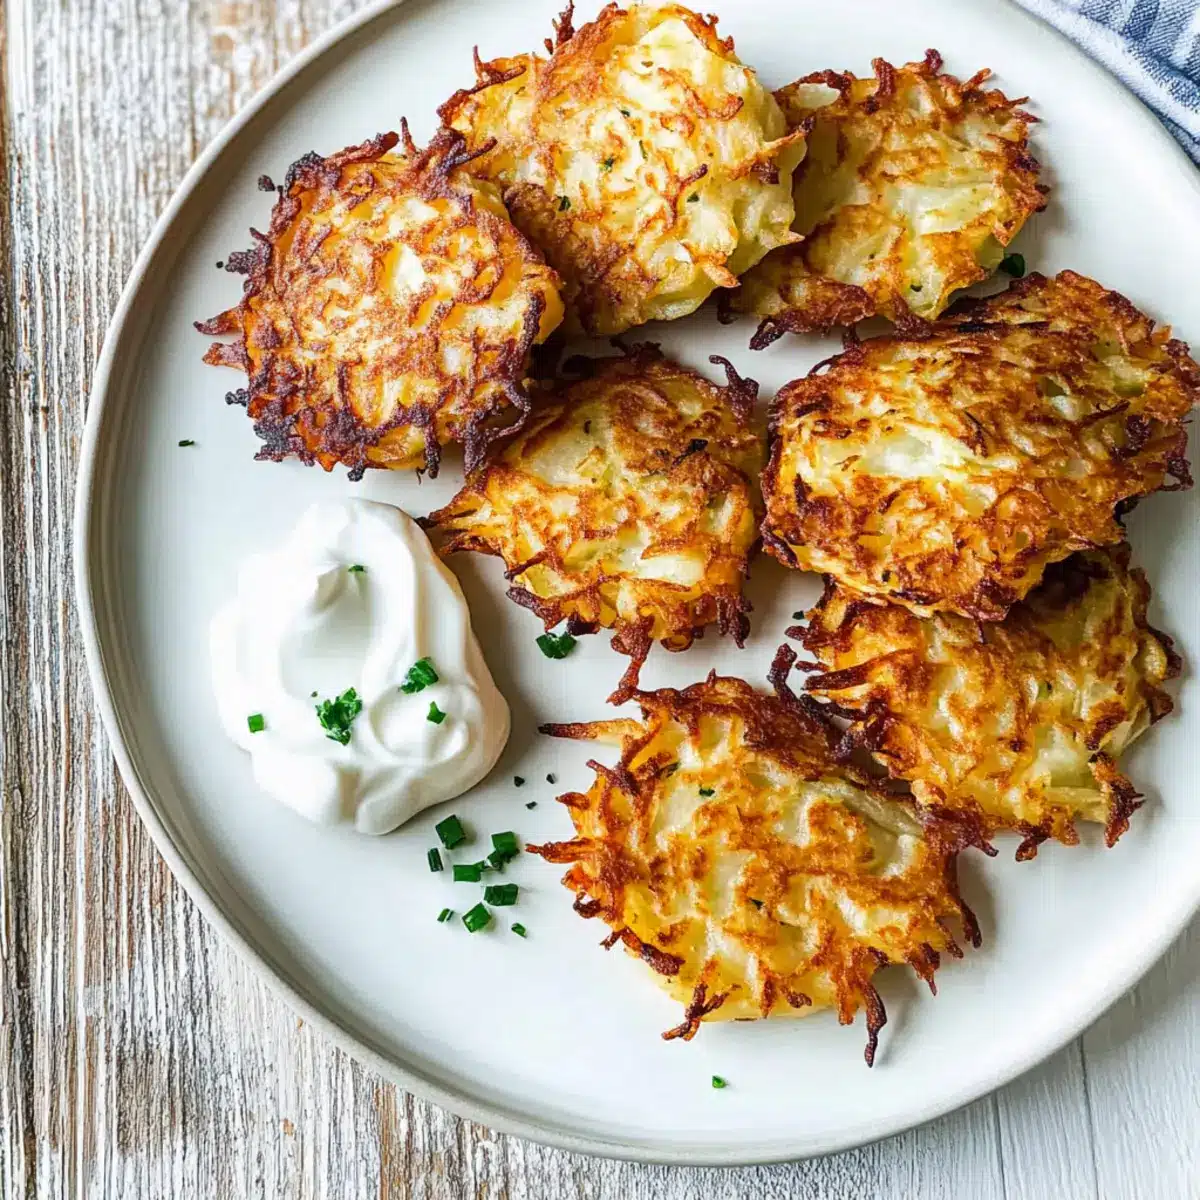
A classic pairing, its cooling creaminess balances the crispy latkes beautifully, enhancing their savory flavor. -
Applesauce:
The sweet-tangy notes of applesauce provide a lovely contrast, making every bite a delightful experience. -
Crisp Green Salad:
A refreshing salad with arugula or spinach and a zingy vinaigrette adds a fresh crunch and brightness to your plate. -
Roasted Brussels Sprouts:
Their earthy, slightly sweet flavor complements the latkes while adding another delicious texture to your meal. -
Smoky Salmon:
The rich, smoky depth of salmon pairs enticingly with the latkes, adding a gourmet touch to your festive celebration—perfect for a brunch or special occasion! -
Herbed Yogurt Dip:
Mix yogurt with fresh herbs for a vibrant dip that enhances the latkes and adds a zesty flair to your feast. -
Light White Wine:
A chilled glass of Sauvignon Blanc refreshes the palate, balancing the flavors of fried goodness with bright acidity. -
Apple Tart:
End your meal on a sweet note with a warm apple tart; its fruity sweetness is a comforting way to celebrate.
Expert Tips for Perfect Latkes
-
Maximize Crispiness: Ensure you remove as much moisture from the potatoes before mixing; this avoids sogginess and preserves that crispy texture in your perfect latkes.
-
Fry at the Right Temperature: Get the oil hot enough but not smoking; medium heat helps achieve a golden brown crust without burning the latkes.
-
Avoid Overcrowding: Fry latkes in small batches to avoid lowering the oil temperature, which can prevent even cooking and crispiness.
-
Variations Matter: Feel free to experiment with herbs or different onions; they can elevate the flavor of your latkes beyond the traditional taste.
-
Serve Fresh: Latkes are best served immediately. If you need to make them ahead, reheat in the oven for a crispy finish instead of microwaving, which softens them.
Make Ahead Options
These perfect latkes are ideal for meal prep, helping you save valuable time during busy holiday gatherings! You can grate the potatoes and onions up to 24 hours in advance; just store the mixture in an airtight container in the refrigerator to keep them fresh and avoid browning. To ensure the best texture, it’s crucial to remove excess moisture before storing, using a towel or colander. When you’re ready to cook, simply combine the prepped ingredients with eggs and flour, then fry as directed for that crispy perfection. By prepping ahead, you can enjoy all the delightful flavors of homemade latkes with minimal effort!
Perfect Latkes Variations & Substitutions
Feel free to get creative with your latkes, exploring flavors and textures that excite your palate!
-
Sweet Potato: Swap out traditional potatoes for sweet potatoes for a naturally sweeter flavor that pairs wonderfully with savory dips.
-
Herb-Infused: Experiment by replacing onions with fresh herbs like parsley, dill, or chives. This will add brightness and freshness to your latkes.
-
Scallion Twist: For a milder onion flavor, substitute regular onions with scallions. They lend a delicate taste, enhancing the overall dish.
-
Veggie-Loaded: Amp up nutrition by adding finely grated veggies like zucchini or carrots into the mix. This creates a colorful, delicious twist.
-
Gluten-Free: Use gluten-free flour in place of regular flour for a tasty gluten-free option, ensuring everyone can enjoy these crispy delights.
-
Spicy Kick: Toss in a pinch of cayenne pepper or diced jalapeños for a spicy twist that balances out the sweetness of the potatoes.
-
**Cheesy: **Add a sprinkle of grated cheese, like cheddar or feta, to the latke mixture for a savory, cheesy bite that melts in your mouth.
-
Dipping Delights: Serve with a variety of dips, such as homemade applesauce, tangy sour cream, or zesty yogurt-based sauces like tzatziki for a flavor festival.
If you’re in the mood for even more comforting recipes, don’t miss my Coffee Pancakes Morning, which might just become your next family favorite!
Storage Tips for Perfect Latkes
Room Temperature: Enjoy your latkes fresh for the best flavor and crunch. If left out, they can last for about 1-2 hours before losing their crispiness.
Fridge: Store leftovers in an airtight container in the fridge for up to 2 days. To keep them semi-crispy, place a paper towel at the bottom of the container to absorb excess moisture.
Freezer: For longer storage, freeze latkes individually on a baking sheet before transferring to an airtight container or freezer bag. They can last up to 3 months in the freezer.
Reheating: To restore their crunch, reheat frozen latkes in a preheated oven at 400°F (200°C) for about 10-15 minutes or until hot and crispy. Enjoy your perfect latkes fresh and crunchy!
Crispy Traditional Potato Latkes Recipe FAQs
What type of potatoes are best for latkes?
For the most perfect latkes, opt for starchy varieties like Yukon Gold or Russet potatoes. They provide the ideal texture and crispiness, which are essential for achieving the best results.
How should I store leftover latkes?
To store leftovers, place them in an airtight container in the fridge for up to 2 days. I recommend placing a paper towel at the bottom to absorb excess moisture, which helps maintain some of their crispiness.
Can I freeze latkes?
Absolutely! To freeze latkes, first, cook them and let them cool completely. Then, arrange them in a single layer on a baking sheet and freeze for about 1-2 hours until solid. Once frozen, transfer them to an airtight container or freezer bag and store for up to 3 months. When you’re ready to enjoy them, reheat in a preheated oven at 400°F (200°C) for about 10-15 minutes or until crispy.
Why are my latkes soggy?
Sogginess is often caused by excess moisture. To avoid this, make sure to thoroughly drain the grated potato and onion mixture, pressing down to remove as much liquid as possible. This will help achieve that desirable crispy texture. Also, ensure you’re frying in hot oil—if the oil isn’t hot enough, the latkes will absorb more oil instead of frying properly.
Are latkes suitable for those with gluten sensitivities?
Yes, you can easily make gluten-free latkes by substituting all-purpose flour with a gluten-free flour blend. Just ensure that all other ingredients are gluten-free as well. This way, everyone can enjoy your delicious, crispy latkes during festive gatherings!
Irresistibly Perfect Latkes: Your New Favorite Holiday Crunch
Ingredients
Equipment
Method
- Begin by grating your Yukon Gold or Russet potatoes and onions using a food processor or box grater. Aim for fine shreds.
- Place the grated potato and onion mixture in a colander or on a clean kitchen towel. Press down firmly to remove excess moisture.
- Combine the dried grated potatoes and onions with 2 beaten eggs, 3-4 tablespoons of all-purpose flour, 1¼ teaspoons of salt, and a sprinkle of black pepper in a large mixing bowl.
- Pour enough canola oil into a large skillet to reach ¼ - ½ inch deep and heat over medium heat until shimmering.
- Using a heaping tablespoon, scoop out the latke mixture and drop it into the hot oil. Fry for about 4 minutes per side until golden brown.
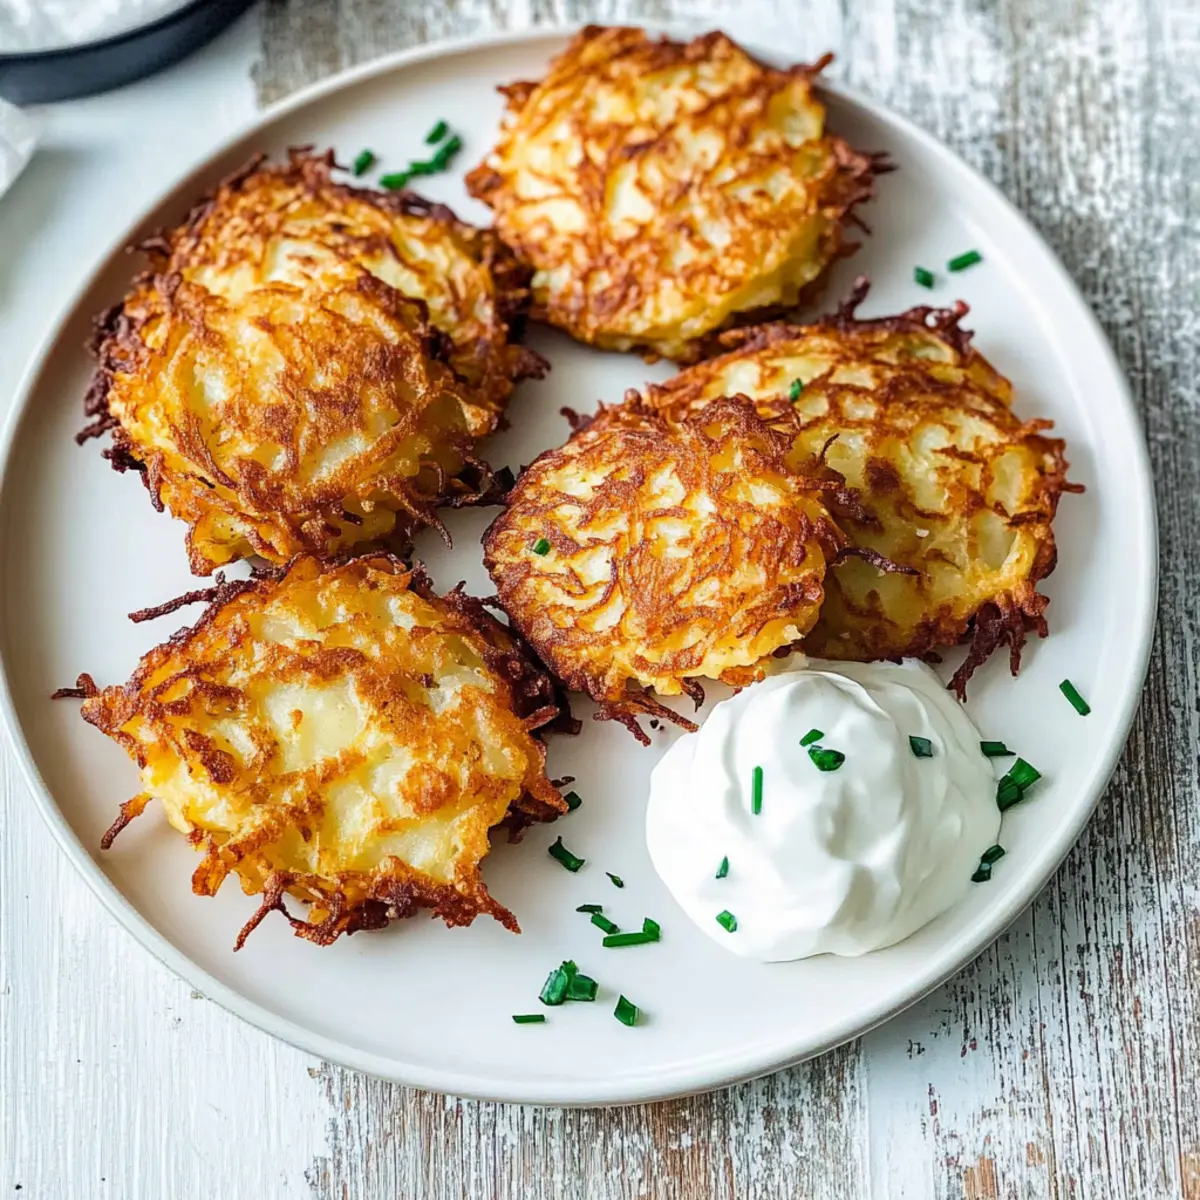
- Transfer cooked latkes onto a plate lined with paper towels to absorb excess oil. Serve warm with sour cream or yogurt.
Leave a Reply