
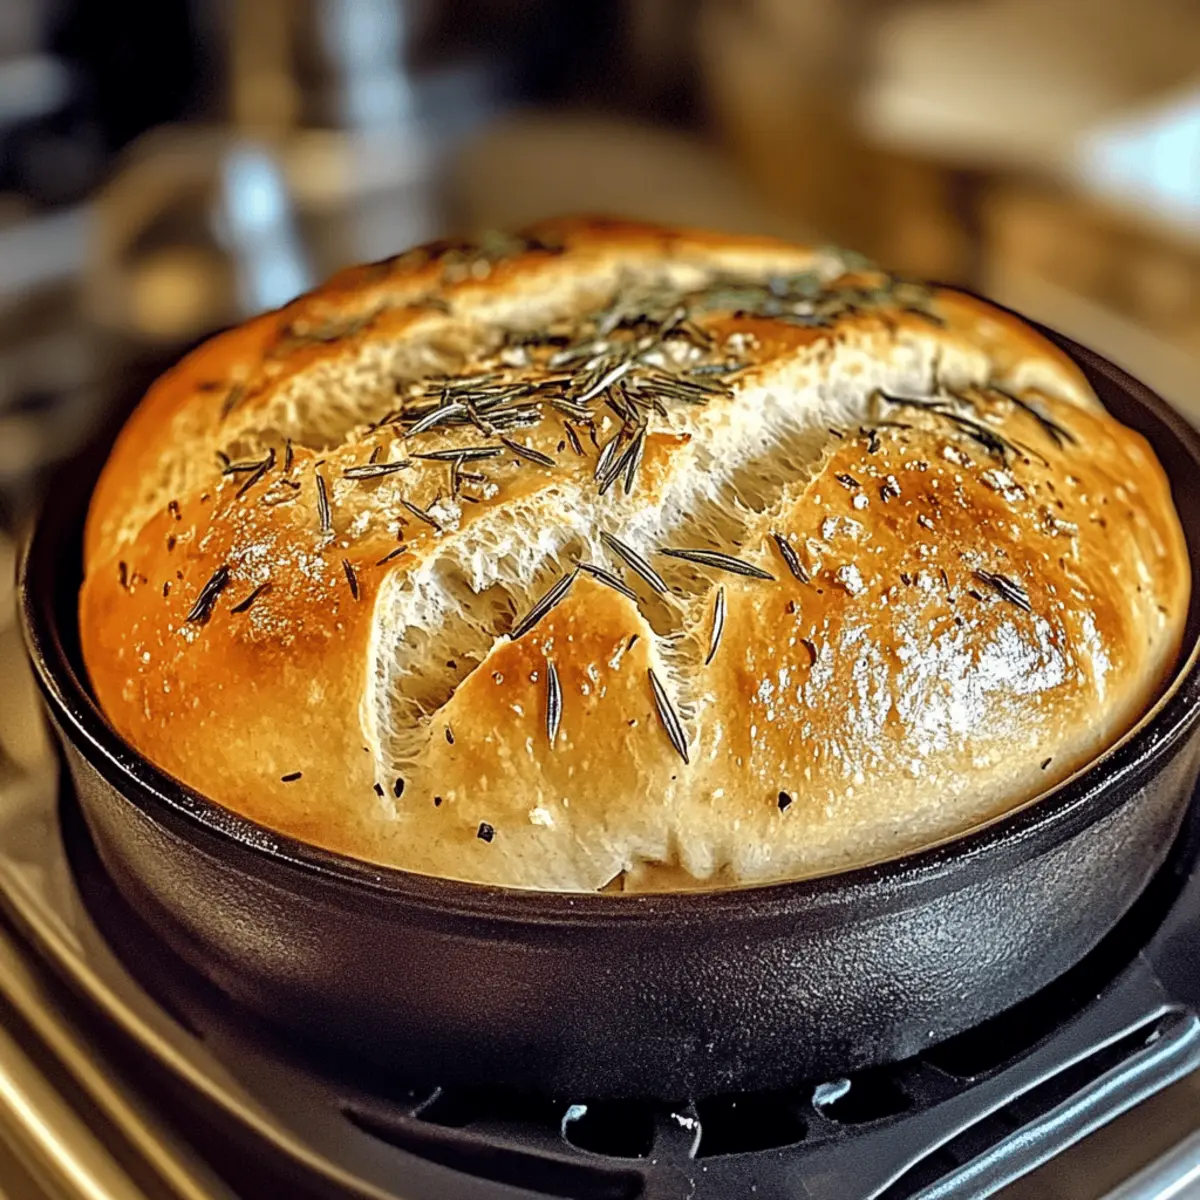
As I strolled through a local farmers’ market, the fragrant scent of fresh rosemary and garlic wafted through the air, instantly sparking inspiration. It’s incredible how a few simple ingredients can transform into a warm, inviting loaf of Rustic No-Knead Rosemary Garlic Bread that effortlessly fills your home with comfort. This recipe is a game-changer, taking the stress out of bread-making with its easy, no-knead technique, perfect for those busy days. Whether you’re a novice baker or a seasoned pro, this delightful bread is not only a fantastic addition to any meal but also a crowd-pleaser that will have everyone asking for seconds. Are you ready to elevate your homemade bread experience? Let’s dive into the steps to create this aromatic masterpiece!
Why is This Bread So Special?
Simplicity at Its Best: The no-knead technique takes the fuss out of bread-making, making it accessible for everyone.
Irresistible Aroma: Fresh rosemary and garlic create an enchanting scent that pulls everyone into the kitchen.
Customizable: Switch up the herbs or add your favorite ingredients like cheese for a unique twist!
Perfect for Any Meal: This hearty loaf is versatile enough to complement soups, salads, or stand alone with olive oil.
Quick and Easy: With minimal hands-on time, you can have fresh bread ready without the hours of preparation!
Ready to enjoy that delightful crunch? You’ll love this easy homemade Rosemary Garlic Bread!
Rosemary Garlic Bread Ingredients
For the Dough
- All-purpose flour – Provides the essential structure for your bread; feel free to use whole wheat flour for added nutrition.
- Salt – Boosts flavor and helps control yeast activity; sea salt works beautifully here for a subtle enhancement.
- Instant yeast – This leavens the dough without needing to be activated; check for freshness to ensure a nice rise.
- Fresh rosemary – Imparts a fragrant, herbaceous flavor; consider substituting with thyme, dill, or oregano for a different flavor profile.
- Minced garlic – Delivers a robust, savory depth to the bread; adjust to your taste for more or less kick.
- Warm water – Hydrates the mixture and activates the yeast; aim for a temperature around 100°F (38°C) for optimal results.
- Olive oil – Adds moisture and richness; you can swap it for melted butter for a richer flavor if desired.
Step‑by‑Step Instructions for Rustic No-Knead Rosemary Garlic Bread
Step 1: Prepare Dough
In a large mixing bowl, combine 3 cups of all-purpose flour, 1.5 teaspoons of salt, and 2 teaspoons of instant yeast. Add 2 tablespoons of minced garlic and 2 tablespoons of finely chopped fresh rosemary. Slowly stir in 1.5 cups of warm water (about 100°F) and 2 tablespoons of olive oil until a sticky, shaggy dough forms.
Step 2: First Rise
Cover the bowl tightly with plastic wrap and let it rest at room temperature for 12 to 18 hours. You’ll know it’s ready when the dough has doubled in size and is bubbly on the surface. This long fermentation gives the Rustic No-Knead Rosemary Garlic Bread its rich flavor and airy texture.
Step 3: Shape Dough
After the dough has risen, lightly flour a clean work surface and turn the dough out gently. Avoid overworking it to keep the airy structure intact. Shape the dough into a round loaf by folding the edges toward the center. Cover it with a kitchen towel and let it rest for about 30 minutes to relax.
Step 4: Preheat Oven
While the dough is resting, preheat your oven to 450°F (230°C). Place a Dutch oven (with its lid) inside the oven to preheat as well. This will create the perfect steam environment for the bread, ensuring a crisp crust that complements the soft interior of your Rosemary Garlic Bread.
Step 5: Bake
Once the oven is fully preheated, carefully remove the Dutch oven and place parchment paper on the bottom. Flip your shaped dough onto the paper and lift it into the hot pot. Cover the pot with the lid and bake for 30 minutes. This step ensures the bread steams properly for a perfect rise.
Step 6: Uncover and Finish Baking
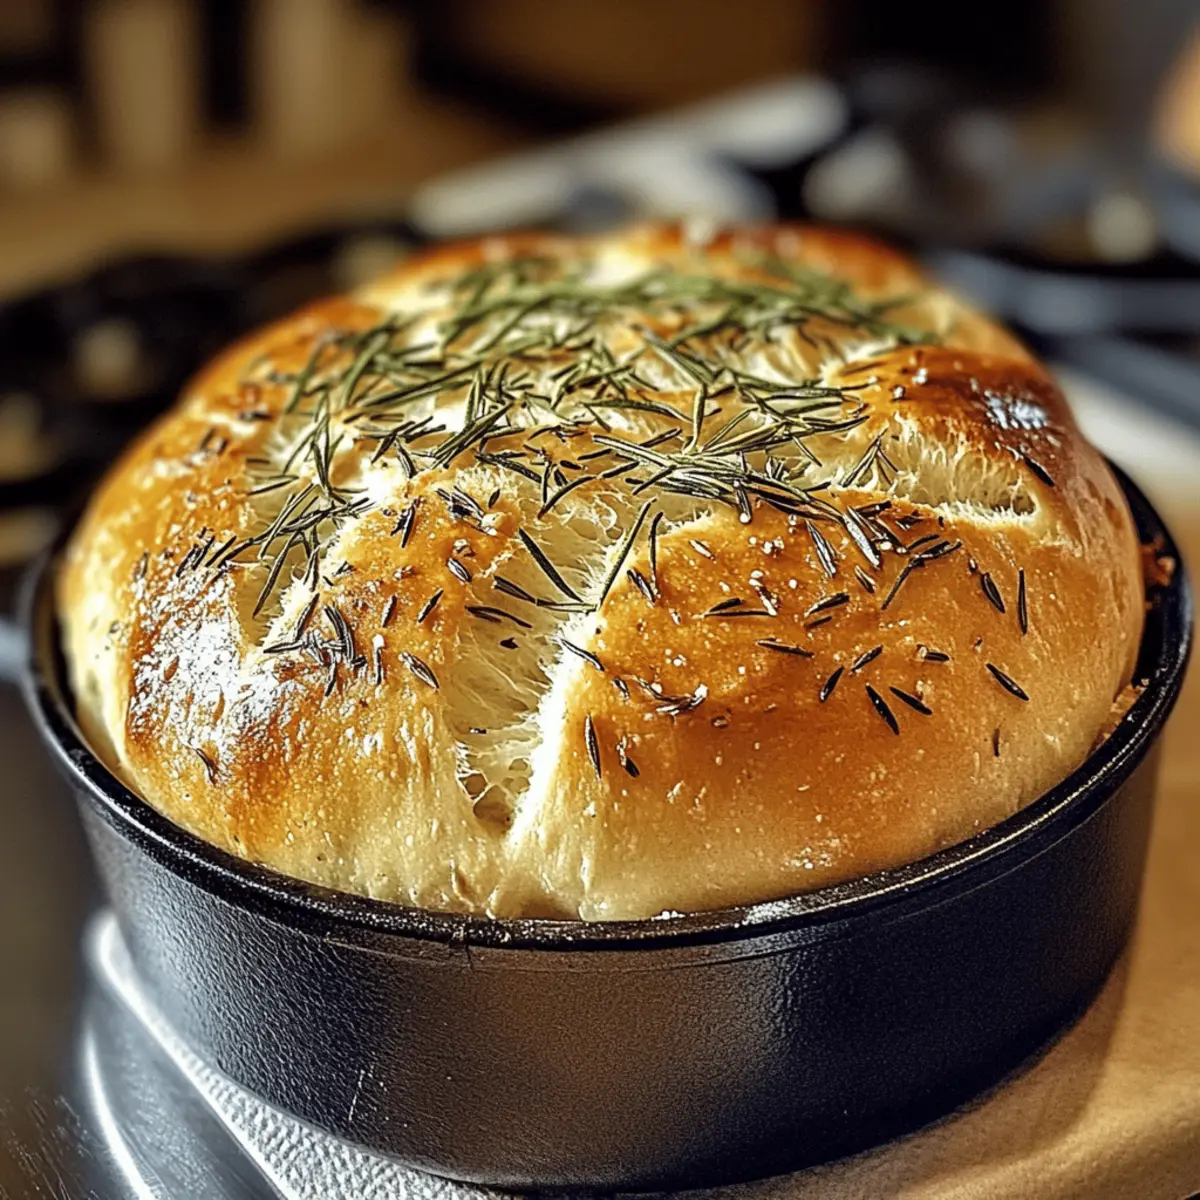
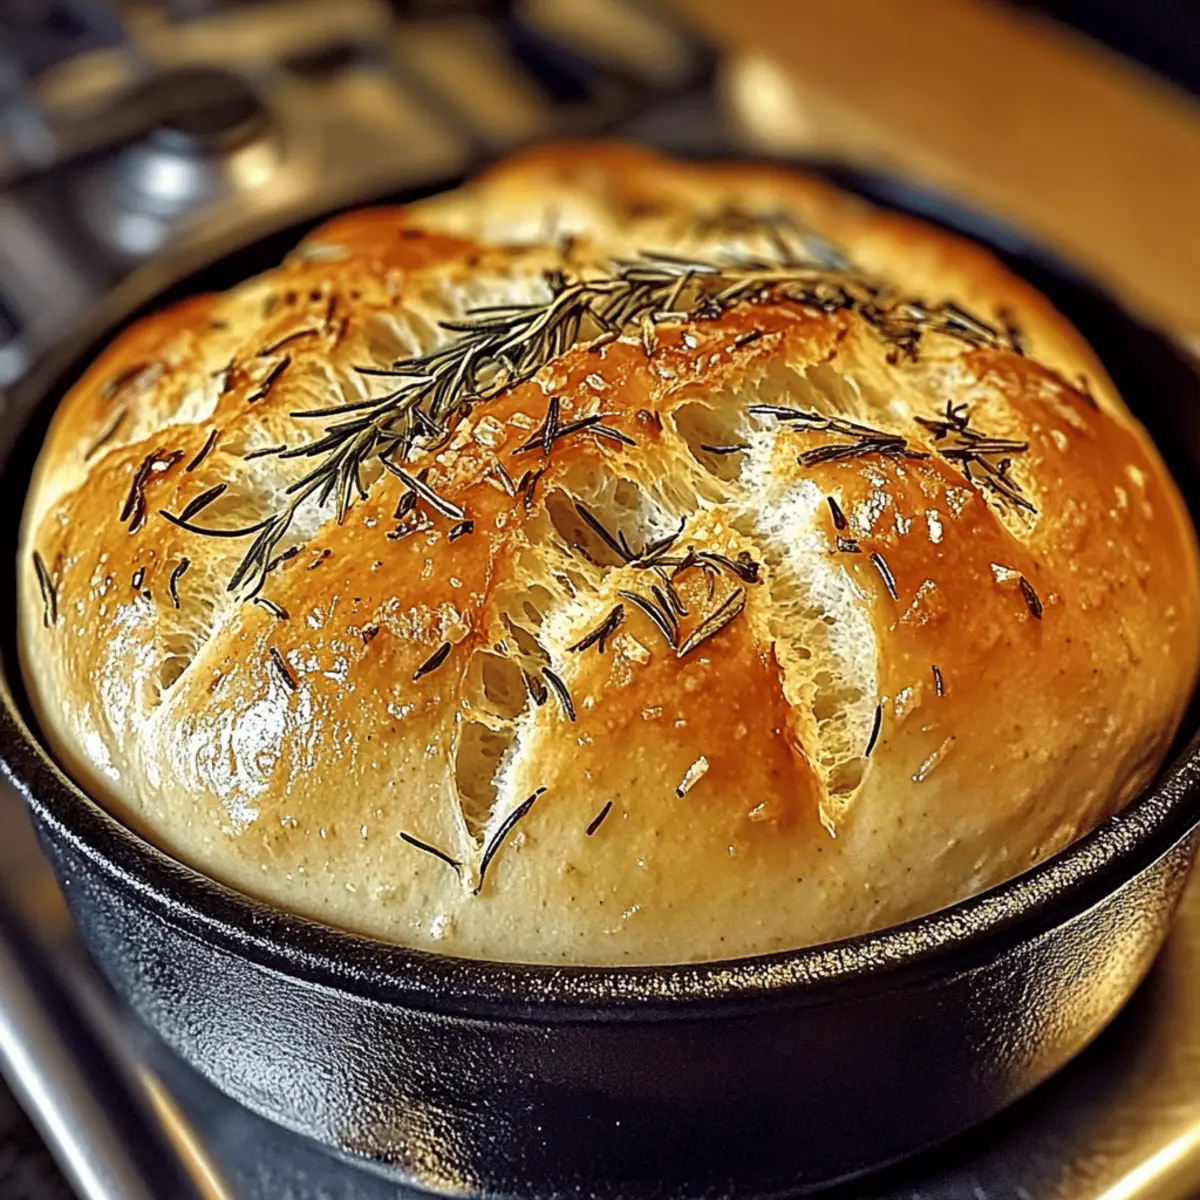
After 30 minutes, remove the lid from the Dutch oven and continue baking for an additional 10 to 15 minutes. Watch for the bread to turn a golden brown color, signaling that it’s done. The crust should be crisp, and the interior will be soft and airy, perfect for your Rustic No-Knead Rosemary Garlic Bread.
Step 7: Cool
Once baked, transfer the bread onto a wire rack and allow it to cool for at least 15 minutes before slicing. Cooling the bread helps to set the crumb structure and enhances the flavor, making each slice of your Rosemary Garlic Bread a delight to enjoy fresh out of the oven.
What to Serve with Rustic No-Knead Rosemary Garlic Bread
Imagine a table adorned with vibrant flavors and comforting aromas, where each bite tells a story of warmth and togetherness.
-
Fresh Garden Salad: Crisp greens and colorful veggies add a vibrant crunch, balancing the bread’s warm, savory flavors. A light vinaigrette will enhance the experience without overpowering it.
-
Hearty Vegetable Soup: The robust flavors of a homemade vegetable soup create a perfect partnership, allowing the bread to soak up every delicious drop. This duo is sure to warm your soul during chilly evenings.
-
Creamy Mashed Potatoes: Silky and buttery mashed potatoes contrast beautifully with the crusty exterior of the bread, making this pairing ideal for a cozy family dinner.
-
Roasted Chicken: Juicy, herb-infused roasted chicken brings a savory richness that complements the rosemary garlic bread perfectly. It’s a comforting, wholesome choice that satisfies every appetite.
-
Cheesy Spinach Dip: A creamy, cheesy spinach dip creates a delightful dipper for your warm bread. This indulgent pairing is perfect for gatherings, inviting friends and family to savor the moment together.
-
Bruschetta Topping: A fresh tomato and basil bruschetta topping offers a burst of flavor to enjoy atop your warm slices. Simple yet delicious, this pairing allows the bread to shine while adding delightful freshness.
-
Red Wine: A glass of rich, full-bodied red wine harmonizes beautifully with the garlic and herb notes of the bread, enhancing the overall dining experience. It’s a match made in culinary heaven!
-
Chocolate Fondue: For a sweet ending, dip cubes of leftover bread into a luscious chocolate fondue. The combination of savory and sweet creates an unforgettable finish to your meal.
Make Ahead Options
These Rustic No-Knead Rosemary Garlic Bread loaves are a fantastic option for meal prep, saving you precious time on busy days! You can prepare the dough up to 24 hours in advance, allowing it to rise overnight (12-18 hours) in the fridge to enhance the flavor. Simply mix all ingredients and let them rest covered at room temperature until it’s doubled in size. After shaping, you can also let the dough rest for up to 30 minutes before baking. When you’re ready to enjoy your delicious homemade bread, preheat your Dutch oven and bake as instructed. This way, you’ll have fresh, warm bread that’s just as delightful as if it were made from scratch that day!
Tips for the Best Rosemary Garlic Bread
-
Use Fresh Ingredients: Ensure your rosemary and garlic are fresh for maximum flavor; stale ingredients can result in a disappointing loaf.
-
Avoid Over-Mixing: When combining ingredients, mix just until a sticky dough forms. Over-mixing can lead to a dense texture rather than the airy crumb desired for rosemary garlic bread.
-
Mind the Temperature: For the warm water, use a kitchen thermometer if possible to achieve the perfect temperature of around 100°F; too hot can kill the yeast, while too cold will slow it down.
-
Preheat Properly: Be sure to preheat your Dutch oven for 30 minutes. This step is key for achieving that lovely crisp crust; skipping this could leave your bread soggy.
-
Don’t Rush Cooling: Allow the bread to cool on a wire rack for at least 15 minutes before slicing. Cutting too soon can alter the bread’s texture and make it gummy.
-
Experiment with Herbs: Feel free to swap rosemary with other herbs like thyme or dill to customize your bread and keep things exciting.
Rosemary Garlic Bread Variations
Feel free to get creative with this recipe, adding unique twists that tantalize your taste buds!
-
Dairy-Free: Substitute olive oil with coconut or avocado oil for a lighter, vegan-friendly twist.
Make it richer by adding a splash of almond milk to the dough for a delightful flavor boost. -
Spicy Kick: Toss in red pepper flakes or finely chopped jalapeños for a zesty punch.
This will add a whole new layer of excitement, great for those who love heat! -
Cheesy Delight: Fold in grated parmesan or cheddar into the dough for a cheesy surprise.
Imagine biting into a warm loaf that oozes savory cheese – it’s a slice of heaven! -
Mediterranean Twist: Incorporate sun-dried tomatoes and black olives for a savory Mediterranean flair.
This variation not only amps up the flavor but also adds a beautiful pop of color to your bread. -
Herb Medley: Mix up the herbs by using a combination of rosemary, thyme, and basil for a garden-fresh taste.
This medley brings a bouquet of flavors that will make your kitchen smell fantastic! -
Nutty Addition: Add toasted walnuts or pine nuts for a delightful crunch and a nutty profile.
These additions can elevate the texture, making it a perfect snack or appetizer. -
Cinnamon Sugar: For a sweet treat, sprinkle cinnamon and sugar on top before baking.
This sweet twist transforms your bread into an irresistible dessert option – perfect for breakfast! -
Garlic Lovers: Increase the minced garlic to amp up the flavor even more.
This variation is perfect for those who can’t get enough of that bold garlic goodness.
And while you’re experimenting, don’t forget to serve this delicious bread with a side of herby olive oil for dipping, or try it alongside a warm bowl of soup or salad for a complete meal experience. For more delightful ideas, check out our recipes for Spaghetti Garlic Bread and our Fryer Garlic Flatbread!
How to Store and Freeze Rosemary Garlic Bread
- Room Temperature: Store the bread wrapped in a paper bag for up to 3-4 days to maintain its crusty exterior and soft interior.
- Fridge: Avoid refrigerating as it can dry out the bread quickly; room temperature is best for flavor retention.
- Freezer: Wrap tightly in plastic wrap or aluminum foil and place in a zip-top bag for up to three months; fully thaw at room temperature before enjoying.
- Reheating: To warm up slices, pop them in a toaster oven for a few minutes or wrap in foil and heat in a 350°F (175°C) oven for about 10 minutes.

Rustic No-Knead Rosemary Garlic Bread Recipe FAQs
What is the best way to select fresh rosemary?
Absolutely! When choosing fresh rosemary, look for vibrant green leaves and avoid any that appear brown or wilted. The aroma should be strong and fragrant, indicating freshness. If you’re in doubt, give it a gentle rub, and if it releases a rich scent, you’re good to go!
How should I store my rosemary garlic bread to retain freshness?
To keep your bread at its best, wrap it in a paper bag and store it at room temperature for up to 3-4 days. The paper bag helps retain the crustiness while allowing the bread to breathe. If you’re not going to finish it within that time frame, consider freezing it!
Can I freeze rosemary garlic bread, and if so, how?
You can absolutely freeze this bread! First, let it cool completely, then wrap it tightly in plastic wrap or aluminum foil. For added protection, place it in a zip-top bag. Frozen, it will last for up to three months. When you’re ready to enjoy it, simply thaw it at room temperature for a few hours!
Why did my bread not rise as expected?
Very! There can be several reasons for this. First, ensure your yeast is fresh; expired yeast won’t work effectively. Another factor could be the water temperature. Make sure it’s around 100°F (38°C) because water that’s too hot can kill the yeast. Lastly, be patient; letting the dough rise overnight allows for better fermentation, leading to a wonderful rise in the oven!
Can I adjust the garlic amount in the recipe?
Of course! I often recommend starting with the suggested amount and adjusting based on your personal taste. If you prefer a subtle garlic flavor, reduce it to one tablespoon. Conversely, if you want to amp up the flavor, feel free to add a little more. It’s all about what brings joy to your taste buds!
Are there any dietary considerations for this recipe?
Definitely! This rustic no-knead rosemary garlic bread is vegetarian-friendly. However, if you’re planning to serve it to pets or someone with allergies, be cautious with the garlic, as it can be harmful to dogs and cats in large quantities. Always check with your guests for any potential allergies to ingredients like garlic or gluten in the bread before serving.
Easy Homemade Rosemary Garlic Bread that You'll Love
Ingredients
Equipment
Method
- In a large mixing bowl, combine 3 cups of all-purpose flour, 1.5 teaspoons of salt, and 2 teaspoons of instant yeast. Add 2 tablespoons of minced garlic and 2 tablespoons of finely chopped fresh rosemary. Slowly stir in 1.5 cups of warm water (about 100°F) and 2 tablespoons of olive oil until a sticky, shaggy dough forms.
- Cover the bowl tightly with plastic wrap and let it rest at room temperature for 12 to 18 hours.
- Lightly flour a clean work surface and turn the dough out gently. Shape the dough into a round loaf and let it rest for about 30 minutes.
- Preheat your oven to 450°F (230°C) and place a Dutch oven inside to preheat.
- Once preheated, remove the Dutch oven, place parchment paper on the bottom, flip your shaped dough onto the paper and lift it into the hot pot. Cover and bake for 30 minutes.
- After 30 minutes, remove the lid and continue baking for an additional 10 to 15 minutes until golden brown.
- Transfer the bread onto a wire rack and allow it to cool for at least 15 minutes before slicing.
Leave a Reply