
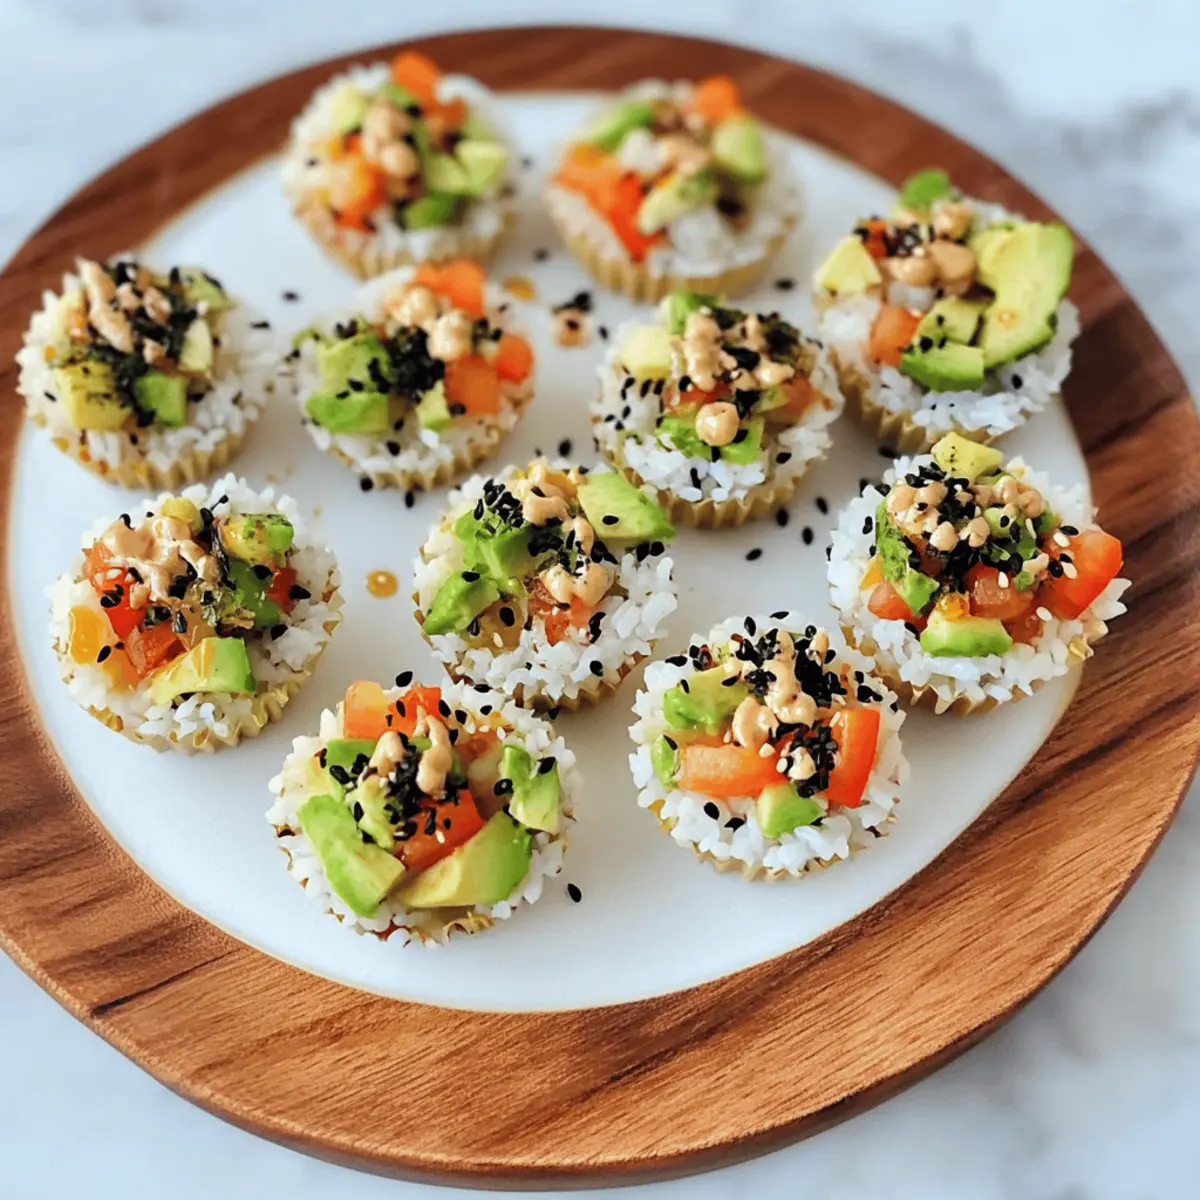
Who knew sushi could be so approachable? With these Customizable No-Bake Sushi Cups, you’ll experience all the delightful flavors of sushi—without the fuss of rolling. Packed with crisp veggies and creamy avocado, these vibrant little bites are a feast for both the eyes and the taste buds. They are perfect as a quick snack or a stunning appetizer for gatherings. Best of all, there’s no baking involved, making these sushi cups a hassle-free addition to your meal prep. Whether you’re a seasoned home chef or simply looking for a healthy alternative to fast food, these cups will not only satisfy your cravings but also inspire creativity with customizable fillings and sauces! What combination will you create?
Why try these No-Bake Sushi Cups?
Flavor Explosion: These sushi cups are packed with vibrant flavors from fresh veggies and creamy avocado that make every bite a treat for your taste buds.
Customizable Delight: Enjoy the freedom to choose your favorites like carrots, cucumbers, and various sauces, ensuring each cup can be tailored to your liking!
Quick and Easy: With no baking required, these cups are a time-saving option for busy weeknights or unexpected guests.
Perfect for Any Occasion: Serve them as party appetizers or quick snacks, and watch them disappear in no time!
Healthy & Wholesome: At approximately 110 calories each, they’re a light yet satisfying alternative to junk food. For more great ideas, try our delightful Breakfast Granola Cups as a healthy start to your day!
Sushi Cups Ingredients
• Quick and easy to gather!
For the Sushi Base
- Sushi Rice – Provides the foundation and texture, so rinse thoroughly for optimal fluffiness.
- Water – Necessary for cooking the rice; the right ratio ensures perfect doneness.
For the Filling
- Chopped Veggies – Adds crunch and color; feel free to mix and match favorites like carrots and cucumbers.
- Steamed Mukimame (Shelled Edamame) – Boosts protein and texture; substitute with regular edamame pods if needed.
- Diced Avocado – Contributes creaminess and healthy fats; use a ripe half for the best flavor.
For the Sauces
- Sauce of Choice – Enhances flavor; consider soy sauce, tamari, or coconut aminos.
- Mayonnaise – Serves as a base for your spicy mayo; opt for a vegan version if desired.
- Sriracha Sauce – Adds the perfect kick; adjust to your spice preference for those delicious sushi cups.
- Coconut Aminos or Soy Sauce – An additional layer of flavor for the mayo; select based on dietary needs.
- Honey – A touch of sweetness to balance the heat; optional depending on your taste.
- Sesame Oil – Introduces a rich, nutty aroma; use sparingly for that special touch.
For the Finish
- Black Sesame Seeds – A delightful garnish that adds visual appeal and a subtle crunch to your sushi cups.
Step‑by‑Step Instructions for Sushi Cups
Step 1: Prepare the Rice
In a medium pot, combine 1 cup sushi rice with 1 1/4 cups water. Bring to a boil over medium-high heat, then reduce to low and cover tightly. Simmer for 20 minutes, or until the water is absorbed and the rice is tender and sticky. Remove from heat and let it sit covered for an additional 10 minutes to steam before fluffing with a fork.
Step 2: Form the Sushi Cups
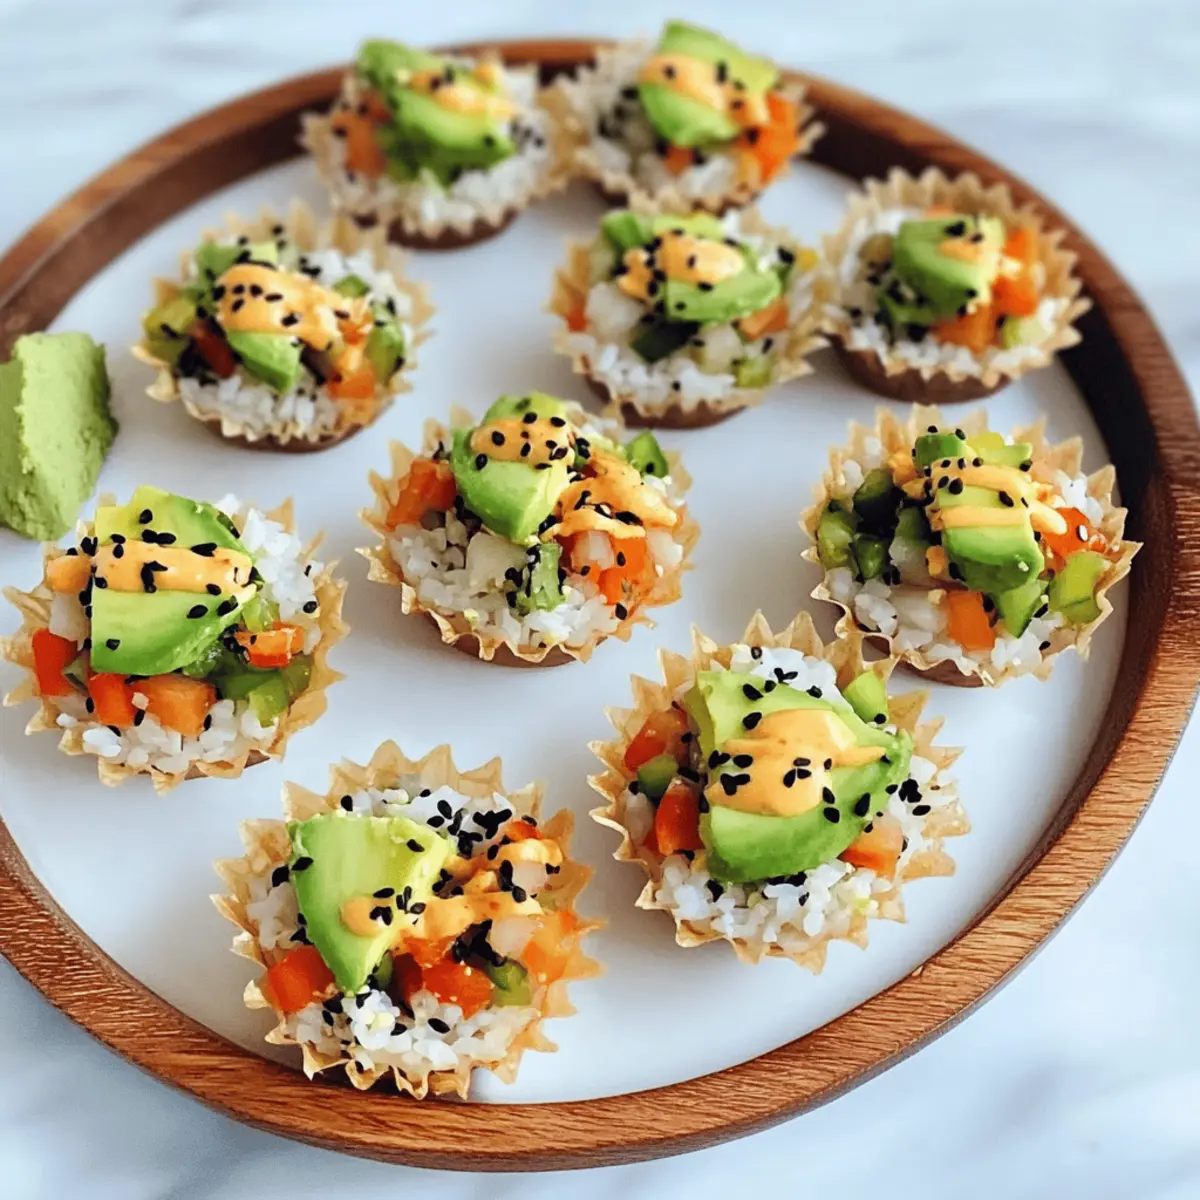
Once the rice is cooked, allow it to cool slightly before transferring it into silicone muffin liners. Press the rice firmly into each cup to create a sturdy base for your sushi cups. Refrigerate the formed rice cups for at least 20 minutes, until they are set and easier to handle for filling.
Step 3: Prepare the Filling
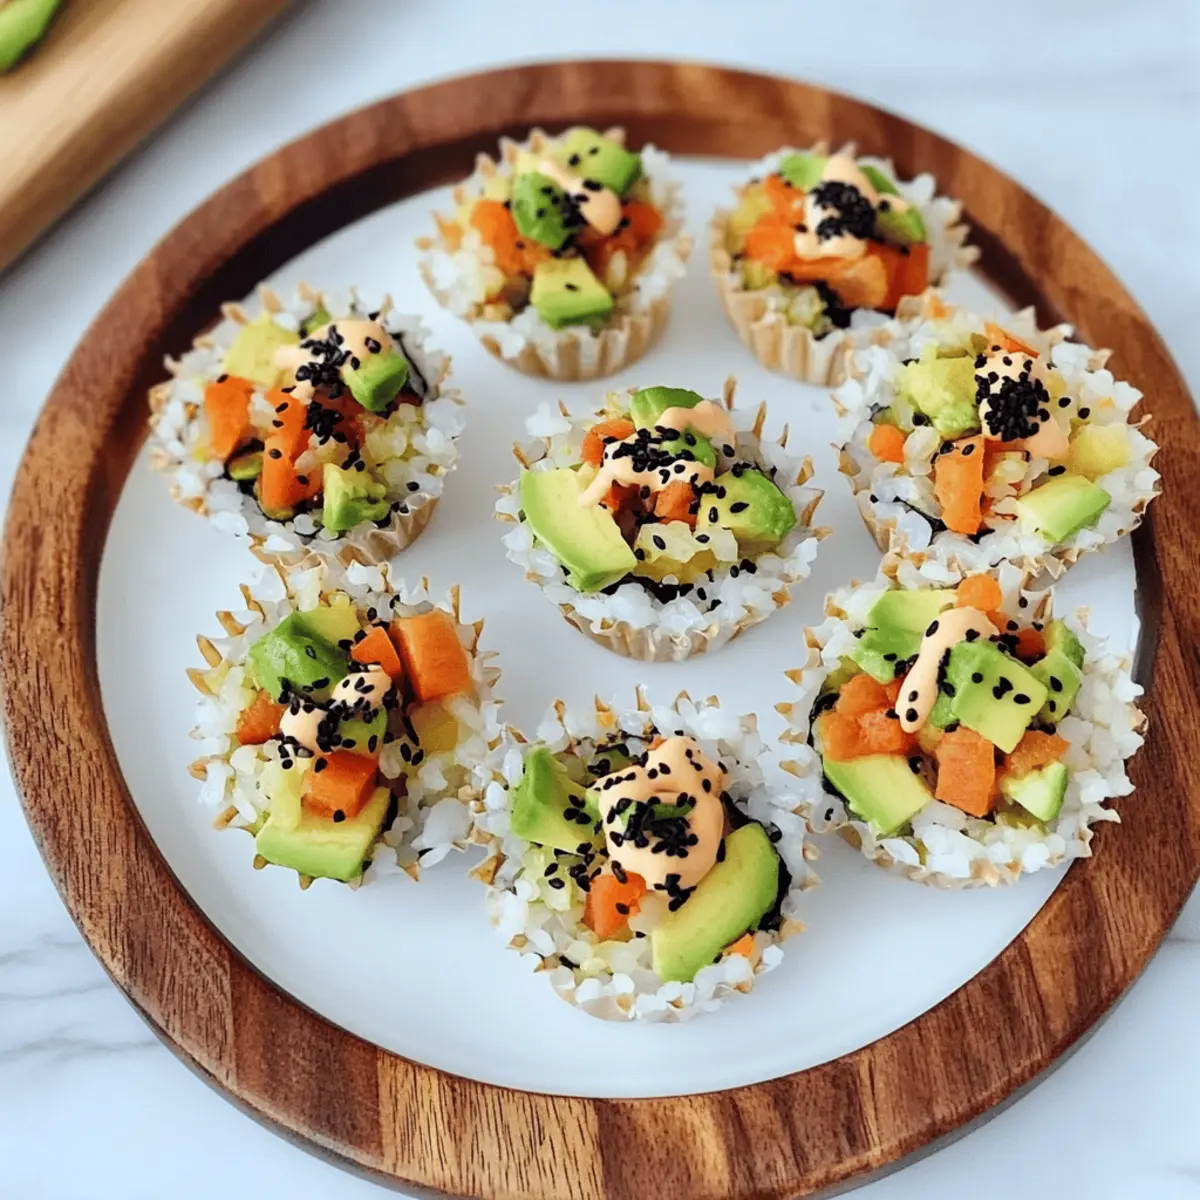
In a large mixing bowl, combine your chopped veggies, steamed mukimame, and diced avocado. Toss everything together gently until all ingredients are well-mixed and coated, creating a colorful and crunchy filling for your sushi cups. Feel free to get creative with your vegetable choices to enhance flavor and texture in these sushi cups.
Step 4: Make the Spicy Mayo
In a separate bowl, whisk together mayonnaise, Sriracha sauce, a splash of coconut aminos or soy sauce, honey (if using), and sesame oil until smooth and creamy. Adjust the spiciness to your preference; this will add a delicious kick to your sushi cups. Set aside while you assemble the cups.
Step 5: Assemble the Sushi Cups
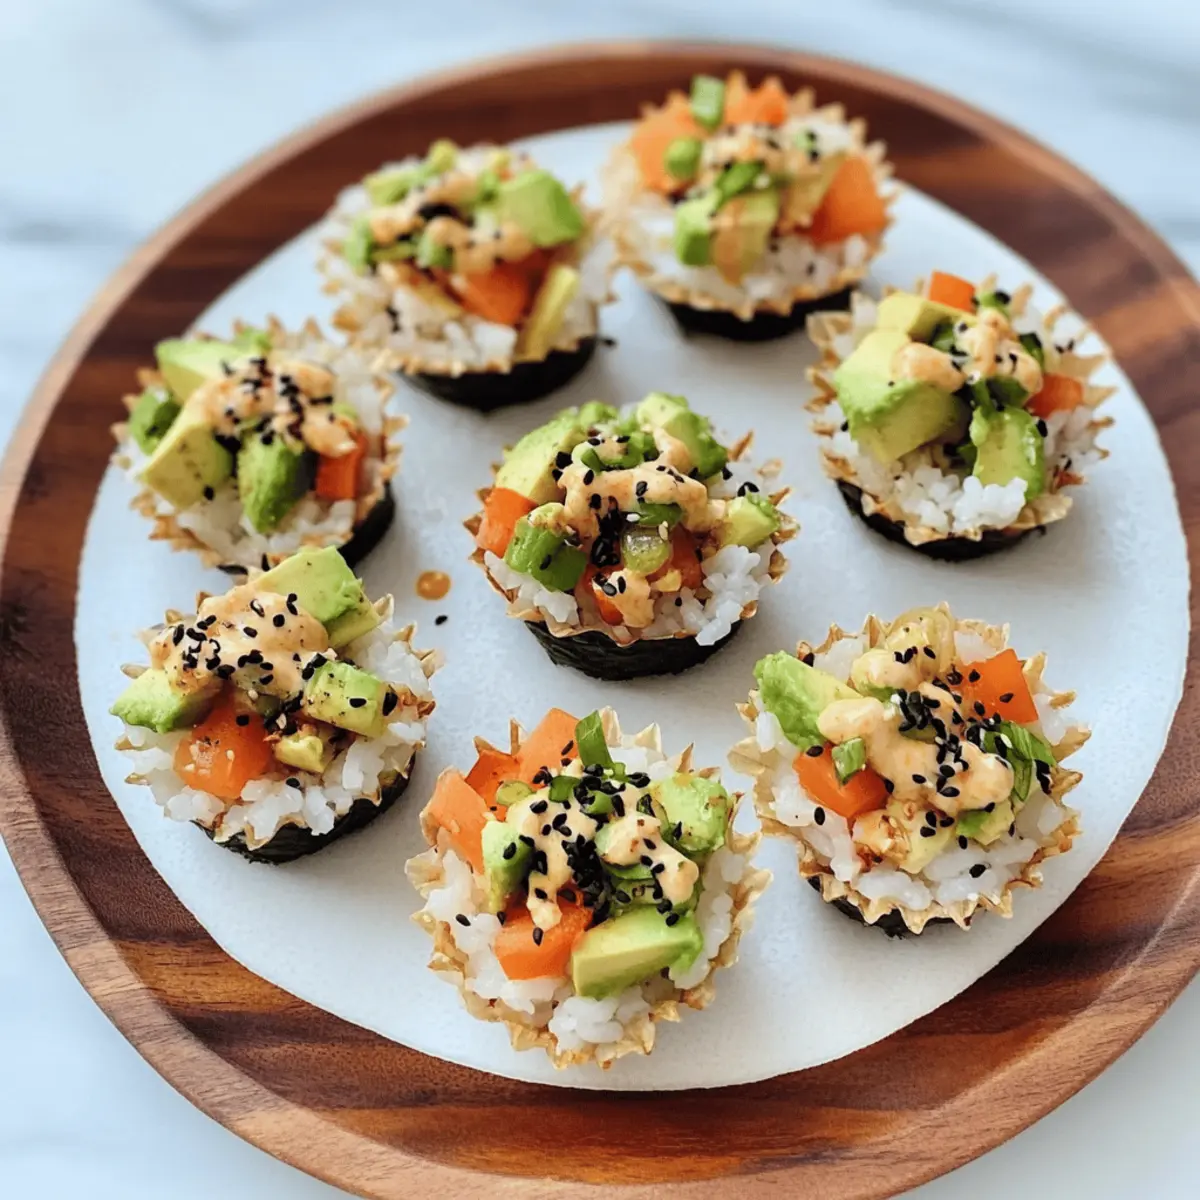
Carefully remove the chilled rice cups from the muffin liners and place them on a serving platter. Spoon an ample amount of the veggie mixture into each rice cup, ensuring they’re generously filled. Drizzle the spicy mayo over the top and sprinkle with black sesame seeds for a delightful finish that adds both flavor and a visual appeal to your sushi cups.
Storage Tips for Sushi Cups
-
Room Temperature: Enjoy sushi cups fresh for the best flavor and texture; they are best served immediately after assembly. If left out, consume within 2 hours.
-
Fridge: Store any leftover sushi cups in an airtight container in the refrigerator. They can last up to 2 days while remaining fresh, but note that the rice may lose some texture and become firmer.
-
Freezer: It is not recommended to freeze assembled sushi cups as the rice and veggies can become mushy upon thawing. However, you can prepare the rice base in advance, freeze it, and assemble fresh cups when ready to serve.
-
Reheating: If using frozen rice, thaw overnight in the fridge, then reheat gently in the microwave to regain moisture before assembling your sushi cups.
Make Ahead Options
These Customizable No-Bake Sushi Cups are fantastic for meal prep enthusiasts! You can prepare the sushi rice cups and the filling separately up to 24 hours in advance, ensuring a quick assembly when it’s time to serve. To do this, form the rice cups in silicone muffin liners and chill them for at least 20 minutes until set. For the filling, mix your chopped veggies, mukimame, and diced avocado, and store it in an airtight container in the refrigerator. Just before serving, simply fill the chilled rice cups with the veggie mixture, drizzle the spicy mayo on top, and garnish with black sesame seeds. This approach keeps your sushi cups just as delicious and fresh, saving valuable time for busy weeknights!
Sushi Cups Variations & Substitutions
Unleash your creativity in the kitchen by customizing these sushi cups with your favorite ingredients and flavors!
-
Guacamole Twist: Substitute avocado with guacamole for a zesty kick that adds creaminess and vibrant flavor.
Try a hint of lime in your guacamole for an exciting twist! -
Protein-Packed: Add shredded imitation crab, crispy tofu, or succulent shrimp for a heartier version that’s sure to satisfy.
For a vegetarian option, try marinated tofu to complement your veggie mix beautifully! -
Spicy Kick: Experiment with different hot sauces beyond Sriracha, like chili garlic sauce or a spicy peanut sauce for a fiery flavor.
A drizzle of homemade spicy mayo balances texture and brings the heat to your sushi cups! -
Veggie Variations: Swap out the veggies for seasonal stars like radishes, bell peppers, or even fresh herbs like cilantro for a burst of freshness.
Incorporating a variety of textures creates an exciting eating experience! -
Sweetness with Honey: For a more pronounced sweet note, replace honey with maple syrup, offering a delightful twist to the spicy mayo.
This swap enhances the flavor without losing the delicious balance you’re aiming for. -
Crunchy Topping: Sprinkle toasted panko breadcrumbs or crushed peanuts over the top for added crunch and flavor contrast.
This simple addition brings a delightful texture that elevates your sushi cups!
For more inspiration and creative twists, check out our scrumptious Marry Bake Cups or whip up some Breakfast Granola Cups for a tasty start to your day!
What to Serve with Customizable No-Bake Sushi Cups
Creating the perfect meal is all about harmony, and these sushi cups deserve delightful partners to shine alongside them.
- Crispy Seaweed Salad: The briny flavors and crunchy texture create a refreshing contrast to the creamy avocado in the sushi cups.
- Pickled Ginger: This bright, tangy element cleanses the palate, enhancing the sushi experience with each bite you take.
- Chilled Edamame: A protein-packed snack that offers lightness and balance, complementing the sushi cups beautifully. Just sprinkle with sea salt for added flavor.
- Miso Soup: This warm, savory soup serves as a comforting contrast to the fresh, cool sushi cups, making for a well-rounded meal.
- Cucumber Salad: Light and crisp, it offers a refreshing crunch that pairs perfectly with the flavors in your sushi cups. Toss with rice vinegar for an extra zing.
- Sake Spritzer: For a light drink, mix sake with sparkling water and a splash of citrus; this effervescent beverage lifts the whole meal!
- Fruit Skewers: Sweet, juicy pieces of melon or pineapple make for a delightful, refreshing dessert that balances the umami flavors of the sushi.
- Mango Sorbet: For a sweet ending, this fruity treat is not only refreshing but adds a delightful tropical twist to your meal.
- Coconut Water: A thirst-quenching option that lends a touch of creamy sweetness, rounding out your sushi cups perfectly.
Expert Tips for Sushi Cups
-
Choose the Right Rice: Use short-grain sushi rice for optimal stickiness; this keeps your sushi cups intact and perfectly formed.
-
Cool Before Filling: Ensure the rice has cooled adequately before pressing into muffin cups; warm rice can lead to easily breakable cups.
-
Veggie Variety: Experiment with colorful veggies for visual appeal and flavor diversity, but avoid overly watery options like tomatoes to prevent sogginess.
-
Chill and Set: Remember to chill the rice cups well; this step helps them hold their shape and makes assembling your sushi cups easier.
-
Adjust Spice Levels: Tailor the spicy mayo to your taste—start with less Sriracha and gradually add more until you achieve your desired heat for the sushi cups.
-
Storage Best Practices: Store leftover sushi cups in an airtight container, consuming them within two days for the freshest taste and optimal texture.
Sushi Cups Recipe FAQs
How do I select ripe ingredients for my sushi cups?
Absolutely! When choosing cucumbers, look for ones that are firm and smooth, avoiding any with dark spots or soft areas. For avocados, aim for ones that yield slightly when pressed gently but aren’t overly soft. Carrots should be vibrant in color and crunchy to ensure a satisfying texture in your sushi cups.
What are the best storage methods for leftover sushi cups?
Very! To store your sushi cups, simply place them in an airtight container and refrigerate. They will stay fresh for up to 2 days. However, it’s best to consume them sooner for the optimal taste and texture, as the rice tends to firm up and lose its desirable softness when stored for too long.
Can I freeze sushi cups for later use?
Absolutely! While it’s not recommended to freeze assembled sushi cups due to potential sogginess from the veggies, you can prepare the sushi rice in advance. Freeze the cooled rice in an airtight container for up to 3 months. When you’re ready, thaw the rice in the fridge overnight, then fill your cups fresh with your favorite veggies and sauces.
What should I do if my sushi cups don’t hold their shape?
No worries! If your sushi cups fall apart, it’s likely due to not pressing the rice firmly enough into the muffin liners. Make sure to pack the rice tightly and let them chill for at least 20 minutes before adding fillings. If the rice is too warm, it can also lead to breakage when removed, so let it cool adequately before shaping!
Are these sushi cups safe for people with allergies?
Very! While these sushi cups can be made with a variety of ingredients, it’s essential to keep dietary preferences in mind. For those with soy allergies, opt for coconut aminos instead of soy sauce. If you’re making these cups for a gathering, it’s always a good idea to ask about any food allergies beforehand to ensure everyone can enjoy them safely.
How many calories are in each sushi cup?
Absolutely! Each sushi cup contains approximately 110 calories, which makes them a light yet satisfying snack or appetizer. This makes them a great choice for those looking to enjoy a flavorful and nutritious option without the guilt!
Delicious Sushi Cups: Quick, No-Bake Flavor Adventures
Ingredients
Equipment
Method
- In a medium pot, combine sushi rice with water. Bring to a boil, reduce to low and cover tightly. Simmer for 20 minutes, then let sit for 10 minutes to steam before fluffing.
- Allow the rice to cool slightly, then transfer it into silicone muffin liners and press firmly to create a sturdy base. Refrigerate for at least 20 minutes.
- In a large mixing bowl, combine chopped veggies, steamed mukimame, and diced avocado. Toss together gently until well-mixed.
- Whisk together mayonnaise, Sriracha sauce, coconut aminos or soy sauce, honey (if using), and sesame oil until smooth. Set aside.
- Remove the chilled rice cups from the muffin liners. Fill each with the veggie mixture and drizzle with spicy mayo. Sprinkle with black sesame seeds.
Leave a Reply