
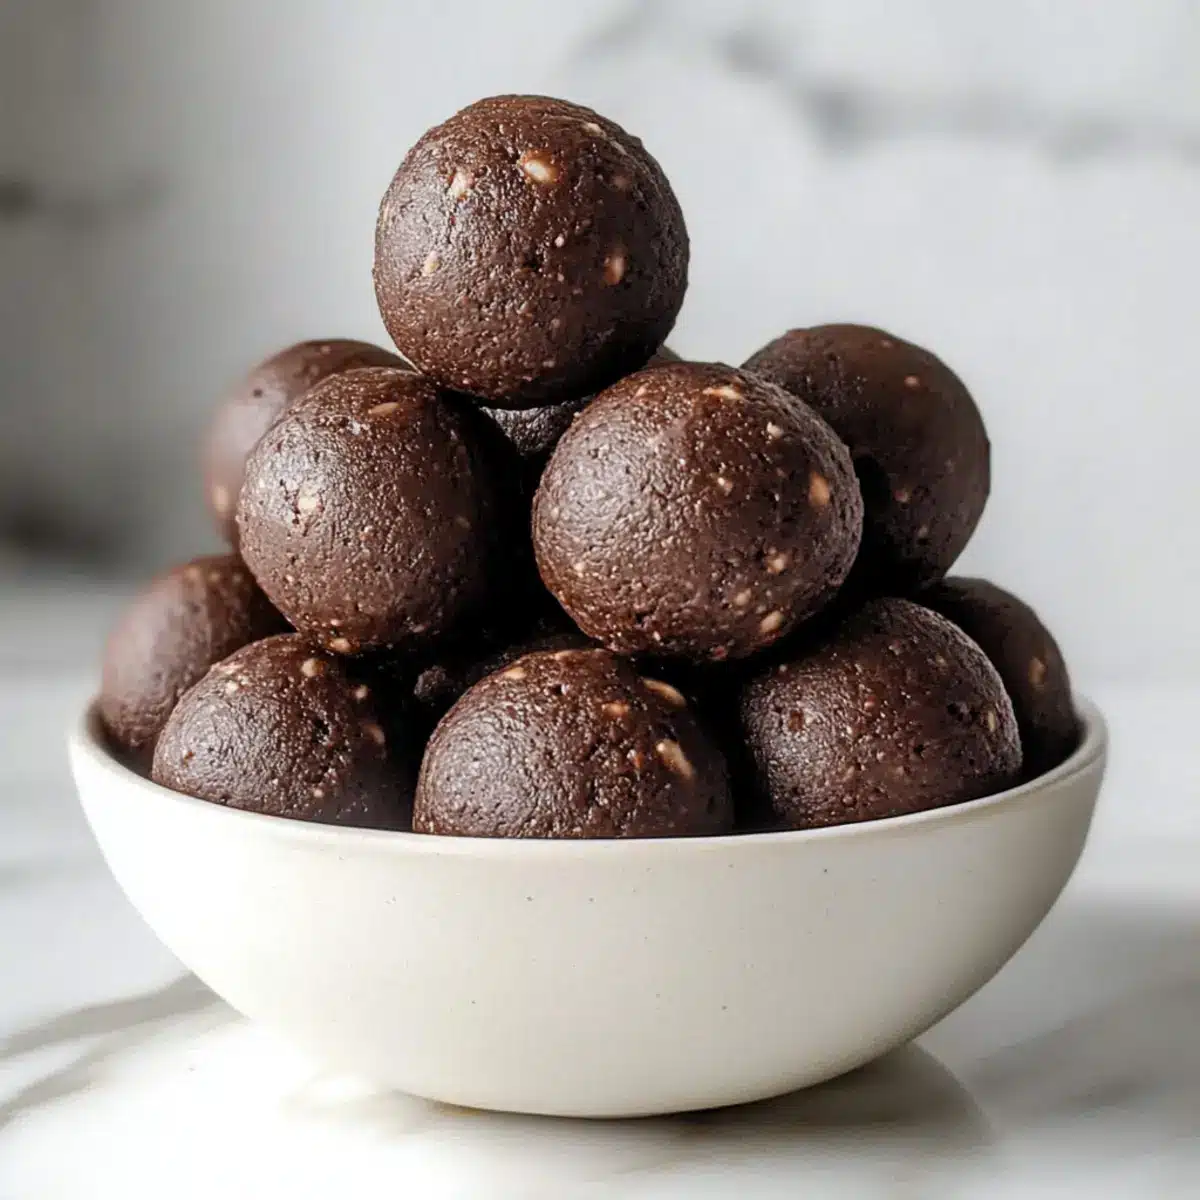
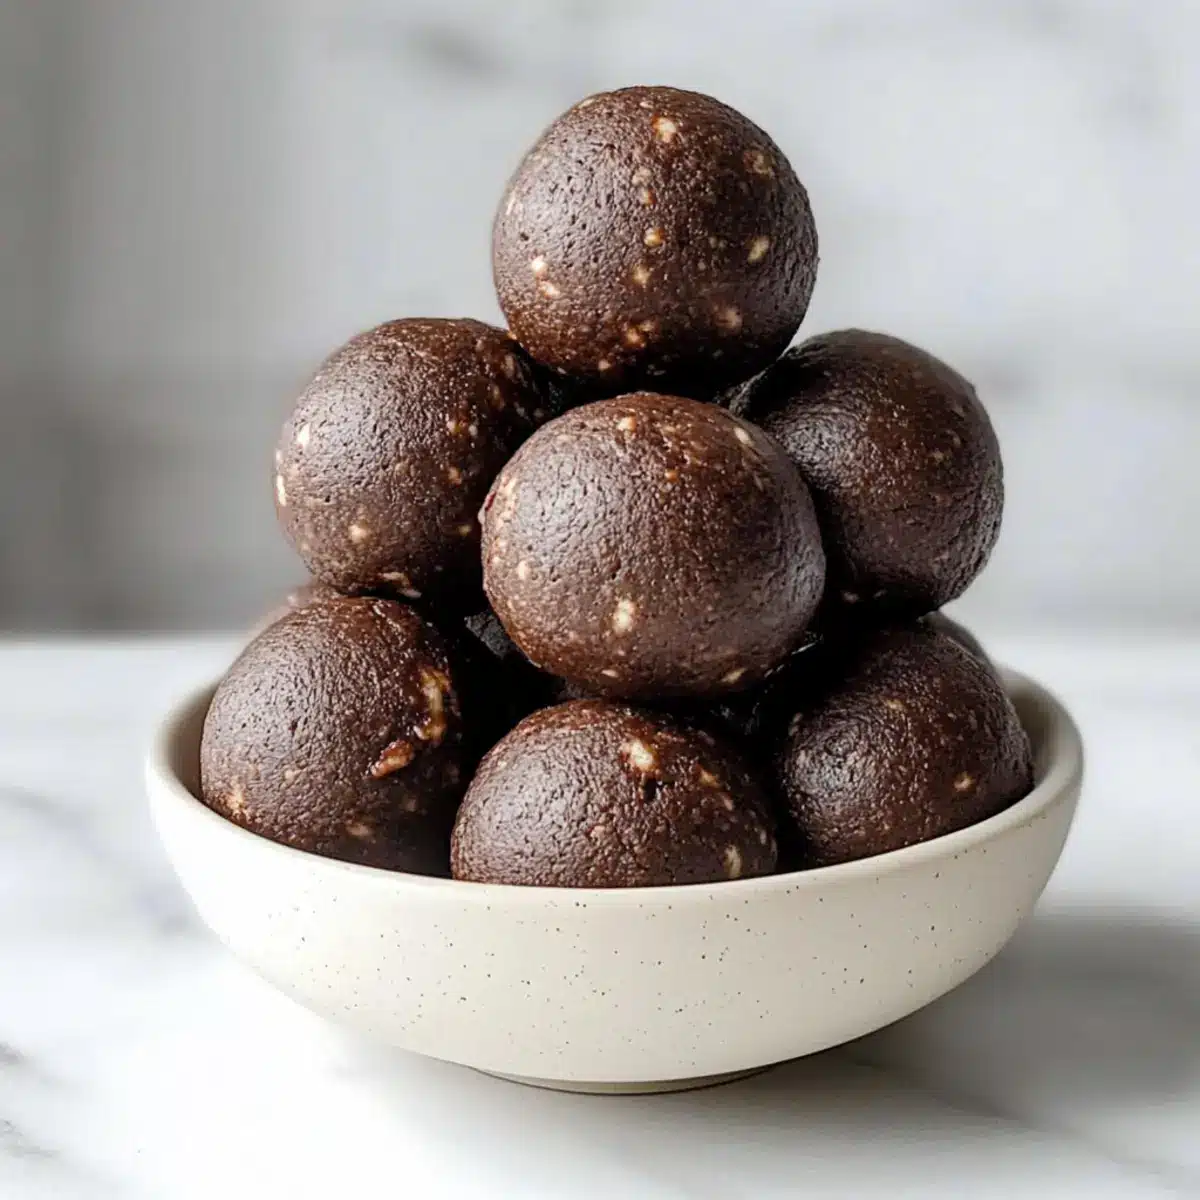
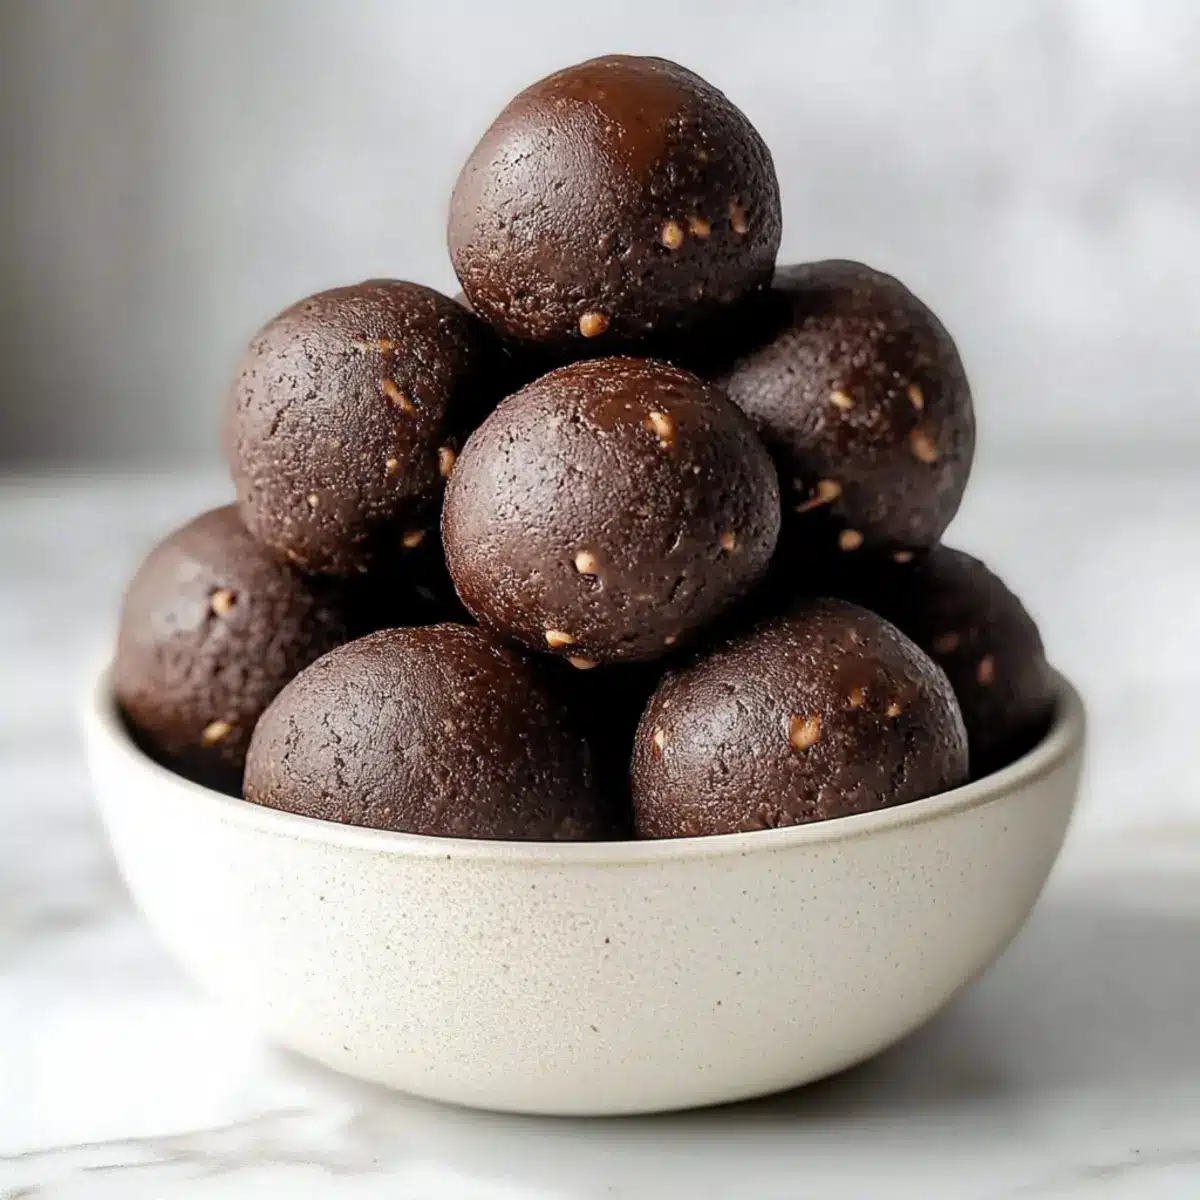
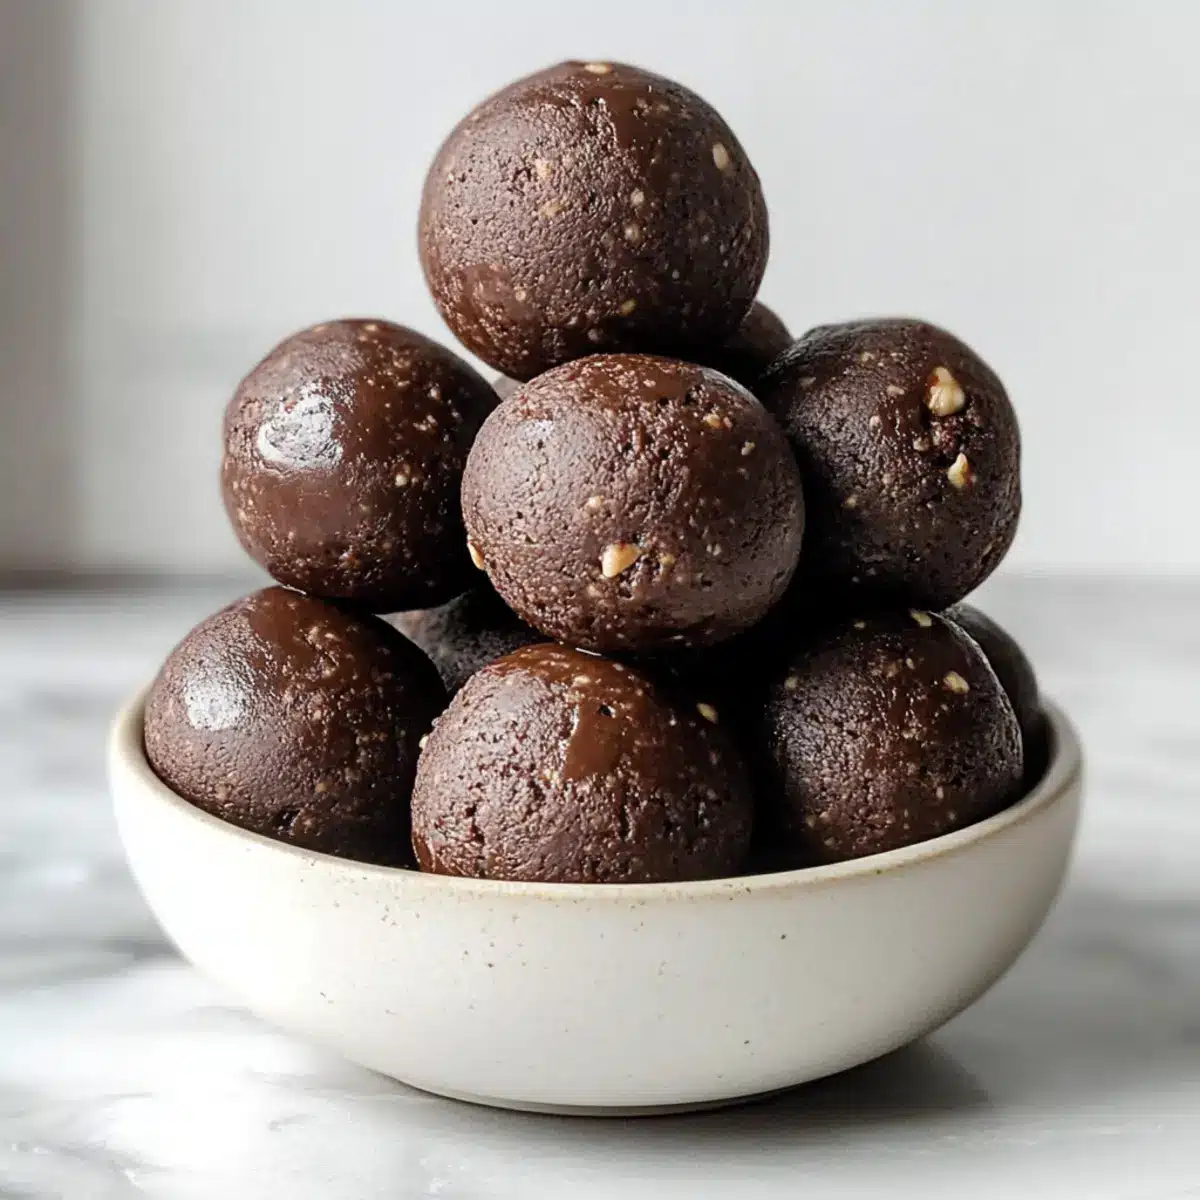
As I stood in my kitchen, the warm scent of chocolate began to swirl around me, instantly lightening my mood. This no-bake recipe for Brownie Batter Protein Balls has become my go-to snack, effortlessly merging indulgence and nourishment. With just a few simple ingredients, these protein-packed bites are not only quick to whip up but also provide a rich and satisfying flavor that rivals any traditional dessert. They are perfect for when you need a little pick-me-up, whether it’s after a workout or during a hectic afternoon. Plus, they’re an excellent way to sneak in a nutritious boost without sacrificing taste. Are you ready to discover your new favorite healthy treat?
Why You’ll Love Brownie Batter Protein Balls
Quick & Easy: With just a few basic steps, you can whip up these delicious, no-bake treats in no time. Perfect for busy days!
Protein-Packed: Each bite is loaded with protein, making them an ideal post-workout snack. Pair them with a refreshing smoothie for an extra boost!
Decadent Flavor: The rich chocolatey goodness satisfies your cravings while keeping things healthy. Who knew indulgence could be so nutritious?
Versatile Options: Feel free to customize with different nut butters or add-ins like nuts for texture. Each batch can be a new adventure!
Meal Prep Friendly: Make a batch ahead of time and enjoy hassle-free snacking throughout the week. These protein balls are great for a quick energy boost anytime!
Whether you’re looking for a sweet treat or a healthy snack, these Brownie Batter Protein Balls hit the spot!
Brownie Batter Protein Balls Ingredients
Get ready to whip up something delicious!
For the Dough
- Almond Flour – Provides a nutty flavor and chewy texture; substitute with oat flour for a gluten-free option.
- Cocoa Powder – Adds rich chocolate flavor; use unsweetened cocoa for balanced sweetness.
- Protein Powder – Supplies protein content; use plant-based protein for a vegan version.
- Almond Butter – Acts as a binding agent and adds creaminess; substitute with peanut butter for a different flavor.
- Maple Syrup – Natural sweetener for moisture and sweetness; honey can be used if not vegan.
- Instant Coffee – Enhances chocolate flavor; omit if sensitive to caffeine.
- Milk – Adjusts dough consistency for proper binding; use almond milk for a dairy-free option.
For the Mix-ins
- Chocolate Chips – Provides additional chocolatey goodness; optional; can substitute with dried fruits for a healthier twist.
Now you’re all set to create these delightful Brownie Batter Protein Balls!
Step‑by‑Step Instructions for Brownie Batter Protein Balls
Step 1: Prepare Your Workspace
Begin by lining a baking tray with parchment paper to prevent the Brownie Batter Protein Balls from sticking. This simple step ensures easy removal later. Gather all your ingredients, measuring cups, and a medium mixing bowl. Having everything ready will make the process smoother, allowing you to focus on creating these delicious snacks without interruption.
Step 2: Mix the Dry Ingredients
In your medium bowl, combine the almond flour, cocoa powder, and protein powder. Use a whisk to ensure these dry ingredients are evenly blended, giving the Brownie Batter Protein Balls a uniform texture. Take a moment to appreciate the rich chocolate aroma as the cocoa powder mingles with the nutty flour. This will be the foundation of your delightful, no-bake treat!
Step 3: Add the Wet Ingredients
Stir in the almond butter, maple syrup, instant coffee, and milk to the dry mixture. Using a spatula, mix these ingredients thoroughly. The goal is to create a thick, pliable dough that holds together well. If the mixture feels too dry, add a splash more milk; if too sticky, sprinkle in a little additional almond flour. The dough should be cohesive yet moldable.
Step 4: Introduce the Chocolate Chips
Once your dough is well combined, fold in the chocolate chips until they’re evenly distributed throughout the mix. This step adds an extra layer of chocolatey goodness to your Brownie Batter Protein Balls. The combination of textures will make every bite a delightful experience. Take a moment to enjoy how the chocolate chips contrast against the rich, dark dough.
Step 5: Form the Protein Balls
Using your hands, scoop out portions of the dough, rolling them into 1½ to 2-inch balls. Aim for uniform size for even snacking enjoyment. As you roll, the dough should feel smooth and hold its shape. Each Brownie Batter Protein Ball will be a small treat filled with energy, perfect for a quick pick-me-up.
Step 6: Chill to Set
Place the formed balls onto the prepared baking tray, ensuring they are spaced apart. Pop the tray in the freezer for about 15 minutes. This chilling period allows the Brownie Batter Protein Balls to firm up, making them easier to handle. You’ll know they’re ready when they feel slightly harder to the touch but still soft inside.
Step 7: Store and Enjoy
After chilling, transfer your frozen Brownie Batter Protein Balls to an airtight container. They can be stored in the fridge for up to a week for that perfect snack anytime or freeze for up to three months. Just remember, when cravings strike, these protein balls can be enjoyed cold or allowed to thaw briefly for a delightful treat!
What to Serve with Brownie Batter Protein Balls
To elevate your snack experience, pair these indulgent bites with complementary flavors and textures that create a deliciously balanced spread.
-
Creamy Greek Yogurt:
This smooth, tangy yogurt adds a refreshing contrast to the rich chocolate. The extra protein boosts your snack while keeping your palate delighted. -
Fresh Fruit Salad:
A vibrant mix of berries, bananas, and citrus brings brightness and natural sweetness. The juicy burst of fruit balances the indulgence of the protein balls perfectly. -
Nutty Granola:
With its crunchy texture and wholesome ingredients, granola is an excellent topping over yogurt or as a crunchy side. A sprinkle adds delightful dimension alongside each bite. -
Almond Milk Smoothie:
Blend almond milk with a banana and a scoop of protein powder for a creamy, post-workout drink. Its lightness enhances your afternoon pick-me-up. -
Dark Chocolate Dipped Strawberries:
These sweet, decadent treats echo the chocolate flavor of the protein balls, creating a luxurious dessert experience that’s still on the healthier side. -
Trail Mix:
A handful of trail mix adds a satisfying crunch, featuring nuts and dried fruits. It’s a delightful way to incorporate different flavors and textures to your afternoon snack. -
Hummus and Veggies:
Pair this savory dip with fresh veggies to balance the sweetness of the protein balls. The contrast in flavors creates a well-rounded snack platter. -
Chia Pudding:
This creamy pudding provides a unique texture and additional protein. Pair it with your protein balls for a sumptuous, wholesome treat.
Let your imagination run wild as you combine these options with your newly made Brownie Batter Protein Balls for a truly delightful snacking experience!
Make Ahead Options
These Brownie Batter Protein Balls are perfect for meal prep enthusiasts! You can mix the dough and store it in the refrigerator up to 3 days in advance, allowing the flavors to meld while keeping the snacks fresh. Simply assemble the dough, roll it into balls, then refrigerate in an airtight container. For those looking to prep even further in advance, you can also freeze the rolled balls for up to 3 months. When it’s time to enjoy, just grab a few and let them thaw for a few minutes or enjoy them straight from the freezer for a refreshing treat. This method ensures you always have a delicious, protein-packed snack ready to go, saving you time on busy days!
How to Store and Freeze Brownie Batter Protein Balls
Fridge: Store the Brownie Batter Protein Balls in an airtight container for up to 1 week. This keeps them fresh and ready for snacking anytime!
Freezer: For longer storage, freeze the protein balls in a single layer on a baking sheet for about 15 minutes, then transfer to an airtight container. They can be kept for up to 3 months.
Reheating: Enjoy them as is for a cold treat, or let them sit at room temperature for a few minutes if frozen, allowing for the perfect chewy texture when ready to eat.
Make-Ahead Tips: Perfect for meal prep, these protein balls can be made in advance for quick, nutritious snacks throughout the week!
Brownie Batter Protein Balls: Creative Twists Await!
Feel free to get inventive with your Brownie Batter Protein Balls by incorporating these delightful variations!
-
Coconut Flour: Swap almond flour for coconut flour for a tropical twist and naturally sweet flavor. Coconut flour tends to absorb more moisture, so be mindful to adjust your liquid ingredients accordingly.
-
Nut Butter Variety: Replace almond butter with sunflower seed or cashew butter to introduce new flavors. Each nut butter lends its unique profile, creating a deliciously different snacking experience.
-
Crunchy Add-Ins: Mix in some chopped nuts or seeds for added texture and crunch. Walnuts or chia seeds can transform your protein balls into a delightful, hearty treat.
-
Dried Fruits: Substitute chocolate chips with dried fruits like cranberries or apricots for a fruity burst. This offers a natural sweetness and nutritional boost that will keep your taste buds dancing.
-
Spice It Up: Add a pinch of cinnamon or a dash of cayenne pepper for an unexpected flavor kick. This subtle heat can elevate the overall taste profile and make it even more exciting.
-
Protein-Packed Variations: Experiment with different protein powders, like chocolate or vanilla, to see how they change the taste. Using a flavored powder can definitely make your Brownie Batter Protein Balls even more delightful.
-
Vegan Delight: For a completely plant-based version, ensure your protein powder and sweetener are vegan-friendly. This way, you can indulge guilt-free!
Ready to whip up a batch? With these variations, you can enjoy these Brownie Batter Protein Balls while keeping your snack time fun and flavorful.
Expert Tips for Brownie Batter Protein Balls
-
Moisture Adjustment: If your dough is too dry, gradually add a splash of milk until it reaches the right consistency. Too sticky? Sprinkle in a bit more almond flour.
-
Chill for Best Texture: Freezing the Brownie Batter Protein Balls for at least 15 minutes is key to achieving the chewy yet firm texture you desire.
-
Storage Savvy: Keep your protein balls in an airtight container in the fridge for up to a week or freeze for up to three months.
-
Customizable Mix-Ins: Feel free to experiment! Substitute chocolate chips with dried fruits or different nuts to create new flavor profiles.
-
Serving Suggestions: For an extra indulgence, enjoy your Brownie Batter Protein Balls with a glass of milk or a banana smoothie. They make a perfect afternoon snack!
Brownie Batter Protein Balls Recipe FAQs
How do I select ripe ingredients for my Brownie Batter Protein Balls?
Absolutely! For the best flavor, make sure your almond butter is fresh and creamy, with no dark spots indicating spoilage. Choose a high-quality cocoa powder for that rich chocolate taste, and if using maple syrup, go for pure maple syrup rather than imitation for natural sweetness.
What is the best way to store Brownie Batter Protein Balls?
For optimal freshness, store your Brownie Batter Protein Balls in an airtight container in the fridge. They’ll stay delicious for up to 1 week. If you can’t finish them, just place them in the freezer, where they’ll maintain their quality for up to 3 months!
Can I freeze my Brownie Batter Protein Balls?
Absolutely! To freeze, arrange the protein balls in a single layer on a baking sheet and place them in the freezer for about 15 minutes. Once they’re firm, transfer them to an airtight container. This method prevents them from sticking together, making it easy to grab one when you’re craving a tasty snack.
What should I do if the protein ball mixture is too dry or too sticky?
Good question! If your dough turns out too dry, add a little more milk—about a tablespoon at a time—until it reaches the desired consistency. Conversely, if it’s too sticky, sprinkle in a bit more almond flour until the dough can hold its shape well without being overly tacky. This balance is key!
Are there any dietary considerations I should be aware of?
Great thought! If you’re preparing these Brownie Batter Protein Balls for someone with allergies, be mindful of potential sensitivities. For nut allergies, consider using sunflower seed butter instead of almond or peanut butter. Also, to make them vegan-friendly, ensure your protein powder and sweeteners meet those dietary requirements.
Can I customize the ingredients?
Very! Feel free to get creative by substituting almond flour with coconut flour for a different flavor or using different nut butters to switch up the taste. Adding nuts, seeds, or dried fruits can also include extra texture and flavor—every batch can be a new adventure!
Brownie Batter Protein Balls: A Sweet, Guilt-Free Snack!
Ingredients
Equipment
Method
- Prepare Your Workspace: Line a baking tray with parchment paper and gather all your ingredients and tools.
- Mix the Dry Ingredients: Combine almond flour, cocoa powder, and protein powder in a mixing bowl.
- Add the Wet Ingredients: Stir in almond butter, maple syrup, instant coffee, and milk until a dough forms.
- Introduce the Chocolate Chips: Fold in chocolate chips until evenly distributed.
- Form the Protein Balls: Scoop and roll the dough into 1½ to 2-inch balls.
- Chill to Set: Place the balls on the baking tray and freeze for about 15 minutes.
- Store and Enjoy: Transfer to an airtight container for storage.
Leave a Reply