
As I whisked together the silken ingredients in a small pot, the soothing aroma of vanilla began to envelop my kitchen, instantly transporting me to my childhood. This creamy homemade vanilla pudding recipe is a delightful antidote to those hectic days when fast food calls your name. What I love about this dessert is its simplicity—just a few basic ingredients come together to create a treat that’s rich in flavor and nostalgia. Not only is it a quick and easy dessert to whip up, but it’s also a kid-friendly favorite that never fails to bring smiles at the dinner table. Ready to indulge in a timeless classic that promises to make your taste buds dance? Let’s dive into this heavenly pudding that you’ll want to make again and again!
Why is homemade vanilla pudding the best?
Simplicity at its finest: This recipe uses just a handful of everyday ingredients, ensuring that anyone can recreate its creamy goodness at home.
Rich, Nostalgic Flavors: With genuine vanilla extract, each bite is like a warm hug from the past.
Kid-Friendly: This pudding is a beloved treat that kids can help make, sparking joy and laughter in the kitchen.
Versatile Uses: Whether served solo or used as a cake filling, homemade vanilla pudding can elevate any dessert.
Make-Ahead Convenience: Prepare it in advance and store it for up to a week—perfect for busy schedules! If you’re looking for new dessert ideas, consider exploring Mango Chia Pudding or the delightful Tiramisu Chia Pudding.
Homemade Vanilla Pudding Ingredients
For the Pudding Base
• Whole Milk – provides the base liquid and creaminess vital for the perfect homemade vanilla pudding.
• Granulated White Sugar – adds sweetness, balancing the rich vanilla flavor.
• Cornstarch – acts as a thickening agent, ensuring your pudding achieves that desired silky texture.
• Egg Yolks – enrich the pudding with a custard-like consistency that makes every spoonful melt in your mouth.
• Vanilla Extract – infuses the pudding with robust vanilla flavor, enhancing its homemade essence.
• Salted Butter – adds richness and a hint of saltiness, making the pudding even more irresistible.
Step‑by‑Step Instructions for Creamy Homemade Vanilla Pudding
Step 1: Combine the Base Ingredients
In a medium-sized pot, whisk together whole milk, granulated sugar, and cornstarch over medium heat. Keep stirring with a whisk until the mixture begins to thicken and bubbles lightly, about 5-7 minutes. You’ll know it’s ready when it coats the back of a spoon. Make sure to scrape the bottom to prevent any lumps from forming.
Step 2: Temper the Egg Yolks
In a separate mixing bowl, gently beat the egg yolks. Slowly add about ½ cup of the hot milk mixture into the yolks, whisking continuously to temper them. This process helps to prevent the eggs from scrambling when added to the pot. Once combined, you’ll create a smooth, warm mixture that will enhance the richness of your homemade vanilla pudding.
Step 3: Cook the Pudding Mixture
Return the tempered yolk mixture to the pot with the remaining milk mixture. Cook over medium heat, stirring constantly for about 1 additional minute. The pudding will thicken further and take on a silky custard-like consistency. Keep stirring to ensure it doesn’t stick or curdle; you want a luscious texture that signals homemade goodness.
Step 4: Add Flavor and Finish
Remove the pot from heat and immediately stir in the vanilla extract and salted butter until fully incorporated. The warm mixture will melt the butter, adding extra creaminess and a rich flavor profile to your homemade vanilla pudding. Take a moment to savor the irresistible aroma wafting from the pot.
Step 5: Chill the Pudding
Pour the pudding into serving bowls or a larger dish, covering the surface with plastic wrap to prevent a skin from forming. Allow it to cool at room temperature for about 15 minutes before refrigerating. Chill the pudding for at least 2 hours, allowing it to set to perfection with a smooth and creamy texture that’s tempting enough to enjoy on its own.
Make Ahead Options
These creamy homemade vanilla pudding delights are perfect for meal prep enthusiasts! You can prepare the pudding base up to 24 hours in advance. Simply make the pudding according to the recipe, then let it cool and refrigerate it in an airtight container or serving bowls, covered with plastic wrap to prevent a skin from forming. The flavors meld beautifully overnight, enhancing the taste! When ready to serve, give it a gentle stir for a silky finish, and consider adding a dollop of whipped cream or some fresh berries for a delightful touch. Enjoy the time-saving benefits while treating your family to a delicious homemade dessert!
What to Serve with Creamy Homemade Vanilla Pudding?
Indulging in this silky dessert opens a world of delightful pairings that elevate your meal’s sensory experience.
-
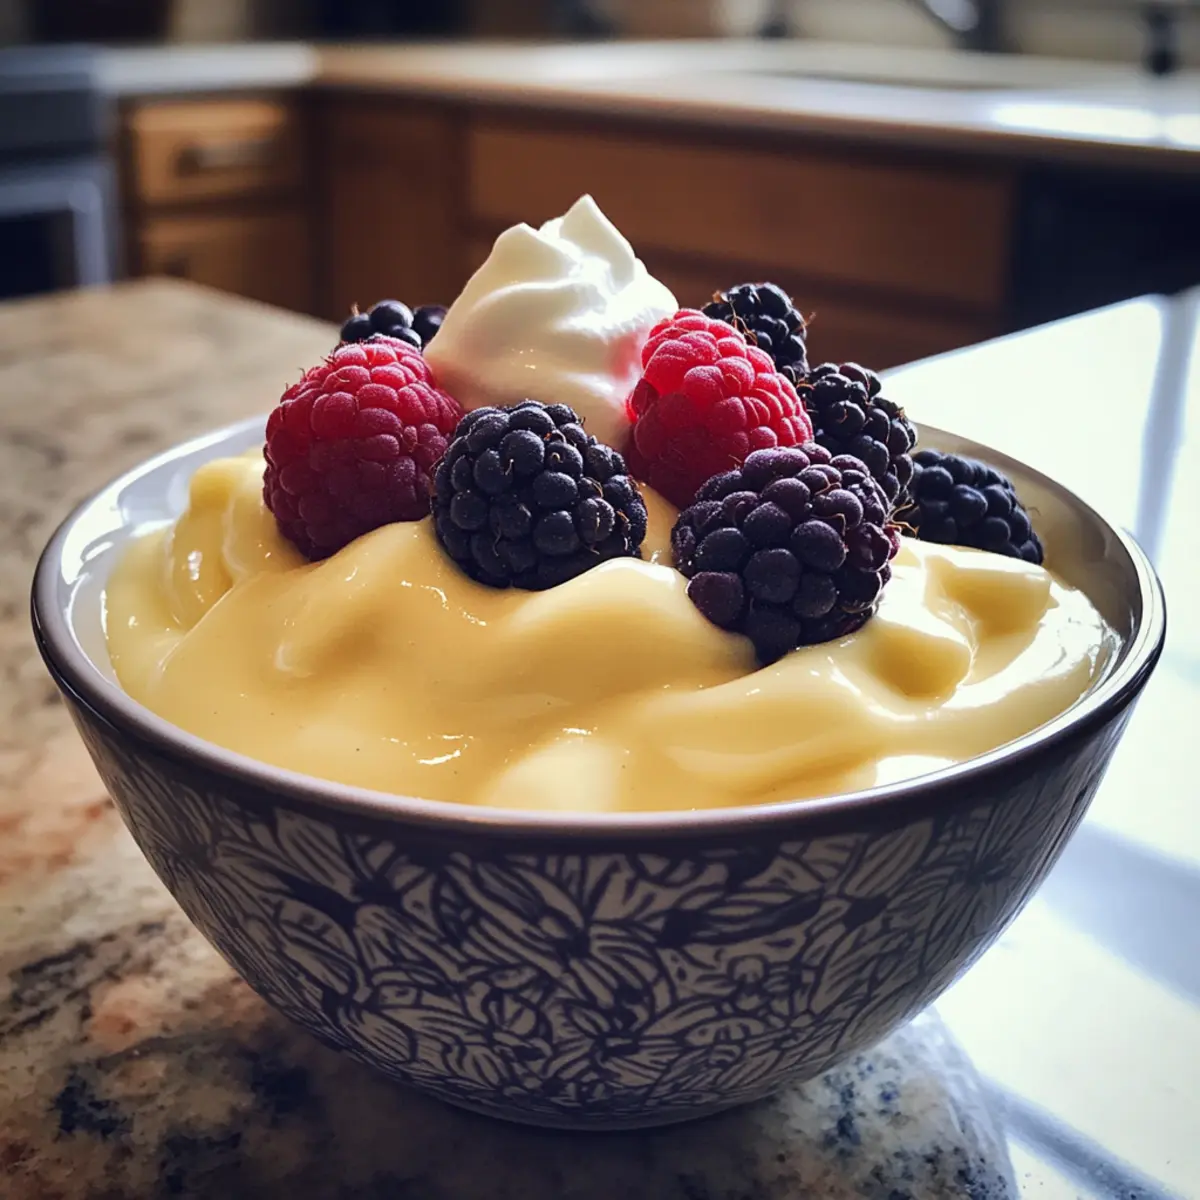
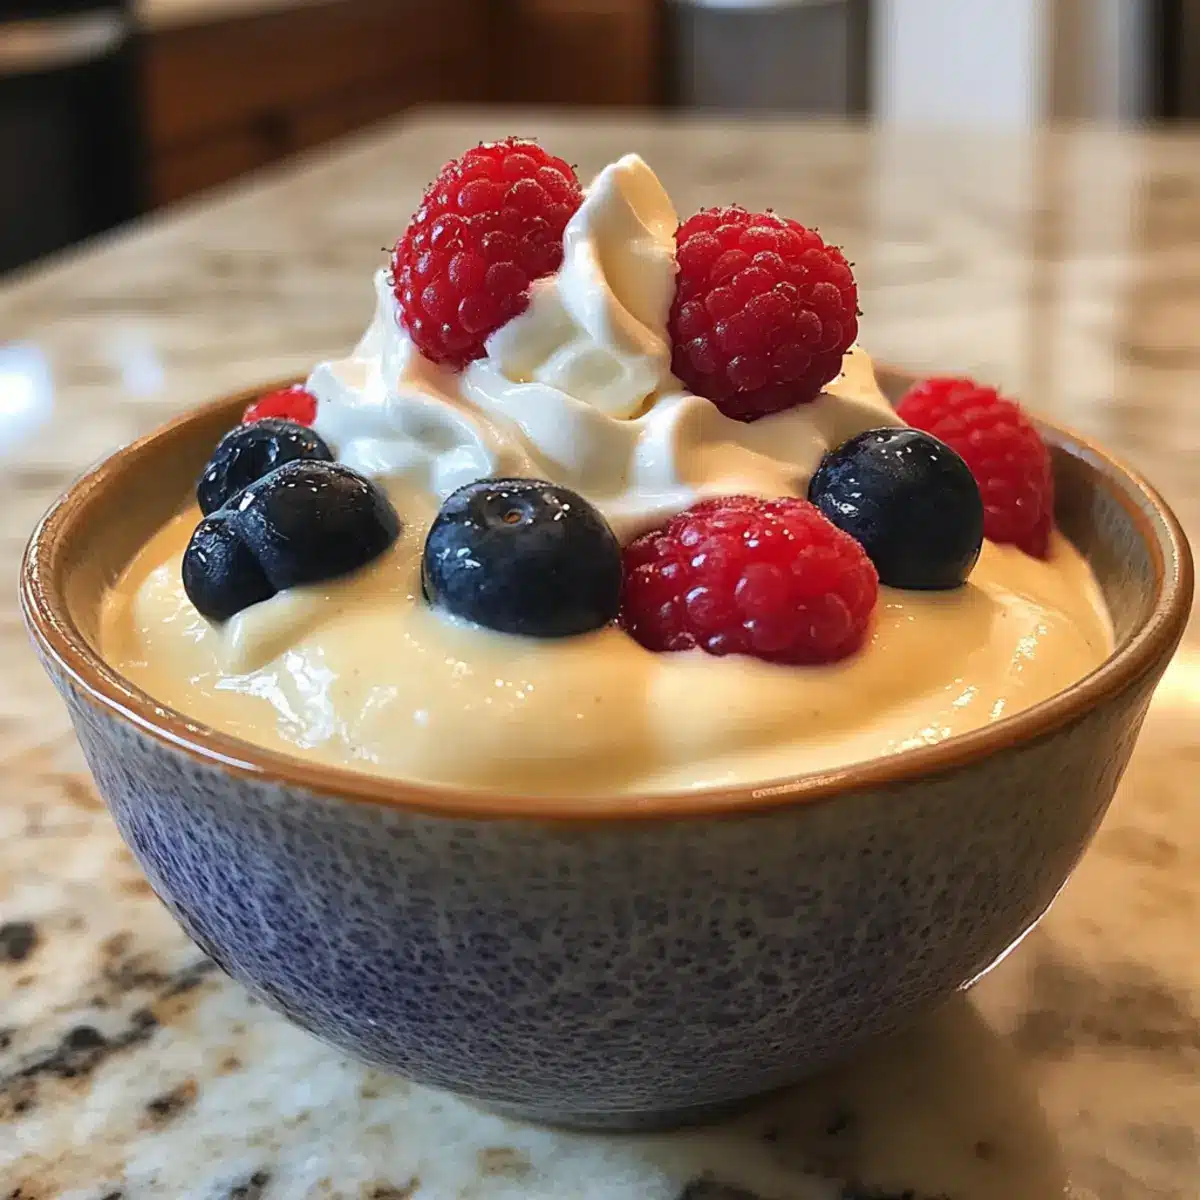
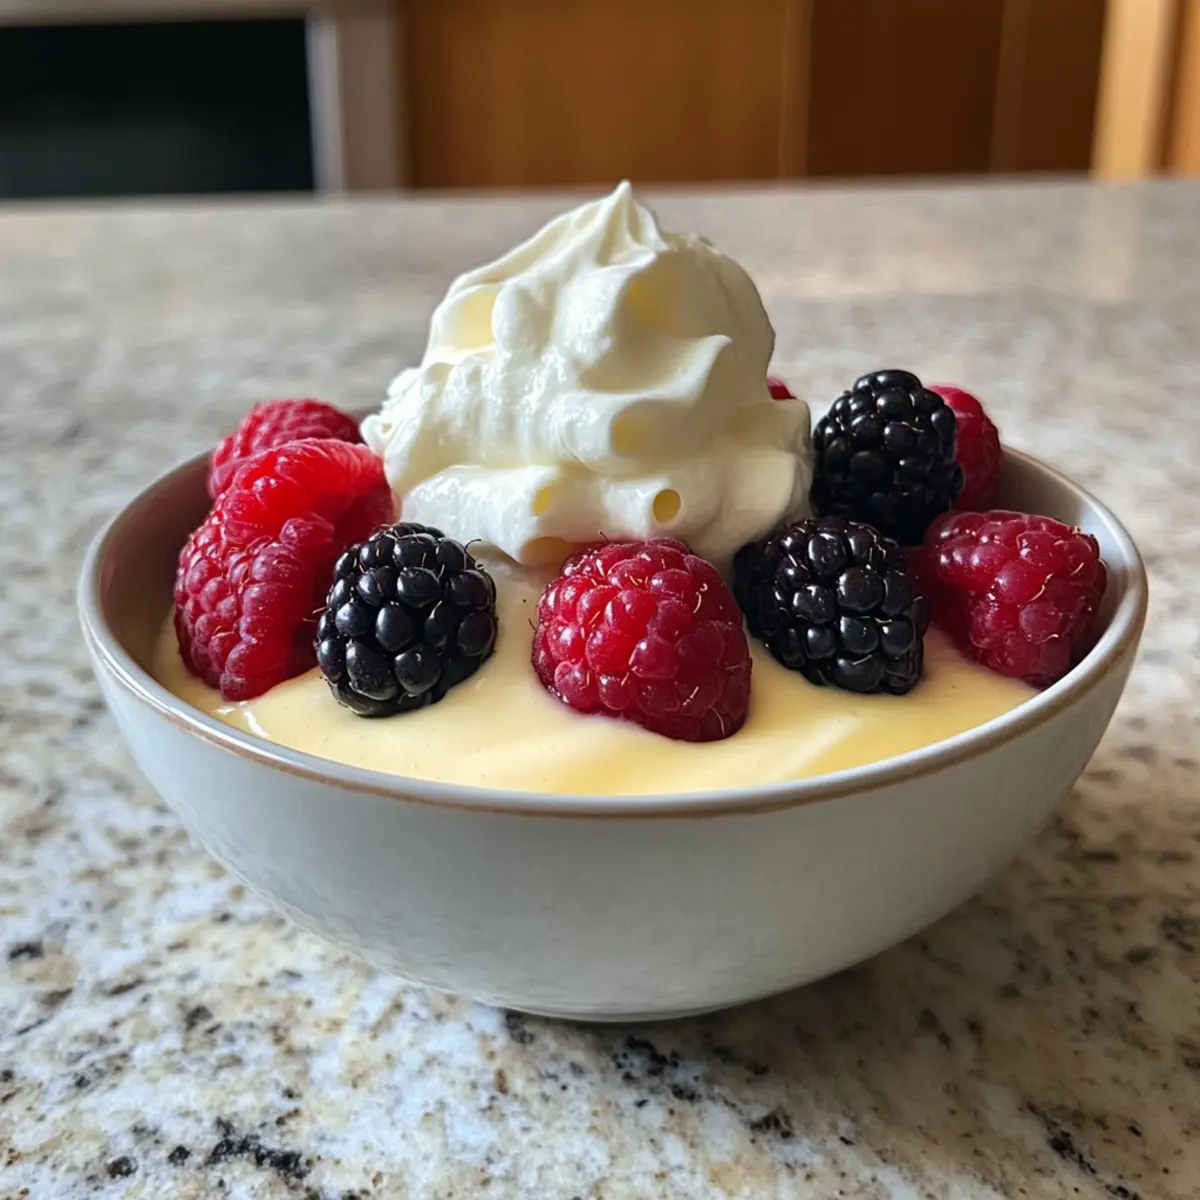
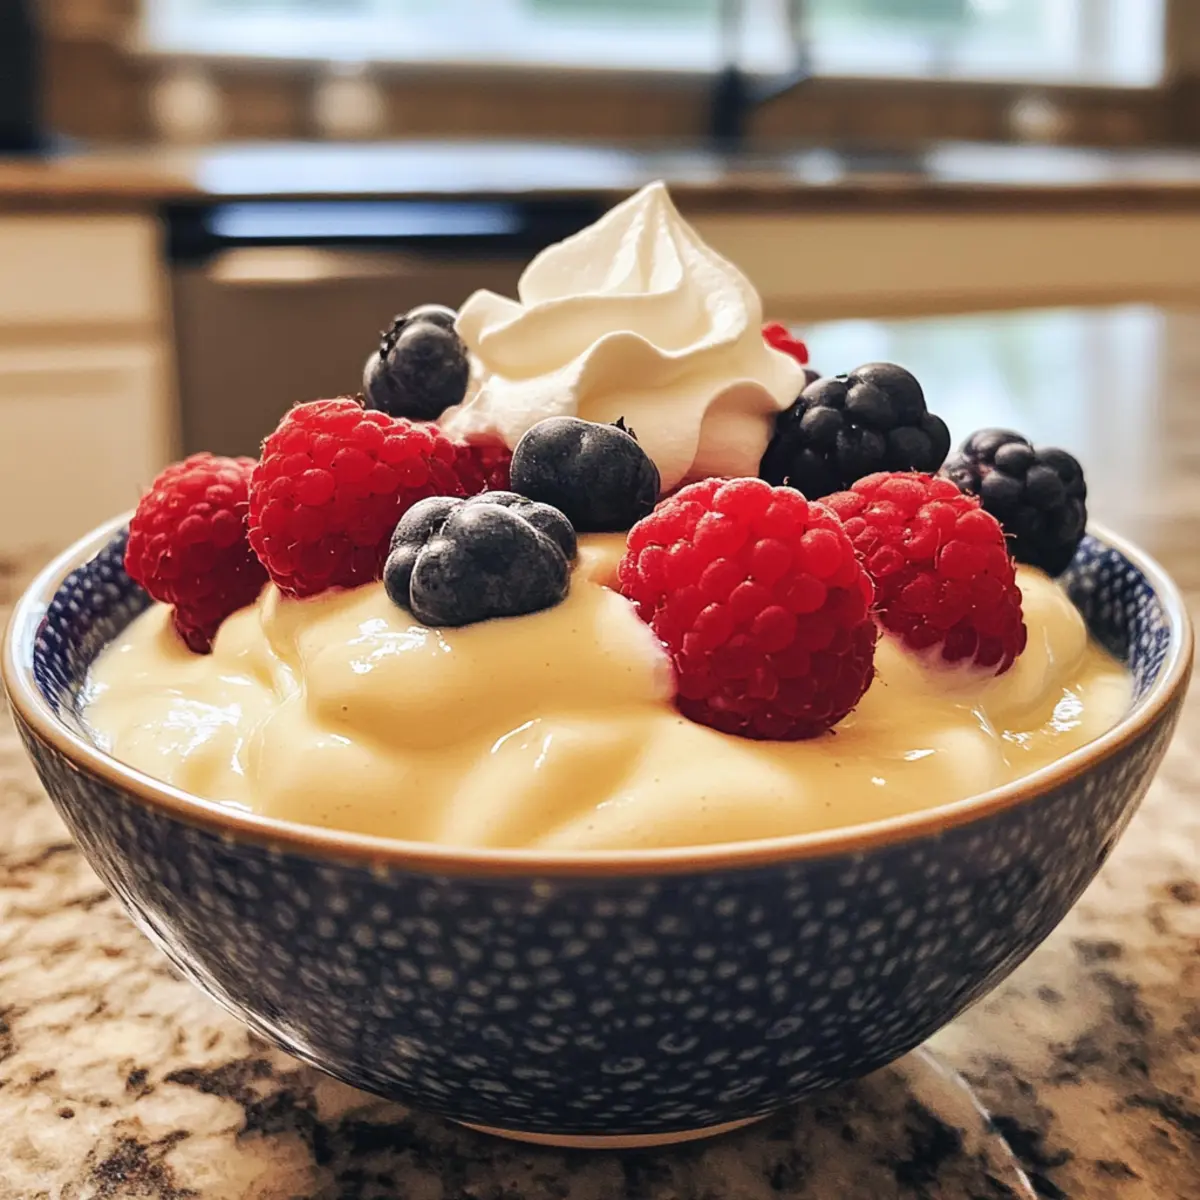
Whipped Cream: A dollop of freshly whipped cream adds airy sweetness, creating a perfect balance to the rich pudding.
-
Fresh Berries: Juicy strawberries or tart raspberries provide vibrant colors and a fruity contrast that awakens your palate with each bite. The burst of freshness complements the creamy texture marvelously.
-
Chocolate Shavings: A sprinkle of dark chocolate shavings enhances the indulgence, offering a sophisticated touch to your simple dessert.
-
Savory Cookies: Crisp, buttery cookies create a delightful textural contrast and are excellent for dipping into the creamy pudding.
-
Coffee or Espresso: A cup of rich coffee alongside the pudding amplifies the comforting flavors, making each spoonful even more delightful.
-
Citrus Zest: Grated lemon or orange zest sprinkled on top adds a refreshing zing that cuts through the richness beautifully.
-
Caramel Sauce: Drizzling warm caramel sauce over your pudding not only enhances flavor but creates an inviting golden touch.
-
Almond Milk: Serve a small glass of almond milk with your pudding for a light, creamy beverage that pairs wonderfully with dessert.
-
Mini Fruit Tarts: Transitioning from pudding to tart makes for a splendid dessert trio, offering guests a chance to savor different flavors and textures.
-
Ice Cream: A scoop of vanilla or chocolate ice cream alongside the pudding creates a luscious, indulgent dessert plate that will please the whole family.
How to Store and Freeze Homemade Vanilla Pudding
Fridge: Store your homemade vanilla pudding in airtight containers for up to 5-7 days. Cover with plastic wrap directly on the surface to prevent skin formation while chilling.
Freezer: To freeze, transfer cooled pudding into freezer-safe containers, leaving space for expansion. It can be frozen for up to 2 months. Thaw overnight in the fridge before serving.
Reheating: Warm gently on the stovetop over low heat, stirring constantly to bring back its creamy texture. If it’s too thick, add a splash of milk to achieve the desired consistency.
Make-Ahead Tip: This pudding can be made a day in advance, allowing the flavors to deepen while stored in the fridge, providing a delightful treat ready to enjoy!
Homemade Vanilla Pudding Variations
Embrace your culinary creativity by exploring these delightful twists on the classic homemade vanilla pudding!
-
Chocolate Pudding: Replace part of the cornstarch with cocoa powder. Dive into a chocolatey decadence that satisfies every sweet tooth!
-
Fruit-Infused Pudding: Add pureed berries or a hint of citrus zest after cooking. This playful adjustment brings a burst of flavor that brightens the creamy texture.
-
Dairy-Free Delight: Use almond milk instead of whole milk for a non-dairy option. The nutty flavor will surprise and delight, making it perfect for those with dietary restrictions.
-
Spiced Twist: Sprinkle in cinnamon or nutmeg while cooking. A dash of warm spice gives your vanilla pudding a cozy, holiday-inspired feel.
-
Salted Caramel Finish: Drizzle homemade or store-bought caramel sauce on top before serving. This sweet and salty combination creates an indulgent experience that’s hard to resist!
-
Layered Dessert: Use the pudding as a layer in a parfait with granola and fresh fruit. This not only looks stunning, but also adds texture and crunch to your dessert.
-
High Protein Version: Swap in Greek yogurt for half of the milk for added protein and creaminess. It’s a simple twist that packs a nutritious punch without sacrificing flavor.
-
Pudding Cake Combo: Use the pudding as a filling between layers of cake. It’s a fantastic way to elevate your baked goods while adding a sumptuous layer of flavor.
If you’re intrigued by other pudding variations, consider checking out the luscious High Protein Pudding for an extra boost or try a refreshing Mango Chia Pudding for something fruity and fun!
Expert Tips for Homemade Vanilla Pudding
• Stir Constantly: Keep that whisk moving while cooking! This prevents the mixture from sticking to the bottom and burning, ensuring a silky homemade vanilla pudding.
• Tempering Technique: When adding egg yolks, remember to whisk in a small amount of hot milk first. This gradual process helps prevent curdling and guarantees a creamy texture.
• Avoid Boiling: Aim for a gentle simmer rather than a rapid boil when cooking your pudding. Boiling can cause lumps and ruin the smooth consistency you desire.
• Plastic Wrap Trick: Cover the pudding with plastic wrap directly on the surface while chilling. This prevents unsightly skin from forming on your homemade vanilla pudding.
• Adjust Sweetness: Feel free to taste and adjust the sugar level before chilling. This is your opportunity to create the perfect dessert that suits your family’s palate!
Homemade Vanilla Pudding Recipe FAQs
What type of milk should I use for the best flavor?
Absolutely, whole milk is ideal for this homemade vanilla pudding as it provides the creamy base needed for that rich texture. However, if you prefer a lighter option or have dietary restrictions, you could use 2% milk or even almond milk, keeping in mind that the texture might be slightly less creamy.
How long can I store homemade vanilla pudding in the fridge?
You can store your homemade vanilla pudding in airtight containers in the fridge for up to 5-7 days. Be sure to cover the surface with plastic wrap to prevent a skin from forming, ensuring it remains silky and smooth each time you serve it.
Can I freeze vanilla pudding, and if so, how?
Yes, you can definitely freeze homemade vanilla pudding! Transfer the cooled pudding into freezer-safe containers, leaving some space at the top for expansion. It can be safely frozen for up to 2 months. When you’re ready to enjoy it, simply thaw it overnight in the fridge. If it seems a bit too thick upon thawing, warm it gently on the stovetop with a splash of milk while stirring to regain its creamy texture.
How do I prevent lumps in my pudding?
To avoid lumps, ensure to whisk the pudding constantly while it cooks. When incorporating the egg yolks, temper them first by whisking in a small amount of the hot milk mixture before adding them back to the pot. This gradual process helps maintain that luxurious smoothness we all love in homemade vanilla pudding.
Can I modify this recipe for dietary preferences?
Very! You can easily adjust this homemade vanilla pudding to accommodate different dietary needs. For a non-dairy option, substitute whole milk with almond or oat milk. If you’re watching sugar intake, consider using a sugar alternative like maple syrup or agave nectar, adjusting based on your taste preference.
Indulge in Creamy Homemade Vanilla Pudding Bliss
Ingredients
Equipment
Method
- In a medium-sized pot, whisk together whole milk, granulated sugar, and cornstarch over medium heat. Stir until thicken and bubbles form, about 5-7 minutes.
- In a separate bowl, gently beat the egg yolks and slowly add about ½ cup of the hot milk mixture, whisking continuously.
- Return the tempered yolk mixture to the pot with the remaining milk mixture. Cook over medium heat for about 1 additional minute, stirring constantly.
- Remove from heat and stir in the vanilla extract and salted butter until fully incorporated.
- Pour pudding into serving bowls, cover with plastic wrap, and let cool for about 15 minutes before refrigerating. Chill for at least 2 hours.
Leave a Reply