
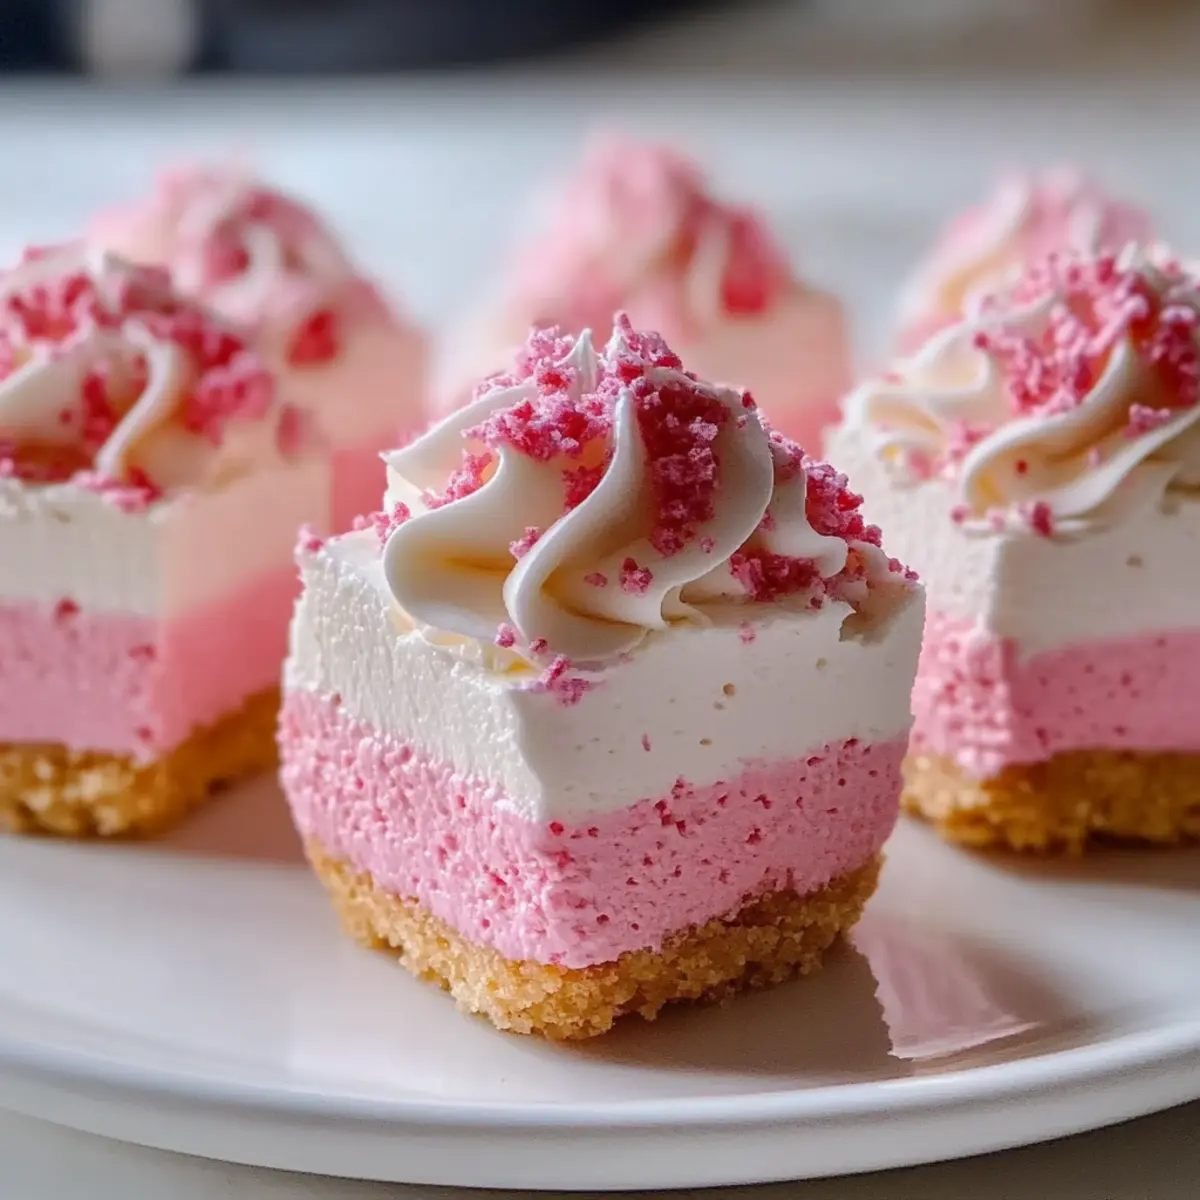
As I stood in my kitchen, dreaming up a dessert that would not only satisfy sweet cravings but also wow the crowd, I stumbled upon the idea of No-Bake Pink Velvet Cheesecake Bites. These delightful bites are a feast for the eyes and a pleasure for the palate, offering a creamy, smooth texture that makes them irresistible. They boast a vibrant pink hue, perfect for adding a sweet pop of color to any celebration. An easy no-bake recipe, this treat requires minimal effort but delivers maximum delight, making it an ideal choice for gatherings or just a cozy night in. Whether you’re a seasoned chef or a kitchen newcomer, these cheesecake bites are certain to lift your spirits—who would say no to a creamy dessert that’s this easy to whip up? Curious about how to create these charming bites? Let’s dive in!
Why Make No-Bake Pink Velvet Cheesecake Bites?
Irresistible Charm: These delightful bites are not only visually stunning in their vibrant pink color, but they also melt in your mouth with creamy decadence that tempts everyone at your gathering.
No-Bake Ease: Forget about turning on the oven! This easy recipe simplifies dessert prep, making it perfect for busy chefs and anyone craving a sweet treat without the hassle.
Versatile Variations: From flavor swaps to different crust options, you can customize these cheesecake bites to suit your taste. Want something a little different? Try adding a drizzle of chocolate ganache or fresh fruit on top!
Perfect for Any Occasion: Whether it’s a birthday party or a cozy movie night at home, these cheesecake bites are sure to impress. Check out our Banana Split Cake for another crowd-pleasing dessert that brings joy to any table!
Quick Prep Time: With just a few simple steps, you can whip up these cheesecake bites in no time and have them ready to chill, making them a time-saving addition to your dessert repertoire.
No-Bake Pink Velvet Cheesecake Bites Ingredients
For the Crust
• Graham Cracker Crumbs – Forms the base providing structure and crunch; can substitute with crushed digestive biscuits or gluten-free alternatives for a GF version.
• Butter – Binds the crust together and adds flavor; use unsalted for better control over seasoning.
For the Filling
• Cream Cheese – Provides creaminess and richness; ensure it’s at room temperature for easier mixing.
• Powdered Sugar – Adds sweetness and a smooth texture; granulated sugar can be used in a pinch but may change the consistency.
• Vanilla Extract – Enhances flavor depth with a sweet aroma; may substitute with almond extract for a different flavor profile.
• Pink Food Coloring – Adds visual appeal, making the dessert festive; natural alternatives may include beet juice or raspberry puree for coloring.
• Heavy Whipping Cream – Used for folding into the cream cheese mixture to lighten it; can substitute with non-dairy cream if preferred.
These No-Bake Pink Velvet Cheesecake Bites are not only delicious but also easy to prepare, making them a perfect addition to your dessert repertoire!
Step‑by‑Step Instructions for No-Bake Pink Velvet Cheesecake Bites
Step 1: Prepare the Crust
In a medium-sized bowl, combine crushed graham cracker crumbs with melted unsalted butter until evenly mixed. Press this mixture firmly and evenly into the bottom of a lined 8-inch baking dish, ensuring a smooth surface. Place the crust in the refrigerator for about 30 minutes to allow it to firm up while you prepare the filling.
Step 2: Make the Filling
In a large mixing bowl, beat the room temperature cream cheese using an electric mixer on medium speed until it reaches a smooth and creamy consistency. Gradually add the powdered sugar and the vanilla extract, mixing thoroughly until the ingredients are fully combined and smooth. This creamy mixture will form the delightful filling for your No-Bake Pink Velvet Cheesecake Bites.
Step 3: Whip the Cream
In a separate bowl, whip the heavy cream using a hand mixer on high speed until firm peaks form, which typically takes about 3-5 minutes. Be sure to stop once stiff peaks are achieved to avoid overmixing. Gently fold this whipped cream into the cream cheese mixture, taking care to maintain its light and airy texture while creating a harmonious filling.
Step 4: Add Color and Assemble
Once the whipped cream is fully incorporated, add pink food coloring to the filling. Mix gently until the desired hue is reached, ensuring a vibrant pink color throughout. Carefully spread the cheesecake filling evenly over the chilled crust in the baking dish, smoothing it out with a spatula for an even top. Cover the dish with plastic wrap.
Step 5: Chill to Set
Place the assembled dessert back into the refrigerator and let it chill for at least 4 hours, or overnight if possible. This allows the No-Bake Pink Velvet Cheesecake Bites to set perfectly, achieving the right creamy texture and firmness.
Step 6: Serve and Enjoy
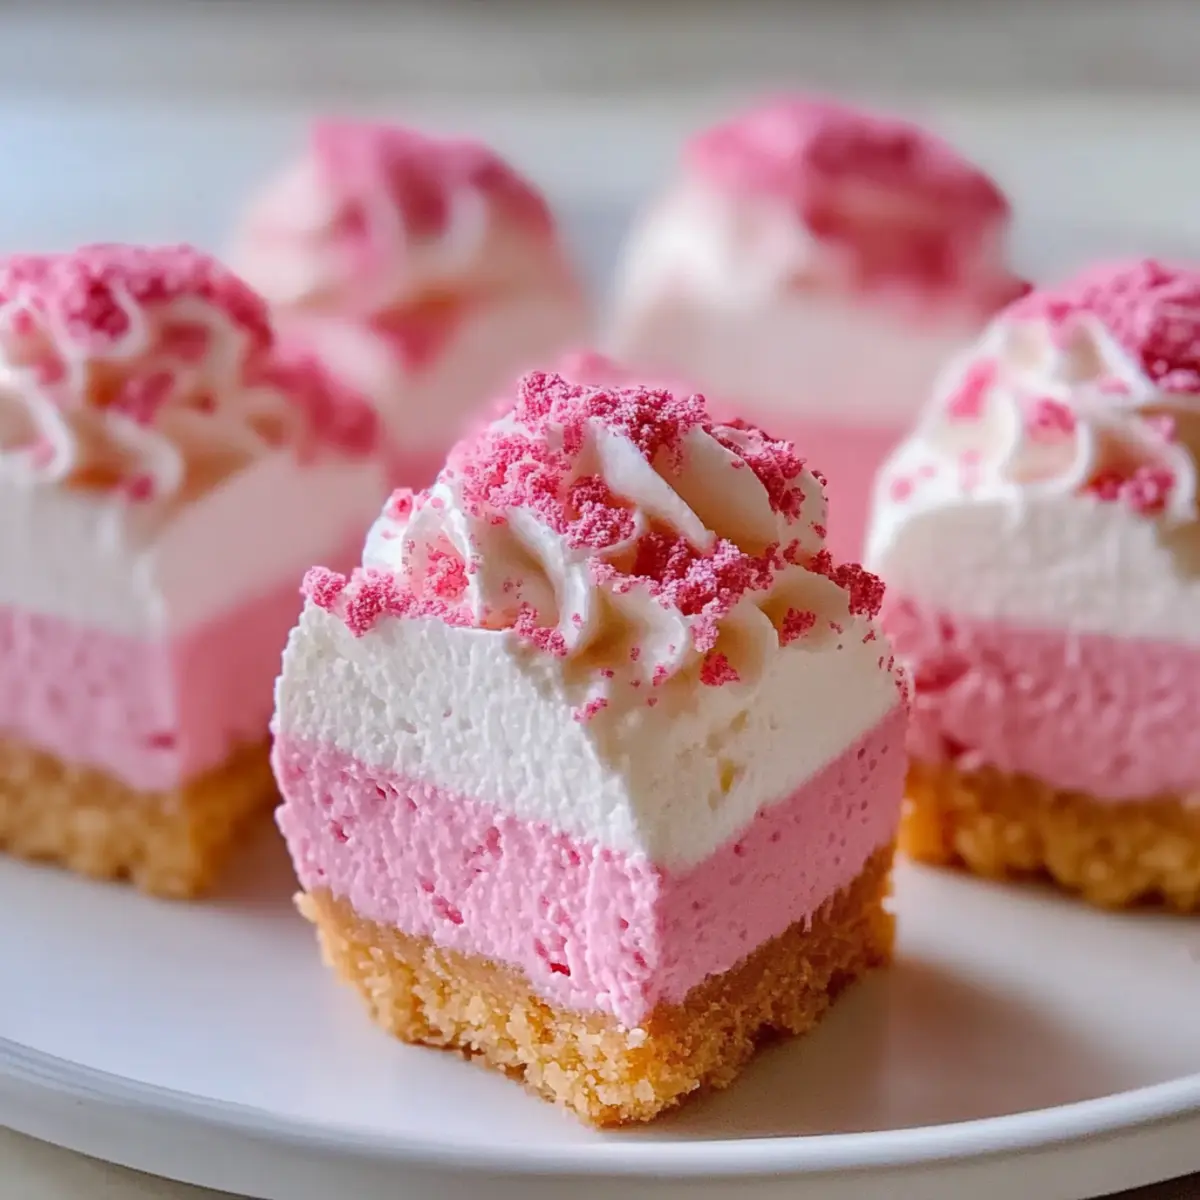
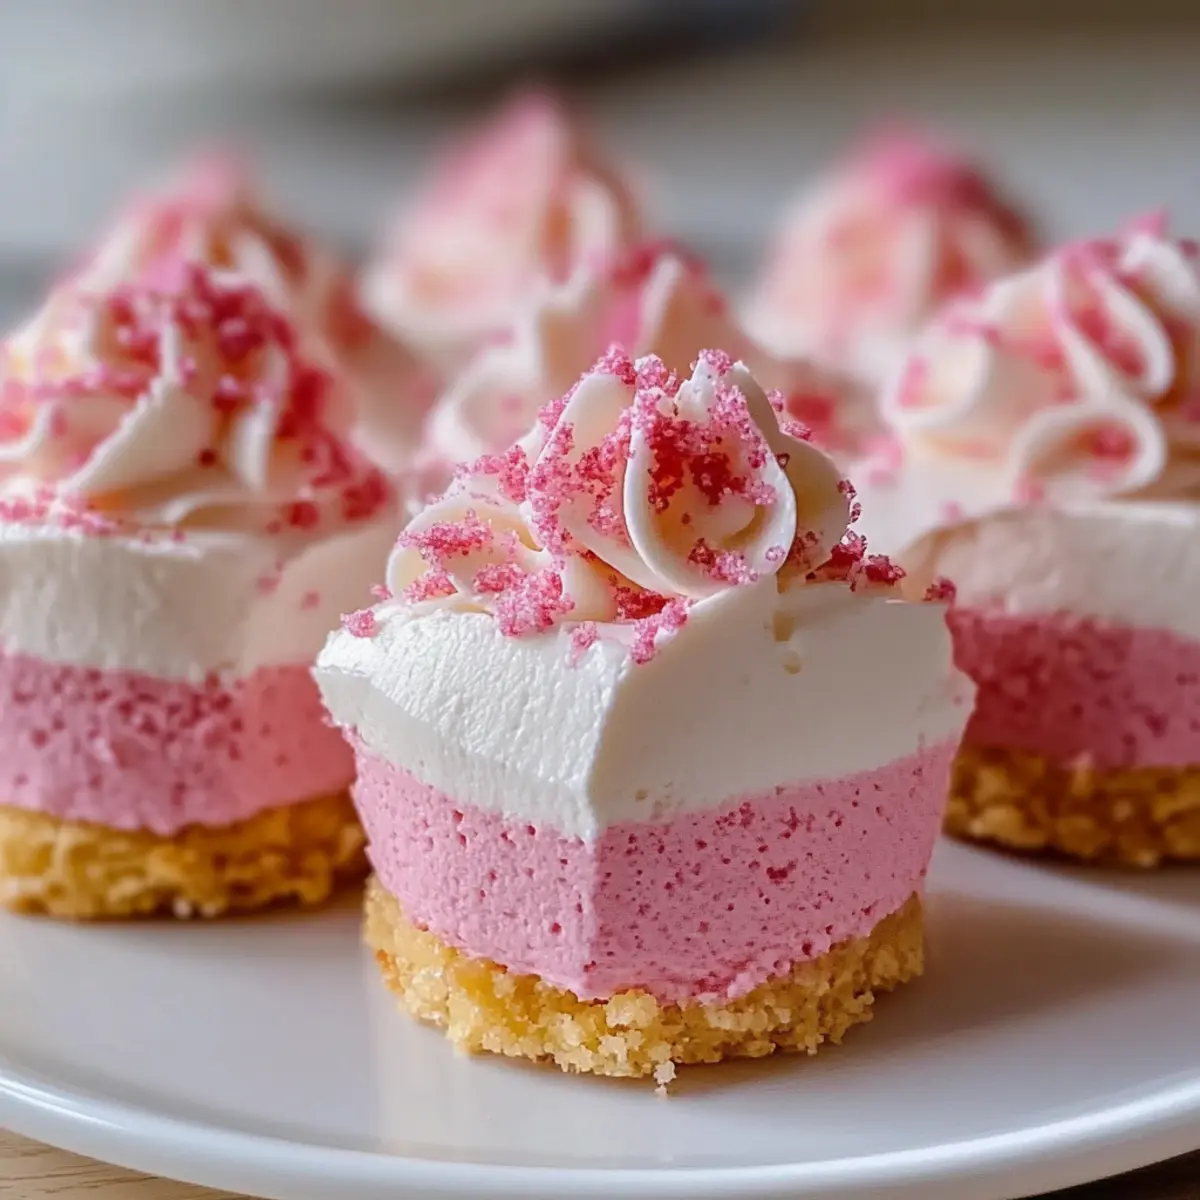
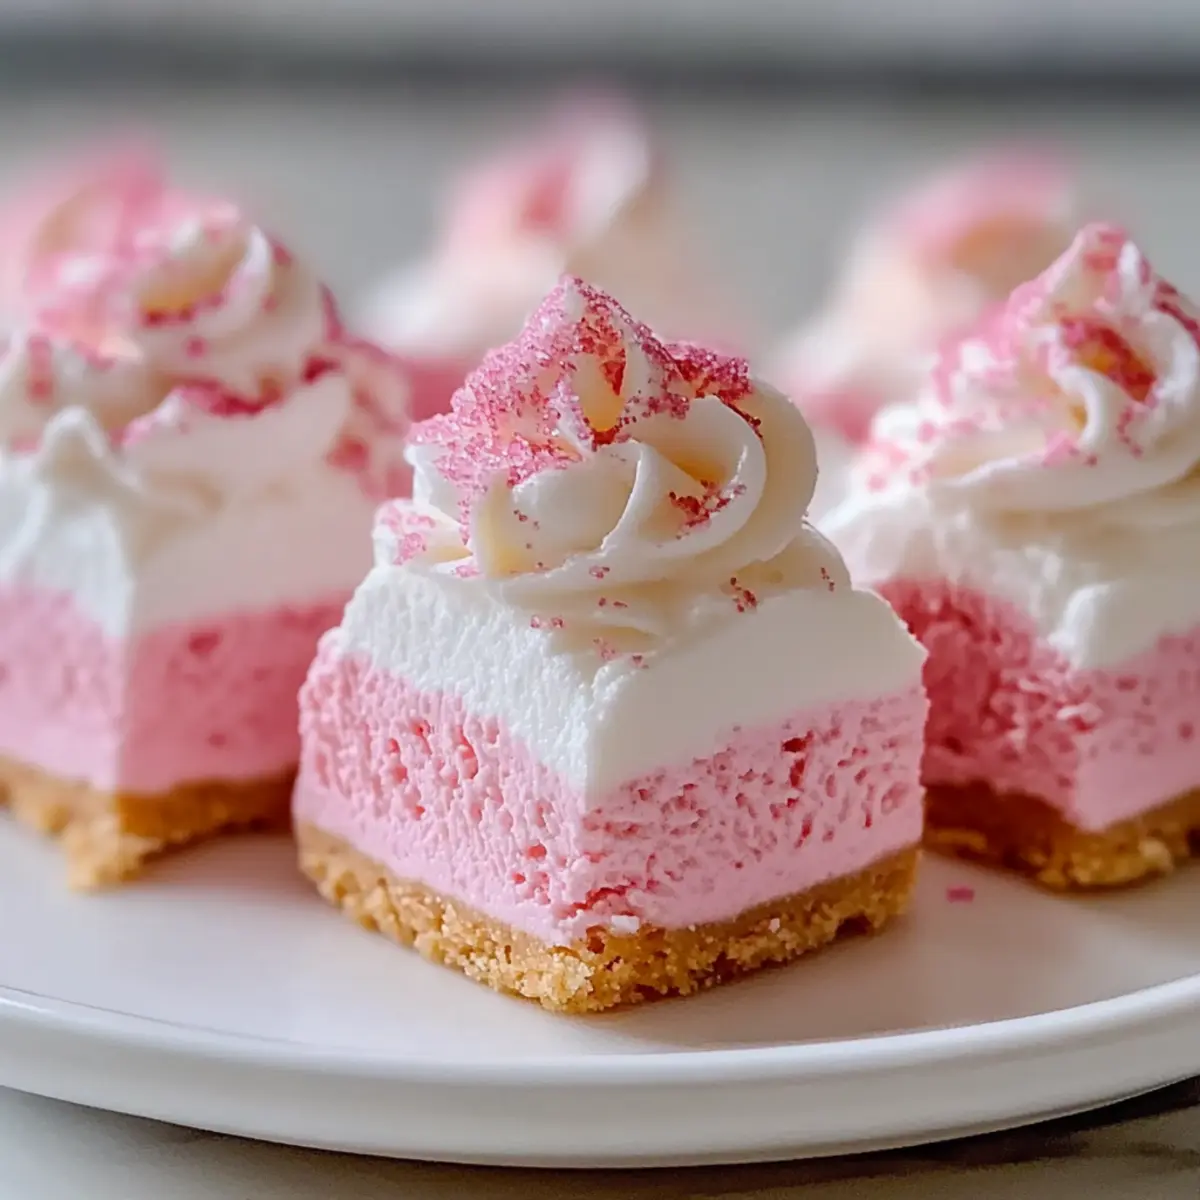
Once set, take the cheesecake bites out of the refrigerator. Cut them into bite-sized squares using a sharp knife. Serve chilled, and feel free to garnish with fresh berries or whipped cream for an extra touch of delight. Enjoy every creamy, dreamy bite!
No-Bake Pink Velvet Cheesecake Bites Variations
Customize your No-Bake Pink Velvet Cheesecake Bites to suit your taste and make every bite an adventure!
-
Dairy-Free: Substitute cream cheese with nut-based cream cheese and use coconut cream for whipping to keep it rich and creamy.
-
Gluten-Free: Replace graham cracker crumbs with gluten-free cookie crumbs or almond flour mixed with melted butter for a satisfying crust.
-
Fruity Fusion: Add pureed strawberries or raspberries to the filling for a delightful fruity twist. This not only enhances the flavor but also boosts the vibrant pink color.
-
Chocolate Lovers: Stir in mini chocolate chips to the filling for a delightful surprise in every bite, or swap out the crust for one made of crushed chocolate cookies.
-
Nutty Notes: Fold in finely chopped nuts like pecans or walnuts into the crust for a satisfying crunch that beautifully complements the softness of the cheesecake.
-
Seasonal Spices: Sprinkle in a pinch of cinnamon or nutmeg for a warm seasonal flavor kick—perfect for cozy gatherings.
-
Garnish Galore: Top with fresh fruit, a drizzle of berry sauce, or a sprinkle of crushed cookies for added texture and burst of color. Try pairing it with our delightful Baked Churro Bites for a fun dessert spread!
With these variations, your No-Bake Pink Velvet Cheesecake Bites will never be the same, ensuring a fun, personalized dessert experience every time!
Storage Tips for No-Bake Pink Velvet Cheesecake Bites
Fridge: Store your No-Bake Pink Velvet Cheesecake Bites in an airtight container in the refrigerator for up to one week to maintain freshness and flavor.
Freezer: These delightful bites can be frozen for longer storage. Wrap them tightly in plastic wrap, then place in an airtight container for up to 2 months.
Thawing: To enjoy frozen bites, simply transfer them from the freezer to the fridge and let them thaw overnight before serving.
Reheating: There’s no need to reheat these bites; simply serve them chilled for the best texture and taste experience.
What to Serve with No-Bake Pink Velvet Cheesecake Bites
Create a delightful pairing experience that complements this luscious treat.
-
Fresh Berries: The bright flavor of strawberries or raspberries adds a refreshing contrast to the creamy cheesecake, enhancing each bite’s joyous sweetness. A handful of berries on the side or a berry compote drizzled on top can elevate the presentation and taste.
-
Whipped Cream: A dollop of light, fluffy whipped cream creates a creamy layer that harmonizes beautifully with the cheesecake. Add a hint of vanilla or a sprinkle of cocoa powder for an extra touch of indulgence.
-
Chocolate Sauce: A rich chocolate drizzle introduces a decadent depth to the dessert. The combination of creamy cheesecake and smooth chocolate complements each other perfectly, leaving you longing for another bite.
-
Mint Garnish: Fresh mint leaves provide a pop of color and a refreshing aroma that brightens the dessert. Their subtle herbal notes lift the flavors, making each bite feel more refined and inviting.
-
Crushed Nuts: Chopped pistachios or almonds add a satisfying crunch that contrasts wonderfully with the creamy texture. This unexpected twist will intrigue your guests and elevate the entire dessert experience.
-
Sparkling Wine: Serve these cheesecake bites alongside a glass of bubbly to celebrate any occasion. The effervescence cuts through the richness and adds a festive touch, perfect for a gathering or special moment.
Make Ahead Options
These No-Bake Pink Velvet Cheesecake Bites are ideal for meal prep, saving you time on busy days! You can prepare the crust and filling up to 24 hours ahead—simply store the crust in an airtight container in the refrigerator. The cream cheese mixture can also be made and refrigerated until you’re ready to assemble. To maintain quality, make sure to cover the filling tightly to prevent drying. When you’re ready to serve, spread the filling over the chilled crust, let it set for at least 4 hours, and voilà—you have a delightful dessert that’s just as creamy and delicious!
Expert Tips for No-Bake Pink Velvet Cheesecake Bites
-
Soft Cream Cheese: Always ensure your cream cheese is at room temperature. This helps achieve a smooth filling without lumps in your No-Bake Pink Velvet Cheesecake Bites.
-
Chill Thoroughly: Patience is key! Allow your cheesecake bites to chill for the full time recommended. This step ensures proper setting for a delightful texture.
-
Light Folding Technique: When incorporating whipped cream, gently fold to maintain airiness. Overmixing can lead to a dense filling rather than the light and creamy dessert you want.
-
Flavor Customization: Don’t hesitate to experiment! Add different extracts like almond or lemon to personalize the flavor of your No-Bake Pink Velvet Cheesecake Bites.
-
Check Crust Firmness: After pressing your crust, verify it’s firm enough before adding the filling. A well-set base supports the cheesecake and prevents sogginess.
No-Bake Pink Velvet Cheesecake Bites Recipe FAQs
What type of cream cheese should I use?
Absolutely! For the best texture, use full-fat cream cheese and ensure it’s at room temperature. This helps prevent lumps when mixing your filling. I recommend letting it sit out for about 30 minutes before you start.
How should I store my cheesecake bites?
Very! Store your No-Bake Pink Velvet Cheesecake Bites in an airtight container in the refrigerator. They’ll stay fresh for up to one week, so you can enjoy them at your leisure. If you have leftovers, they still taste fantastic even days later.
Can I freeze No-Bake Pink Velvet Cheesecake Bites?
Absolutely! To freeze, wrap each cheesecake bite tightly in plastic wrap, and then place them in an airtight container. They can be stored in the freezer for up to 2 months. Just remember to thaw them in the refrigerator overnight before serving for the best texture.
What if my cheesecake filling turns out lumpy?
Don’t worry! If your filling is lumpy, it could be due to the cream cheese not being soft enough. Make sure it’s at room temperature next time. If you encounter lumps, you can try beating the filling longer until it smooths out, but be careful not to overmix once you add the whipping cream.
Are these cheesecake bites suitable for everyone?
Very! These No-Bake Pink Velvet Cheesecake Bites are vegetarian-friendly. However, if you have dietary restrictions, consider using non-dairy cream cheese and whipped cream alternatives to make them vegan. Just check ingredient labels for any potential allergens!
No-Bake Pink Velvet Cheesecake Bites to Sweeten Your Day
Ingredients
Equipment
Method
- Prepare the crust by combining graham cracker crumbs with melted butter. Press into a lined 8-inch baking dish and refrigerate for 30 minutes.
- Beat cream cheese in a large bowl until smooth. Add powdered sugar and vanilla extract, mixing until fully combined.
- Whip the heavy cream in a separate bowl until firm peaks form, then gently fold into the cream cheese mixture.
- Add pink food coloring to the mixture and gently mix until the desired color is achieved. Spread the filling evenly over the crust.
- Chill in the refrigerator for at least 4 hours or overnight to allow the cheesecake bites to set.
- Cut the cheesecake into bite-sized squares and serve chilled, garnished with fresh berries or whipped cream if desired.
Leave a Reply