
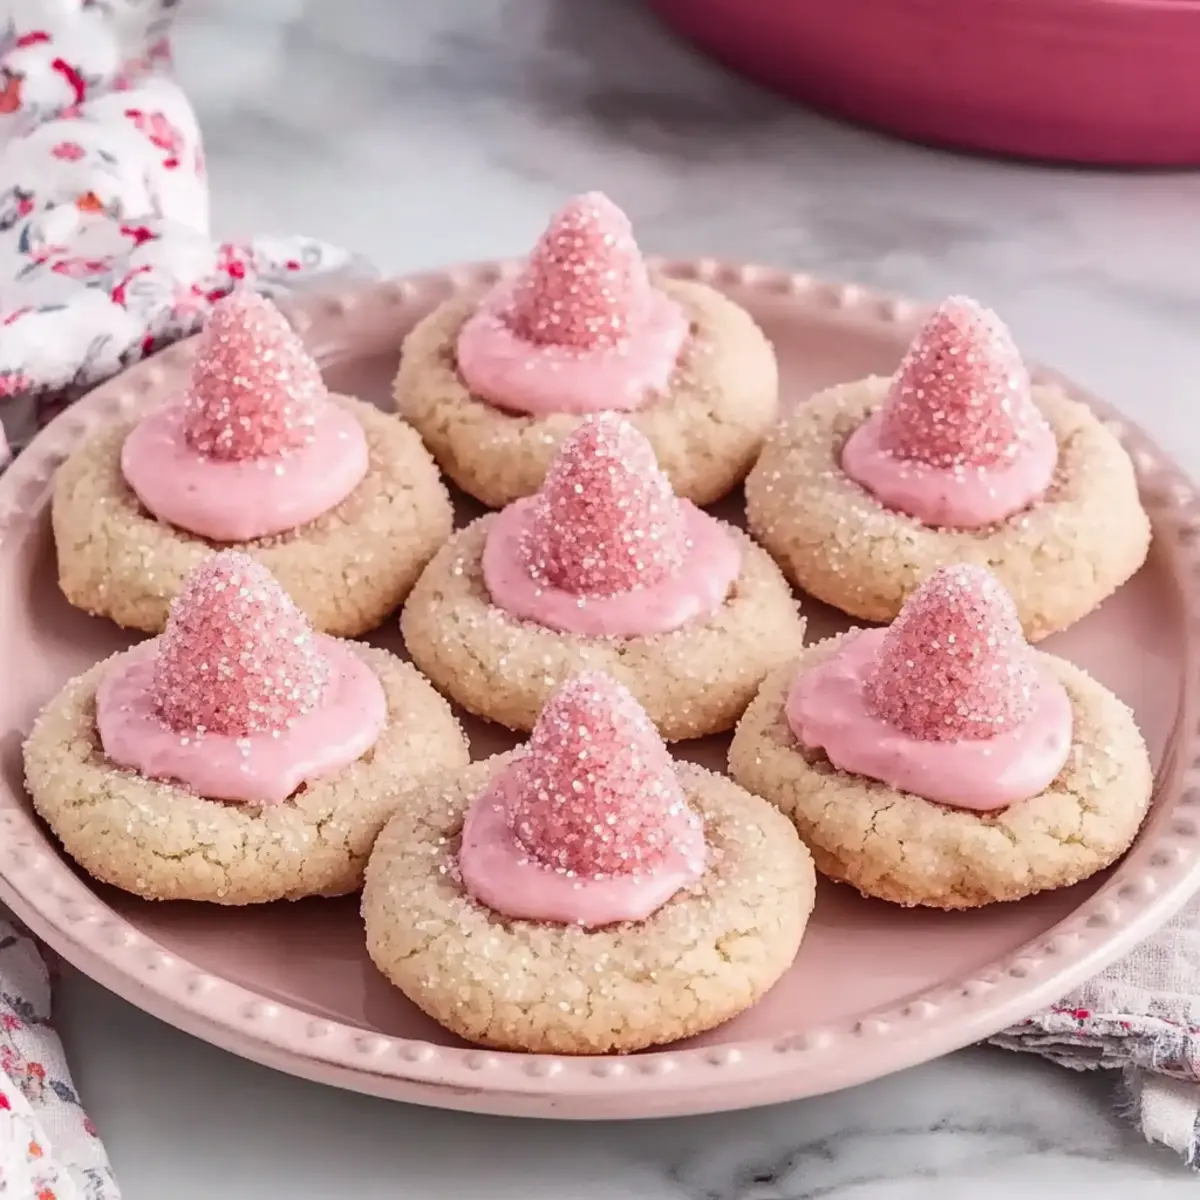
“Did you try those cookies?” I overheard my friend excitedly ask her partner during a recent Valentine’s Day gathering. Intrigued, I had to know more. Enter my Strawberry Kiss Cookies, the show-stopper of the evening! These easy-to-make, soft and chewy delights are not just a treat; they’re a sweet expression of love and creativity. Combining the sweetness of a classic sugar cookie with the playful, fruity burst from Hershey’s Strawberry Ice Cream Cone Kisses, they fill your kitchen with warming aromas that make every heart flutter. What’s even better? They’re a breeze to whip up, making them perfect for both seasoned bakers and novices looking to celebrate love without the fuss. So, are you ready to embark on a baking adventure that’s sure to impress? Let’s dive into this delightful recipe together!
Why Make Strawberry Kiss Cookies?
Irresistible Flavor: These cookies combine the buttery taste of sugar cookies with a vibrant fruity twist, sure to delight any palate.
Quick and Easy: With a few simple ingredients and straightforward steps, baking these cookies is a breeze—perfect for busy home chefs!
Versatile Variations: You can easily switch up the Kiss flavors to customize the cookies for any holiday or mood. Try using chocolate or caramel Kisses for a tasty twist!
Perfect for Sharing: Ideal for Valentine’s Day or any festive gathering, these cookies will wow guests and loved ones alike.
Fun Baking Activity: Get the family involved in this fun, creative baking experience that brings everyone together in the kitchen, just like with our delicious Chocolate Oat Cookies!
Strawberry Kiss Cookies Ingredients
• Before you start, gather these essentials for a delightful baking experience!
For the Cookie Dough
- Funfetti Sugar Cookie Mix – This base provides sweetness and structure; feel free to substitute with a plain sugar cookie mix or strawberry cake mix if you want a twist.
- Cream Cheese (4 oz, softened) – Adds richness and moisture for that delightful softness; make sure it’s at room temperature for easy blending.
- Large Egg (1) – Binds the ingredients together, contributing to the cookie’s soft texture.
For the Coating
- Sanding Sugar or Non-Pareils (½ cup) – Adds a delightful crunch and sweetness; consider using colorful sprinkles for a festive touch.
For the Kisses
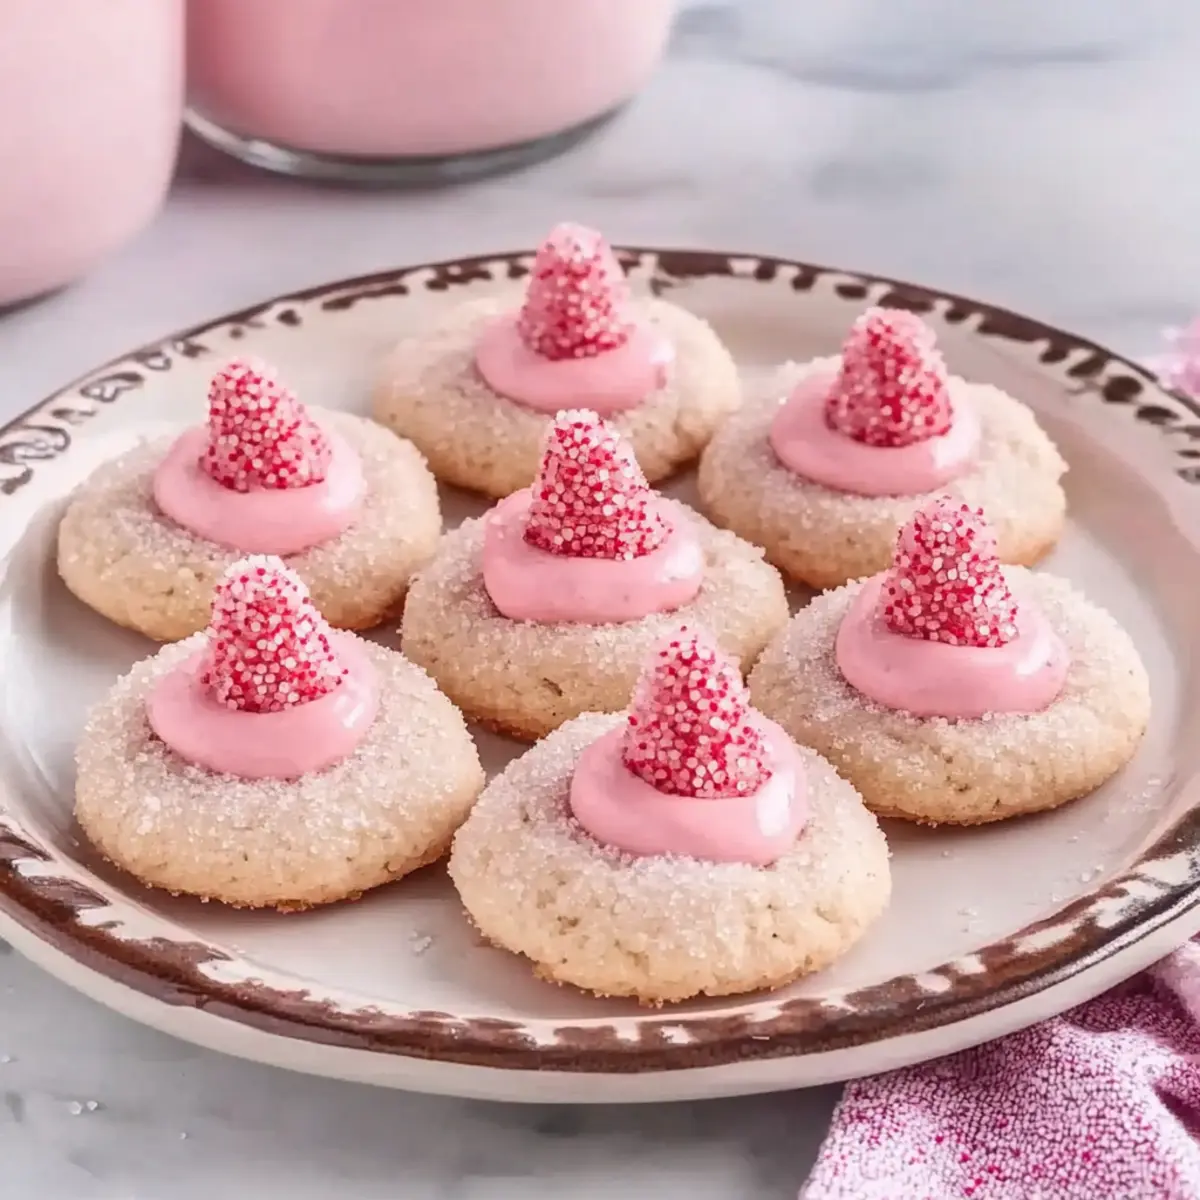
- Hershey’s Strawberry Ice Cream Cone Kisses (18) – The star of our cookies, delivering a fruity burst; swap for chocolate or cookies and cream for a fun variation!
Step‑by‑Step Instructions for Strawberry Kiss Cookies
Step 1: Preheat and Prepare
Begin by preheating your oven to 375°F (190°C) and lining a baking sheet with parchment paper. This will ensure your Strawberry Kiss Cookies bake evenly without sticking. It’s a small but essential step that guarantees a smooth process when you’re ready to place those delightful cookie dough balls in the oven.
Step 2: Mix the Dough
In a large mixing bowl, combine the Funfetti Sugar Cookie Mix, softened cream cheese, and large egg. Stir until a soft and slightly sticky dough forms, which should take about 2-3 minutes of mixing. The cream cheese should seamlessly blend into the mix, contributing to the rich, buttery flavor that makes these cookies so irresistible.
Step 3: Prepare for Coating
Pour the sanding sugar or non-pareils into a shallow bowl, creating a nice coating station for your cookie dough. This step is crucial for adding that delightful sweetness and extra crunch to your Strawberry Kiss Cookies, enhancing both their texture and visual appeal. It’s time to get those hands a little sugary, too!
Step 4: Shape the Cookies
Using a 1½ tablespoon cookie scoop, portion out the dough and roll it into balls with your hands. Ensure each ball is nice and round, making them visually appealing when baked. Then, gently roll each cookie ball in the prepared sanding sugar, allowing it to coat evenly. This adds a lovely sparkle that makes the cookies pop!
Step 5: Chill if Needed
If the dough feels a bit sticky and difficult to handle, pop it in the refrigerator for 30-60 minutes. Chilling the dough will make it easier to shape and prevent spreading during baking, ensuring your Strawberry Kiss Cookies maintain that perfect chewy texture. Patience pays off!
Step 6: Arrange on Baking Sheet
Place the sugar-coated cookie balls on the prepared baking sheet, spacing them about 1½ inches apart. This spacing is key to allow the cookies to spread and bake evenly without merging into one another. You should see a beautiful arrangement ready for the oven!
Step 7: Bake to Perfection
Slide the baking sheet into your preheated oven and bake the cookies for 8-12 minutes. Watch closely as the edges set while the centers remain soft, a visual cue that tells you they’re ready. The aroma will fill your kitchen, enticing everyone nearby to indulge in these sweet delights.
Step 8: Indent with Kisses
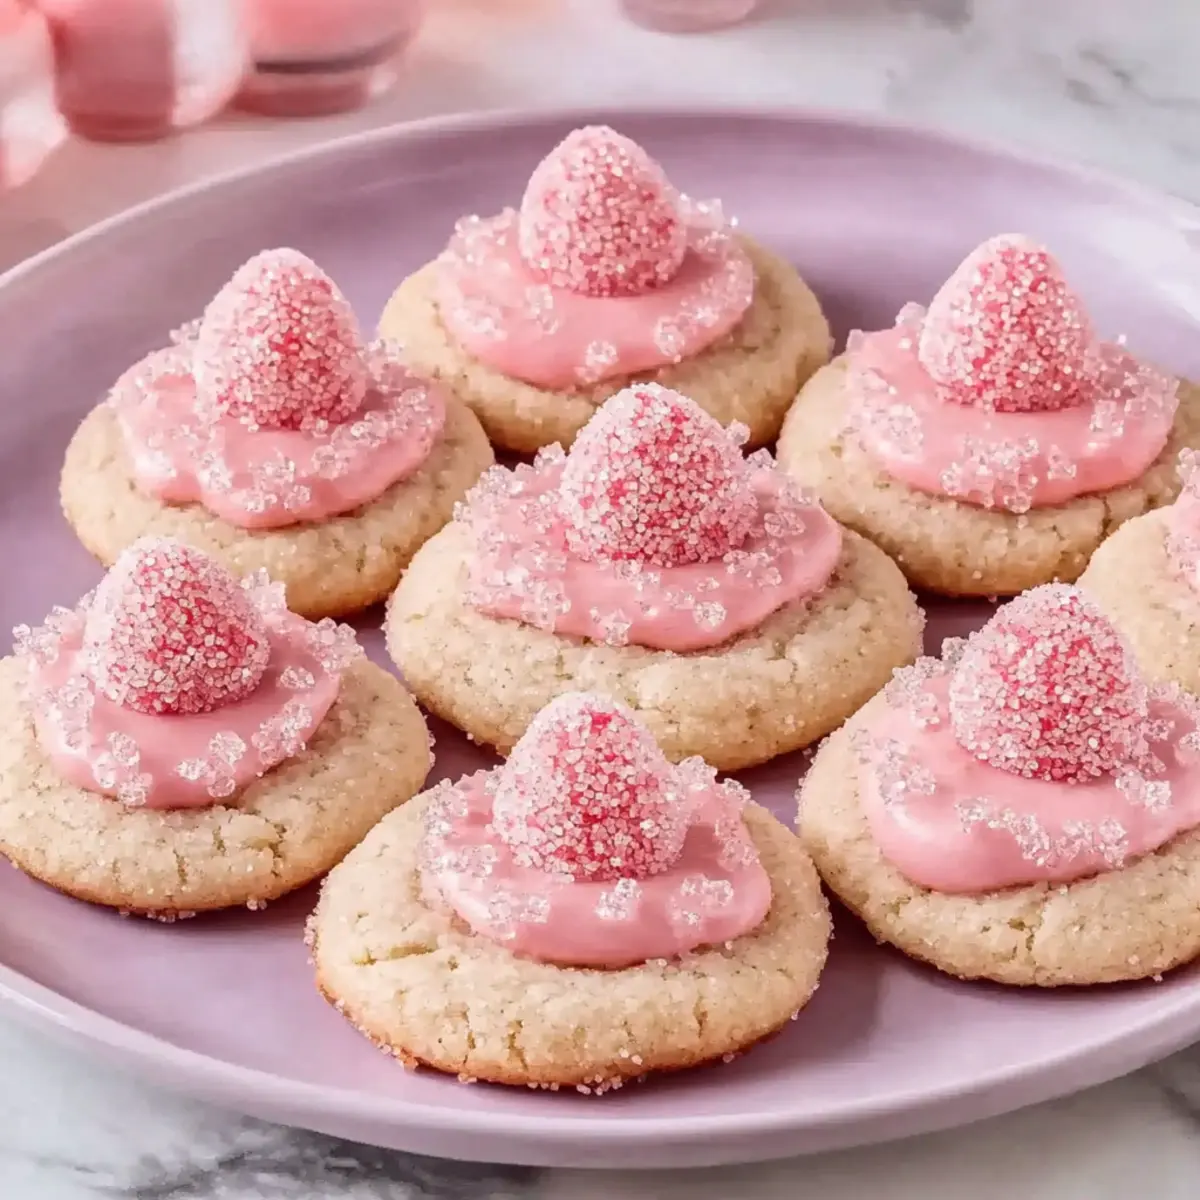
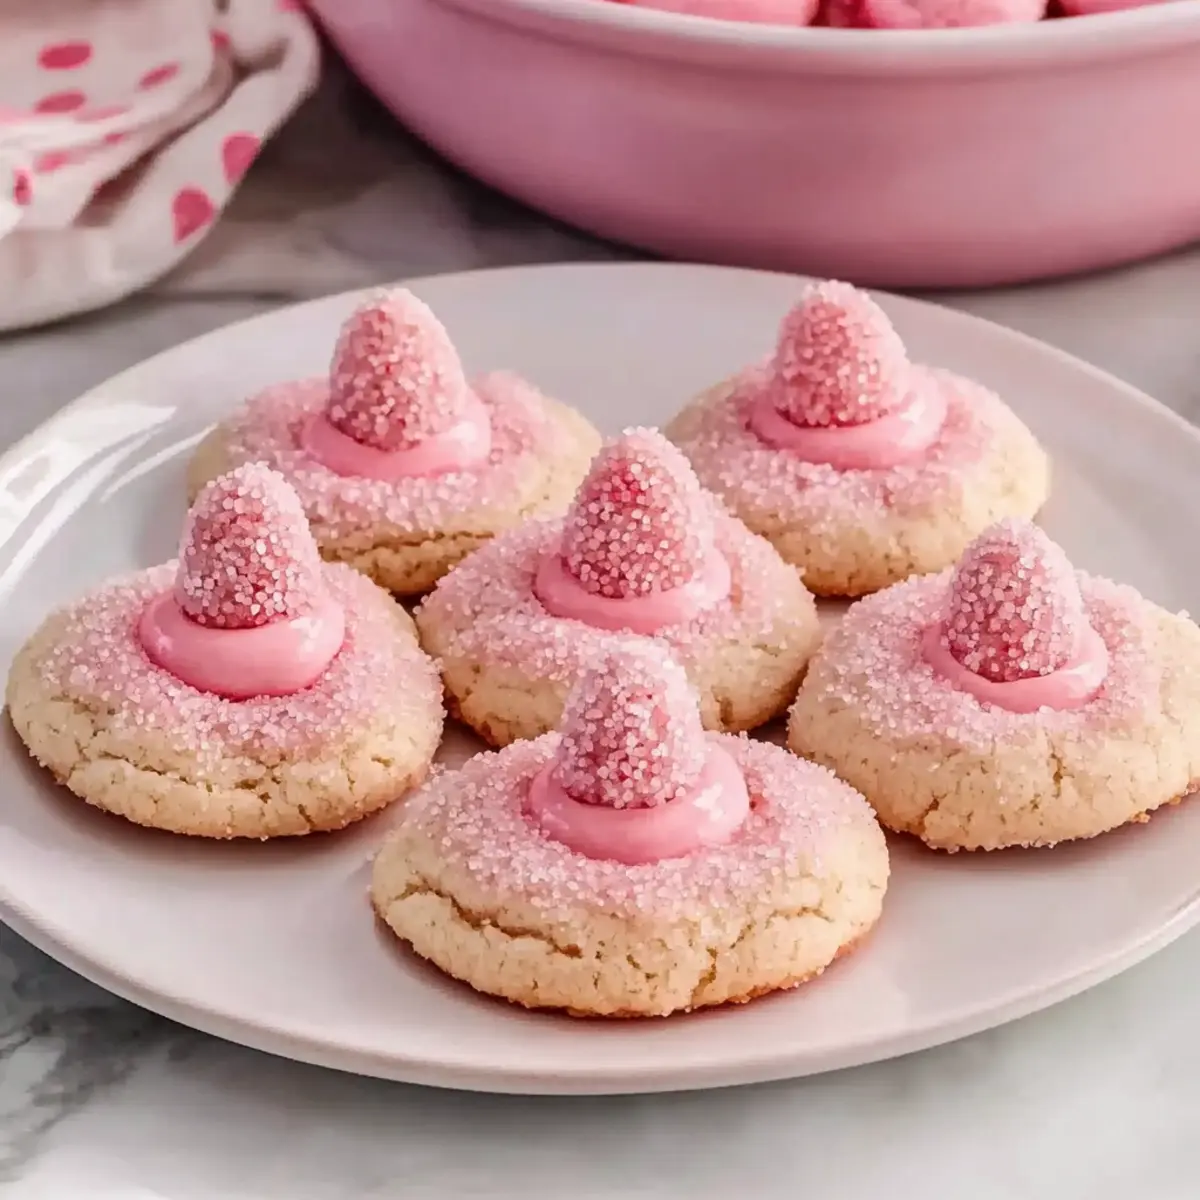
Once baked, remove the cookies from the oven and let them cool for about 3-5 minutes on the baking sheet. Then, gently press a Hershey’s Strawberry Ice Cream Cone Kiss into the center of each cookie. This step adds a delightful surprise and garnishes your Strawberry Kiss Cookies with a burst of flavor.
Step 9: Cool or Enjoy Warm
Let the cookies cool completely on a wire rack, or dive right in and enjoy them warm for a gooey treat! These Strawberry Kiss Cookies are perfect for sharing or savoring solo; the choice is yours. Whichever way you choose, the combination of flavors is sure to make hearts flutter!
Strawberry Kiss Cookies Variations
Feel free to customize your Strawberry Kiss Cookies to suit your taste or dietary needs, and let your creativity shine!
-
Chocolate Kisses: Swap in milk chocolate or dark chocolate Kisses for a rich, decadent flavor that complements the buttery cookie base beautifully.
-
Gluten-Free: Use a gluten-free sugar cookie mix as a substitute, ensuring everyone can indulge in these delightful treats without worry.
-
Vegan Option: Replace the egg with a flax egg (1 tablespoon flaxseed meal + 2.5 tablespoons water) and use vegan cream cheese for a tasty plant-based version.
-
Nutty Twist: Add chopped nuts, like walnuts or pecans, to the dough for a delightful crunch and flavor contrast to the sweetness of the Kisses.
-
Citrus Zest: Stir in some lemon or orange zest to the cookie dough for a refreshing citrus backdrop that complements the strawberry flavor perfectly.
-
Spicy Kick: For a bit of heat, mix a pinch of cayenne or chili powder into the dough. It’ll surprise your taste buds while tasting sweet!
-
Customized Coatings: Try using colored sprinkles instead of sanding sugar for a festive touch that makes your cookies pop, especially for holidays.
-
Mix and Match Kisses: Use a combination of Kisses flavors—think strawberry and cookies and cream—for a fun, unexpected bite; this variation adds personality to each cookie!
Don’t forget to pair these cookies with delightful treats like a glass of Strawberry Dirty Sprite or share them alongside a heavenly slice of Strawberry Crunch Cheesecake!
Expert Tips for Strawberry Kiss Cookies
-
Ingredient Prep: Use room temperature cream cheese for smoother mixing; this helps create that soft, chewy texture in your Strawberry Kiss Cookies.
-
Chill if Sticky: If the dough is too sticky to handle, chill it for 30-60 minutes. This prevents spreading during baking and ensures perfectly shaped cookies.
-
Kiss Timing: For a gooey center, press the Kisses into the warm cookies right after baking. For firmer Kisses, wait until they’ve cooled slightly before pressing.
-
Storage Solutions: Store your Strawberry Kiss Cookies in an airtight container at room temperature for up to 4 days, or refrigerate them to enjoy them longer.
-
Avoid Overbaking: Keep an eye on the cookies during the last moments in the oven. They should be soft in the center; overbaking can lead to tough cookies!
What to Serve with Strawberry Kiss Cookies
Brighten up your Valentine’s Day spread with delightful pairings that complement the sweet, fruity flavors of these cheerful cookies.
-
Creamy Hot Cocoa: This rich beverage warms the heart and perfectly balances the sweetness of the cookies, making every bite a cozy experience. A dollop of whipped cream can elevate it even further!
-
Fresh Strawberries: Their juicy freshness enhances the strawberry flavor in the cookies and adds a refreshing contrast. Enjoy them as a sweet side that brings brightness to your dessert platter.
-
Pink Lemonade: Bursting with zesty sweetness, this refreshing drink contrasts nicely with the rich, buttery cookies, making for a light and enjoyable pairing.
-
Vanilla Ice Cream: The creamy vanilla ice cream adds a cool creaminess next to the warm cookies, and you can even drizzle a bit of chocolate sauce on top for an indulgent twist.
-
Sugar Cookie Dough Dip: Serve this dip as a fun, interactive addition to your dessert table. Pair it with cookie sticks for a playful and delicious treat that echoes the flavors of your Strawberry Kiss Cookies.
-
Chocolate-Covered Pretzels: These crunchy snacks add a delightful contrast. Their salty-sweet balance brings an exciting texture and flavor twist to your dessert harmony.
-
Sparkling Water with Lemon: For a refreshing alternative drink, citrus-infused sparkling water keeps your palate refreshed, enhancing the fruity notes of the cookies.
-
Coffee or Espresso: A perfect pairing, the rich notes of coffee offer depth that beautifully contrasts with the sweet, buttery cookies for an idyllic afternoon treat.
Storage Tips for Strawberry Kiss Cookies
-
Room Temperature: Store your Strawberry Kiss Cookies in an airtight container at room temperature for up to 4 days. This keeps them fresh while maintaining their delightful softness.
-
Fridge: If you want to extend their life, refrigerate the cookies, where they can last up to a week. Make sure they’re well-wrapped to prevent them from drying out.
-
Freezer: To freeze, place the cookies in a single layer on a baking sheet until firm, then transfer them to a freezer-safe bag or container. They’ll keep for up to 3 months.
-
Reheating: For a warm treat, reheat frozen Strawberry Kiss Cookies in the microwave for 10-15 seconds or in the oven at 350°F for about 5 minutes. Enjoy that fresh-baked taste again!
Make Ahead Options
These Strawberry Kiss Cookies are a fantastic choice for meal prep, allowing you to enjoy baking without the last-minute rush! You can prepare the cookie dough up to 24 hours in advance. Simply mix the dough, roll it into balls, and then refrigerate them until you’re ready to bake. When you’re set to indulge, place the chilled dough on a baking sheet and bake as directed. To maintain their soft texture and delightful flavor, make sure to store any uncooked dough in an airtight container while refrigerated. This thoughtful preparation means you can enjoy the sweet aroma and delightful taste of fresh cookies with minimal effort on busy nights!
Strawberry Kiss Cookies Recipe FAQs
How do I select ripe strawberries for my Strawberry Kiss Cookies?
Absolutely! When choosing strawberries, look for ones that are bright red, firm, and fragrant. Avoid any with green or white spots, as these may not be fully sweet. If you can, opt for organic strawberries; they tend to have a richer taste and are more flavorful, adding that extra layer of joy to your cookies!
How should I store my Strawberry Kiss Cookies?
Store your Strawberry Kiss Cookies in an airtight container at room temperature for up to 4 days to keep them soft and delightful. If you want to prolong their freshness, refrigerate them, where they can last up to a week. Just make sure they’re well-covered to prevent drying out!
Can I freeze Strawberry Kiss Cookies? How?
Yes, you can freeze your Strawberry Kiss Cookies for up to 3 months! To do so, start by arranging the cookies in a single layer on a baking sheet, placing them in the freezer until they’re firm. Then, transfer them to a freezer-safe bag or container, layering parchment paper between cookies to prevent sticking. When you’re ready to enjoy, thaw them in the refrigerator overnight, or pop them in the microwave for a warm treat!
What should I do if my cookie dough is too sticky to handle?
No worries! If your cookie dough feels sticky, simply chill it in the refrigerator for 30-60 minutes. This will firm it up and make it easier to shape without compromising the delightful texture of your Strawberry Kiss Cookies. Patience here will reward you with perfectly shaped cookies!
Are there any dietary considerations for making Strawberry Kiss Cookies?
Absolutely! These cookies are vegetarian-friendly, but keep in mind that the cream cheese may not be suitable for those with dairy allergies. If you’re baking for someone with dietary restrictions, consider using a dairy-free cream cheese alternative. Also, check the packaging on your Kiss candies for any potential allergens, as they can vary by flavor.
How do I know when my cookies are perfectly baked?
For perfectly baked Strawberry Kiss Cookies, look for edges that are set while the centers remain soft. This usually takes about 8-12 minutes in a preheated oven. You can also poke them gently—if they spring back, they’re good to go! Overbaking will lead to tougher cookies, so keep a watchful eye during those last few minutes!
Strawberry Kiss Cookies: Sweet Bites for Your Valentine’s Day
Ingredients
Equipment
Method
- Preheat your oven to 375°F (190°C) and line a baking sheet with parchment paper.
- In a large mixing bowl, combine the Funfetti Sugar Cookie Mix, softened cream cheese, and large egg. Stir until a soft and slightly sticky dough forms.
- Pour the sanding sugar or non-pareils into a shallow bowl for coating.
- Using a 1½ tablespoon cookie scoop, portion out the dough and roll it into balls. Roll each ball in the prepared sanding sugar.
- If the dough is sticky, chill it in the refrigerator for 30-60 minutes.
- Place the sugar-coated cookie balls on the prepared baking sheet, spacing them about 1½ inches apart.
- Bake the cookies for 8-12 minutes, until the edges set while the centers remain soft.
- Once baked, let them cool for 3-5 minutes on the baking sheet, then press a Hershey’s Strawberry Ice Cream Cone Kiss into the center of each cookie.
- Let the cookies cool completely on a wire rack, or enjoy them warm.
Leave a Reply