
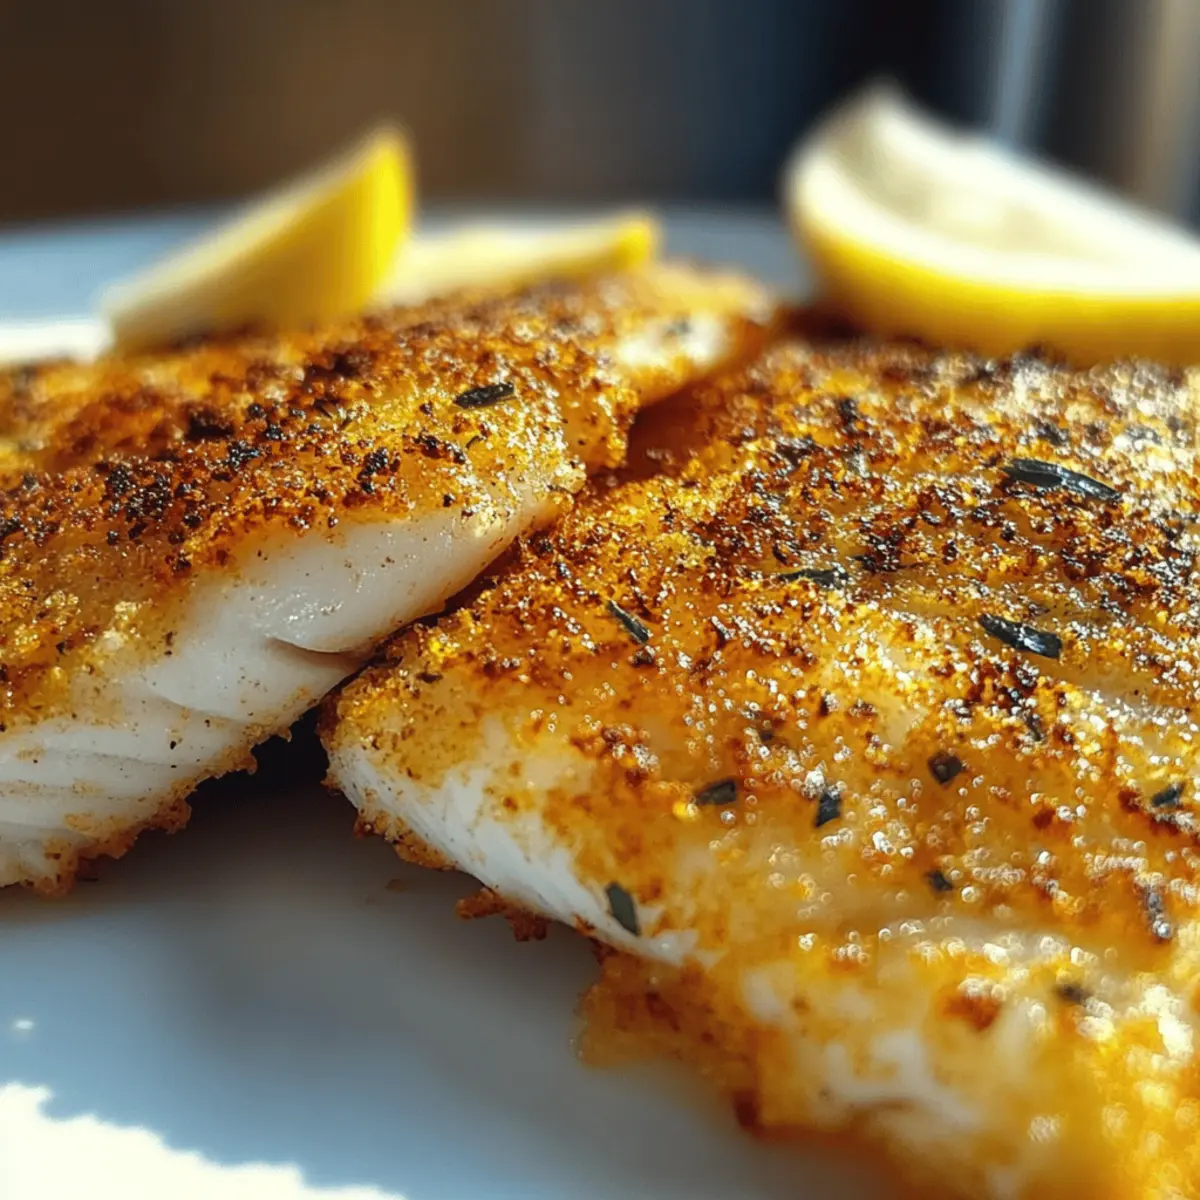
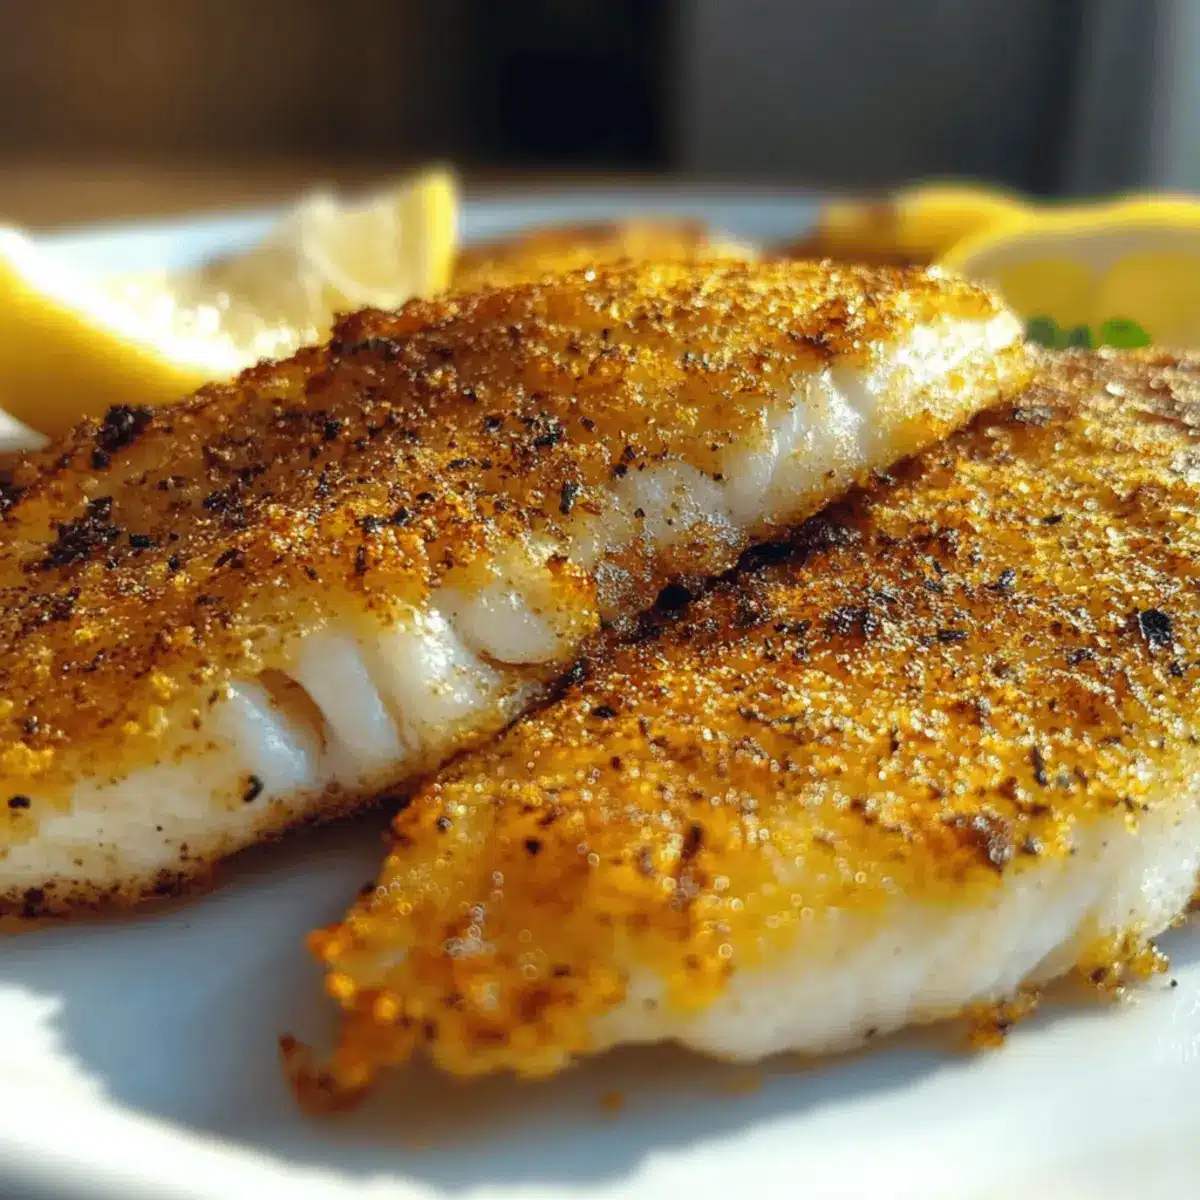
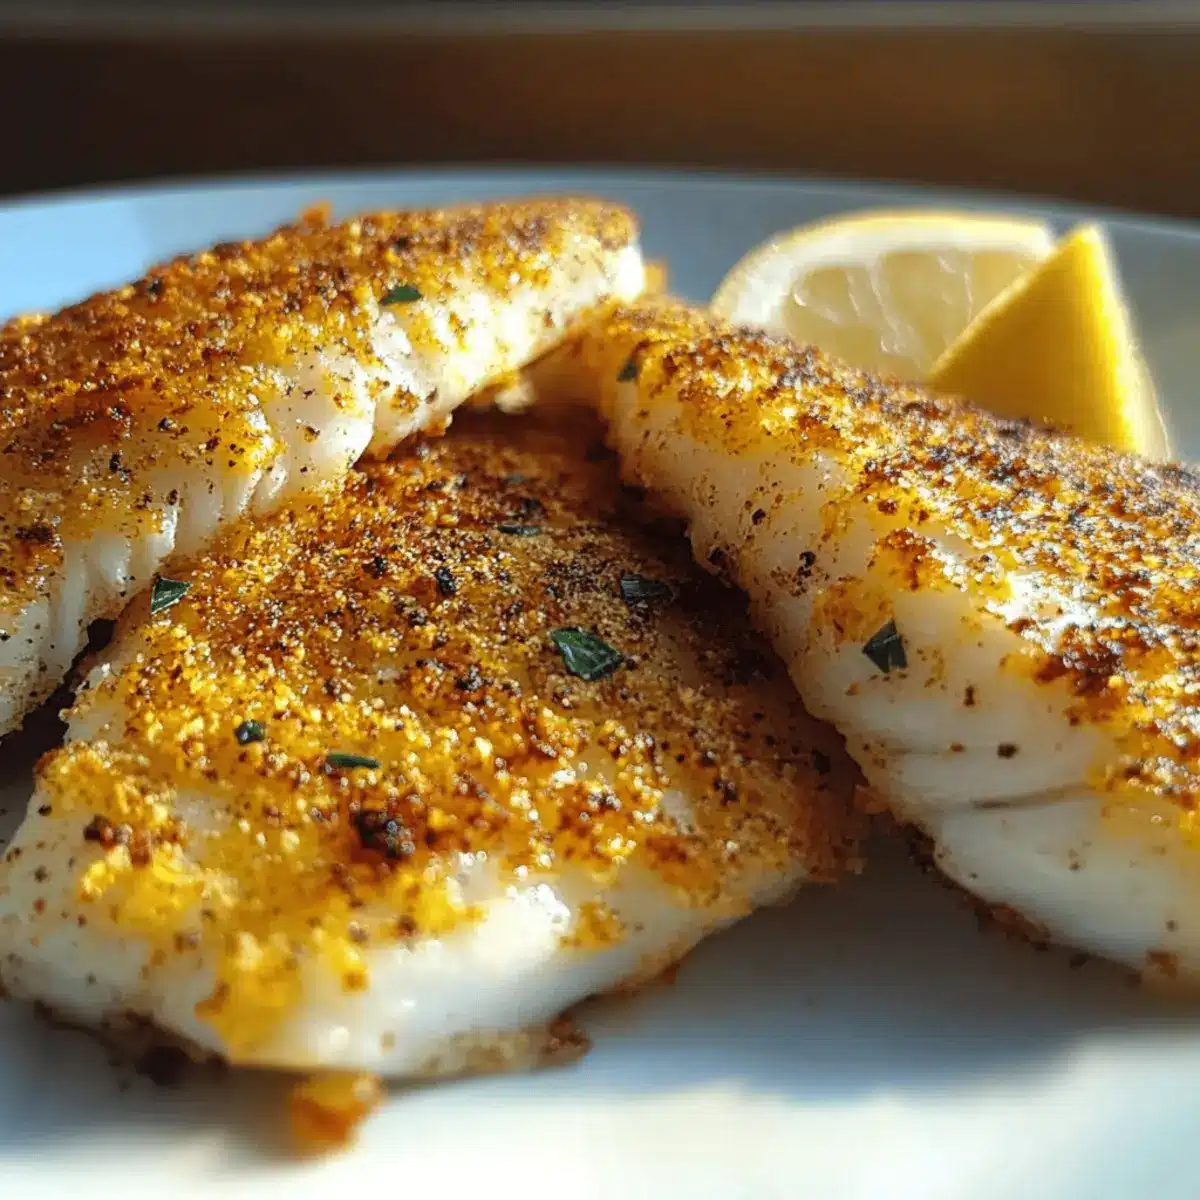
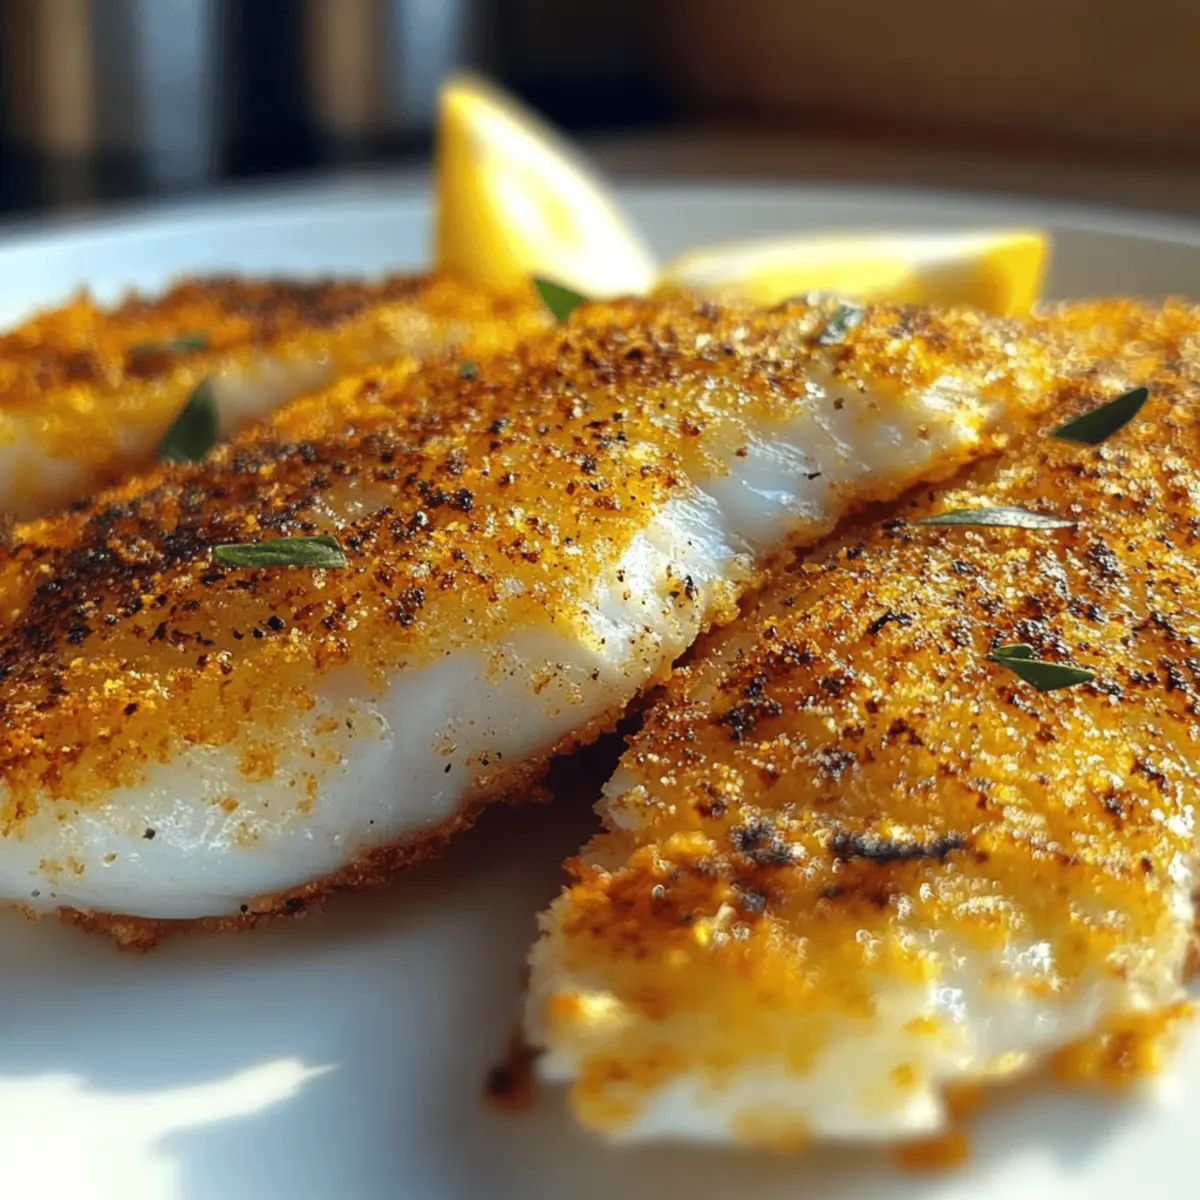
As I was experimenting with my air fryer one evening, I stumbled upon a culinary gem: Air Fryer Tilapia. In just 15 minutes, I had created crispy, golden fillets that brought restaurant-quality dining straight to my kitchen. This delightful recipe not only makes for a quick dinner option but also ensures your home remains free of that lingering fish smell often associated with cooking seafood. With minimal ingredients and effort in play, I promise you’ll want to whip this up time and again. Whether you’re feeding a cozy family dinner or preparing a meal for one, this healthy fish recipe is a winner. Curious to find out how to achieve that perfect crisp? Let’s dive into the details!
Why is Air Fryer Tilapia a Must-Try?
Quick, mouthwatering meals: You can have a delicious dinner on the table in just 15 minutes!
Crispy texture: The air fryer gives you that delightful crunch without deep frying.
Healthy option: Packed with protein and low in calories, it’s a guilt-free choice for those watching their diet.
Versatility: Experiment with spices like lemon pepper or Cajun seasoning for a unique twist, or enjoy it simply with lemon.
No clean-up hassle: Say goodbye to lingering odors and messy cleanup – just pop your fillets in the air fryer! Don’t forget, you can also check out my recipe for Air Fryer Garlic Flatbread to pair with this delicious dish!
Air Fryer Tilapia Ingredients
For the Tilapia
• Tilapia fillets – Choose fresh or completely thawed fillets for the best texture.
• Olive oil – This helps the spices stick and promotes that delightful crispiness; avocado oil is a great alternative.
For the Seasoning
• Salt – Enhances flavor and is essential for balancing the dish.
• Pepper – Adds a mild heat; feel free to adjust to taste.
• Garlic powder – Brings a savory depth; fresh garlic can also be used.
• Paprika – Adds a hint of smokiness and vibrant color; you can substitute with smoked paprika for extra flavor.
• Optional spices – Customize further with lemon pepper or other favorite blends for unique Air Fryer Tilapia variations.
Step‑by‑Step Instructions for Air Fryer Tilapia
Step 1: Preheat Your Air Fryer
Begin by preheating your air fryer to 400°F (200°C) for about 5 minutes. This step is crucial for achieving that crispy texture we love in Air Fryer Tilapia. While your air fryer heats up, it sets the stage for even cooking and optimal crispiness, ensuring your fillets come out perfectly golden brown.
Step 2: Prepare the Tilapia Fillets
While the air fryer is preheating, take your fresh tilapia fillets and pat them dry using paper towels. This is an important step to eliminate any moisture that could prevent the fillets from getting crispy. Once dried, lay them on a clean cutting board, ready for seasoning to enhance their natural flavor.
Step 3: Coat with Olive Oil
Next, brush both sides of each tilapia fillet generously with olive oil. This not only helps the spices stick but also contributes to achieving that delightful golden crisp as they cook. A thin coat of oil is all you need—just enough to ensure the fillets are lightly glistening before seasoning.
Step 4: Season the Fillets
In a separate bowl, combine your chosen spices—salt, pepper, garlic powder, and paprika. Mix them well, and then sprinkle the seasoning evenly over both sides of the tilapia fillets. Don’t be shy; seasoning is key to a flavorful Air Fryer Tilapia that your family will love. Make sure each fillet is well-coated for an even taste.
Step 5: Arrange in the Air Fryer Basket
Once seasoned, carefully place the fillets in the air fryer basket in a single layer, ensuring they do not overlap. This is vital for allowing hot air to circulate evenly around each piece, promoting that desired crispiness. If you have more fillets, you may want to cook them in batches to maintain optimal cooking conditions.
Step 6: Cook the Fillets
Set your air fryer to cook at 400°F (200°C) for 8-10 minutes. Flip the fillets halfway through the cooking time to ensure even browning. You’ll know they are done when the edges are golden and the fish flakes easily with a fork. Keep an eye on them towards the end; every air fryer varies slightly in cooking duration.
Step 7: Adjust Cooking Time if Necessary
For thicker fillets over 1 inch, you may need to add an extra 1-2 minutes to the cooking time. Check for doneness using a fork to ensure the fish is flaky and opaque throughout. Remember, perfectly cooked Air Fryer Tilapia should have a delightful crunch on the outside and be increasingly tender inside.
Step 8: Optional Warm Holding
If you’re cooking in batches, you can keep finished fillets warm in a 200°F (93°C) oven while you finish cooking the remaining ones. This way, all your Air Fryer Tilapia will be hot when you’re ready to serve, ensuring everyone enjoys the dish fresh from the fryer and at the same perfect temperature.
Air Fryer Tilapia Variations
Make this delightful recipe your own by playing with flavors and substitutions that tantalize your taste buds!
-
Dairy-Free: Use olive or avocado oil instead of butter to keep things light and vegan-friendly. Your fish will still be beautifully crispy!
-
Spice it Up: Swap in lemon pepper or Cajun seasoning for a zesty kick. Imagine the burst of flavor with every bite, making dinner feel like a party!
-
Herb-Infused: Mix in dried herbs like oregano or thyme with your spices for a touch of warmth. It enhances the dish’s fragrance and adds a comforting aroma to your kitchen.
-
Zesty Citrus: Zest lemon or lime over the fillets before cooking for a fresh, tangy brightness. This little twist will elevate your Air Fryer Tilapia to new heights, tantalizing your palate with each bite.
-
Gluten-Free Version: Ensure all spices are certified gluten-free and omit breadcrumbs if included in your original grocery list. Enjoy a flavorful dish without compromising dietary needs.
-
Protein Boost: Top your tilapia with a sprinkle of crispy chickpeas for added protein and a delightful crunch. This combination makes for a hearty meal that’s still light!
-
Southwest Style: Use taco seasoning instead of traditional spices for a southwestern flair. Serve it with some homemade guacamole for a refreshing, flavorful pairing.
-
Try a Crust: Coat the fillets lightly with crushed cornflakes or panko for an extra crunchy crust. It’s a texture twist that’s sure to impress and satisfy that crunch craving.
If you’re looking for more delicious air-fried side options, don’t miss the chance to check out my recipe for Air Fryer Garlic Flatbread. And for another flavorful variation, my Air Fryer Garlic recipe is perfect for elevating all your dinners. Happy cooking!
How to Store and Freeze Air Fryer Tilapia
Fridge: Store leftover tilapia in an airtight container for up to 2 days. This helps maintain its crispy texture and flavor.
Freezer: For longer storage, freeze cooked air fryer tilapia in a freezer-safe container for up to 2 months. Thaw in the fridge overnight before reheating.
Reheating: To bring back its crunch, reheat the fillets in the air fryer at 350°F (175°C) for 2-3 minutes. This method works best to refresh your air fryer tilapia!
Wrapping: If keeping in the fridge for short term, wrap the fillets tightly in plastic wrap or foil to prevent them from drying out.
Expert Tips for Air Fryer Tilapia
-
Perfect Preheat: Always preheat your air fryer for 5 minutes to ensure crispy tilapia. This step is crucial for optimal results.
-
Moisture Matters: Pat the tilapia fillets dry completely. Excess moisture can lead to steamed fish instead of a crispy texture.
-
Season Generously: Don’t skimp on the seasoning. A well-seasoned fillet enhances the flavor and makes your Air Fryer Tilapia truly shine.
-
Don’t Overcrowd: Cook fillets in a single layer to allow even cooking. Stacking can prevent proper airflow and lead to soggy results.
-
Monitor Cooking Time: Keep an eye on the fish, especially toward the end of the cooking time. Adjust time for thicker fillets to ensure they cook through without drying out.
What to Serve with Air Fryer Tilapia?
Elevate your dining experience with delightful pairings that perfectly complement the crispy, flaky tilapia.
-
Creamy Mashed Potatoes: Their rich texture balances the crispy fish beautifully, making each bite heavenly.
-
Quinoa Salad: A light and refreshing option, this salad packed with veggies adds nutrition and a pop of color to your plate.
-
Steamed Broccoli: This vibrant green vegetable provides a satisfying crunch and earthy flavors, enhancing your healthy meal.
-
Garlic Roasted Asparagus: With slight char and garlicky goodness, asparagus adds sophisticated depth to your dinner.
-
Lemon Wedges: A squeeze of lemon brightens the dish, enhancing the flavors of the tilapia, and adds a refreshing twist.
-
Crisp Garden Salad: Fresh greens and colorful veggies create a textural contrast, offering a light, crisp experience to balance the meal.
-
Herbed Rice: Fluffy rice infused with herbs pairs well to soak up any remaining juices, enhancing the overall taste delightfully.
-
Chilled White Wine: A glass of crisp, chilled Sauvignon Blanc can elevate your meal, complementing the delicate flavors of the fish.
-
Fruit Sorbet: End your meal on a sweet note with refreshing sorbet, a delightful contrast to the savory tilapia.
Mix and match to create your ideal meal and enjoy the delicious results!
Make Ahead Options
These Air Fryer Tilapia fillets are a fantastic candidate for meal prep lovers! You can season and refrigerate the tilapia fillets up to 24 hours in advance, ensuring they absorb all those delicious spices. To maintain their crispy texture, store the seasoned fillets in an airtight container lined with parchment paper. When you’re ready to cook, simply take them out and allow them to reach room temperature for about 15 minutes before placing them in the preheated air fryer. With this make ahead option, you’ll have a quick, flavorful dinner ready with minimal effort, perfect for busy weeknights!
Air Fryer Tilapia Recipe FAQs
How do I choose fresh tilapia fillets?
Absolutely! When selecting tilapia fillets, look for bright, translucent skin that’s free from any dark spots or discoloration. The flesh should be firm to the touch and smell like the ocean – a fresh, mild scent. Avoid any fillets that have a strong fishy odor, indicating they might be past their prime.
How should I store leftover air fryer tilapia?
Very simply! Store leftover air fryer tilapia in an airtight container in the fridge for up to 2 days. Make sure to place a piece of paper towel in the container to absorb any excess moisture, helping retain the crispy texture. When ready to eat, reheat in the air fryer for the best results!
Can I freeze cooked air fryer tilapia?
Yes, indeed! To freeze your air fryer tilapia, allow it to cool completely first. Then, wrap each fillet in plastic wrap and place it in a freezer-safe container or resealable bag. It’ll keep well for up to 2 months in the freezer. When you’re ready to enjoy it again, simply thaw it in the fridge overnight before reheating.
What should I do if my air fryer tilapia comes out soggy?
Oh no! If your air fryer tilapia turns out soggy, it often means there was too much moisture during cooking. Next time, make sure to dry the fillets thoroughly with paper towels before applying olive oil. Additionally, ensure the air fryer basket isn’t overcrowded; this allows the hot air to circulate around each fillet, achieving that desired crispiness.
Are there any dietary considerations for this recipe?
Definitely! For a gluten-free adaptation, be sure all spices used are certified gluten-free. If you have allergies, always check the ingredient label for any potential allergens. And remember, while tilapia is a fantastic protein source, some pets may be sensitive to fish, so keep any leftovers for the humans in the household!
Crispy Air Fryer Tilapia: Quick, Healthy Dinner Delight
Ingredients
Equipment
Method
- Preheat your air fryer to 400°F (200°C) for about 5 minutes.
- Pat the tilapia fillets dry using paper towels.
- Brush both sides of each tilapia fillet generously with olive oil.
- In a bowl, combine spices and sprinkle evenly over both sides of the tilapia fillets.
- Place the fillets in the air fryer basket in a single layer.
- Cook at 400°F (200°C) for 8-10 minutes, flipping halfway through.
- Add 1-2 minutes to cooking time for thicker fillets over 1 inch.
- Keep finished fillets warm in a 200°F (93°C) oven if cooking in batches.
Leave a Reply