
As I stepped into the kitchen, the sweet aroma of chocolate swirling through the air instantly transported me back to my childhood Easters. Those cherished moments remembering colorful egg hunts and laughter are the inspiration behind these delightful Easter Brownies. Fudgy, dense, and perfectly chewy, this recipe is not just another chocolate dessert; it transforms into a festive centerpiece adorned with whimsical pastel decorations that spark joy for all ages. Whether you’re celebrating with family or bringing a homemade treat to a spring gathering, these Easter brownies are sure to impress with their quick prep time and the option to add a little coffee kick for a richer chocolate flavor. Who’s ready to dive into this chocolaty delight?
Why Are These Easter Brownies Irresistible?
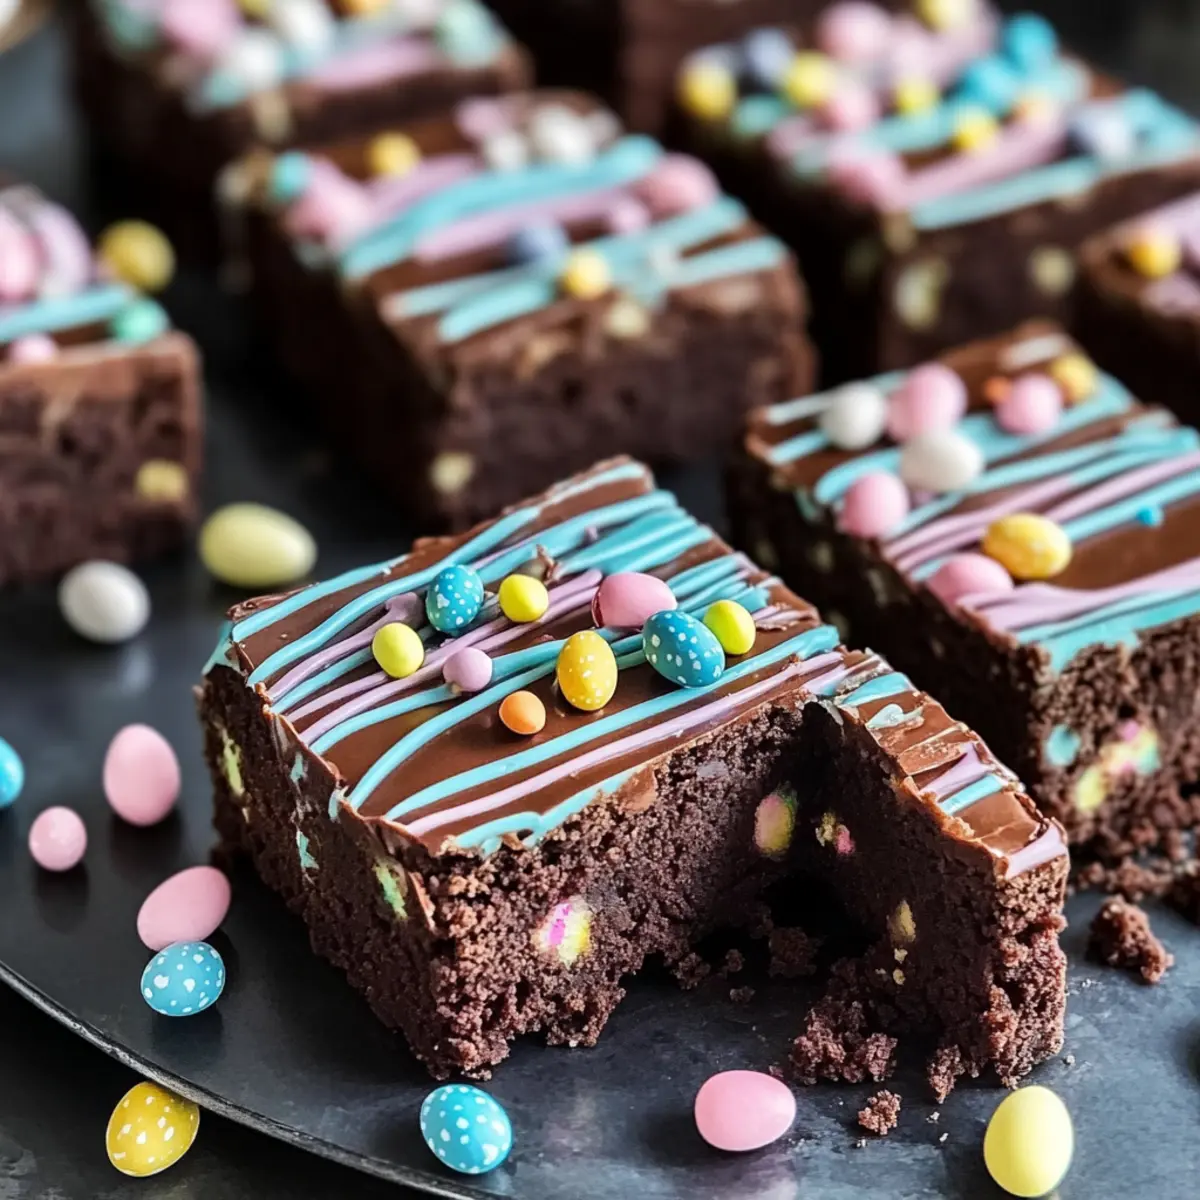
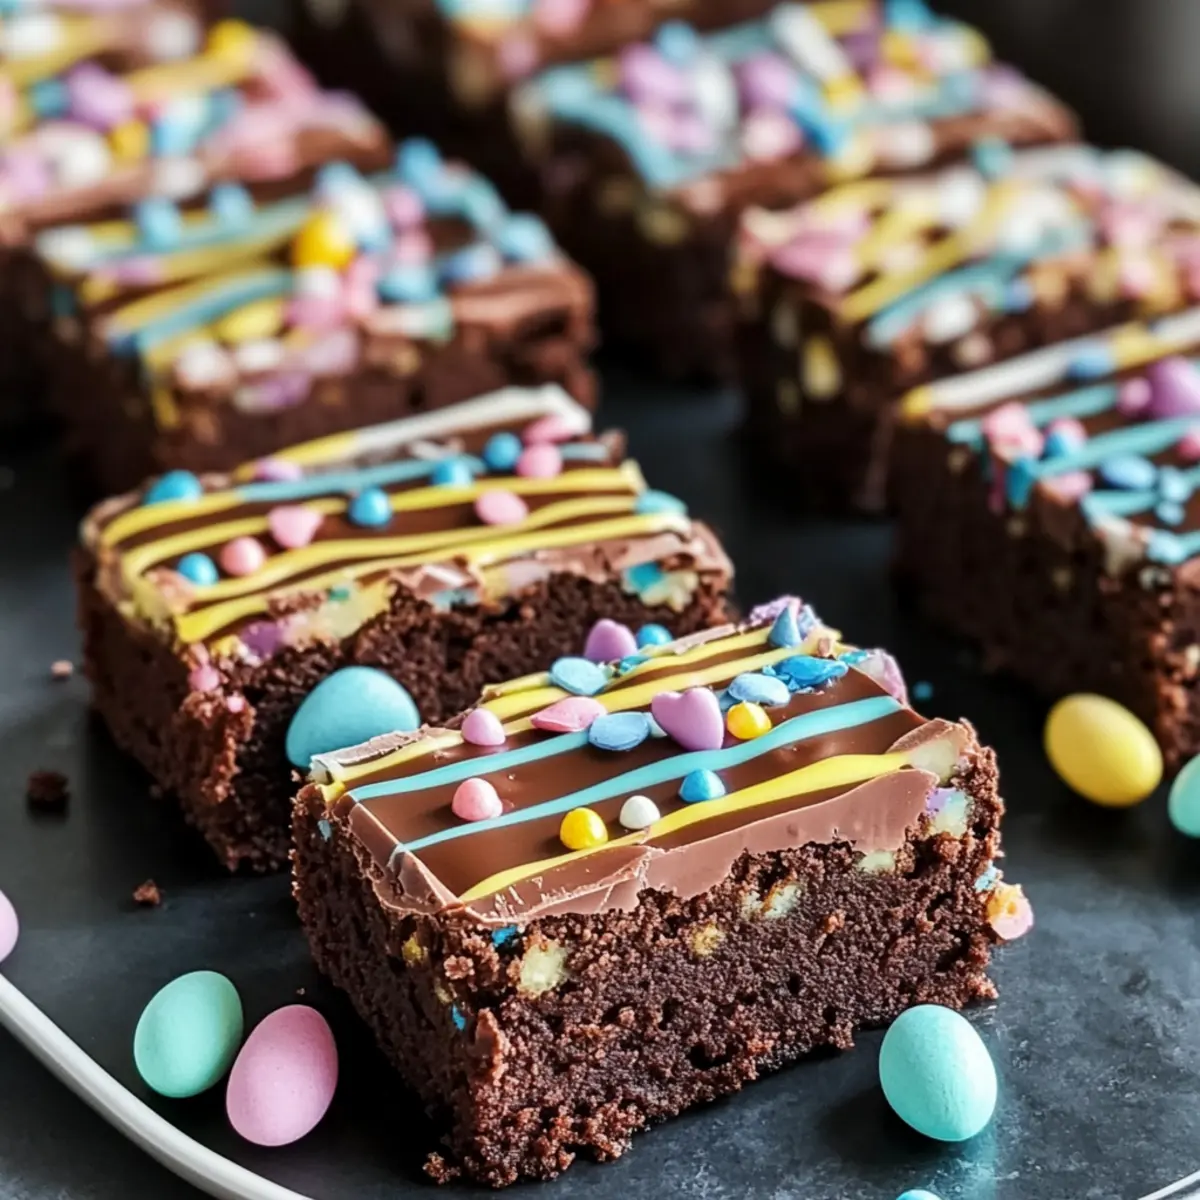
Ultimate indulgence: Each bite is a chocolate lover’s dream, with a fudgy texture topped by a glossy chocolate drizzle.
Festive flair: The pastel decorations not only look stunning but bring a whimsical touch to your spring celebrations.
Quick and easy: With just a few steps, you’ll have an impressive dessert ready to share without the fuss.
Customizable options: Add a hint of coffee for that extra depth, or switch up toppings for a unique twist!
Crowd pleaser: Perfect for Easter gatherings or parties, everyone will be reaching for seconds!
Easter Brownies Ingredients
For the Brownies
• Granulated Sugar – Adds sweetness and a crisp top layer.
• Brown Sugar – Contributes moisture for a chewy texture.
• Butter – Enriches flavor and contributes to a fudgy texture; use unsalted for better salt control.
• Eggs – Provide structure and help bind ingredients together—opt for fresh large eggs.
• Vanilla Extract – Enhances the overall flavor profile beautifully.
• All-Purpose Flour – Gives structure to the brownies; can be swapped for a gluten-free blend.
• Cocoa Powder – Essential for deep chocolate flavor; use unsweetened for best results.
• Salt – Balances sweetness and heightens flavors.
• Chocolate Chips – Create delightful pockets of melted chocolate; opt for semi-sweet or dark chocolate.
For the Topping
• Coconut Oil – Used to melt with chocolate for the topping; can substitute with vegetable oil for a similar texture.
• Coffee (optional) – Enhances the chocolate flavor without imparting a coffee taste; use cooled brewed coffee or espresso.
Step‑by‑Step Instructions for Easter Brownies
Step 1: Preheat and Prepare the Pan
Begin by preheating your oven to 350°F (175°C). While the oven heats, line a 9×13-inch baking pan with parchment paper, allowing some overhang for easy removal later. This will ensure your Easter brownies have a neat finish and won’t stick to the pan.
Step 2: Melt the Butter and Combine Sugars
In a medium saucepan over low heat, melt 1 cup of unsalted butter. Once melted, remove from heat and whisk in 1 cup of granulated sugar and 1 cup of brown sugar until fully combined. The mixture should appear glossy and smooth, creating a rich base for your brownies.
Step 3: Add Eggs and Vanilla
Allow the sugar-butter mixture to cool slightly, then add 4 large eggs, one at a time, mixing well after each addition. Stir in 1 teaspoon of vanilla extract until the mixture is fully blended and smooth. This step is crucial as it helps build the structure of your Easter brownies.
Step 4: Combine Dry Ingredients
In a separate bowl, sift together 1 cup of all-purpose flour, 3/4 cup of unsweetened cocoa powder, and 1/2 teaspoon of salt. Gradually fold this dry mixture into the wet ingredients, being careful not to overmix. The batter should be thick and fudgy, with no visible flour remaining.
Step 5: Fold in the Chocolate Chips
Gently fold in 1 cup of semi-sweet or dark chocolate chips into the brownie batter. This ensures that each bite of your Easter brownies will have pockets of melted chocolate for that extra indulgence. Make sure the chocolate is evenly distributed throughout the batter.
Step 6: Transfer to the Baking Pan
Pour the brownie batter into the prepared baking pan and use a spatula to smooth the top evenly. This ensures a uniform bake, giving your Easter brownies a perfect texture. Be sure to spread the batter all the way to the edges of the pan.
Step 7: Bake to Perfection
Place the pan in your preheated oven and bake for 30–35 minutes. The brownies are done when a toothpick inserted in the center comes out with a few moist crumbs. Keep an eye on them as they bake; you want the edges to be set but the center to remain fudgy.
Step 8: Cool Completely
Once baked, remove the pan from the oven and allow the brownies to cool in the pan on a wire rack for about 30 minutes. This cooling time is essential for setting the texture of your Easter brownies before adding the delicious topping.
Step 9: Prepare the Chocolate Topping
In a microwave-safe bowl, combine 1 cup of chocolate chips with 2 tablespoons of coconut oil. Heat in the microwave in 30-second intervals, stirring between each, until the mixture is melted and glossy. This rich topping will elevate your brownies beautifully.
Step 10: Pour and Decorate
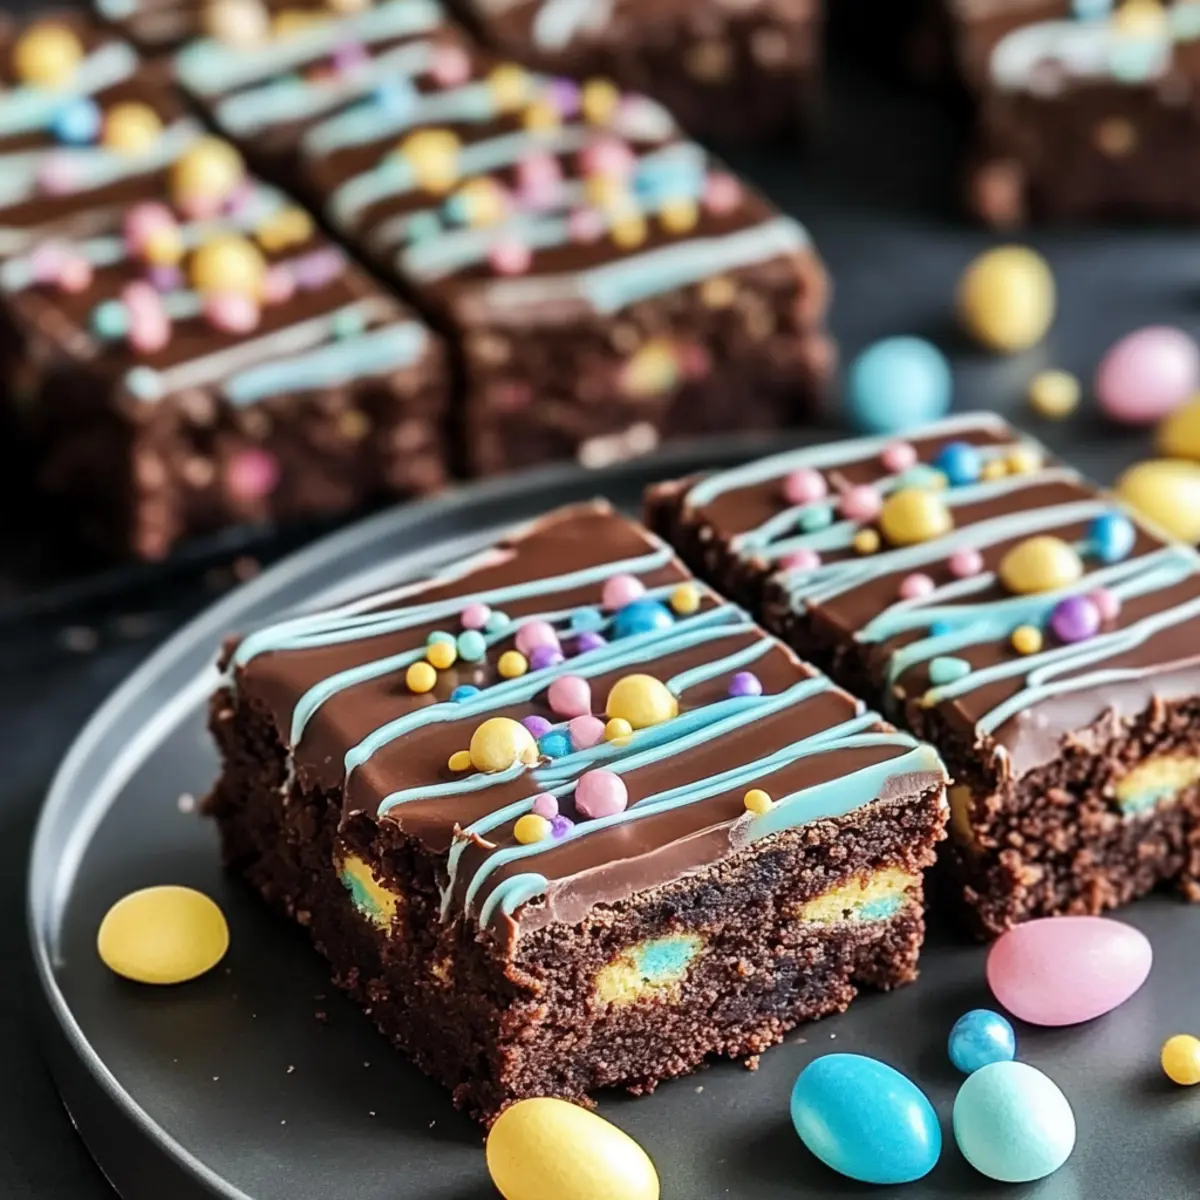
Once melted, pour the chocolate topping over the cooled brownies and spread evenly. For a festive touch, drizzle with pastel chocolate melts and sprinkle your choice of sprinkles on top. Let the topping set for about an hour before slicing for a clean edge.
Step 11: Slice and Serve
After the topping has set, use the parchment overhang to lift the brownies from the pan. Place on a cutting board and slice into squares or rectangles. Your delightful Easter brownies are now ready for serving, bringing joy to your spring celebrations!

Make Ahead Options
These Easter Brownies are perfect for meal prep enthusiasts looking to save time during the busy holiday season! You can prepare the brownie batter up to 24 hours in advance; simply cover it tightly and refrigerate to maintain freshness. Additionally, once baked and cooled, the brownies can be stored in an airtight container at room temperature for up to 3 days or refrigerated for up to a week. For finishing touches, just melt your chocolate topping and decor as described before serving. This way, your brownies will still be just as delicious and festive, making it easy to impress guests with minimal last-minute effort!
Expert Tips for Easter Brownies
• Cooling Time Matters: Let your brownies cool completely before adding the chocolate topping to prevent it from melting and losing its glossy finish.
• Perfect Decorations: Use gel food coloring for vibrant pastel shades, ensuring that they won’t alter the consistency of your chocolate topping.
• Clean Cuts: Warm a sharp knife under hot water before slicing the brownies for clean, professional-looking pieces that showcase your beautiful Easter brownies.
• Don’t Overmix: When combining the dry ingredients with the wet, mix just until combined to maintain that fudgy texture. Overmixing can lead to dry brownies.
• Topping Variations: Feel free to experiment with different toppings, like mini egg candies or edible glitter, for a unique twist on these festive Easter brownies!
What to Serve with Easter Brownies
Indulge in a delightful array of treats that perfectly complements the rich, chocolatey allure of these festive brownies.
-
Vanilla Ice Cream: A classic pairing that brings a creamy contrast to the fudgy brownies, making each bite a luscious experience.
-
Fresh Berries: Strawberries or raspberries add a burst of tartness and freshness, balancing the sweetness of the brownies beautifully.
-
Chocolate Dipped Strawberries: Enhance the chocolate experience with these fruity, indulgent treats—perfect for a springtime party!
-
Whipped Cream: Light, airy, and slightly sweet, whipped cream provides a lovely, fluffy texture that complements the richness of the brownies.
-
Mint Tea: An aromatic drink option that refreshes the palate and elevates the dessert experience while adding a hint of herbal sophistication.
-
Caramel Sauce: Drizzle warm caramel on top or on the side for an irresistible sweet and salty combination—absolutely decadent!
-
Espresso: A small cup of espresso deepens the chocolate notes of the brownies and provides a delightful, energizing finish to your dessert.
-
Fruit Salad: A vibrant mix of seasonal fruits brings a lightness to the table, making your dessert spread both colorful and refreshing.
How to Store and Freeze Easter Brownies
Room Temperature: Store brownies in an airtight container at room temperature for up to 3 days. This keeps them soft and fudgy, perfect for snacking!
Fridge: If you want to extend their life, place them in the refrigerator for up to a week. Just keep them wrapped tightly to maintain moisture.
Freezer: For longer storage, freeze brownies for up to 3 months. Wrap them individually in plastic wrap and then in aluminum foil for optimal freshness.
Reheating: To enjoy frozen Easter brownies, simply thaw in the fridge overnight and bring to room temperature before serving. You can also pop them in the microwave for a few seconds if you prefer a warm treat!
Easter Brownies Variations & Substitutions
Feel free to customize your Easter brownies and make them truly yours with these delicious twists!
- Dairy-Free: Substitute butter with coconut oil and use dairy-free chocolate chips for a tasty non-dairy version.
- Gluten-Free: Swap all-purpose flour with your favorite gluten-free blend to ensure everyone can enjoy these fudgy treats.
- Coffee Kick: Add 1-2 tablespoons of cooled brewed coffee or espresso to elevate the chocolate flavor without adding a coffee taste. A hint of caffeine makes everything more exciting!
- Nutty Crunch: Fold in 1 cup of chopped walnuts or pecans to the batter for a delightful crunch that complements the rich chocolate. Nuts add texture and flavor harmony!
- Caramel Drizzle: Top your brownies with a swirl of caramel sauce before the chocolate layer sets for a decadent, gooey finish. The combination of chocolate and caramel is simply irresistible!
- Minty Fresh: Incorporate a few drops of mint extract into the batter or decorate with mint chocolate chips for a refreshing twist during the spring season. Mint and chocolate are like a match made in heaven!
- Fruity Fun: Replace chocolate chips with 1 cup of freeze-dried raspberries or strawberries for a fruity surprise that contrasts beautifully with the fudgy base. The tanginess will brighten up each bite!
- Different Decorations: Experiment with colorful sprinkles or edible glitter for a whimsical touch, or theme your decorated brownies to match your festive gatherings. Create little masterpieces that are as fun to look at as they are to eat!
Feel free to explore these alternatives to find your perfect and personalized version of these delightful Easter brownies. And if you’re looking for more sweet ideas, check out our Chocolate Treats Collection for inspiration or learn how to make Festive Sprinkles for those extra decorations!
Easter Brownies Recipe FAQs
What type of chocolate should I use for Easter brownies?
For the best flavor, I recommend using semi-sweet or dark chocolate chips. Semi-sweet adds a balanced sweetness, while dark chocolate will deepen the chocolate flavor without being overly sweet. If you’re feeling adventurous, swapping in white chocolate chips creates a lovely contrast against the rich brownie base!
How do I know when my brownies are done baking?
The key to perfect brownies is using a toothpick test. Insert a toothpick into the center of the brownies after about 30 minutes of baking. If it comes out with a few moist crumbs, they are done. If the toothpick comes out clean, you may have overbaked them. Trust your instincts—there’s nothing worse than dry brownies!
Can I freeze Easter brownies?
Absolutely! To freeze your brownies, allow them to cool completely, then wrap each brownie individually in plastic wrap, followed by aluminum foil. This double-layer will help preserve their moisture and flavor for up to 3 months. When you’re ready to enjoy them, thaw them in the fridge overnight, and they’ll be ready to be savored!
How should I store leftover brownies?
For optimal freshness, store your brownies in an airtight container at room temperature, where they’ll stay chewy for up to 3 days. If you want to extend their life, they can be refrigerated for up to a week. Just be sure to wrap them tightly so they don’t dry out.
Can I use gluten-free flour in this recipe?
Certainly! To make gluten-free Easter brownies, substitute the all-purpose flour with a gluten-free flour blend. Look for a one-to-one blend designed for baking, as this will provide the best texture and taste, ensuring you don’t miss any of that delightful fudginess!
Is there a way to adjust the sweetness of the brownies?
Yes! If you’re looking to cut down on sweetness, you can reduce the amount of granulated sugar slightly or opt for bittersweet chocolate chips. You might also experiment with adding a pinch of sea salt, which can enhance the chocolate flavor and balance the overall sweetness wonderfully!
Easter Brownies: Decadent Chocolate Treats for Spring Bliss
Ingredients
Equipment
Method
- Preheat your oven to 350°F (175°C) and line a 9x13-inch baking pan with parchment paper.
- Melt 1 cup of butter in a medium saucepan over low heat. Remove from heat and whisk in sugars until glossy.
- Allow the mixture to cool slightly, then add 4 eggs one at a time, mixing well. Stir in vanilla.
- Sift together flour, cocoa powder, and salt in a separate bowl. Fold into wet mixture.
- Fold in chocolate chips ensuring even distribution.
- Pour the batter into the prepared pan, smoothing the top evenly.
- Bake for 30-35 minutes, until a toothpick comes out with moist crumbs.
- Let the brownies cool in the pan for 30 minutes on a wire rack.
- Melt 1 cup of chocolate chips with 2 tablespoons of coconut oil in the microwave until glossy.
- Pour the topping over the brownies and spread evenly. Decorate with pastel melts or sprinkles.
- Let the topping set for about an hour, then slice and serve.
Leave a Reply