
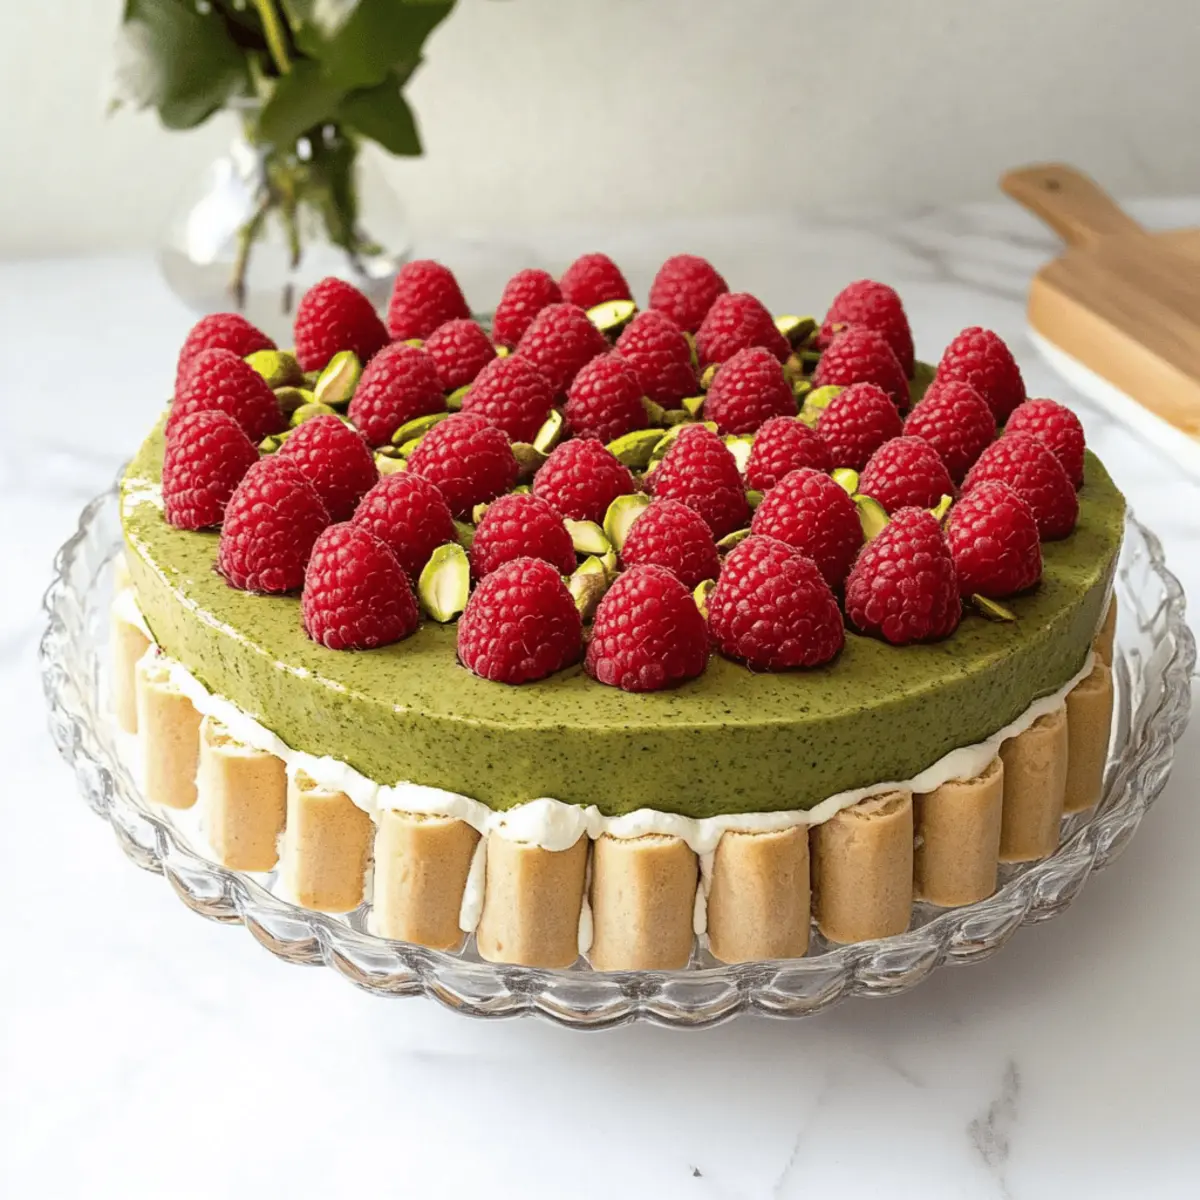
A delightful twist on a classic favorite, Pistachio Tiramisu brings vibrant flavors to your dessert table that instantly transport you to Italy. This no-bake treat features luscious layers of whipped pistachio cream and delicate ladyfingers, coalescing into a creamy symphony that’s both luxurious and surprisingly easy to make. What’s even better? This alcohol-free dessert is a stellar choice for all ages and gatherings, making it a perfect centerpiece for your next celebration. With the nutty hint of pistachios and the bright tang of fresh raspberries, this Pistachio Tiramisu is not just a dessert; it’s a conversation starter that will leave your guests in awe. Ready to impress your loved ones with a gourmet dish they won’t forget? Let’s dive into this exquisite recipe!
Why is Pistachio Tiramisu a Must-Try?
Irresistible Flavor: The blend of pistachio and fresh raspberries creates a delightful contrast that’s both nutty and tangy, elevating your dessert experience.
Effortless Luxury: With no baking required, you can whip up this impressive treat in no time, making it ideal for both casual nights in and special occasions.
Family-Friendly: Being alcohol-free, this dessert is suitable for all ages, ensuring everyone can indulge in its creamy goodness without a worry.
Gourmet Appeal: This Pistachio Tiramisu is not just visually stunning; its decadent layers of flavor will surely leave your guests raving. If you’re looking for more easy yet delightful desserts, don’t miss our Tiramisu Chia Pudding for an exciting twist!
Customizable: Feel free to personalize this recipe with different fruits or nut variations, making it your very own signature dessert.
Make Ahead: Perfect for prep! You can assemble this dessert a day in advance, freeing up your time when it’s time to celebrate.
Pistachio Tiramisu Ingredients
For the Cream Layer
- Heavy Cream – This forms the airy base of your pistachio tiramisu, ensuring a light texture; feel free to swap it with coconut cream for a dairy-free dessert.
- Sugar – Adds sweetness to balance the rich flavors; consider using brown sugar for a deeper, caramel-like taste.
- Pistachio Paste – Essential for that nutty flavor and vibrant color; use store-bought or homemade to suit your preference.
- Mascarpone – The luxurious creamy component that enriches each layer; whisk gently to avoid curdling.
For the Soaking Mixture
- Espresso or Instant Coffee – Utilized for soaking ladyfingers, enhancing the tiramisu’s depth; you can substitute with strong tea if you prefer a lighter flavor.
For the Base
- Ladyfingers – They act as the supportive structure, soaking up coffee without losing firmness; remember to limit soaking time for the best texture.
For the Garnish
- Crushed Pistachios – Adds a delightful crunch and beautiful presentation; chopped almonds can be a tasty alternative for a different nutty profile.
- Fresh Raspberries – Their tartness beautifully complements the creamy layers; you can also use strawberries for a sweeter touch.
This Pistachio Tiramisu is not only a feast for the eyes but also a luxurious medley of flavors that will make your next gathering unforgettable!
Step‑by‑Step Instructions for Pistachio Tiramisu
Step 1: Prepare the Cream
In a large mixing bowl, pour in the heavy cream and add sugar. Using an electric mixer, whisk the mixture on medium speed for about 3-5 minutes until soft peaks form, creating a light and airy texture for your Pistachio Tiramisu. Be careful not to overmix, as you want to preserve its fluffy consistency.
Step 2: Add Pistachio Paste & Mascarpone
Gently fold in the pistachio paste and mascarpone into the whipped cream mixture. Using a spatula, mix until it is smooth and well combined, taking care to retain the airiness. This beautiful pistachio cream will be the star layer of your dessert, offering a wonderful nutty flavor that complements the ladyfingers.
Step 3: Make Coffee Mixture
In a small bowl, combine hot water with instant coffee and a teaspoon of pistachio paste. Stir until the coffee dissolves completely, then let the mixture cool to room temperature. This delightful coffee will soak into the ladyfingers, offering a rich depth of flavor in your Pistachio Tiramisu.
Step 4: Assemble Layers
Quickly dip half of the ladyfingers into the cooled coffee mixture, ensuring they’re soaked for no more than 15 seconds. Place them in a springform tin to form the base layer. Then, spread half of the pistachio cream over the ladyfingers, drizzling with a bit more pistachio paste for added flavor and visual appeal.
Step 5: Repeat Layering
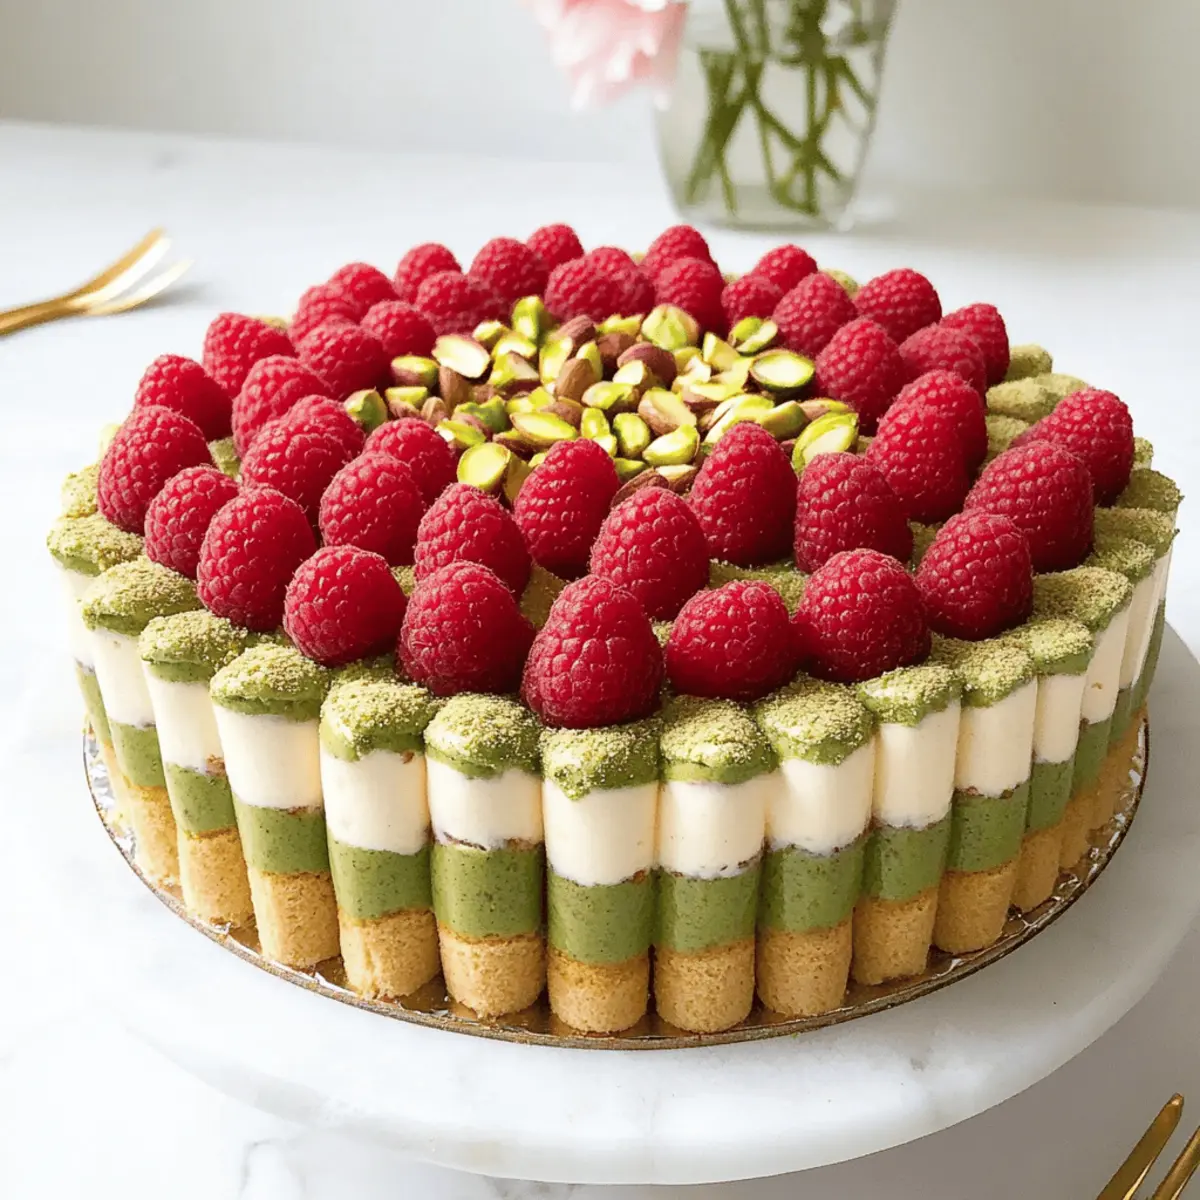
For the second layer, repeat the process by dipping the remaining ladyfingers in the coffee mixture and laying them over the first cream layer. Then, spread the remaining pistachio cream on top and drizzle again with more pistachio paste. This double-layered approach enhances the flavors and creates a stunning visual presentation for your Pistachio Tiramisu.
Step 6: Refrigerate
Cover the assembled Pistachio Tiramisu with plastic wrap and refrigerate for at least 4 hours, allowing it to set. This chilling period is essential for the layers to meld together, creating a cohesive dessert that’s cool and refreshing when served.
Step 7: Decorate
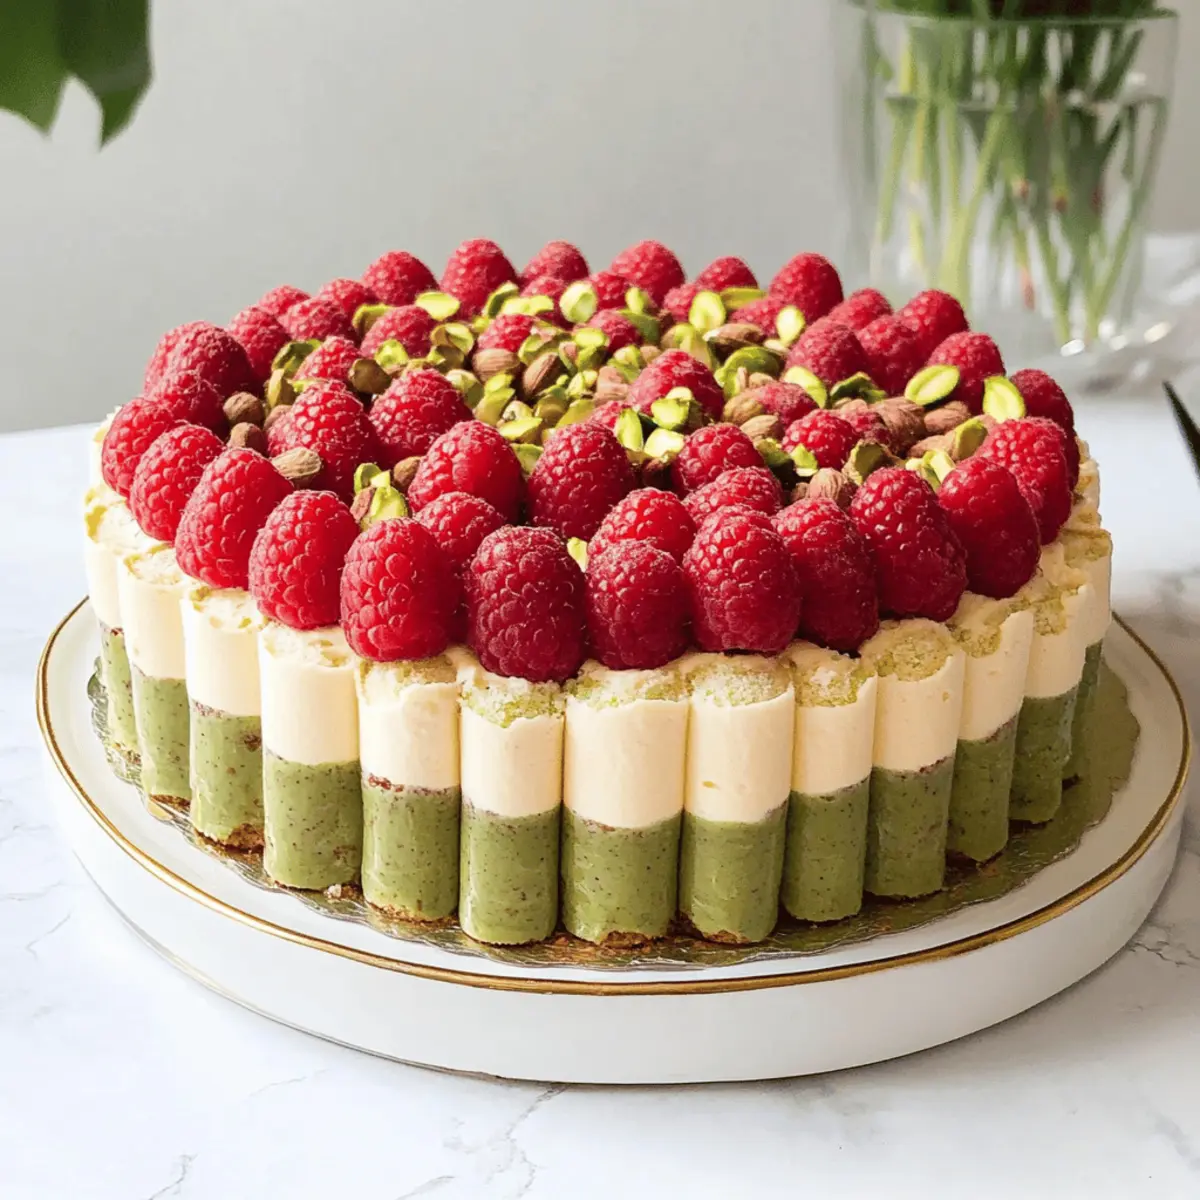
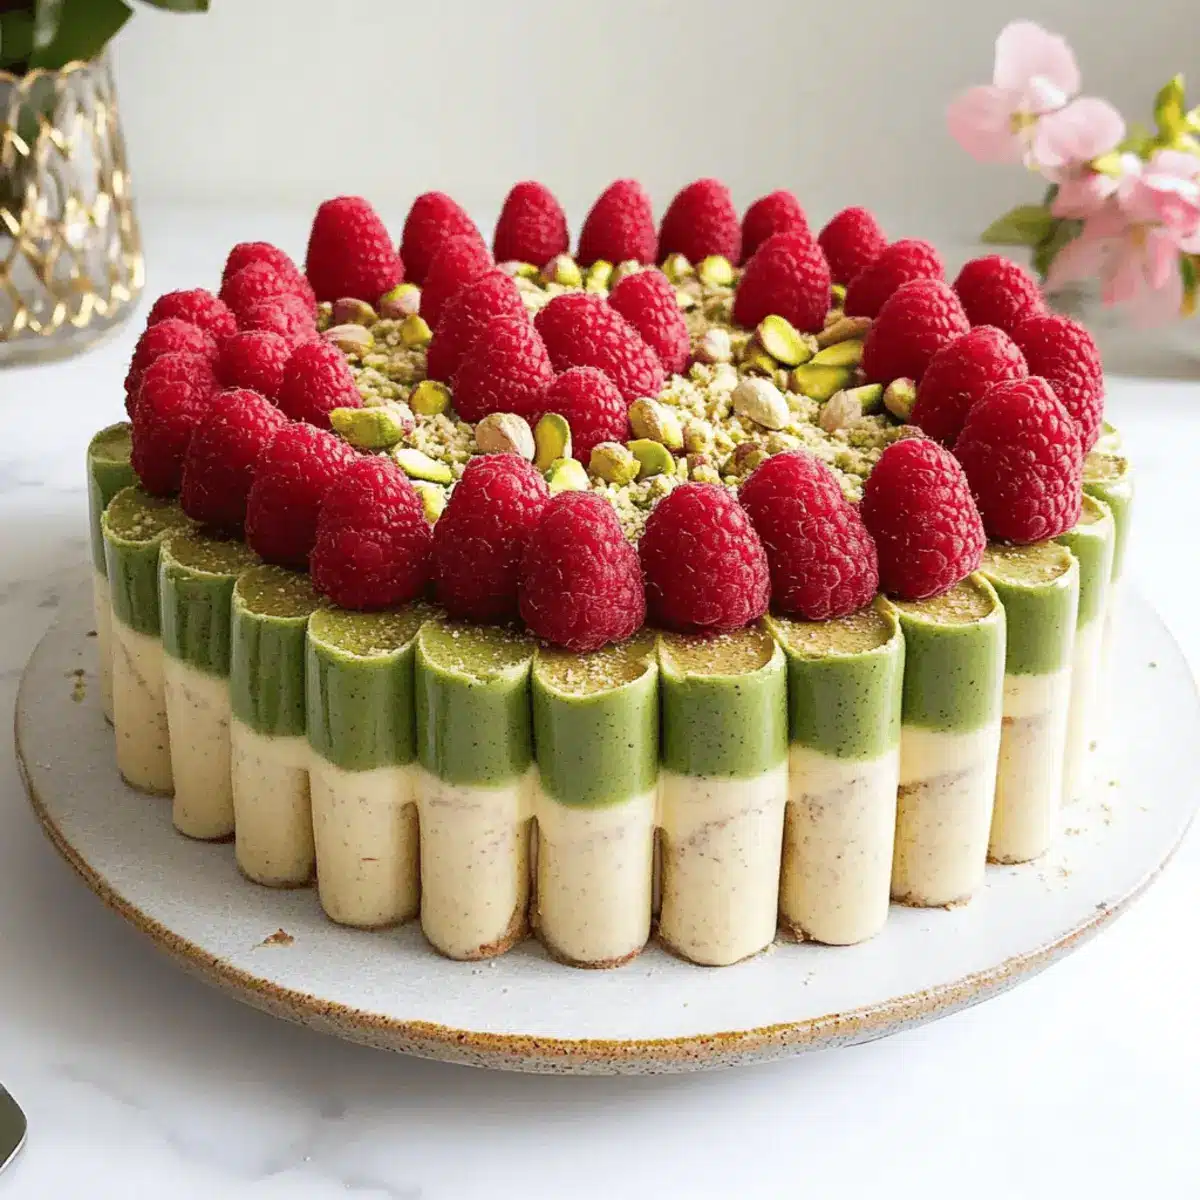
To prepare for the final touches, melt any extra pistachio paste. Dip ladyfingers halfway into the melted paste and allow them to set in the fridge. Once firm, arrange these decorative ladyfingers around the edges of your Pistachio Tiramisu for an elegant finish.
Step 8: Finish & Serve
Before serving, top the creamy layers generously with fresh raspberries and scatter crushed pistachios over the top for added crunch. This final presentation elevates your Pistachio Tiramisu, making it a visually stunning centerpiece ready to impress your guests!
How to Store and Freeze Pistachio Tiramisu
Fridge: Store any leftover Pistachio Tiramisu in an airtight container for up to 4 days. This helps maintain its creamy texture and flavor, making it a great sweet treat to enjoy later.
Freezer: If you want to keep it longer, you can freeze the Pistachio Tiramisu for up to 2 months. Wrap it tightly in plastic wrap and then aluminum foil to prevent freezer burn.
Thawing: When ready to enjoy, place the frozen tiramisu in the fridge to thaw overnight. This slow thawing process retains its delightful texture and taste.
Serving: Once thawed, add fresh raspberries and a sprinkle of crushed pistachios before serving to restore its beautiful presentation.
What to Serve with Pistachio Tiramisu?
Indulging in a slice of Pistachio Tiramisu is a dreamy experience, but pairing it with the right accompaniments can elevate your dessert to a whole new level.
- Creamy Vanilla Ice Cream: The smooth and cool texture balances the rich tiramisu beautifully, offering a refreshing contrast that will have everyone swooning.
- Fresh Fruit Salad: A light mix of seasonal fruits adds a burst of color and flavor. The juiciness complements the creamy layers and cleanses the palate.
- Mint Tea: This herbal infusion rounds out the meal splendidly, providing a fragrant finish that enhances the nutty notes of the tiramisu. Sipping it slowly invites relaxation and conversation.
- Chocolate Covered Strawberries: Rich chocolate paired with sweet berries creates a tempting bite that plays well with the flavors of the tiramisu while adding a touch of drama.
- Pistachio Biscotti: The crunch of biscotti not only echoes the pistachios in your dessert but also provides a unique texture contrast that keeps things interesting. Perfect for dunking!
- Ricotta Cheesecake: If you’re looking for something more decadent, the light and creamy ricotta cheesecake is a classic pairing that complements the pistachio’s richness while remaining a delightful treat.
- Caffè Mocha: A warm cup brings out the coffee notes in the tiramisu, deepening the flavors while keeping the experience cozy and inviting.
- Almond Milk Latte: For a lighter drink, an almond milk latte pairs flawlessly, highlighting the nutty undertones of both the beverage and dessert.
Make Ahead Options
These Pistachio Tiramisu layers are perfect for meal prep, allowing you to save time on busy days! You can assemble the entire dessert up to 24 hours in advance, ensuring it’s ready to impress when you need it. To prep ahead, simply complete the layering process and refrigerate the Pistachio Tiramisu (covered with plastic wrap) for the best results—this helps the flavors meld beautifully while maintaining a creamy texture. For optimal freshness, wait until just before serving to add the fresh raspberries and crushed pistachios on top. This way, you’ll still enjoy that stunning presentation and vibrant flavor that make this dessert unforgettable!
Expert Tips for Pistachio Tiramisu
-
Choose Quality Ingredients: The flavor of your Pistachio Tiramisu greatly depends on quality ingredients, especially the pistachio paste. Opt for the best for an unforgettable taste.
-
Soaking Time Matters: Be cautious not to soak ladyfingers for too long. About 15 seconds is perfect to keep them from becoming overly soggy and losing their structure.
-
Whisk with Care: When mixing the mascarpone into your whipped cream, fold gently to maintain airiness. Overmixing can lead to a denser texture, losing that delightful lightness.
-
Chill Time: Don’t rush the refrigeration process. Allowing the tiramisu to chill for a full 4 hours (or even overnight) enhances the flavors and helps it set beautifully.
-
Be Mindful of Garnish: For the best presentation, add fresh raspberries and crushed pistachios just before serving. This keeps them vibrant and adds a delightful crunch to each slice.
Variations & Substitutions for Pistachio Tiramisu
Customize your Pistachio Tiramisu to make it uniquely yours with these delightful twists!
- Dairy-Free: Substitute heavy cream with coconut cream for a luscious, dairy-free option that’s just as creamy.
- Nut-Free: Swap out pistachio paste for vanilla extract-infused whipped cream for a simpler yet still delicious flavor.
- Chocolatey Twist: Incorporate cocoa powder into the cream layer for a rich chocolate pistachio flavor fusion.
- Fruity Alternative: Use strawberries or blueberries instead of raspberries to add a sweet burst and vibrant color.
- Heat it Up: For those who enjoy a kick, add a pinch of cayenne pepper to the coffee mixture for a spicy surprise.
- Decadent Chocolate Drizzle: Top your finished tiramisu with a drizzle of melted dark chocolate for an indulgent finish.
- Adding Layers: Alternate layers of pistachio cream with layers of a chocolate ganache for a stunning and complex flavor profile.
- Easy Prep-Ahead: Assemble your dessert a day in advance to allow the flavors to meld beautifully—perfect for stress-free entertaining!
If you’re feeling adventurous, you might want to try our Tiramisu Chia Pudding for a healthy twist on the traditional dessert. No matter which variation you choose, your Pistachio Tiramisu will surely be a hit!
Pistachio Tiramisu Recipe FAQs
What types of pistachio paste should I use?
You can use store-bought pistachio paste or make your own by blending roasted, unsalted pistachios until smooth. I prefer to use high-quality pistachio paste as it greatly enhances the flavor of the tiramisu.
How should I store Pistachio Tiramisu?
Store any leftover Pistachio Tiramisu in an airtight container in the refrigerator for up to 4 days. This keeps it fresh and maintains its creamy texture. If you need to keep it longer, you can freeze it.
How do I freeze Pistachio Tiramisu?
To freeze your Pistachio Tiramisu, wrap it tightly in plastic wrap, followed by a layer of aluminum foil. Doing so helps prevent freezer burn. It can be stored for up to 2 months. When you’re ready to enjoy it, place the frozen tiramisu in the fridge to thaw overnight before serving.
What if my ladyfingers become too soggy?
Absolutely limit the soaking time of the ladyfingers to around 15 seconds. If they do become too soggy, you can try using less coffee in the soaking mixture next time, ensuring the ladyfingers maintain their firmness.
Is there a nut-free option for this recipe?
Certainly! For a nut-free alternative, replace the pistachio paste with vanilla extract-infused cream. You can also use a non-nut dairy alternative for the richness of the mascarpone, making a simple, yet delicious vanilla tiramisu.
What can I use instead of mascarpone?
If you’re looking for a substitute, you can use cream cheese mixed with heavy cream for a similar texture. Alternatively, a blend of ricotta and sour cream can work but may alter the flavor slightly. For a dairy-free option, consider using a thick coconut cream.
Pistachio Tiramisu: A Creamy, No-Bake Delight to Savor
Ingredients
Equipment
Method
- In a large mixing bowl, whisk together heavy cream and sugar on medium speed for 3-5 minutes until soft peaks form.
- Gently fold in pistachio paste and mascarpone into the whipped cream mixture until smooth.
- Combine hot water with instant coffee and a teaspoon of pistachio paste in a small bowl until dissolved, then cool.
- Dip half the ladyfingers into the cooled coffee mixture for no more than 15 seconds, then place them in a springform tin.
- Spread half of the pistachio cream over the ladyfingers, drizzling with more pistachio paste.
- Repeat the process with the remaining ladyfingers and pistachio cream for a second layer.
- Cover with plastic wrap and refrigerate for at least 4 hours.
- Prepare decorative ladyfingers with extra pistachio paste, then arrange around the edges of the tiramisu.
- Top with fresh raspberries and sprinkle with crushed pistachios before serving.
Leave a Reply