
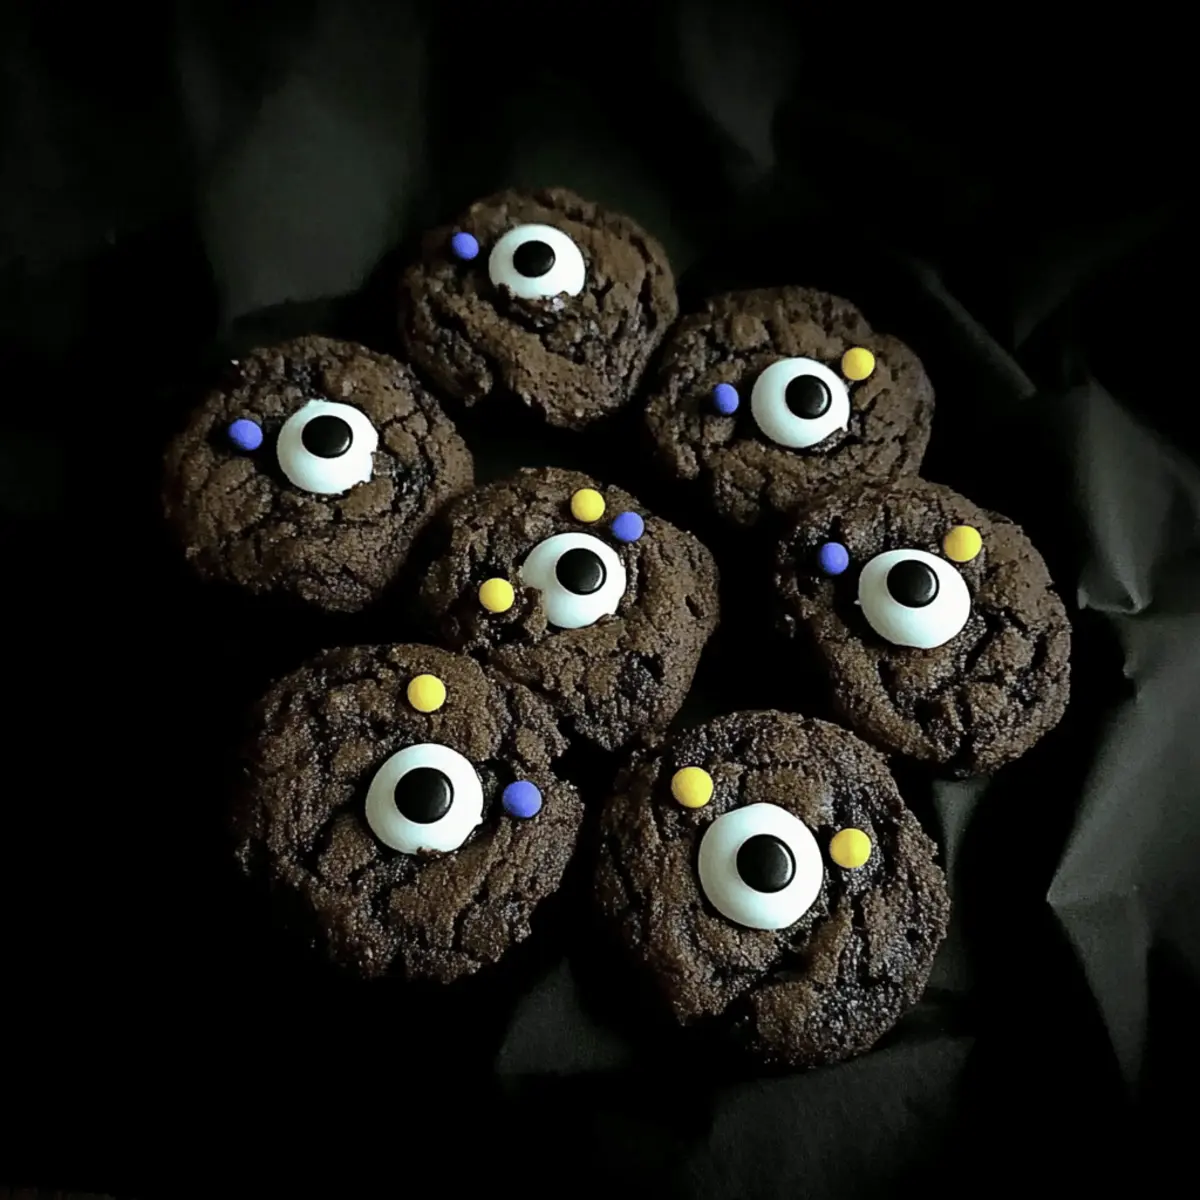
As the air cools and pumpkins start to dot the landscape, I can’t help but feel a shiver of excitement for all things Halloween. This year, I decided to whip up something a little quirky: Halloween Monster Eyes Cookies. These eggless dark chocolate delights not only satisfy that chocolate craving but also add a playful twist to your festive baking. With their soft, chewy texture and the amusing touch of candy eyeballs peeking out, they’re sure to capture the hearts of both kids and adults alike. Plus, they come together quickly, making them a perfect last-minute addition to your Halloween gathering. Are you ready to dive into the spooktacular fun? Let’s get started!
Why are Halloween Monster Eyes Cookies a must-try?
Delightfully Fun: These cookies are not just a treat; they’re a festive activity that will engage your family and friends in the kitchen. Eggless Option: Perfect for those avoiding eggs, this recipe doesn’t skimp on flavor. Irresistible Texture: Soft and chewy, every bite is a balance of rich dark chocolate. Quick to Make: With minimal prep and bake time, you can whip these up whenever that sweet tooth strikes. Don’t forget to pair them with a glass of milk or hot chocolate for a cozy indulgence! For more delicious options, check out my Chocolate Oat Cookies for a treat that’s sure to please!
Halloween Monster Eyes Cookies Ingredients
For the Cookie Dough
- Salted Butter (½ Cup) – Provides moisture and richness; substitute with unsalted butter, adjusting salt to taste.
- Granulated Sugar (½ Cup) – Adds sweetness and helps with cookie structure; can substitute with coconut sugar for a lower glycemic option.
- Brown Sugar (¼ Cup) – Gives moisture for a chewy texture and adds depth of flavor.
- Thick Yogurt (2 Teaspoon) – Acts as a binder and adds moisture; Greek yogurt can be used as a substitute.
- Milk (2 Tablespoon) – Adds moisture to the dough; non-dairy milk alternatives can also be used.
- Pure Vanilla Extract (1 Teaspoon) – Enhances flavor; use vanilla bean paste for a stronger flavor profile.
- Black Gel Food Color (3-4 Drops) – Gives cookies a spooky black appearance; omit if desired or use dark cocoa as a color substitute.
- All-Purpose Flour (1 Cup) – Main structural component; opt for gluten-free flour if needed.
- Dark Cocoa Powder (2 Tablespoon) – Provides rich chocolate flavor; substitute with regular cocoa powder for a milder taste.
- Baking Soda (½ Teaspoon) – A leavening agent that aids in cookie rise.
- Baking Powder (½ Teaspoon) – Works with baking soda for a light texture in cookies.
For the Decoration
- Candy Eyeballs (1 pack) – These decorative toppings give the cookies a spooky appearance; use chocolate chips or sprinkles for an alternative decoration.
These Halloween Monster Eyes Cookies are a delightful treat that will beckon you and your loved ones into the kitchen for some festive baking fun!
Step‑by‑Step Instructions for Halloween Monster Eyes Cookies
Step 1: Prepare the Wet Ingredients
In a mixing bowl, combine ½ cup of melted salted butter, ½ cup of granulated sugar, ¼ cup of brown sugar, 2 teaspoons of thick yogurt, 2 tablespoons of milk, 1 teaspoon of pure vanilla extract, and 3-4 drops of black gel food color. Beat the mixture until it’s smooth and well combined, creating a rich base for your Halloween Monster Eyes Cookies.
Step 2: Mix the Dry Ingredients
Next, sift and add 1 cup of all-purpose flour, 2 tablespoons of dark cocoa powder, ½ teaspoon of baking soda, and ½ teaspoon of baking powder to the wet mixture. Using a rubber spatula, gently fold the dry ingredients into the wet mixture until everything is just combined. Avoid overmixing to ensure your cookies remain soft and chewy.
Step 3: Chill the Cookie Dough
Cover the mixed dough tightly with plastic wrap and chill in the freezer for about 5 minutes. This step is crucial as chilling helps prevent the cookies from spreading too much during baking, ensuring that your Halloween Monster Eyes Cookies maintain their fun shapes.
Step 4: Preheat the Oven
While the dough chills, preheat your oven to 350°F (180°C). This temperature is perfect for achieving a soft, chewy interior with a slightly firm exterior. Make sure your oven is fully heated before moving on to the next step for even baking.
Step 5: Shape the Cookies
Remove the dough from the freezer. Form small balls of dough about 1 inch in diameter, and place them on a lined baking tray. Flatten each ball slightly to create a disk, providing a base for your monster eyes. Ensure there’s enough space between them, as they will spread as they bake.
Step 6: Bake the Cookies
Bake the cookies in your preheated oven for about 11 minutes. Keep an eye on them towards the end of the baking time; they should be set but still soft in the center. Remove them from the oven and let them cool completely on the baking tray before adding the candy eyeballs.
Step 7: Decorate the Cookies
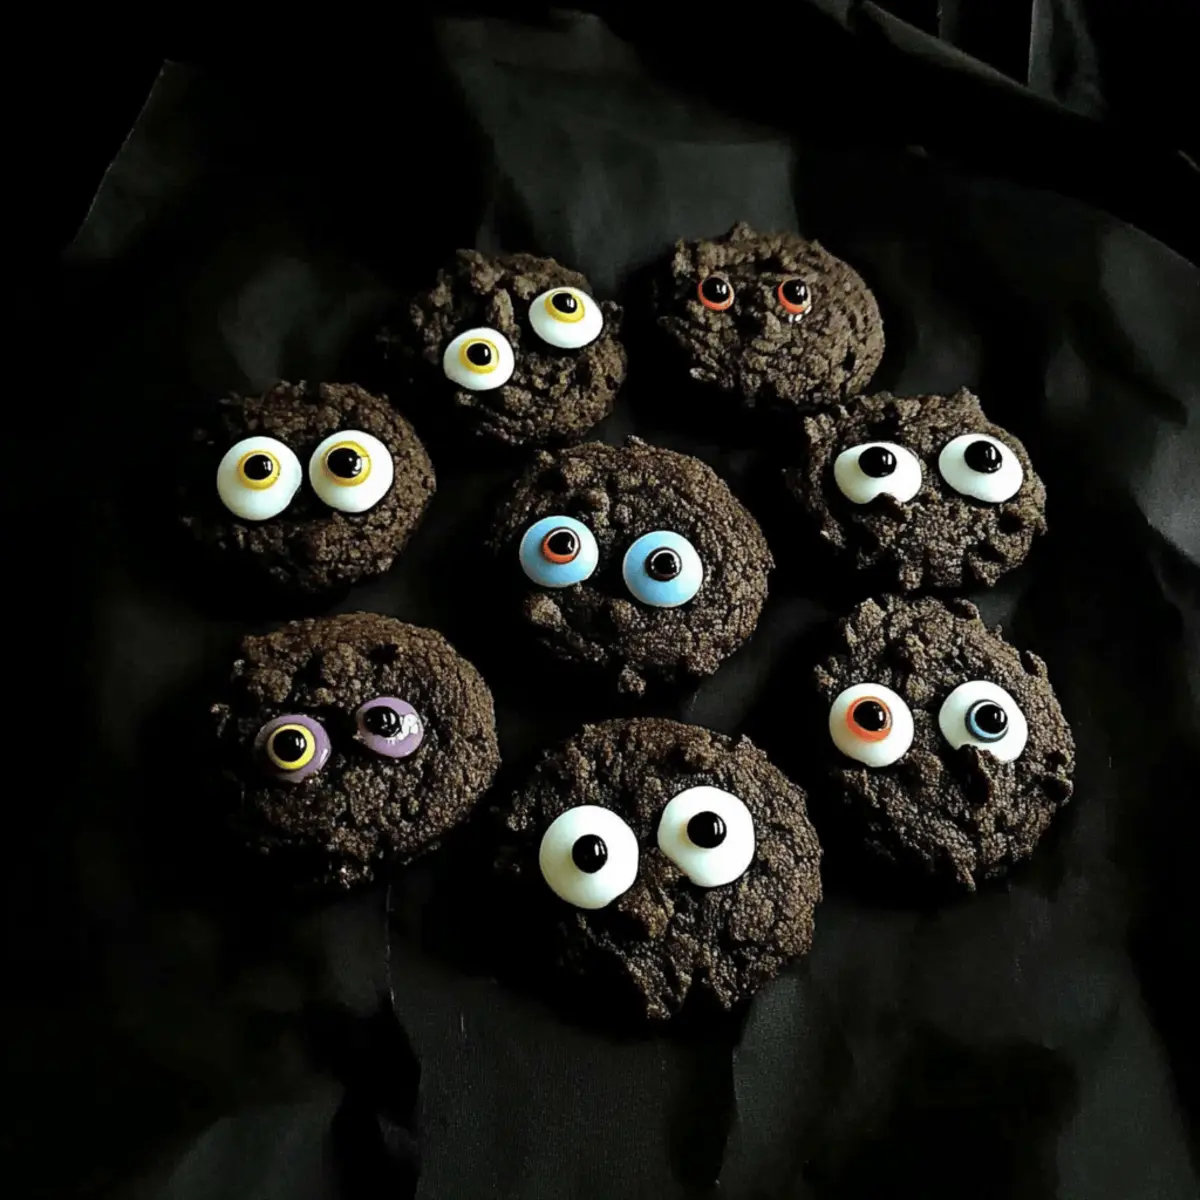
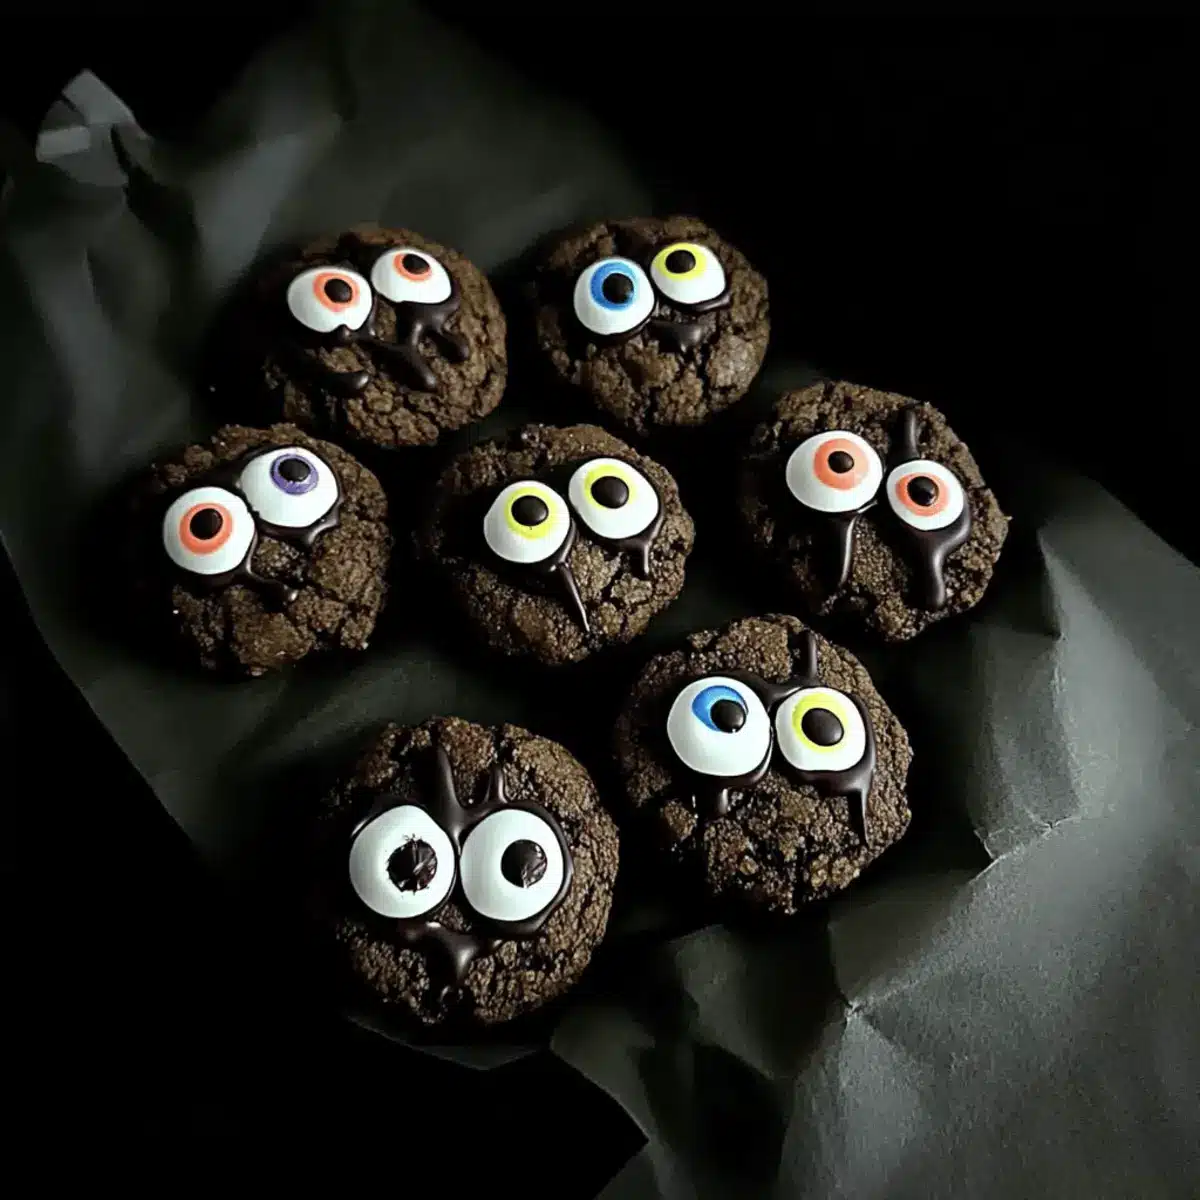
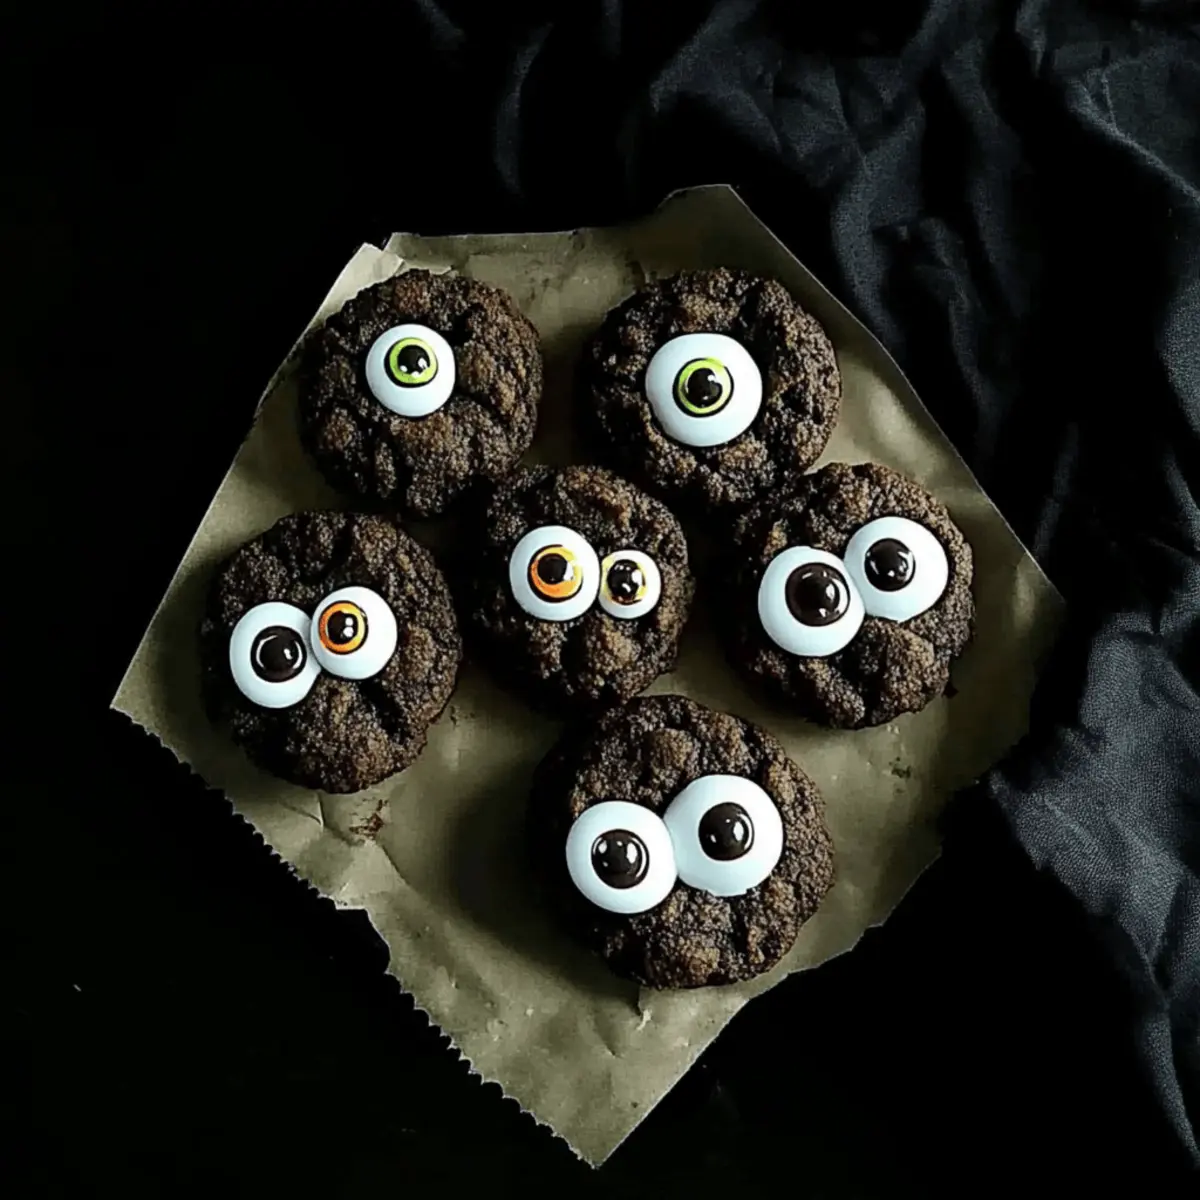
Once the cookies have cooled, it’s time to unleash your creativity! Gently press candy eyeballs onto the centers of each cookie, giving them their spooky yet fun appearance. Feel free to get playful with the placement for extra personality, transforming your Halloween Monster Eyes Cookies into delightful, whimsical treats!
Make Ahead Options
These Halloween Monster Eyes Cookies are perfect for busy home cooks looking to save time during the hectic holiday season! You can prepare the cookie dough up to 24 hours in advance. Simply follow the instructions up until shaping the cookies, then wrap the dough tightly in plastic wrap and refrigerate. When you’re ready to bake, allow the dough to sit at room temperature for about 10-15 minutes before forming the cookie balls and baking. This ensures they’re just as delicious and fresh as if you made them on the spot! Decorate with candy eyeballs right after baking for a fun festive touch!
How to Store and Freeze Halloween Monster Eyes Cookies
Room Temperature: Store cookies in an airtight container for up to 1 week to maintain their fresh, chewy texture.
Fridge: If you prefer a colder treat, keep them in the fridge for up to 5 days. Just allow them to come to room temperature before enjoying.
Freezer: For longer storage, freeze the cookies in a single layer, then transfer to a freezer-safe bag. They’ll last up to 3 months, ready for a spooky treat whenever you crave.
Reheating: To enjoy the cookies again, reheating for 10-15 seconds in the microwave will bring back that fresh-baked taste in your Halloween Monster Eyes Cookies.
What to Serve with Halloween Monster Eyes Cookies
Indulging in cookies that look this playful deserves a full festive spread to enjoy alongside!
-
Chilled Milk: This classic pairing enhances the rich chocolate flavor, balancing the sweetness of the cookies. There’s nothing quite like dunking a warm cookie into a cold glass of milk.
-
Hot Chocolate: The perfect drink for chilly Halloween nights, creamy hot chocolate elevates your treat. Top it with marshmallows for an extra cozy touch.
-
Caramel Dipping Sauce: Its buttery sweetness complements the dark chocolate cookies beautifully. A little dip adds a touch of decadence to each bite.
-
Halloween Fruit Platter: Slice up some spooky-shaped apples or oranges for a fresh crunch. The tartness refreshes your palate amid the sweet cookie adventure.
-
Pumpkin Spice Latte: Embrace the seasonal flavor with this coffee staple. The spices echo the fun of Halloween while giving you a warm hug with every sip.
-
Brownies: For chocolate lovers, pair with fudgy brownies for a double treat. The variety in texture and flavor creates a magnificent chocolate experience.
-
Spooky Cheese Board: Combine savory cheeses with crackers and seasonal fruits. The mix of flavors will fascinate your guests and keep the party vibe going.
-
Vanilla Ice Cream: Serve alongside a scoop of creamy vanilla ice cream to create a fun cookie sundae. The contrast between hot and cold adds an exciting element.
-
Candy Corn Cupcakes: Keep the Halloween spirit up with treats that reflect the season. These cupcakes are colorful and festive, perfectly matching your cookies!
-
Apple Cider: Warm spiced apple cider is a delightful drink that echoes fall flavors, making it a perfect companion for your delightful Halloween Monster Eyes Cookies.
Tips for the Best Halloween Monster Eyes Cookies
- Butter Matters: Use fully melted butter for better integration with the sugars, ensuring a rich flavor and chewy texture in your Halloween Monster Eyes Cookies.
- Chill Time is Key: Don’t skip chilling the dough! It keeps cookies from spreading too much, yielding perfectly shaped monsters.
- Avoid Overbaking: Cookies continue to cook slightly after being removed from the oven. Check them at 11 minutes for a soft center.
- Mix Gently: When combining dry and wet ingredients, mix until just combined to keep your cookies soft and chewy. Overmixing can lead to tough cookies.
- Creative Eyeballs: Play around with your decoration! You can use chocolate chips or sprinkles if candy eyeballs aren’t available, maintaining that fun Halloween spirit.
Halloween Monster Eyes Cookies Customizations
Get ready to transform your Halloween Monster Eyes Cookies into delightful variations that suit your taste and dietary needs!
- Dairy-Free: Substitute butter with coconut oil and use non-dairy milk for a vegan-friendly version while keeping that rich flavor intact.
- Gluten-Free: Swap all-purpose flour for a 1:1 gluten-free flour blend to enjoy these spooky treats without gluten. They will still be just as scrumptious!
- Nutty Twist: Add a handful of chopped walnuts or almonds to your dough for a delightful crunch that complements the chewy texture beautifully.
- Spicy Kick: Stir in a pinch of cinnamon or cayenne pepper into the batter for a surprising, zesty twist that livens up the chocolate flavor.
- More Chocolate: Use extra dark cocoa powder or add chocolate chips to the cookie dough for an even more intense chocolate experience that chocolate lovers will adore.
- Fun Toppings: Instead of candy eyeballs, consider using colorful sprinkles or crushed candy bars for festive flair and added texture.
- Mellow Appearance: Omit the black food color altogether for classic dark chocolate cookies that are still deliciously spooky without the eerie look.
- Halloween Shapes: Use cookie cutters to shape your dough into ghosts or bats before baking, making your treats even more festive and fun for the holiday.
Don’t forget to pair your cookies with a cozy glass of milk or a warm cup of hot chocolate! If you’re in the mood for more delightful treats, definitely check out my Black Velvet Halloween cake or explore the tasty Chocolate Oat Cookies for a sweet adventure!
Halloween Monster Eyes Cookies Recipe FAQs
What type of butter should I use for the cookies?
I recommend using salted butter for the best flavor, but if you only have unsalted butter, just adjust the salt in the recipe to taste. The richness it provides is key to keeping your cookies moist and delectable!
How should I store my Halloween Monster Eyes Cookies?
Store your cookies in an airtight container at room temperature for up to 1 week. This keeps them fresh and chewy! If you’d prefer a colder treat, you can also refrigerate them for up to 5 days—just let them warm up to room temperature before enjoying.
Can I freeze Halloween Monster Eyes Cookies?
Absolutely! To freeze, first place the cookies in a single layer on a baking sheet and freeze until solid. Then transfer them to a freezer-safe bag, where they’ll keep for up to 3 months. When you’re ready for a spooky treat, just thaw them at room temperature or reheat them in the microwave for 10-15 seconds to revive their fresh-baked taste.
What if my cookie dough is too sticky?
If your dough feels too sticky after mixing, it’s a good idea to add a little extra flour—start with a tablespoon at a time until you reach the desired consistency. Be careful not to overmix while doing so. Also, chilling the dough helps manage stickiness, making it easier to form cookies without them spreading excessively.
Can these cookies be made gluten-free?
Definitely! To make your Halloween Monster Eyes Cookies gluten-free, simply substitute the all-purpose flour with a 1:1 gluten-free baking blend. This way, you won’t sacrifice texture or taste, and everyone can enjoy these spooky treats!
Are there any allergies I should consider?
Since this recipe uses yogurt and milk, keep in mind possible dairy allergies. For a dairy-free version, opt for non-dairy yogurt and milk alternatives. If you’re concerned about allergies with decorations, be sure to check the ingredients of the candy eyeballs, or consider using safe options like chocolate chips or sprinkles instead.
Spooky Halloween Monster Eyes Cookies for a Fun Treat
Ingredients
Equipment
Method
- In a mixing bowl, combine ½ cup of melted salted butter, ½ cup of granulated sugar, ¼ cup of brown sugar, 2 teaspoons of thick yogurt, 2 tablespoons of milk, 1 teaspoon of pure vanilla extract, and 3-4 drops of black gel food color. Beat the mixture until it’s smooth and well combined.
- Sift and add 1 cup of all-purpose flour, 2 tablespoons of dark cocoa powder, ½ teaspoon of baking soda, and ½ teaspoon of baking powder to the wet mixture. Gently fold the dry ingredients into the wet mixture until everything is just combined.
- Cover the mixed dough tightly with plastic wrap and chill in the freezer for about 5 minutes.
- Preheat your oven to 350°F (180°C).
- Remove the dough from the freezer and form small balls about 1 inch in diameter. Place them on a lined baking tray and flatten each ball slightly.
- Bake the cookies for about 11 minutes. They should be set but still soft in the center. Let them cool completely on the baking tray before adding the candy eyeballs.
- Once the cookies have cooled, gently press candy eyeballs onto the centers of each cookie.
Leave a Reply