
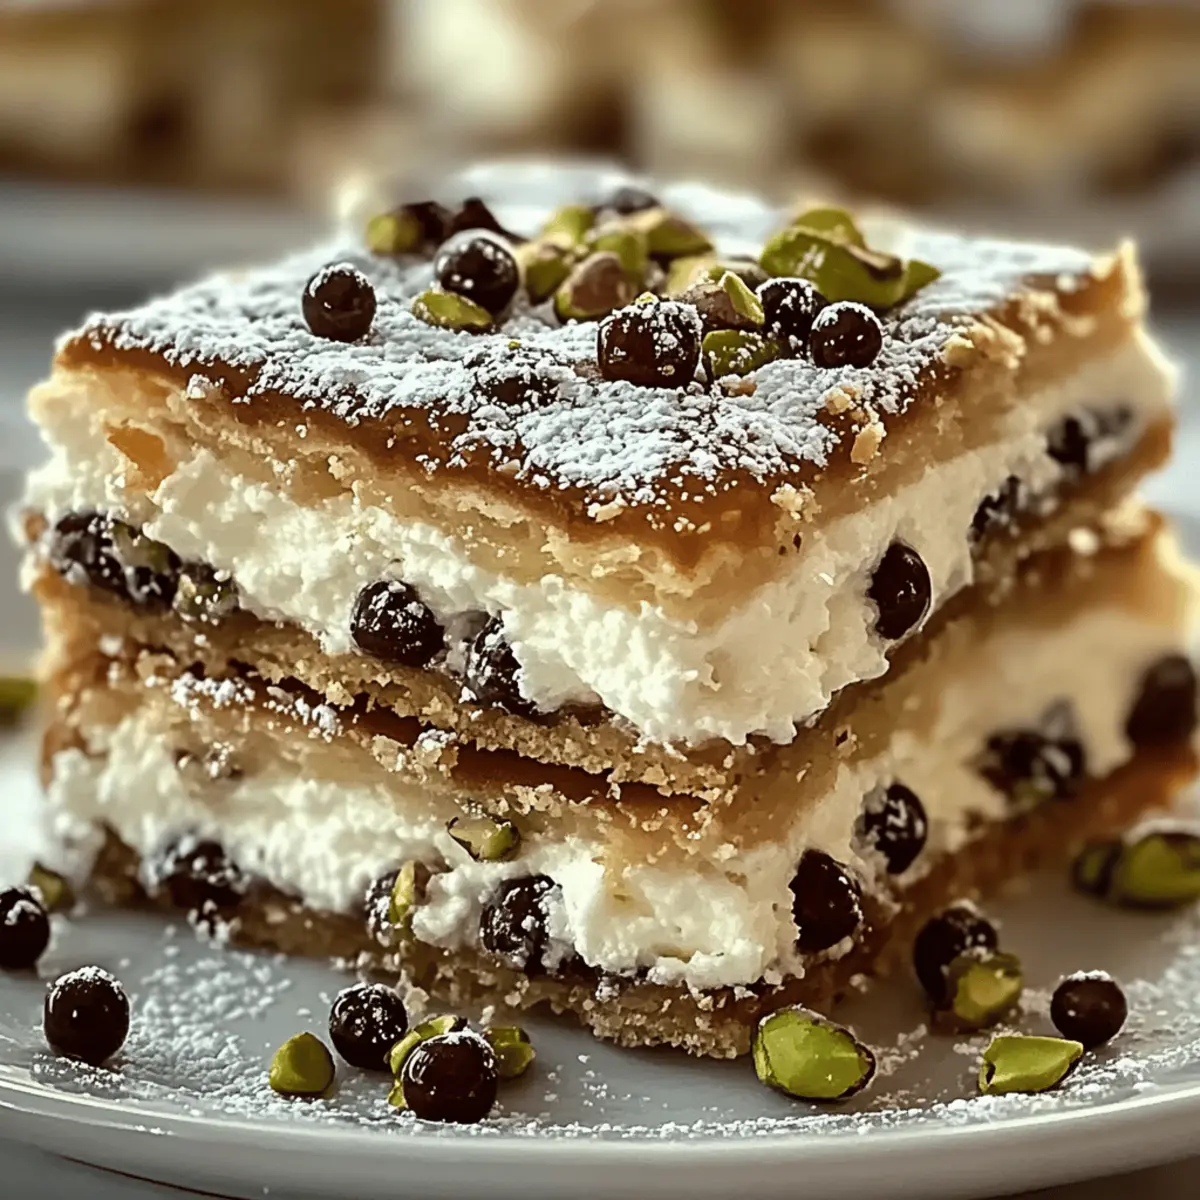
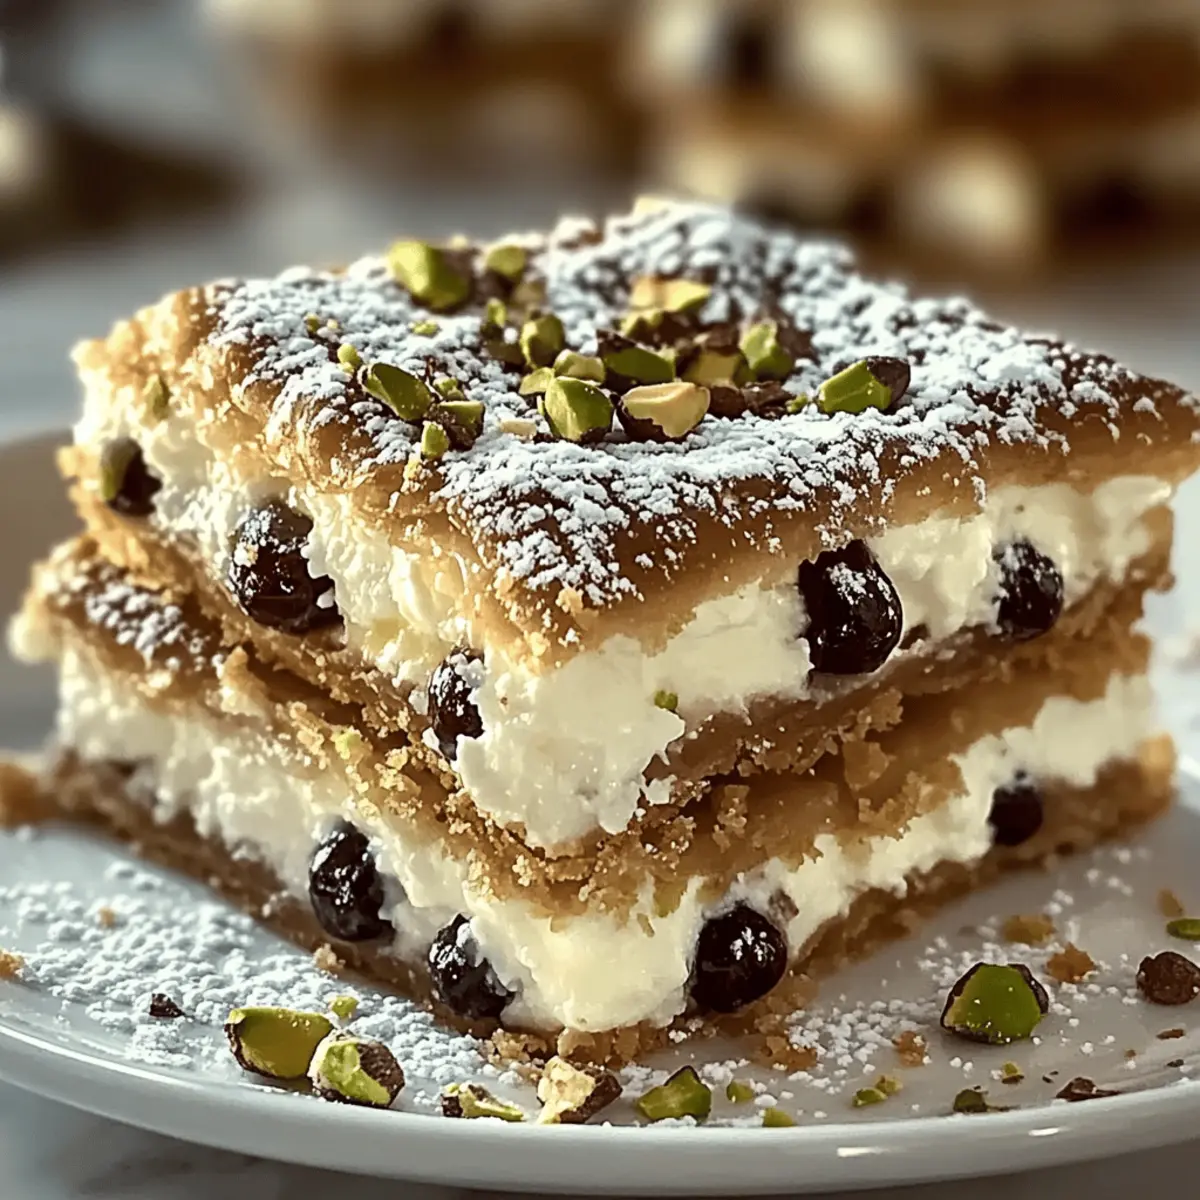
As I rummaged through my pantry one rainy afternoon, a sack of ricotta caught my eye, sparking a delightful culinary journey ahead. That’s how my Classic Cannoli Squares came to life—an easy Italian dessert that marries nostalgia with convenience. With a luscious ricotta filling nestled between a crispy, golden-brown crust, these squares are not only a crowd-pleaser but also incredibly quick to prepare. Perfect for everything from Sunday family dinners to unexpected guests, they transport you straight to the charming streets of Italy with every bite. And the best part? You can make them ahead and customize the flavors to suit your taste, ensuring everyone leaves with a smile. Ready to indulge in the taste of Italy? Let’s get started!

Why Are Classic Cannoli Squares Special?
Deliciously Unique: Classic Cannoli Squares blend the beloved flavors of traditional cannoli into a convenient dessert perfect for any occasion.
Effortless Preparation: Whip these up in no time with minimal fuss—great for busy individuals or families looking to enjoy homemade desserts.
Versatile Options: Customize with substitutions to meet dietary preferences! From gluten-free crusts to dairy-free fills, they fit everyone’s taste.
Crowd-Dazzling Appeal: Whether it’s a cozy get-together or a festive celebration, these squares are bound to impress your guests—just like my Patty Melt Comfort recipe!
Make-Ahead Magic: Prepare ahead and store for later; they taste just as delectable when reheated! This makes them an ideal choice for busy days or spontaneous gatherings.
Classic Cannoli Squares Ingredients
For the Filling
• Ricotta Cheese – The main filling ingredient providing creaminess; whole milk ricotta enriches the texture.
• Powdered Sugar – Adds sweetness to the filling; coconut sugar is a great healthier substitute.
• Vanilla Extract – Enhances flavor in the filling; opt for pure vanilla for an authentic taste.
• Cinnamon – Offers warmth and depth; omit for a traditional cannoli flavor.
• Mini Chocolate Chips – Adds chocolatey richness; dark chocolate provides an even bolder flavor.
For the Crust
• Pre-Made Pie Crusts – Forms a lovely base and top; homemade crust brings its own charm.
• Large Egg – Used for egg wash to give a glossy finish on top.
• Sugar – Sprinkled on top to create a sweet crunch after baking.
Optional Toppings
• Chopped Pistachios – Provides a fun crunch and a burst of color; great for presentation.
• Maraschino Cherries – Decorative sweet garnish that elevates the dish’s look.
• Extra Chocolate Chips – For those desiring even more chocolate flavor; an indulgent touch!
Dive into making these Classic Cannoli Squares and bring a slice of Italy to your kitchen!
Step‑by‑Step Instructions for Classic Cannoli Squares
Step 1: Prepare the Filling
In a mixing bowl, combine 2 cups of ricotta cheese, ¾ cup of powdered sugar, 1 teaspoon of vanilla extract, ½ teaspoon of cinnamon, and ½ cup of mini chocolate chips. Whisk the mixture until it is smooth and creamy, with no lumps. This velvety filling should be well-blended to ensure a delightful bite in your Classic Cannoli Squares.
Step 2: Preheat Oven
Set your oven to preheat at 375°F (190°C). As the oven warms, gather your equipment, including a 9×9-inch baking dish and a rolling pin. This step is essential for creating the perfect crispy crust for your Classic Cannoli Squares; a hot oven ensures that they bake evenly and become beautifully golden.
Step 3: Roll Out Crust
Take one pre-made pie crust and lay it flat into the prepared baking dish, pressing it snugly against the bottom and up the sides. Make sure it fits well without any tears. This crust will provide a flaky base for your delicious filling, so ensure it is smooth and line-free for a beautiful presentation.
Step 4: Add Filling
Evenly spread the creamy ricotta mixture over the pie crust, leaving about a half-inch edge around the perimeter. Use a spatula to ensure the filling is distributed uniformly for a balanced, satisfying bite. Your Classic Cannoli Squares will thrive on this rich layer, so it’s important to have every corner filled.
Step 5: Top Crust
Place the second pie crust over the filling, sealing the edges well by pinching them together. Use a fork to create a decorative edge if desired. Brush the top with a beaten egg to achieve a glossy finish, then sprinkle a tablespoon of sugar over it for an added crunch. This crust will become the delightful finishing touch to your Classic Cannoli Squares.
Step 6: Bake
Carefully place the baking dish in the preheated oven and bake for 30-35 minutes. Watch for the crust to turn a beautiful golden brown and for the filling to bubble slightly around the edges. This tells you that your Classic Cannoli Squares are baking to perfection and will soon be ready to enjoy!
Step 7: Cool & Serve
Once baked, remove your Classic Cannoli Squares from the oven and allow them to cool for at least 30 minutes. This cooling period lets the filling set and makes slicing easier. Once cool, cut into squares and serve. You can garnish with chopped pistachios or maraschino cherries for an appealing finish.

Expert Tips for Classic Cannoli Squares
Quality Ingredients: Use high-quality ricotta and pure vanilla to elevate the flavor of your Classic Cannoli Squares.
Moisture Control: Drain excess moisture from the ricotta before mixing to prevent a runny filling—this ensures a perfectly creamy texture.
Baking Watch: Keep an eye on the squares in the final baking minutes to avoid over-browning; it can happen quickly!
Cool Before Slicing: Allow the baked squares to cool for at least 30 minutes before slicing to ensure clean cuts and a well-set filling.
Customization: Feel free to mix in flavor enhancements such as lemon zest or nuts to personalize your Classic Cannoli Squares.
What to Serve with Classic Cannoli Squares
Indulging in Classic Cannoli Squares is just the beginning; let’s create a delicious spread that elevates your dessert experience.
-
Rich Gelato: The creaminess of gelato complements the tender crust, making every bite decadently satisfying. A scoop of vanilla or pistachio adds Italian flair.
-
Fresh Berries: Juicy strawberries, raspberries, or blueberries lend a burst of freshness and tartness, creating a lovely contrast to the sweet filling. They not only look gorgeous but invigorate the palate.
-
Espresso: A small cup of robust espresso rounds out the meal perfectly, with its bold flavors cutting through the richness of the cannoli squares. It transports you straight to a cozy Italian café.
-
Whipped Cream: Light and airy, a dollop of freshly whipped cream enhances the luxurious texture. Crown the squares with a sprinkle of cocoa for extra elegance.
-
Fruity Wine: A semi-sweet Moscato pairs delightfully, balancing the sweetness while adding a hint of fruitiness; it’s a sophisticated touch for any celebration.
-
Chocolate Sauce: Drizzling warm chocolate sauce over each square transforms them into an indulgent treat, perfect for chocolate lovers looking to enhance flavors.
Creating the perfect meal around your Classic Cannoli Squares guarantees a memorable dining experience, celebrating both tradition and flavor!
Classic Cannoli Squares Variations
Customize your Classic Cannoli Squares with these delightful twists that will make every bite a new experience!
-
Dairy-Free: Use blended silken tofu as a ricotta substitute; add nutritional yeast for a savory note that enhances the flavor.
-
Gluten-Free: Swap pre-made pie crusts for a gluten-free pastry option; this will maintain the beloved texture without the gluten.
-
Flavor Enhancements: Mix in lemon zest to brighten the filling or use almond extract for a deliciously nutty twist that surprises the palate.
-
Custom Filling: Stir in chopped nuts or chocolate-covered espresso beans for delightful textures. You can also layer fresh fruit for a refreshing contrast.
-
Chocolate Lovers: Replace mini chocolate chips with dark or even white chocolate chips; this luscious change adds a rich depth in flavor.
-
Nutty Crunch: Fold in chopped pistachios or hazelnuts into the ricotta mixture; they add a pleasant crunch and a vibrant splash of color.
-
Spice It Up: Add a pinch of cardamom or nutmeg for a warming spice profile; these spices will elevate the overall taste, giving a cozy feel.
-
Fruity Finish: Top with fresh berries and a dusting of powdered sugar after baking; this will create a visually stunning and delicious twist.
Whether you want to surprise guests or indulge in personal favorites, these variations can elevate your Patty Melt Comfort into something uniquely yours!
Storage Tips for Classic Cannoli Squares
Room Temperature: Allow Classic Cannoli Squares to sit at room temperature for up to 2 hours, perfect for serving warm or at a gathering.
Fridge: Store leftovers wrapped in plastic wrap or in an airtight container in the fridge for up to 3 days. This helps maintain their delicious flavor.
Freezer: For longer storage, freeze individual squares in an airtight container or tightly wrapped in foil for up to 2 months. They retain their taste and texture beautifully!
Reheating: When ready to enjoy, reheat in a preheated oven at 350°F (175°C) for about 10-15 minutes until warmed through. This ensures a delightful experience every time!
Make Ahead Options
These Classic Cannoli Squares are absolutely perfect for busy weeknights or impromptu gatherings! You can prepare the ricotta filling up to 24 hours in advance; just cover it tightly and refrigerate to maintain its creamy texture. Additionally, you can assemble the entire dessert (with both crusts) and keep it in the refrigerator for up to 3 days before baking. Just be sure to wrap the dish in plastic wrap to prevent any drying out. When you’re ready to enjoy, simply bake as directed without needing to bring it to room temperature first. This approach allows you to savor restaurant-quality results with minimal effort and maximum convenience!
Classic Cannoli Squares Recipe FAQs
How do I choose the right ricotta cheese for my Classic Cannoli Squares?
Absolutely! For the best flavor and creaminess, opt for whole milk ricotta cheese. Look for a brand that has a smooth texture without excess moisture. If it appears watery, you can drain it in a fine mesh sieve for about 30 minutes before using. This extra step will prevent a runny filling that could impact the final dish.
What’s the best way to store leftover Classic Cannoli Squares?
Very! You can store your leftovers in the refrigerator for up to 3 days. Just wrap them tightly with plastic wrap or place them in an airtight container to keep them fresh. For optimal flavor, allow them to come to room temperature before serving, or gently reheat them in a preheated oven.
Can I freeze Classic Cannoli Squares?
Absolutely! To freeze, cut the squares into individual portions and wrap each one tightly in plastic wrap, then place them in an airtight container or freezer bag. They’ll maintain their quality for up to 2 months. When you’re ready to enjoy them, simply thaw in the refrigerator overnight and reheat in the oven at 350°F (175°C) for 10-15 minutes.
What if my filling is too runny?
No worries! If you find your filling is too runny, it’s often due to excess moisture in the ricotta. To rectify this, after draining, you can add a tablespoon of cornstarch or extra powdered sugar to thicken the mixture. Also, ensure you gently fold in your chocolate chips to avoid breaking any air pockets; this helps maintain a creamy and firm filling.
Are there any dietary restrictions to consider with Classic Cannoli Squares?
Very! The recipe can easily be adapted for various dietary needs. For a gluten-free option, swap out the pre-made pie crust for a gluten-free brand. If you prefer dairy-free, blended silken tofu can be a delicious substitute for ricotta. Don’t forget to check for allergies to chocolate if you’re using chocolate chips or other garnishes.
How long can Classic Cannoli Squares sit at room temperature?
These delightful squares can safely sit at room temperature for up to 2 hours before needing refrigeration. This makes them perfect for serving at gatherings. Just remember to keep them covered to prevent drying out and maintain their scrumptious flavor!
Classic Cannoli Squares: Your New Favorite Italian Delight
Ingredients
Equipment
Method
- Prepare the Filling: Combine ricotta, powdered sugar, vanilla, cinnamon, and chocolate chips in a bowl and whisk until smooth.
- Preheat Oven: Preheat your oven to 375°F (190°C) and gather your baking equipment.
- Roll Out Crust: Place one pie crust in the baking dish, pressing it evenly into the bottom and sides.
- Add Filling: Spread the ricotta mixture over the crust evenly, leaving a half-inch edge.
- Top Crust: Cover with the second pie crust, seal the edges, brush with egg, and sprinkle with sugar.
- Bake: Bake in the preheated oven for 30-35 minutes until golden brown.
- Cool & Serve: Cool for 30 minutes before slicing into squares and serve with optional toppings.
Leave a Reply