
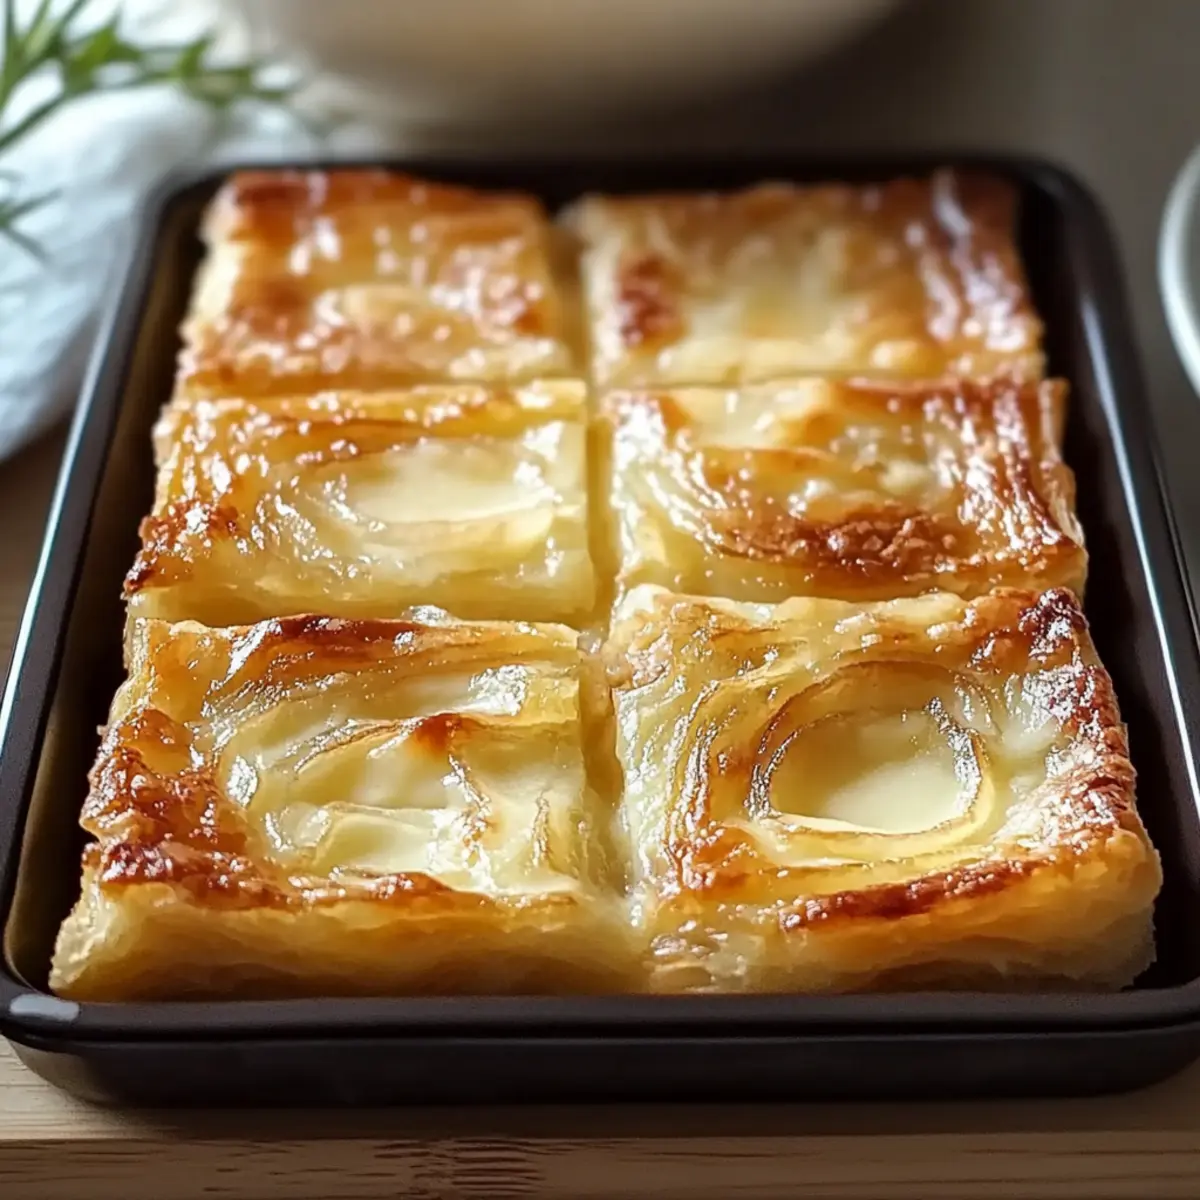
The aroma of bubbling onions makes its way through my kitchen, stirring memories of Sunday afternoons at Grandma’s house. That’s when she would present her cherished Grandma’s Onion Squares, a comforting delight that felt like a warm embrace. This savory treat features a buttery, flaky crust surrounding rich caramelized onions and creamy cheese, transforming simple ingredients into a culinary masterpiece. Easy to whip up and sure to impress, these squares not only capture the heart of family gatherings but also offer a gluten-free option for those looking for a thoughtful twist. Imagine serving these warm, golden gems at your next event, making every guest feel right at home. Are you ready to recreate this nostalgic bite of comfort?
Why Are Grandma’s Onion Squares So Special?
Nostalgic Flavors: Each bite of these onion squares transports you back to cherished family gatherings, evoking feelings of warmth and love.
Versatile Ingredients: Easy to customize with gluten-free options or your choice of cheeses, making them accessible for everyone.
Crowd-Pleasing Appeal: Perfect as appetizers or a cozy side dish, they quickly become the star of any meal.
Simple Process: With quick prep and minimal cooking time, these squares fit seamlessly into your busy schedule. For a delightful twist, don’t miss checking out my recipe for French Onion Meatloaf.
Flavor Explosion: The combination of buttery crust and sweet caramelized onions brings a satisfying harmony to your palate that’s simply irresistible.
Grandma’s Onion Squares Ingredients
• Let’s gather what you need to create this comforting dish!
For the Crust
- All-Purpose Flour – Provides structure for the crust; substitute with gluten-free flour for a gluten-free version.
- Baking Powder – Acts as a leavening agent, helping the crust rise; no substitutions recommended.
- Salt – Enhances the flavor of the crust and filling; use kosher salt for best results.
- Butter (softened) – Adds richness and flavor to the crust; can be replaced with vegan butter for a dairy-free option.
For the Filling
- Onions – The star ingredient, providing sweetness when caramelized; fresh onions are preferable, but frozen work in a pinch.
- Cream Cheese – Adds creaminess and stability to the filling; substituting with ricotta offers a different texture.
- Sour Cream – Contributes tanginess and moisture; plain Greek yogurt can be used for a lighter option.
- Eggs – Binds the filling together; can be replaced with flaxseed meal mixed with water for a vegan option.
- Cheddar Cheese – Adds a savory, melty element to the filling; mozzarella or Swiss cheese can be swapped based on preference.
Step‑by‑Step Instructions for Grandma’s Onion Squares
Step 1: Prepare the Crust
In a large mixing bowl, whisk together the all-purpose flour, baking powder, and salt until combined. Next, add the softened butter, blending with your fingers or a pastry cutter until the mixture resembles coarse crumbs. Press this dough firmly into a greased 9×13-inch baking dish and bake in a preheated oven at 350°F (175°C) for 12-15 minutes, until the crust is lightly golden.
Step 2: Caramelize Onions
While the crust bakes, heat a skillet over medium heat and add a drizzle of oil or butter. Slice the onions thickly, then add them to the pan. Cook for about 10-15 minutes, stirring occasionally, until the onions are soft and golden brown, releasing their natural sweetness. Once caramelized, remove the skillet from the heat and allow the onions to cool down slightly.
Step 3: Make the Filling
In a large bowl, combine the cream cheese, sour cream, and eggs, whisking them together until smooth and creamy. Gradually mix in the shredded cheddar cheese, ensuring it’s well incorporated. Gently fold in the cooled caramelized onions, combining the ingredients thoroughly to create a rich, savory filling for your Grandma’s Onion Squares.
Step 4: Combine and Bake
Pour the cheese and onion filling evenly over the pre-baked crust in the baking dish. Carefully spread it out with a spatula to ensure an even layer. Place the dish back into the oven and bake for an additional 25-30 minutes. The filling should be set, and a golden top will form. To check doneness, insert a toothpick; it should come out clean when ready.
Step 5: Cool and Serve
Once baked, remove the dish from the oven and let the squares cool for about 10 minutes. This resting time allows the filling to set for easier cutting. Using a sharp knife, cut the Grandma’s Onion Squares into squares, serving them warm or at room temperature for a delightful comfort food experience.
Grandma’s Onion Squares Variations & Substitutions
Feel free to get creative and make this dish your own with delightful twists and substitutions!
- Gluten-Free: Use a 1:1 gluten-free flour blend in place of all-purpose flour for a delicious gluten-free option.
- Dairy-Free: Swap out the butter for vegan butter and the cream cheese for a dairy-free alternative, like cashew cream, to cater to vegan friends.
- Flavor Boost: Experiment with different cheeses such as feta or goat cheese for a tangy flair that compliments the sweetness of the onions.
- Veggie Packed: Add sautéed spinach or kale to the filling for extra nutrition and vibrant color; this adds a delightful twist to the original recipe.
- Caramelized Mushrooms: Replace half of the onions with sliced, caramelized mushrooms for an earthy undertone that harmonizes beautifully with the other flavors.
- Heat It Up: Add a pinch of red chili flakes or diced jalapeños to the filling for a spicy kick that balances the creamy filling perfectly.
- Herb Infusion: Mix in fresh herbs like thyme or rosemary into the filling to elevate the flavor profile and lend an aromatic touch.
- Small Bites: Cut the squares into bite-sized pieces for delightful appetizers at gatherings; they are perfect finger foods that promise to disappear quickly!
These variations can highlight different taste profiles while keeping the warm, nostalgic essence of Grandma’s Onion Squares alive. If you’re looking for more ideas on how flavors can meld beautifully, check out my recipe for French Onion Meatloaf for another comforting twist.
What to Serve with Grandma’s Onion Squares?
Imagine the delightful harmony of flavors that’ll accompany your warm, buttery squares, enhancing your dining experience splendidly.
-
Classic Green Salad: A fresh and crisp salad of mixed greens and light vinaigrette brightens the meal, balancing the rich flavors of the onion squares.
-
Garlic Bread: The crunchy, toasty texture of garlic bread complements the softness of the squares, adding a wonderful aromatic touch that enhances the overall comfort food experience.
-
Roasted Vegetable Medley: A mix of seasonal vegetables roasted to perfection brings out their natural sweetness, providing a colorful and nutritious side that pairs beautifully with the savory onion flavors.
-
Fruit Chutney: A tangy fruit chutney on the side introduces a zesty sweetness, acting as a delightful contrast to the rich, creamy filling of your onion squares.
-
Creamy Potato Soup: For those cozy nights, a bowl of velvety potato soup offers a satisfying warmth, making it perfect for dipping and enjoying alongside your baked treat.
-
Sparkling Lemonade: Refresh your palate with the zesty fizz of sparkling lemonade, bringing brightness to the table and cutting through the richness of the onion squares.
-
Chocolate Chip Cookies: End your meal on a sweet note with warm chocolate chip cookies; they make a nostalgic treat that pairs wonderfully with the comforting vibe of the onion squares.
How to Store and Freeze Grandma’s Onion Squares
Fridge: Store leftover Grandma’s Onion Squares in an airtight container for up to 3 days. This keeps them fresh and ready to enjoy at a moment’s notice.
Freezer: For longer storage, wrap the squares tightly in plastic wrap and then in aluminum foil. They can be frozen for up to 3 months, preserving their savory flavor.
Reheating: When ready to enjoy, reheat in the oven at 350°F (175°C) for about 15-20 minutes. This helps to restore the flaky crust and warm up the filling.
Thawing: If frozen, thaw the squares in the refrigerator overnight before reheating for the best texture. Enjoy the nostalgic goodness!
Make Ahead Options
These Grandma’s Onion Squares are perfect for meal prep enthusiasts! You can prepare the crust and filling up to 24 hours in advance, saving valuable time on busy days. Simply bake the crust, then cool and refrigerate it in an airtight container. For the filling, caramelize the onions, allow them to cool, and mix them with the cheese and eggs; this mixture can also be refrigerated. When you’re ready to serve, pour the filling over the crust and bake for about 25-30 minutes until golden. This way, you’ll enjoy freshly baked onion squares, just as delicious but with minimal effort!
Expert Tips for Grandma’s Onion Squares
-
Use Softened Butter: Ensure the butter is softened, not melted; this helps achieve that desired crumbly crust texture for Grandma’s Onion Squares.
-
Watch the Onions: Keep an eye on your onions while caramelizing; they should turn golden brown and sweet. Avoid burning by stirring occasionally.
-
Cool Before Cutting: Let the onion squares cool slightly before slicing; this maintains their shape and allows the filling to set properly.
-
Customize Your Cheese: Don’t hesitate to experiment with different cheeses like mozzarella or Gruyère to personalize your Grandma’s Onion Squares’ flavor.
-
Perfect Storage: Store leftovers in an airtight container in the fridge for up to 3 days; reheat in the oven to maintain that lovely crust.
Grandma’s Onion Squares Recipe FAQs
What type of onions should I use for Grandma’s Onion Squares?
Absolutely! Fresh onions are preferable for Grandma’s Onion Squares as they provide the best flavor and sweetness when caramelized. However, if you’re in a pinch, frozen onions can work too—just make sure to thaw and drain them before using.
How should I store leftover Grandma’s Onion Squares?
I recommend keeping your leftover squares in an airtight container in the fridge, where they will stay fresh for up to 3 days. If you plan on keeping them longer, freezing is a great option.
Can I freeze Grandma’s Onion Squares? How do I do it?
Yes, you can definitely freeze Grandma’s Onion Squares! Wrap them tightly in plastic wrap, then in aluminum foil. They’ll be good for up to 3 months in the freezer! When you’re ready to enjoy, thaw them in the refrigerator overnight. Reheat in the oven at 350°F (175°C) for about 15-20 minutes to restore their delightful texture.
Why did my filling not set properly?
Very common! If the filling doesn’t set, it could be due to an insufficient baking time. Ensure you bake the squares until the filling is golden and a toothpick inserted comes out clean. It’s essential to allow them to cool slightly before cutting; this will help them hold their shape!
Are Grandma’s Onion Squares suitable for those with allergies?
Absolutely! There are many ways to customize this recipe to suit dietary needs. You can use gluten-free flour for those avoiding gluten, and substitute eggs with a flaxseed meal mixture for a vegan option. Always pay attention to other ingredients if you’re catering to specific allergies.
What should I serve with Grandma’s Onion Squares?
These savory squares can be enjoyed as appetizers or served alongside a fresh garden salad for a satisfying meal. They make a delightful addition to family gatherings and will surely be a hit with your guests!
Grandma’s Onion Squares – A Cozy Comfort Food Classic
Ingredients
Equipment
Method
- In a large mixing bowl, whisk together the all-purpose flour, baking powder, and salt until combined. Next, add the softened butter, blending until the mixture resembles coarse crumbs. Press this dough firmly into a greased 9x13-inch baking dish and bake in a preheated oven at 350°F (175°C) for 12-15 minutes, until the crust is lightly golden.
- While the crust bakes, heat a skillet over medium heat and add a drizzle of oil or butter. Slice the onions thickly, then add them to the pan. Cook for about 10-15 minutes, stirring occasionally, until the onions are soft and golden brown. Once caramelized, remove the skillet from the heat and allow the onions to cool.
- In a large bowl, combine the cream cheese, sour cream, and eggs, whisking until smooth. Gradually mix in the shredded cheddar cheese. Gently fold in the cooled caramelized onions.
- Pour the cheese and onion filling evenly over the pre-baked crust. Spread it out with a spatula. Place the dish back into the oven and bake for an additional 25-30 minutes, until the filling is set and a golden top forms.
- Once baked, remove the dish from the oven and let the squares cool for about 10 minutes. Cut into squares, serving them warm or at room temperature.
Leave a Reply