
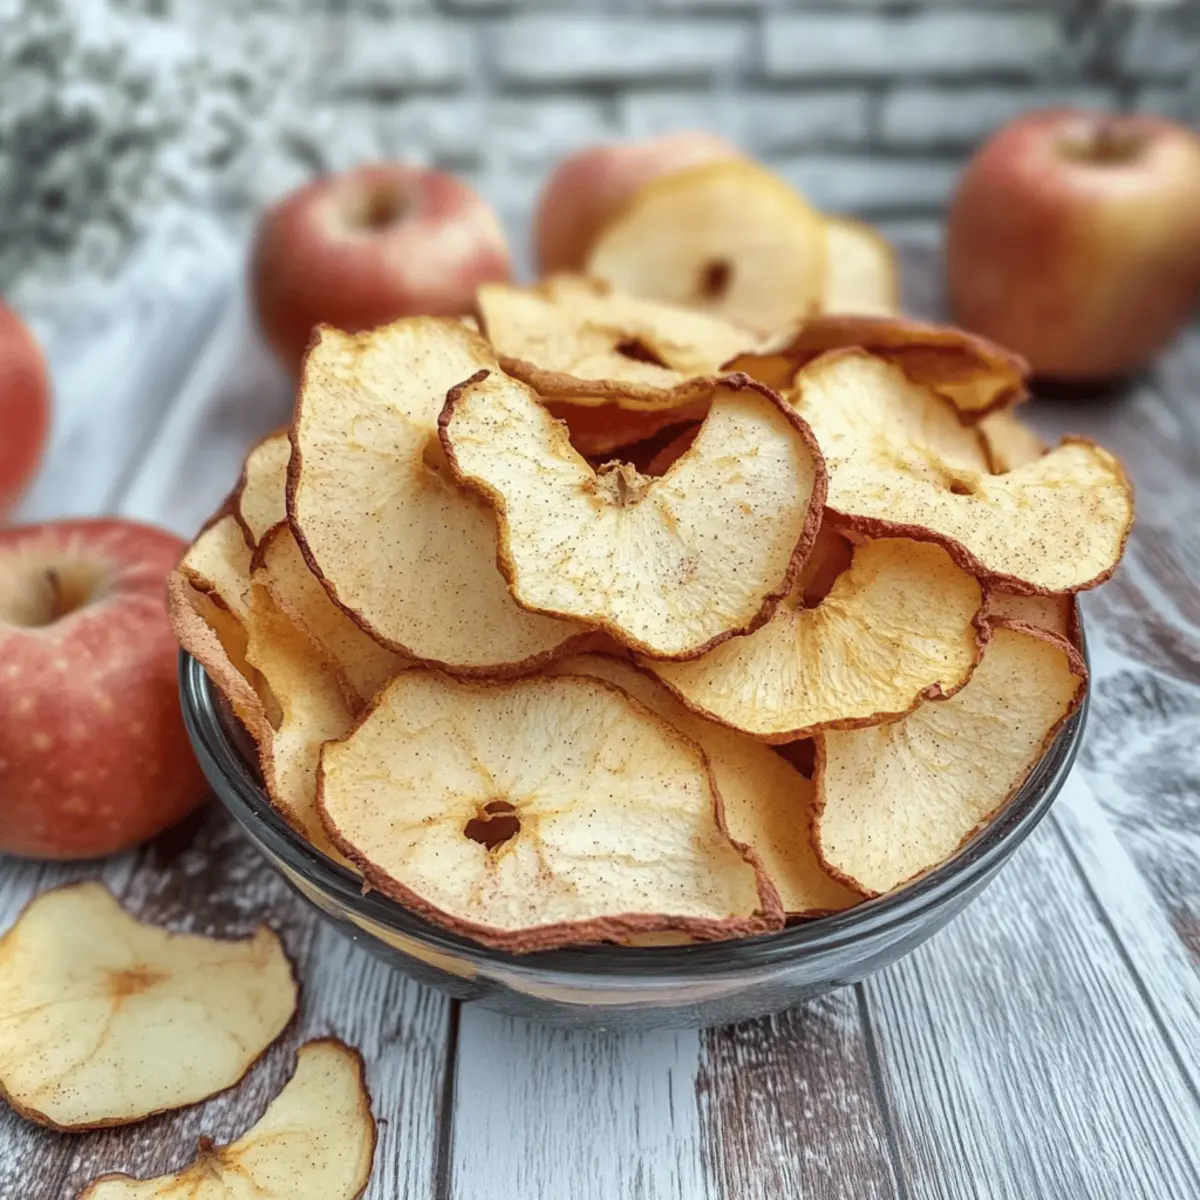
As I walked through a bustling farmer’s market last autumn, the scent of freshly picked apples transported me to my childhood, where my family would spend weekends making homemade snacks. That nostalgic moment inspired me to whip up healthy homemade dried apple chips—a delightful treat that transforms simple apples into crunchy, all-natural goodness. This easy recipe is perfect for those seeking a wholesome snack or a thoughtful gift from the heart of your kitchen. With just a handful of ingredients, you can enjoy a snack that’s not only packed with flavor but also rich in fiber and gentle on your waistline. Are you ready to discover the joy of crafting your own apple chips at home? Let’s dive into this simple yet satisfying recipe!
Why Make Your Own Apple Chips?
Deliciously Healthy: These apple chips are an incredibly guilt-free snack option that satisfies your cravings while being low in calories and free of added sugars.
Simple & Quick: With only one main ingredient and minimal prep time, this recipe is perfect for busy individuals looking for easy homemade snacks.
Versatile Treat: Use your favorite apple varieties or even experiment with other fruits like bananas and mangoes for endless flavor variations!
Giftable Goodness: Put together a batch of these crunchy delights in a decorative jar, and you have an ideal homemade gift for friends and family. Want more ideas for delicious snacks? Check out Oatmeal Apple Breakfast and indulge your taste buds!
Crisp & Chewy Delight: The final product boasts a unique texture, crisp yet slightly chewy, retaining the natural sweetness of apples and inviting you to enjoy every bite.
Apple Chips Ingredients
• Discover how simple it is!
For the Chips
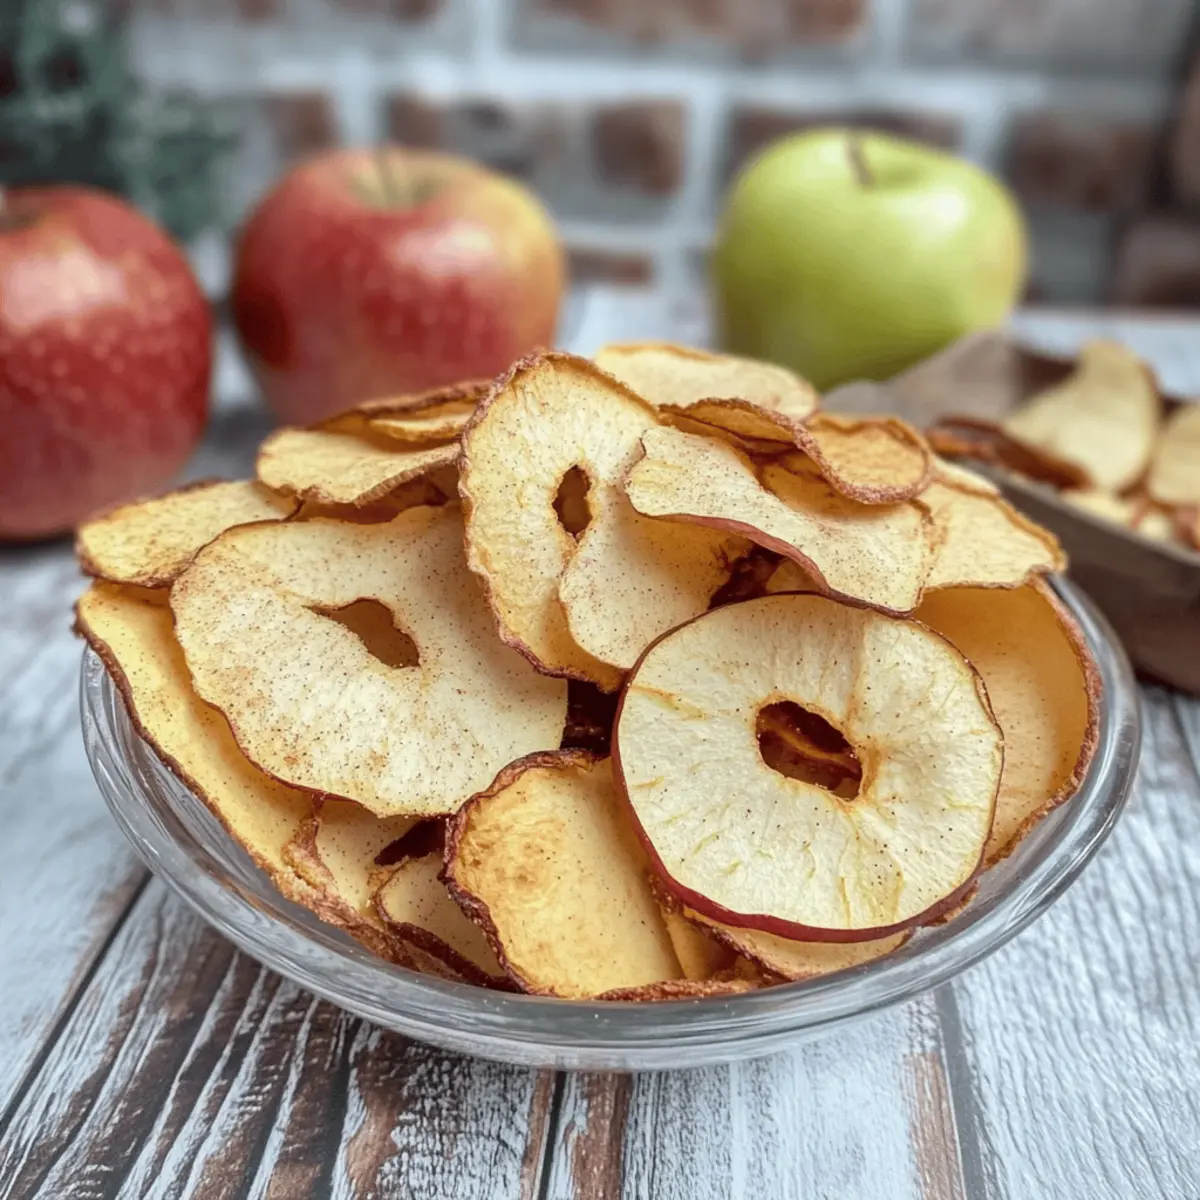
- 5 – 6 medium apples – These provide natural sweetness and fiber; using sweet varieties like Fuji or Honeycrisp gives the best results.
- Optional spices (cinnamon, nutmeg) – A sprinkle of these spices can add a festive flavor to your apple chips and enhance their natural sweetness.
For Storage
- Airtight container – Keeps your apple chips fresh and crunchy for longer, storing them in a cool, dry place is ideal.
Enjoy the simplicity of these apple chips, a perfect healthy snack!
Step‑by‑Step Instructions for Healthy Homemade Dried Apple Chips
Step 1: Preheat the Oven
Begin by preheating your oven to 80 °C (176 °F) on the convection setting. This low temperature ensures even drying, essential for achieving that perfect crispiness without burning. While the oven heats up, gather your baking sheets and line them with parchment paper for easy cleanup.
Step 2: Prepare the Apples
Core the 5 to 6 medium apples, removing the stems and seeds. This is where you select your favorite sweet varieties, like Fuji or Honeycrisp, to bring out the best flavor in your apple chips. Once cored, proceed to slice each apple into very thin rings, about 1/8 inch thick, using a sharp knife or a mandoline for precise cuts.
Step 3: Arrange the Slices
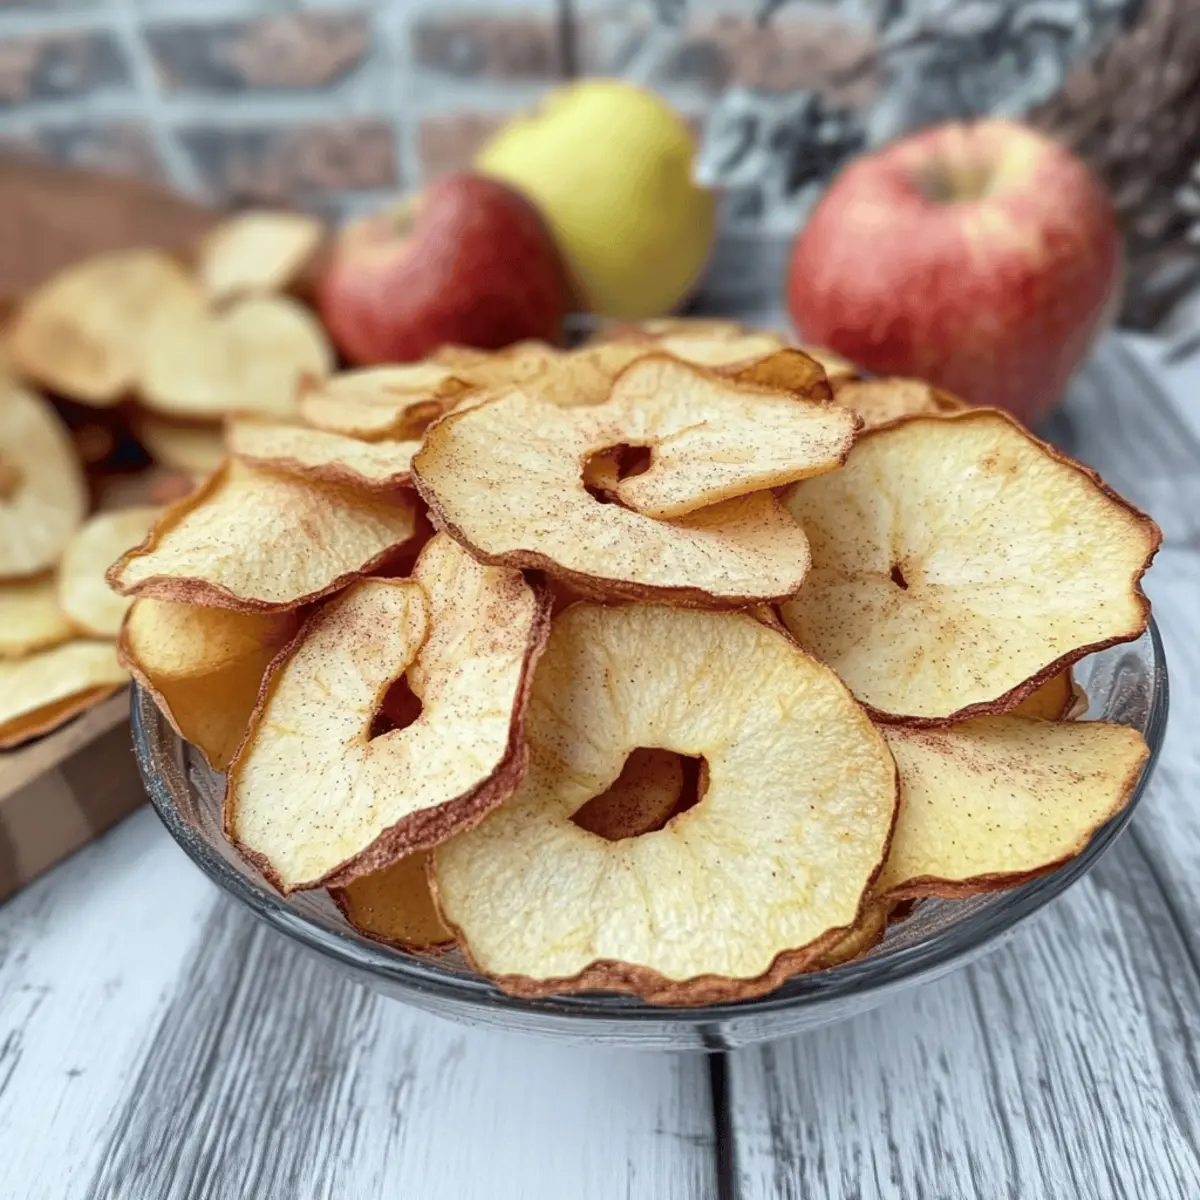
Place the apple slices on the lined baking sheets, ensuring they are arranged without overlapping. This spacing is crucial for even drying, as it allows air to circulate around each piece. You should see a beautiful arrangement of crisp apple circles that will soon transform into delightful homemade apple chips.
Step 4: Start Drying
Insert the baking sheets into the preheated oven to begin drying the apple slices. For the first two hours, keep the oven door slightly ajar; this helps moisture escape and enhances the drying process. You can use a wooden spoon to prop the door open, allowing the warm air to circulate efficiently.
Step 5: Flip for Even Drying
After the initial two hours, flip the apple rings over gently to ensure all sides dry evenly. Continue baking them for another 3 to 4 hours, monitoring closely. The apple chips should become progressively drier and crispier as they bake, so check on them periodically for that perfect crunchy texture.
Step 6: Monitor Texture
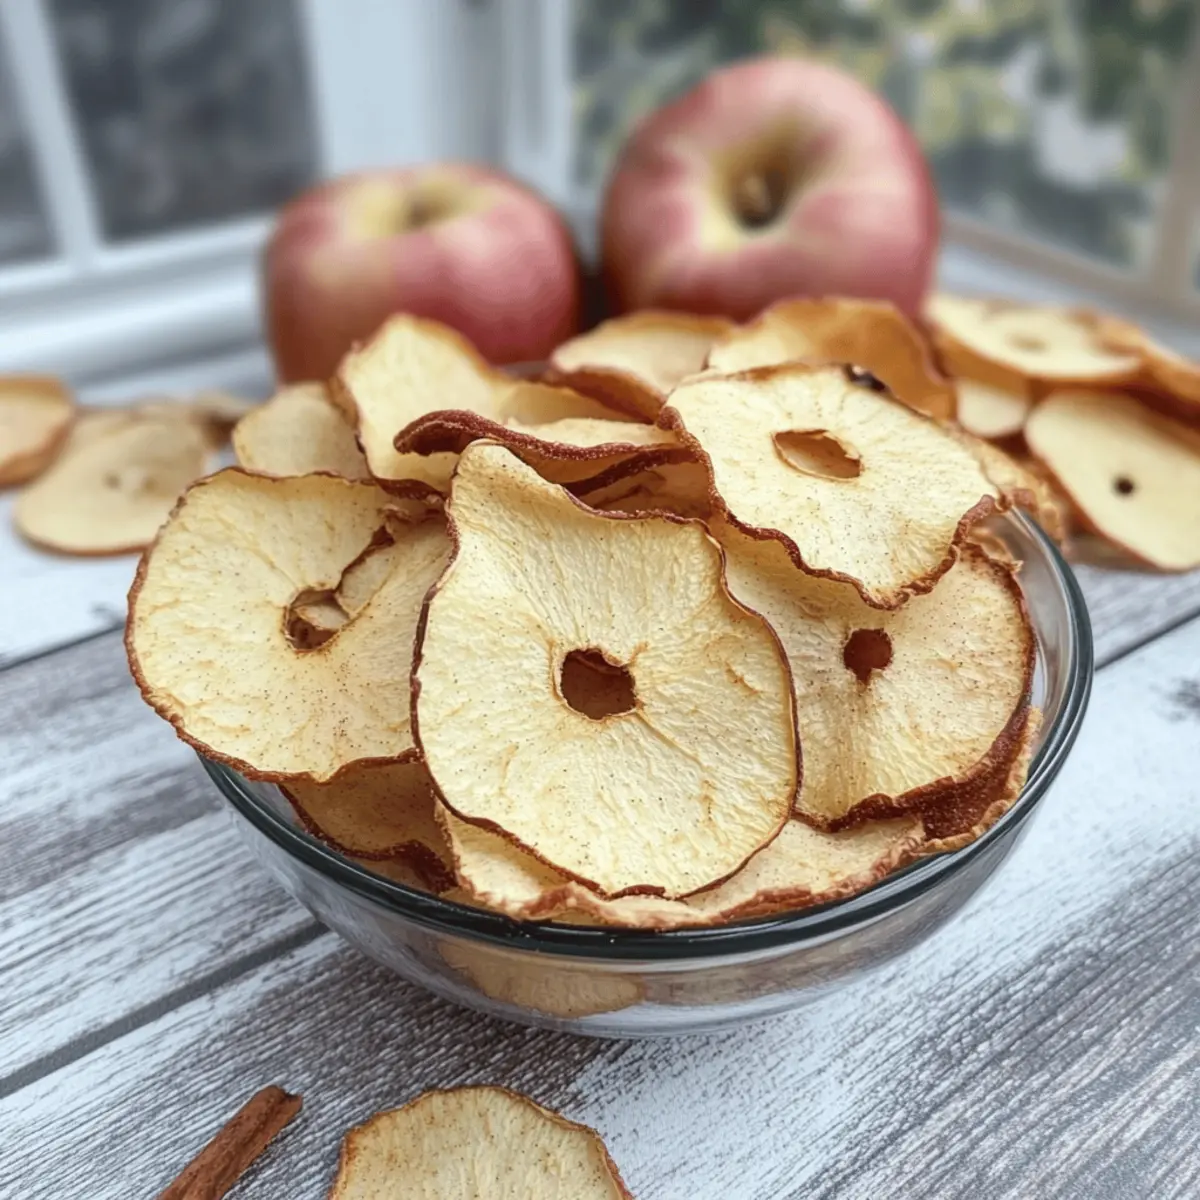
As the apple chips near doneness, they should feel very crisp and hard to the touch, indicating they are completely dried. Keep a close eye on them, as ovens can vary; you want to avoid any burnt edges. Once they reach the desired crispness, remove the baking sheets from the oven.
Step 7: Cool and Store
Allow the dried apple chips to cool completely on the baking sheets. This cooling period helps them achieve the ideal crunchy texture. After they have cooled, store your healthy homemade dried apple chips in an airtight container, keeping them in a cool, dry place to maintain their freshness and crispness for a longer shelf life.
Expert Tips for Perfect Apple Chips
-
Choose Sweet Apples: Select sweet varieties like Fuji or Honeycrisp, as they bring out the best flavor in your apple chips, enhancing their natural sweetness.
-
Watch Slice Thickness: Ensure apple slices are uniform, about 1/8 inch thick. Thin slices dry evenly, while thicker ones can remain chewy and prevent achieving that perfect crisp texture.
-
Monitor Drying Time: Oven temperatures can vary, so keep an eye on your apple chips during the drying process. Check them frequently after the first few hours to avoid burnt edges.
-
Storage Tips: Store apple chips in an airtight container after they’ve cooled completely. This helps maintain their crispness. If they soften, re-bake at a low temperature to restore crunchiness.
-
Spice It Up: Consider sprinkling cinnamon or nutmeg on the apple slices before baking. This festive touch elevates the flavor and adds a seasonal twist to your apple chips.
Apple Chips: Variations & Substitutions
Feel free to let your creativity shine and customize these delightful apple chips to your taste!
- Banana Chips: Swap apples for ripe bananas, slicing them into thin rounds for a naturally sweeter snack.
- Mango Magic: Use fresh mango slices for a tropical twist; they bring an exotic flavor perfectly suited for snacking.
- Strawberry Sweetness: Dried strawberries provide a tart and juicy alternative; remember to slice them thinly for even drying.
- Spiced Up: Before drying, sprinkle with cinnamon or nutmeg to elevate the flavor profile—perfectly festive for any occasion!
- Dried Fruit Medley: Combine apples with pears or peaches for a colorful and flavorful mix that tantalizes your taste buds.
- Dehydrator Delight: If you own a dehydrator, feel free to use it for a quicker drying process and even more consistent results.
- Little Heat: Add a pinch of cayenne pepper to the apple slices before drying for a surprising heat that complements the sweetness beautifully.
- Nutty Adventure: For an added crunch, toss your apple slices in a bit of almond or peanut butter before drying; it offers healthy fats and a unique flavor.
You can explore more exciting flavors by checking out tasty recipes like Oatmeal Apple Breakfast and our delightful Coffee Pancakes to keep your snack game strong!
Make Ahead Options
These delightful apple chips are perfect for meal prep enthusiasts! You can slice and core your apples up to 24 hours in advance, storing the prepared apple rings in an airtight container in the refrigerator to prevent browning. Once you’re ready to create your crunchy snacks, simply preheat your oven as directed and arrange the apple slices on baking sheets. Baking will take approximately 5 to 6 hours, so make sure to monitor them close to the end for that perfect crisp texture. With this make-ahead method, you’ll be able to enjoy homemade apple chips anytime without the hassle, ensuring a healthy snack is always within reach!
What to Serve with Healthy Homemade Dried Apple Chips
Transport yourself to your childhood moments with treats that are not only heartwarming but also healthy and satisfying.
- Creamy Yogurt: A dollop of yogurt complements the crunchy apple chips, adding a creamy contrast while providing a protein boost for a wholesome snack.
- Trail Mix: Mix your apple chips with nuts and seeds for a delightful trail mix that perfectly balances sweet, salty, and crunchy textures in every bite.
- Oatmeal: Sprinkle your apple chips over warm oatmeal for added crunch and natural sweetness, turning a simple breakfast into a gourmet experience.
- Cheese Platter: Pair with sharp cheddar or brie for a delightful contrast; the sweetness of the chips enhances the savory notes of the cheese beautifully.
- Cinnamon Dust: Add a light sprinkle of cinnamon on your apple chips for a festive flair that echoes the warmth of the autumn season with each bite.
- Fresh Fruit Salad: Combine them with fresh seasonal fruits for a refreshing snack that mixes the chewiness of apple chips with juicy, vibrant flavors.
- Herbal Tea: Sip on a calming herbal tea alongside your apple chips for a cozy treat, making your snack time feel comforting and indulgent.
- Nuts & Dark Chocolate: Serve with a small handful of nuts and dark chocolate pieces for a satisfying, indulgent treat that satisfies sweet and savory cravings.
How to Store and Freeze Apple Chips
Airtight Container: Store your apple chips in an airtight container at room temperature to keep them fresh and crispy for up to 2 weeks.
Cool, Dry Place: For optimal freshness, make sure to keep the container in a cool, dry place, away from direct sunlight, as humidity can soften the chips.
Freezer: If you want to extend the shelf life, freeze your apple chips in a freezer-safe bag or container for up to 3 months. Just defrost in the fridge and enjoy!
Reheating: If your chips lose crispness after a few days, re-bake them at a low temperature (around 60 °C or 140 °F) for 10-15 minutes to restore that satisfying crunch.
Healthy Homemade Dried Apple Chips Recipe FAQs
What kind of apples should I use for making apple chips?
Absolutely! I recommend using sweet apple varieties like Fuji, Honeycrisp, or Gala. These apples enhance the flavor of your chips with their natural sweetness. Avoid using tart apples, as they can result in a less enjoyable taste.
How should I store my apple chips?
To keep your apple chips fresh, store them in an airtight container at room temperature for up to 2 weeks. Make sure the container is kept in a cool, dry place away from direct sunlight, as humidity can soften the chips.
Can I freeze my apple chips? How do I do it?
Yes, you can freeze apple chips to extend their shelf life! Place them in a freezer-safe bag or airtight container and store them in the freezer for up to 3 months. When you’re ready to enjoy them, simply defrost them in the fridge, and they will still taste delicious!
What should I do if my apple chips end up chewy instead of crispy?
If your apple chips are chewy, don’t worry! You can easily fix this. Preheat your oven to 60 °C (140 °F) and re-bake them for about 10 to 15 minutes. This process will help restore their crunchiness while ensuring they don’t burn.
Are there any dietary considerations for apple chips?
Great question! These homemade apple chips are naturally gluten-free and, when prepared without added sugars, can also be friendly for those watching their sugar intake. However, if you’re making them as a gift, be sure to ask if the recipient has any allergies or dietary restrictions regarding apples or added spices.
How can I tell when my apple chips are done?
You’ll know your apple chips are ready when they feel completely dried and crispy to the touch. It’s best to check them periodically toward the end of the baking process to avoid burning. If they are still slightly pliable, give them more time in the oven, keeping a close eye to ensure they reach that perfectly crispy texture without getting burnt.
Crispy Homemade Apple Chips for Guilt-Free Snacking
Ingredients
Equipment
Method
- Preheat your oven to 80 °C (176 °F) on the convection setting.
- Core the apples and slice them into thin rings, about 1/8 inch thick.
- Arrange apple slices on lined baking sheets without overlapping.
- Insert the sheets into the oven and keep the door slightly ajar for the first two hours.
- After two hours, flip the apple rings over gently and continue baking for another 3 to 4 hours.
- Close monitoring is essential to prevent burning.
- Once dried, allow the chips to cool completely before storing.
Leave a Reply