
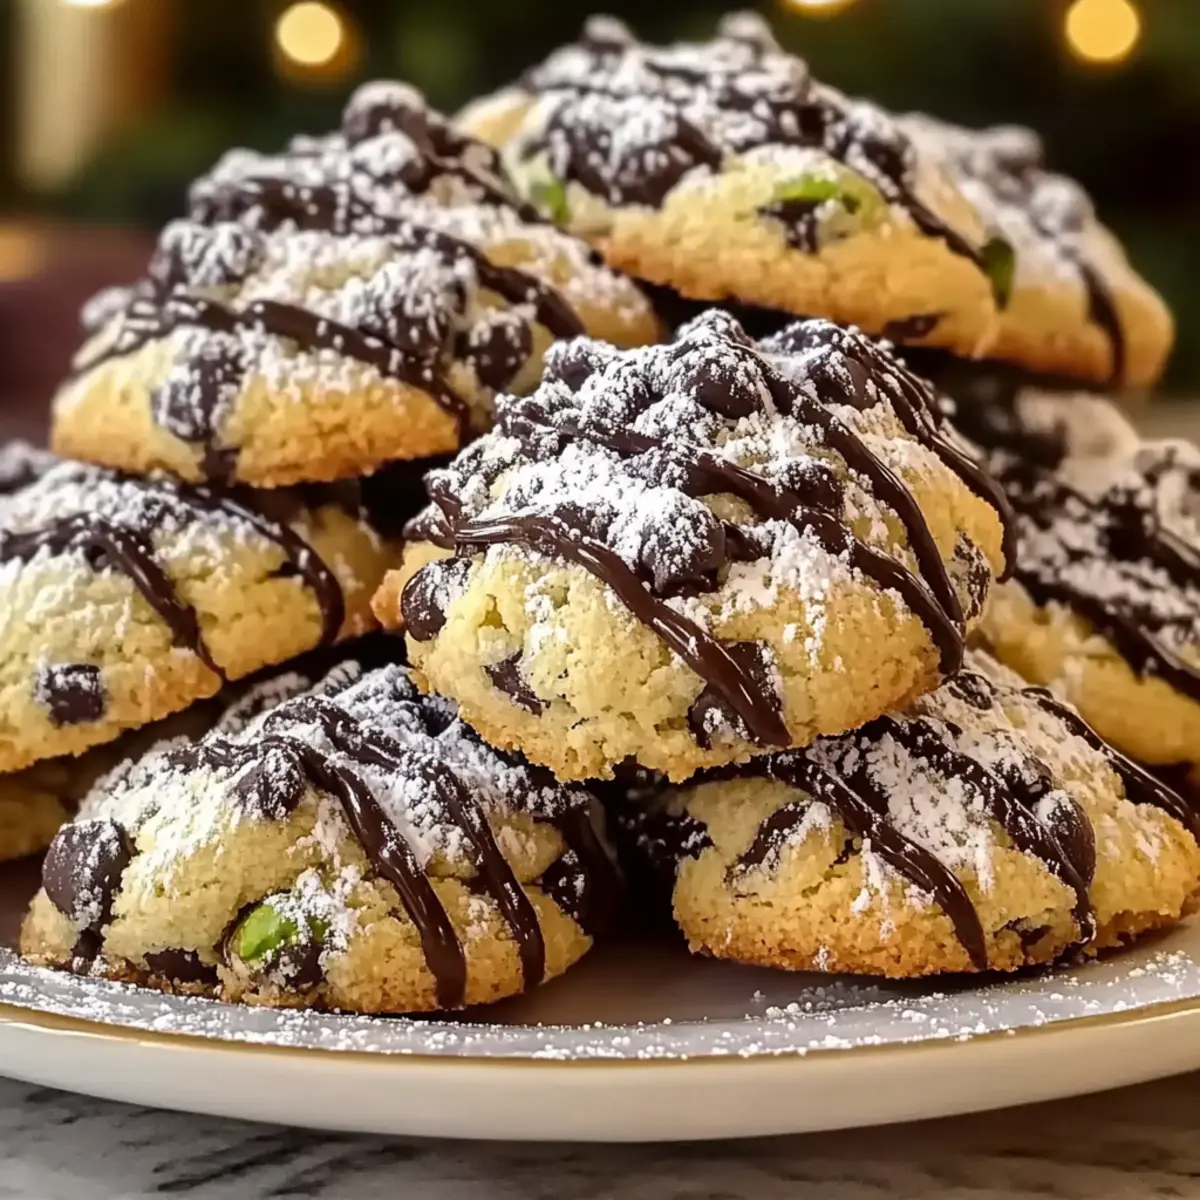
Beneath the warm, golden tones of a Sicilian sunset, the air is filled with the sweet aroma of freshly baked treats. I’m excited to bring a taste of that enchanting world to your kitchen with these Cannoli Cookies. Combining the creamy richness of ricotta and the delightful crunch of chocolate chips, these cookies embody the heart of Italian dessert culture in a simple, bite-sized form. The best part? They’re not only easy to whip up, but they also make for a delightful addition to holiday gatherings or a cozy afternoon coffee break. With every soft, pillowy bite, you’ll feel like you’ve taken a step into a charming Italian pastry shop. Ready to indulge your senses? Let’s dive into this delicious recipe!
Why are Cannoli Cookies a Must-Try?
Irresistible Flavor: These cookies beautifully blend the rich creaminess of ricotta with warm spices, delivering a taste of Italy in each bite.
Effortless Baking: With just a few simple steps and readily available ingredients, anyone can whip up these delightful treats.
Perfect for Sharing: Ideal for holiday trays or gifting, they bring joy to any gathering, making you the star of the show.
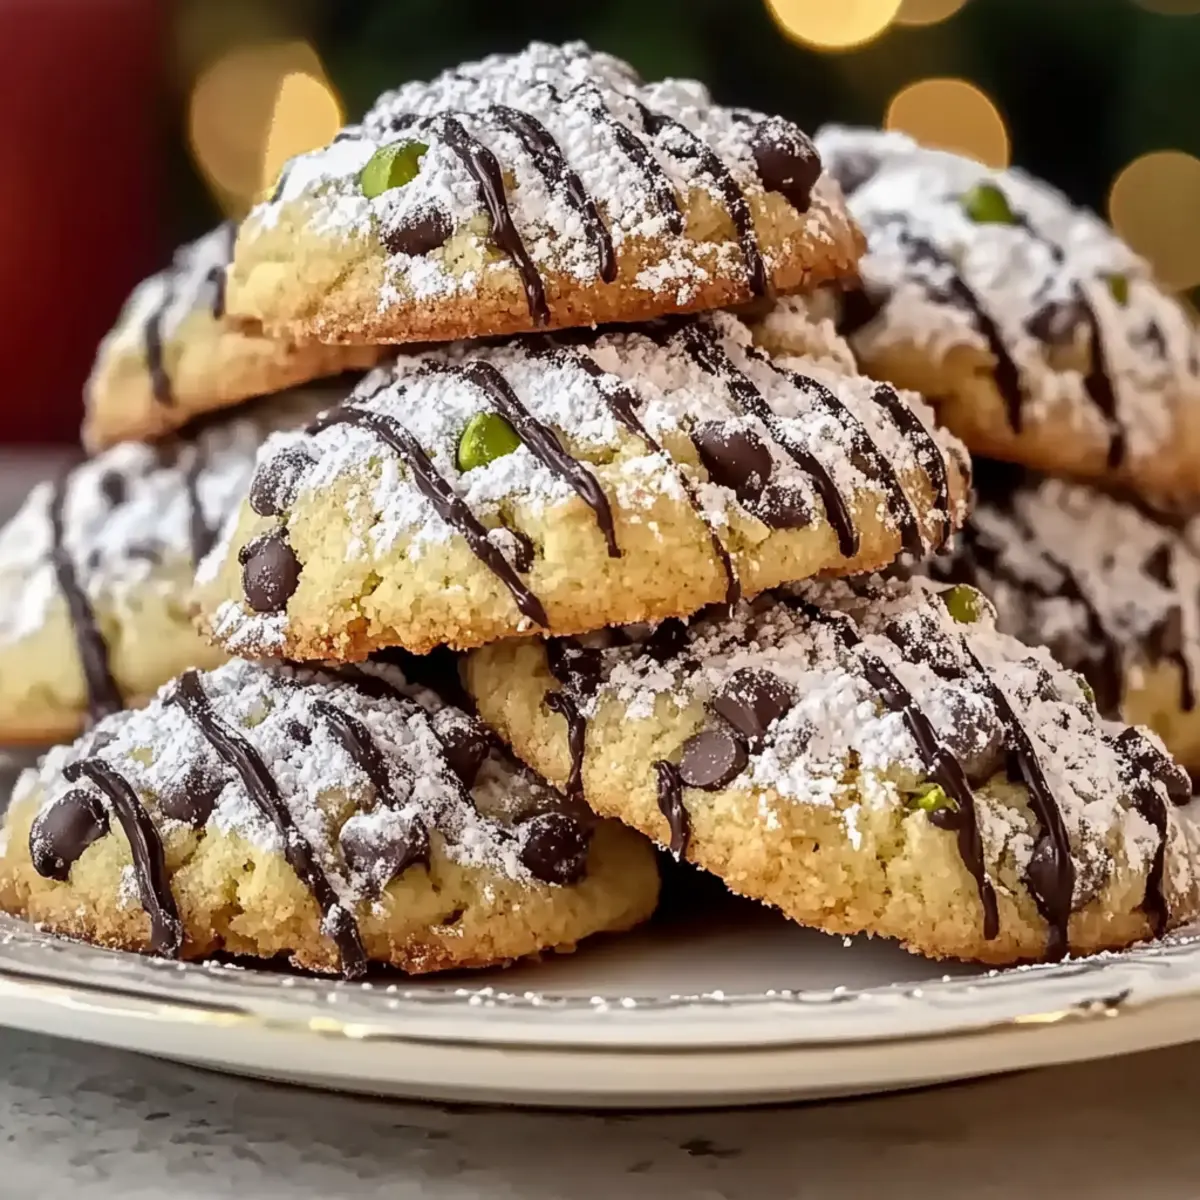
Unique Texture: Experience the soft, pillowy cookie with crunchy chocolate chips and pistachios that adds a wonderful contrast.
Versatile Options: Easily customize with different nuts or dried fruits, making them perfect for any palate.
For those craving cookie inspiration, you might also enjoy these Chocolate Oat Cookies or our delightful Gluten-Free Chocolate Oat Cookies for a twist on traditional flavors!
Cannoli Cookies Ingredients
For the Cookie Base
• Ricotta Cheese – Provides moisture and a delicate tang; ensure it’s well-drained to prevent cookies from spreading.
• Butter – Creates a tender, fluffy texture; use softened butter for the best results.
• Sugar – Sweetens the cookies and helps achieve a light texture through the creaming method.
• Eggs – Binds the ingredients; use room-temperature eggs for better emulsification.
• All-Purpose Flour – The foundation for structure; measure accurately to avoid spreading issues.
• Baking Powder – Acts as a leavening agent to help the cookies rise.
• Salt – Enhances flavor and balances the sweetness.
For the Flavoring
• Cinnamon and Nutmeg – Provide warm spice notes, enhancing the classic cannoli flavor.
• Vanilla Extract – Adds depth and aroma to the cookie.
• Orange Zest – Infuses fresh citrus, mimicking traditional cannoli filling.
For the Mix-ins
• Mini Chocolate Chips – Add a touch of sweetness and texture; they distribute evenly for a delightful bite.
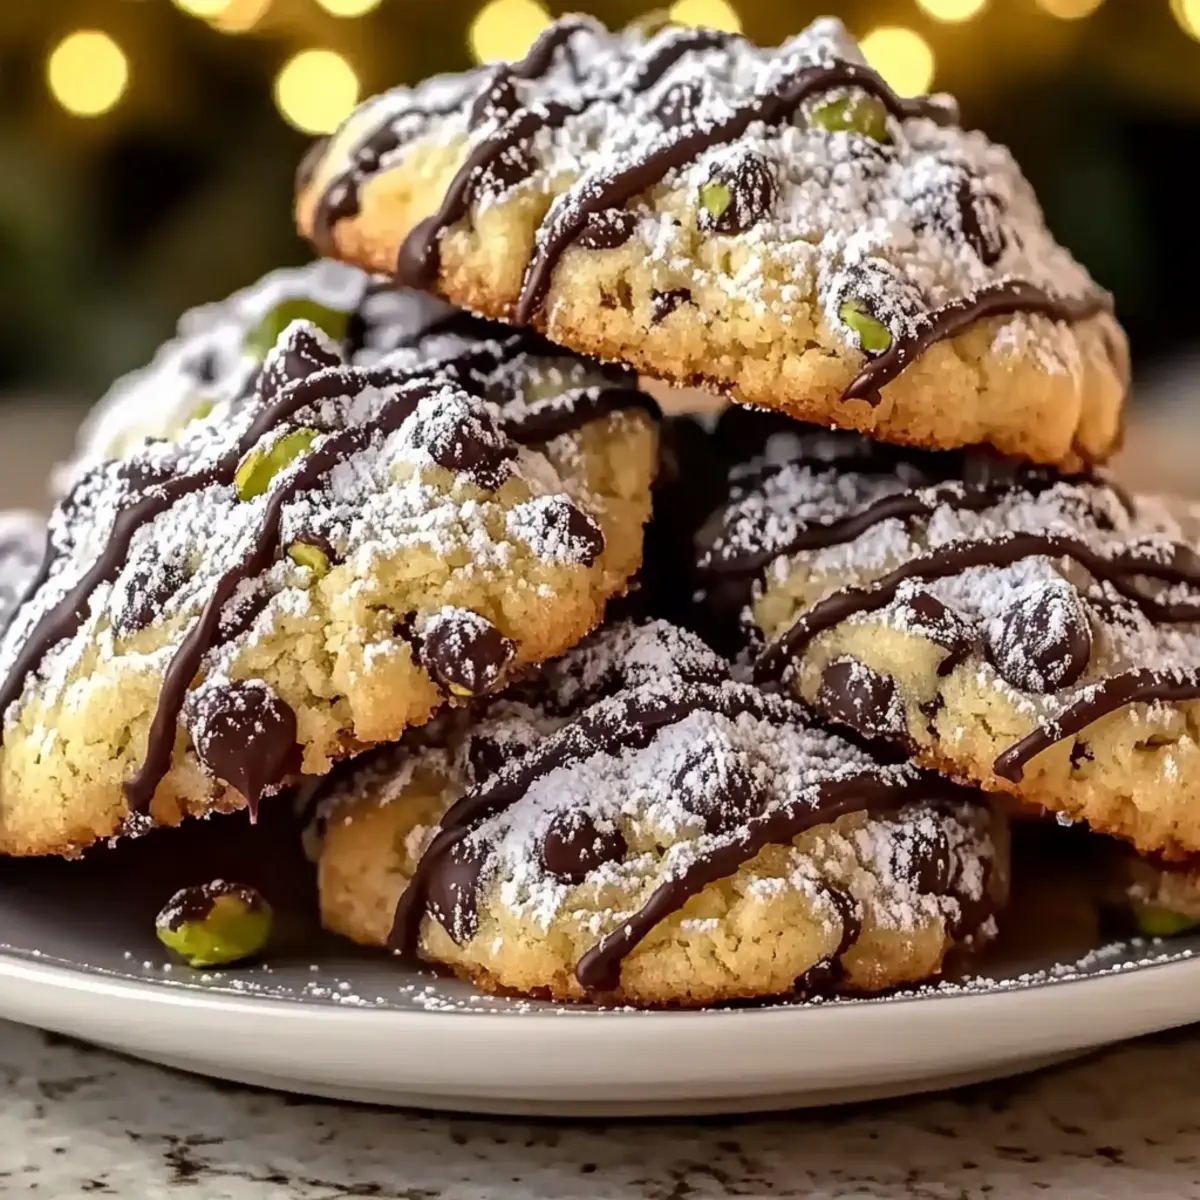
• Chopped Pistachios – Provide a contrasting crunch, reminiscent of traditional cannoli toppings.
These Cannoli Cookies promise an enchanting taste of Italy right in your kitchen, with every ingredient carefully selected to create the ultimate dessert experience. Enjoy baking!
Step‑by‑Step Instructions for Cannoli Cookies
Step 1: Prepare Ricotta
Start by draining the ricotta cheese in a fine-mesh strainer for about 30 minutes. This crucial step removes excess moisture, ensuring your Cannoli Cookies maintain the perfect structure. While you wait, set your oven to 350°F (175°C) so it’s preheated and ready for baking.
Step 2: Mix Dry Ingredients
In a medium bowl, whisk together the all-purpose flour, baking powder, salt, cinnamon, and nutmeg. This dry mixture serves as the foundation for your Cannoli Cookies. Set the bowl aside, and breathe in the warm spice aromas as they inspire your baking.
Step 3: Cream Butter and Sugar
In a large mixing bowl, beat the softened butter and sugar until the mixture becomes light and fluffy, about 3 to 4 minutes. This creaming process is vital as it incorporates air into the batter, helping your cookies to rise beautifully. Use a stand mixer for the best results, and remember to scrape down the sides of the bowl frequently.
Step 4: Add Eggs and Ricotta
Incorporate the room-temperature eggs into the butter-sugar mixture one at a time, mixing well after each addition. Then gently fold in the drained ricotta, vanilla extract, and orange zest. Mix until everything is just combined to create a creamy, flavorful base for your Cannoli Cookies.
Step 5: Combine Wet and Dry Ingredients
Gradually add the dry flour mixture to the wet ingredients in three parts, mixing on low speed until barely combined. Be careful not to over-mix, as this will affect the tenderness of your Cannoli Cookies. The dough should be thick yet slightly sticky, showing hints of the delicious flavors within.
Step 6: Fold in Add-ins
Gently fold in the mini chocolate chips and chopped pistachios into the cookie dough. Reserve a handful of each for topping later. This adds delightful sweetness and texture to your Cannoli Cookies, reminiscent of traditional Sicilian treats.
Step 7: Scooping Dough
Using a cookie scoop or a tablespoon, portion the cookie dough onto parchment-lined baking sheets, spacing them about 2 inches apart. This allows for even baking and helps your Cannoli Cookies to spread to perfection without sticking together.
Step 8: Bake
Place the baking sheets in the preheated oven and bake for 12 to 14 minutes. Keep an eye on the cookies—they’re ready when the edges are lightly golden, and the centers still appear slightly underdone. This will ensure the cookies maintain a soft, pillowy texture.
Step 9: Cool
After baking, remove the cookies from the oven and let them cool on the sheets for about 5 minutes. Then transfer them to wire racks to cool completely. This cooling step is essential to avoid soggy bottoms and to allow flavors to fully develop.
Step 10: Finish
Once the Cannoli Cookies are fully cooled, drizzle them with melted chocolate and dust with powdered sugar for an irresistible finishing touch. This step adds visual appeal and enhances the overall flavor, making every bite a delightful experience.
What to Serve with Cannoli Cookies?
Create a delightful spread that showcases the irresistible charm of this sweet Italian treat.
- Rich Espresso: The boldness of espresso pairs beautifully with the sweetness of cannoli cookies, enhancing their creamy flavors.
- Chilled Creamy Gelato: A scoop of velvety gelato, like pistachio or vanilla, offers a refreshing contrast to the soft texture of the cookies.
- Zesty Fruit Salad: A vibrant mix of citrus fruits adds brightness and cuts through the richness of the cookies, creating a well-rounded flavor profile.
- Decadent Chocolate Fondue: Dip cannoli cookies in warm chocolate for an indulgent twist that makes every bite a celebration.
- Traditional Italian Biscotti: These crunchy cookies provide a delightful textural contrast to soft cannoli cookies, ideal for a nostalgic touch.
- Creamy Hot Chocolate: A cup of rich hot chocolate adds comfort, making this pairing perfect for cozy gatherings or chilly evenings.
These serving ideas will elevate your cannoli cookies from a simple treat to a memorable dessert experience!
Storage Tips for Cannoli Cookies
Room Temperature: Keep your cannoli cookies in an airtight container at room temperature for up to 7 days, ensuring they remain soft and delightful.
Fridge: For longer-lasting freshness, store the cookies in the fridge for up to 2 weeks in an airtight container. Just let them come to room temperature before enjoying.
Freezer: Freeze the cookies in a single layer on a baking sheet, then transfer to a freezer-safe container or bag for up to 3 months. Thaw in the fridge or at room temperature before serving.
Reheating: To reheat, pop the cookies in a preheated oven at 300°F (150°C) for 5–10 minutes. This will revive their tender texture, making them just as scrumptious as when they were fresh-baked!
Expert Tips for Cannoli Cookies
-
Drain Ricotta Well: Make sure to drain the ricotta cheese thoroughly to prevent excess moisture, which can cause your cannoli cookies to spread too much during baking.
-
Use Room-Temperature Eggs: Bringing your eggs to room temperature helps them blend better into your batter, enhancing the overall texture and richness of your cookies.
-
Avoid Over-Mixing: When combining the wet and dry ingredients, mix just until they are combined. Over-mixing can lead to tougher cookies rather than the desired tender bite.
-
Scoop Evenly: Use a cookie scoop to portion out the dough for uniform sizes, ensuring your cannoli cookies bake evenly and look great on a plate.
-
Watch Baking Time: Keep a close eye during the last few minutes of baking. The cookies should be lightly golden around the edges and slightly underdone in the middle for that soft and pillowy texture.
Cannoli Cookies Variations & Substitutions
Feel free to unleash your creativity and make these Cannoli Cookies uniquely yours with these simple suggestions that tickle the taste buds!
-
Almond Extract: Swap vanilla extract for almond extract to infuse a nutty aroma, enhancing the depth of flavor. Almond brings a lovely warmth to the cookies that harmonizes beautifully with the spices.
-
Nut Alternatives: Replace chopped pistachios with walnuts or hazelnuts for a delightful twist. Each alternative adds its own richness and crunch, allowing you to tailor the cookie’s character to your liking.
-
Dried Fruits: Add dried currants or raisins for an extra layer of sweetness. These fruits add little bursts of flavor that can surprise and delight!
-
Coconut Flakes: Introduce unsweetened coconut flakes for a chewy texture and tropical flair. It’s a refreshing twist on the classic cannoli experience, transporting you to sunnier shores.
-
Spicy Kick: Incorporate a pinch of crushed red pepper flakes for an unexpected burst of heat. This will elevate the cookie’s flavors and make them stand out at your next gathering.
-
Different Zests: Use lemon or lime zest instead of orange for a different citrusy brightness. Each zest adds its signature zing, so feel free to experiment!
-
Whole Wheat Flour: Swap all-purpose flour for whole wheat flour for a denser texture with a nutty flavor. It’s a nutritious twist that also carries a hint of earthiness, enhancing every bite.
-
Baking Chocolate: Try using dark chocolate chips or chunks instead of mini chocolate chips for a richer chocolate experience. This change adds depth and makes each cookie irresistibly decadent.
Whether you’re doing a little experimenting or just looking for some freshness, these variations will take your Cannoli Cookies to new heights! If you’re looking for other cookie inspirations, don’t miss our delicious Chocolate Oat Cookies or the delightful Gluten-Free Chocolate Oat Cookies! Enjoy the sweet journey!
Make Ahead Options
These Cannoli Cookies are an excellent choice for meal prep, allowing you to enjoy deliciousness on your schedule! You can prepare the dough up to 24 hours in advance; simply scoop the cookie dough onto parchment-lined baking sheets, cover with plastic wrap, and refrigerate. This will deepen the flavors while keeping the cookies fresh. If you’d like to go further, you can also freeze the unbaked dough for up to 3 months—just scoop and then freeze! When you’re ready to bake, allow the dough to thaw in the fridge overnight, and then bake as directed. With these make-ahead tips, your Cannoli Cookies will be just as delightful, saving you precious time while still delivering that enchanting taste of Italy!
Cannoli Cookies Recipe FAQs
How do I choose the right ricotta cheese for my Cannoli Cookies?
Absolutely! When selecting ricotta, look for a brand that’s creamy and fresh, ideally from whole milk, as this will enhance the moisture and flavor of your cookies. Make sure to drain it well by placing it in a fine-mesh strainer for about 30 minutes before use. This helps prevent excess moisture that can lead to spreading!
What’s the best way to store Cannoli Cookies, and how long do they last?
These delightful cookies can be kept in an airtight container at room temperature for up to 7 days. If you want to extend their freshness, store them in the fridge for up to 2 weeks. Remember to let them come to room temperature before enjoying the soft, creamy taste!
Can I freeze Cannoli Cookies, and how do I do that properly?
Absolutely! To freeze your Cannoli Cookies, first, place them in a single layer on a baking sheet and freeze for 1-2 hours until firm. Then, transfer them to a freezer-safe container or zip-top bag, ensuring all air is removed. They can be stored frozen for up to 3 months. When you’re ready to enjoy them, let them thaw in the fridge or at room temperature.
What should I do if my Cannoli Cookies spread too much while baking?
If you find your cookies spreading excessively, there are a few troubleshooting steps you can take. First, ensure you drained your ricotta well, as excess moisture can contribute to this issue. You might also want to chill the cookie dough in the refrigerator for about 30 minutes before baking. Lastly, make sure you accurately measured your flour and other ingredients to maintain the right texture.
Are Cannoli Cookies suitable for allergens?
Very! These Cannoli Cookies contain dairy and gluten from the ricotta and flour. If you are making them for someone with allergies, consider using lactose-free ricotta and a gluten-free flour blend. However, if sharing with pets, keep these cookies away; they contain ingredients that could upset their stomachs, such as chocolate. Always check labels for any additional allergens!

Heavenly Cannoli Cookies: Italian Delights in Every Bite
Ingredients
Equipment
Method
- Prepare Ricotta: Start by draining the ricotta cheese in a fine-mesh strainer for about 30 minutes.
- Mix Dry Ingredients: Whisk together flour, baking powder, salt, cinnamon, and nutmeg in a bowl.
- Cream Butter and Sugar: Beat softened butter and sugar until light and fluffy, about 3 to 4 minutes.
- Add Eggs and Ricotta: Incorporate room-temperature eggs, one at a time, then fold in drained ricotta, vanilla, and orange zest.
- Combine Wet and Dry Ingredients: Gradually add the dry mixture in three parts, mixing on low speed until barely combined.
- Fold in Add-ins: Gently fold in mini chocolate chips and chopped pistachios into the dough.
- Scooping Dough: Portion the dough onto parchment-lined baking sheets, spacing them about 2 inches apart.
- Bake: Bake in preheated oven for 12 to 14 minutes until edges are golden and centers slightly underdone.
- Cool: Let cookies cool on baking sheets for about 5 minutes, then transfer to wire racks.
- Finish: Drizzle with melted chocolate and dust with powdered sugar before serving.
Leave a Reply