
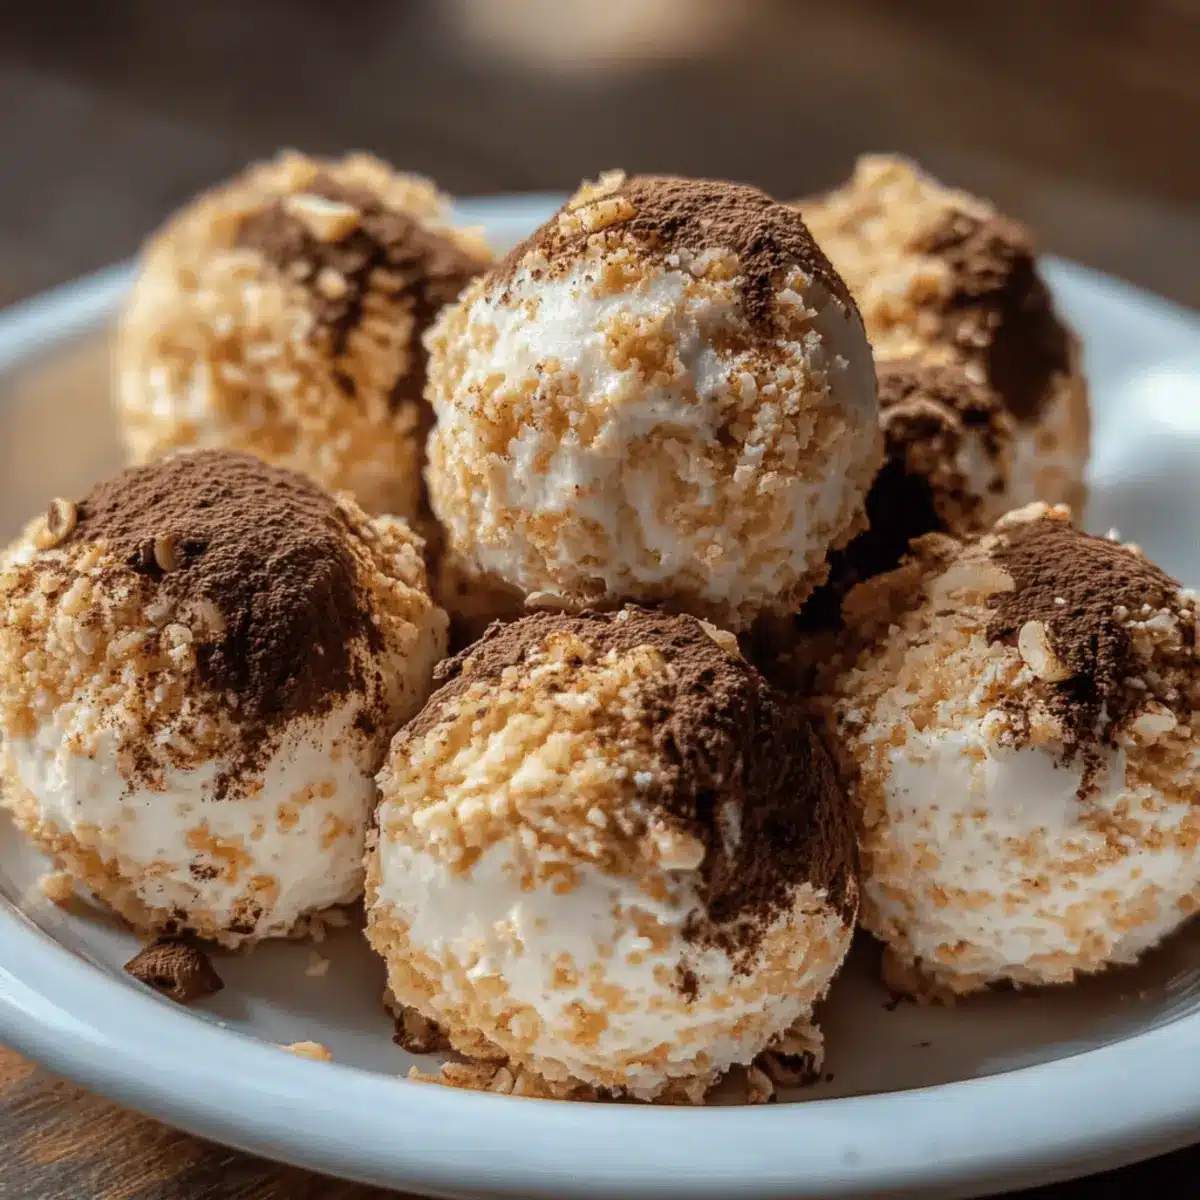
After a long day, I often find myself craving something sweet yet healthy—something that doesn’t leave me feeling guilty. That’s when I discovered the joy of making Cheesecake Protein Balls. These delightful bites are a perfect blend of creamy cheesecake flavor and a protein-packed punch, making them the ideal no-bake snack for any occasion. They’re not only quick to whip up but also customizable for everyone’s taste preferences, whether you’re vegan, gluten-free, or just looking for a healthier alternative to store-bought treats. Plus, they’re the perfect pick-me-up during that afternoon slump or a delightful addition to your dessert repertoire. Curious about how to make these tasty little gems? Let’s dive into the recipe!
Why are Cheesecake Protein Balls a Game-Changer?
Healthy, Guilt-Free Indulgence: With all the rich flavors of cheesecake, these protein balls satisfy your sweet tooth without the guilt.
No-Bake Convenience: Whip up a batch in no time—perfect for busy days!
Customizable to Your Taste: Whether you prefer vegan options or crave unique flavors, feel free to get creative with your ingredients.
Perfect for Any Occasion: Great as a snack, dessert, or energy booster, they appeal to everyone—making them ideal for gatherings!
Nutritional Powerhouse: Packed with protein and healthy fats, they’re the ultimate snack for active lifestyles. Enjoy with a side of fresh fruit or Greek yogurt for a well-rounded treat. Check out our High Protein Chocolate recipe for more delightful ideas!
Cheesecake Protein Balls Ingredients
• Here’s what you need to make these delicious bites!
For the Base
- Cream Cheese – Provides creaminess and the classic cheesecake flavor; substitute with Greek yogurt or softened silken tofu for a lighter or vegan option.
- Sweetener – Adds just the right amount of sweetness to balance flavors; adjust to your preference with honey, maple syrup, or stevia.
- Vanilla Extract – Enhances the overall flavor profile; use pure vanilla extract for the best taste.
- Protein Powder – Boosts protein content; whey protein offers creaminess, while plant-based options (pea or rice) cater to vegan diets.
- Oats or Almond Flour – Acts as a binding agent; oats are traditional, while almond flour caters to gluten-free diets.
For Flavor Boost
- Spices (e.g., cinnamon) – To enhance flavor complexity; optional based on taste.
- Add-ins (e.g., nuts, chocolate chips, or berries) – For texture and bursts of flavor; choose based on your personal preference.
Get ready to whip up some Cheesecake Protein Balls that are not only tasty but also guilt-free!
Step‑by‑Step Instructions for Cheesecake Protein Balls
Step 1: Soften the Cream Cheese
Begin by taking your cream cheese out of the fridge and letting it sit at room temperature for about 30 minutes. It should feel soft and pliable, making it easier to blend. This step is crucial for achieving that creamy, smooth texture in your Cheesecake Protein Balls.
Step 2: Mix the Base Ingredients
In a large mixing bowl, add the softened cream cheese, your chosen sweetener, and pure vanilla extract. Using an electric mixer or a sturdy spatula, blend the mixture on medium speed for about 2-3 minutes until it’s completely smooth and fluffy. This well-mixed base will set the stage for your delicious protein balls.
Step 3: Incorporate Protein Powder and Oats
Next, gradually fold in the protein powder and either oats or almond flour. Use a spatula to mix gently until all the dry ingredients are fully combined and form a cohesive dough. This process will take about 2 minutes, and the mixture should be thick yet pliable, perfectly suited for rolling into balls.
Step 4: Add Flavor Boosts
Now, it’s time to add in any optional spices, like cinnamon, along with your desired add-ins such as nuts, chocolate chips, or berries. Stir these into the dough until evenly distributed, ensuring each ball will have delightful bursts of flavor. This step infuses the Cheesecake Protein Balls with an extra layer of deliciousness.
Step 5: Shape the Protein Balls
If the dough feels too sticky, place it in the refrigerator for about 10 minutes to firm up. Once cooled, take small portions of the mixture and roll them into bite-sized balls, approximately 1 inch in diameter. This shaping helps create the perfect texture and makes for an enjoyable snacking experience.
Step 6: Chill to Firm Up
Transfer the rolled balls to a lined tray and place them in the refrigerator to chill for at least 30 minutes. This chilling time allows the Cheesecake Protein Balls to firm up and hold their shape, making them easier to enjoy as a snack or dessert.
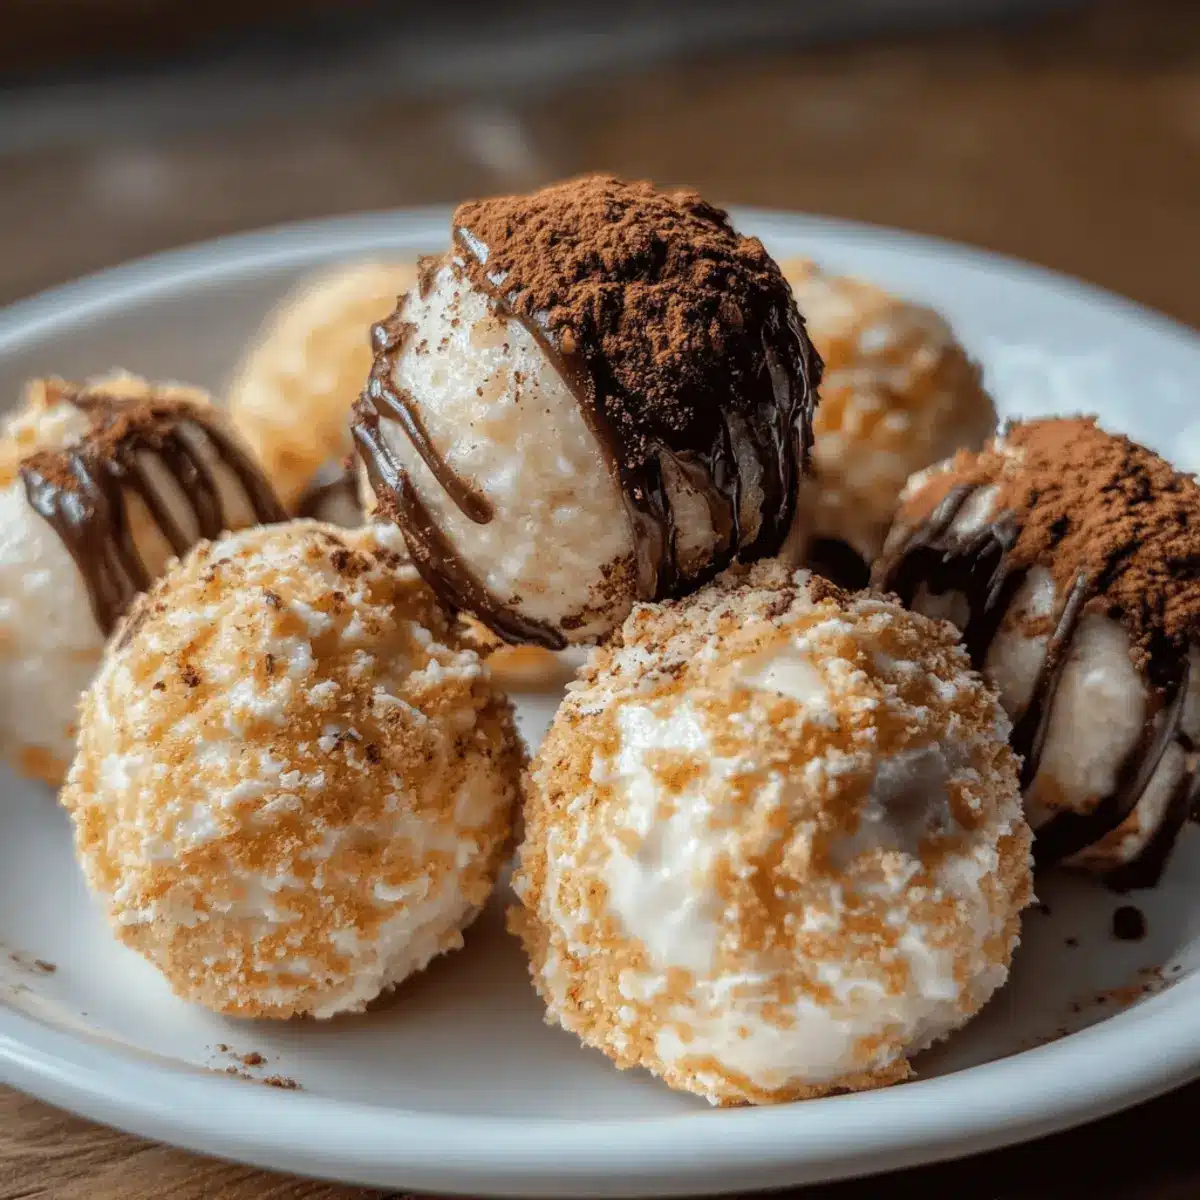
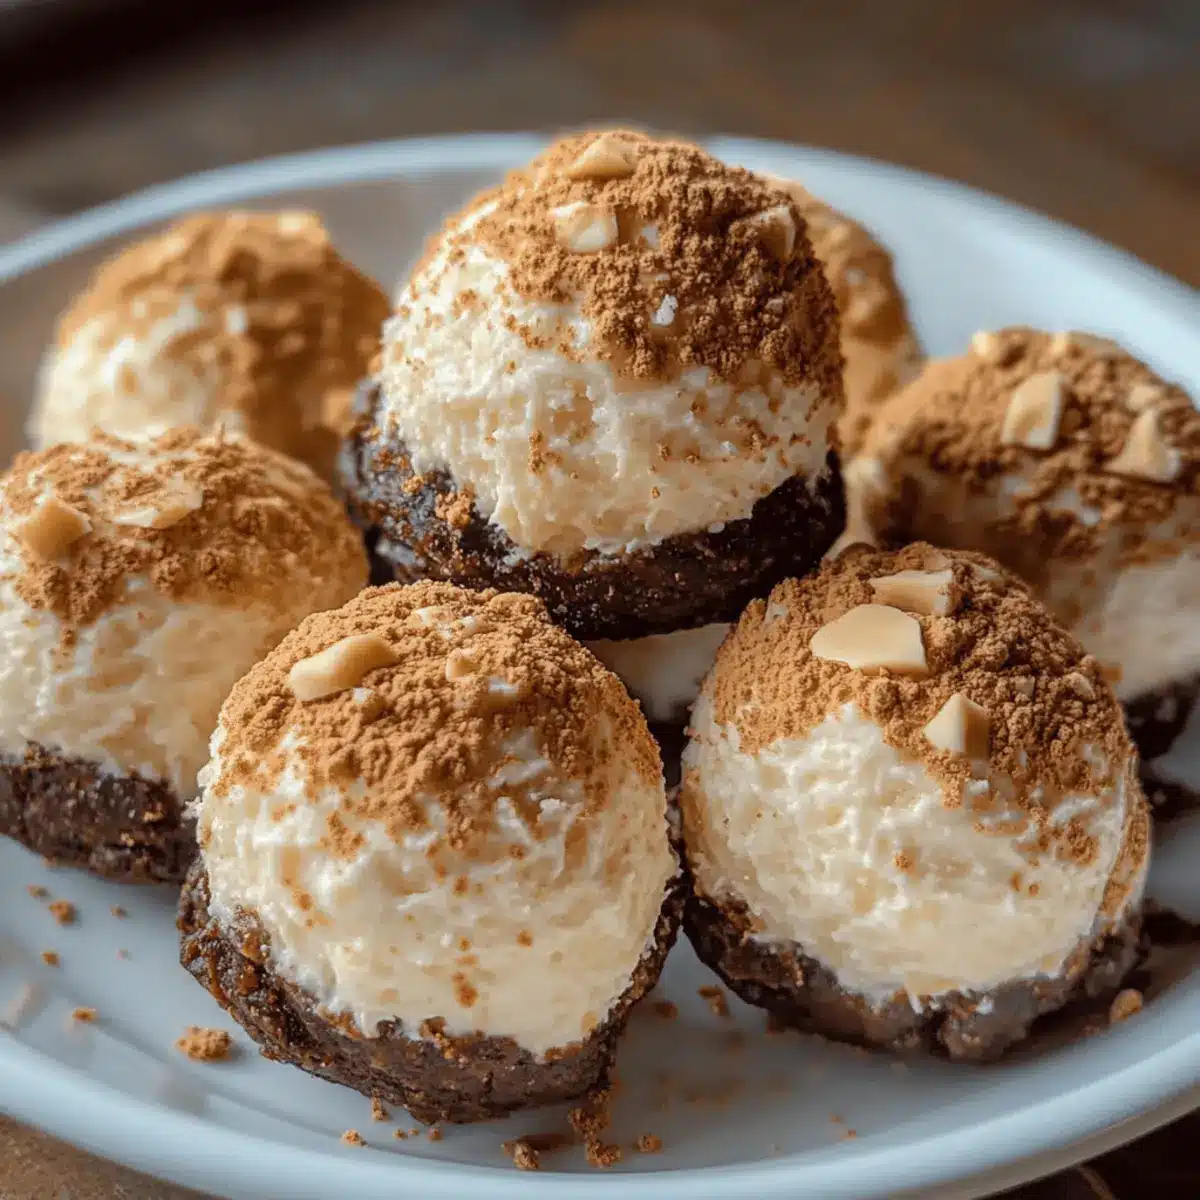
Step 7: Optional Toppings and Serving
For an extra touch, you can sprinkle some cinnamon or drizzle melted dark chocolate over the top before serving. Once they are well chilled, your Cheesecake Protein Balls are ready to be enjoyed. These delightful bites double as a satisfying snack or a sweet treat for any occasion!
Cheesecake Protein Balls Variations & Substitutions
Feel free to mix and match to your heart’s content! Get creative with flavors, textures, and dietary needs.
- Vegan Option: Swap cream cheese for softened silken tofu or vegan cream cheese for a plant-based delight.
- Gluten-Free Alternative: Replace oats with almond flour or coconut flour to cater to gluten sensitivities without compromising on taste.
- Sweetness Adjustment: Experiment with natural sweeteners like maple syrup, agave nectar, or even mashed bananas for added sweetness.
- Flavor Infusions: Stir in cocoa powder for a rich chocolate version, or try orange or lemon zest for a citrusy twist.
- Add Extra Crunch: Mix in finely chopped nuts or seeds for a delightful texture contrast that provides a satisfying crunch.
- Spice It Up: Toss in a pinch of nutmeg or ginger for a warming flavor that takes these protein balls to the next level.
- Protein Boost: If you want an extra punch, consider adding a tablespoon of chia seeds or flaxseeds for additional nutrients.
- Mix and Match Add-ins: Incorporate different fruits like dried cranberries or blueberries for bursts of flavor—definitely a lovely surprise!
For more creative ideas, check out our High Protein Chilli or Light Healthy Cheesecake recipes that will satiate your snack cravings!
Make Ahead Options
These Cheesecake Protein Balls are perfect for busy home cooks looking to save time during their week! You can prepare the mixture up to 24 hours in advance by following the initial steps and rolling them into balls, then refrigerating them. To maintain their creamy texture and flavor, store them in an airtight container in the fridge. Alternatively, you can shape and freeze them individually for up to 3 months; just ensure they are well-wrapped to prevent freezer burn. When you’re ready to enjoy, simply thaw in the refrigerator overnight or let them sit at room temperature for about 30 minutes before serving. With these make-ahead options, delectable and healthy snacks are always within reach!
What to Serve with Cheesecake Protein Balls?
Enhance your snacking experience and create a delightful spread with these delicious pairings!
- Fresh Fruit Slices: The natural sweetness and juiciness of fruits like strawberries or apples provide a refreshing contrast.
- Greek Yogurt: A dollop of creamy Greek yogurt adds a tangy flavor, while boosting protein content for a satisfying snack.
- Nut Butter Dips: Almond or peanut butter brings a rich, nutty aroma that complements the creamy texture of the protein balls perfectly.
- Dark Chocolate Drizzle: A light drizzle of dark chocolate elevates the richness, satisfying your sweet tooth while adding an indulgent touch.
- Cheese Platter: Pairing with a selection of cheeses creates a sweet and savory combination, ideal for entertaining or snacking. Share with friends for a memorable taste experience!
- Herbal Tea: A warm cup of chamomile or mint tea soothes the palette, making for a lovely dessert pairing that balances the sweetness of protein balls.
- Trail Mix: A side of trail mix adds crunch and a variety of flavors, making for a hearty snack that complements the soft texture of each bite.
- Protein Smoothie: Blend up a quick smoothie with spinach, banana, and almond milk for a nutrient-packed drink that pairs well with your guilt-free bites.
How to Store and Freeze Cheesecake Protein Balls
Fridge: Keep Cheesecake Protein Balls in an airtight container for up to one week. They stay fresh and delicious, perfect for snacking throughout the week.
Freezer: For longer storage, freeze the protein balls individually. Simply place them on a baking sheet until frozen, then transfer to a freezer bag. They last up to 3 months!
Thawing: To enjoy frozen Cheesecake Protein Balls, thaw them overnight in the fridge. This way, they retain their smooth and creamy texture after freezing.
Reheating: No need to reheat, these bites are best enjoyed chilled. Serve them right from the fridge for a refreshing and guilt-free treat!
Expert Tips for Cheesecake Protein Balls
- Measure Accurately: Ensure to measure ingredients accurately, as the right ratios are key to achieving the perfect texture in your Cheesecake Protein Balls.
- Adjust Stickiness: If the dough is too sticky to handle, add a bit more oats or almond flour until you reach the desired consistency.
- Flavor Infusion: For deeper flavor, let the protein balls sit in the refrigerator for a couple of hours before serving; this allows flavors to meld beautifully.
- Presentation Counts: Consider using mini cupcake liners for an appealing presentation, especially for gatherings—everyone will be impressed!
- Experiment Freely: Don’t hesitate to swap ingredients according to your dietary preferences—play with different protein powders and add-ins to find your perfect blend!

Cheesecake Protein Balls Recipe FAQs
How can I tell if my cream cheese is ripe enough to use?
Absolutely! For the best texture, your cream cheese should be softened to room temperature, which typically takes about 30 minutes out of the fridge. It should feel smooth and pliable, ready for blending without any lumps.
What’s the best way to store Cheesecake Protein Balls?
Keep your Cheesecake Protein Balls in an airtight container in the refrigerator for up to one week. This ensures they stay fresh and delicious, perfect for quick snacking. If you plan to enjoy them later, freezing is a great option!
Can I freeze Cheesecake Protein Balls for later?
Yes! To freeze your Cheesecake Protein Balls, roll them into individual balls and place them on a baking sheet. Freeze them until solid, then transfer to a freezer bag and store. They can last up to 3 months. To enjoy, simply thaw them overnight in the fridge.
What should I do if my mixture is too sticky?
Very! If you find the dough too sticky to roll into balls, that’s easily fixable. Just chill the mixture in the fridge for about 10 minutes. This will help firm it up, making it easier to shape without making a mess. If still too sticky, you can also incorporate a little more oats or almond flour until the texture is just right.
Are Cheesecake Protein Balls safe for people with allergies?
While these protein balls can be adapted for various dietary needs, they do include dairy (cream cheese) and nuts (if you choose to add them). Always check ingredient labels based on individual allergies. For a nut-free version, you can skip the nuts and use seeds instead!
What ingredients can I substitute to make them vegan?
Of course! For a vegan version of Cheesecake Protein Balls, use softened silken tofu or dairy-free cream cheese in place of regular cream cheese. You can sweeten with maple syrup or agave, and ensure your protein powder is plant-based. This way, you can enjoy a delicious and wholesome snack without compromising your dietary preferences!
Cheesecake Protein Balls for a Guilt-Free Sweet Treat
Ingredients
Equipment
Method
- Soften the cream cheese by letting it sit at room temperature for about 30 minutes.
- In a large mixing bowl, blend the softened cream cheese, sweetener, and vanilla extract until smooth.
- Gradually fold in the protein powder and oats or almond flour until fully combined.
- Add any optional spices and desired add-ins, stirring until evenly distributed.
- If the dough is too sticky, refrigerate for 10 minutes before rolling into 1-inch balls.
- Place the rolled balls in the refrigerator for at least 30 minutes to firm up.
- Optionally, sprinkle with cinnamon or drizzle melted dark chocolate before serving.
Leave a Reply