
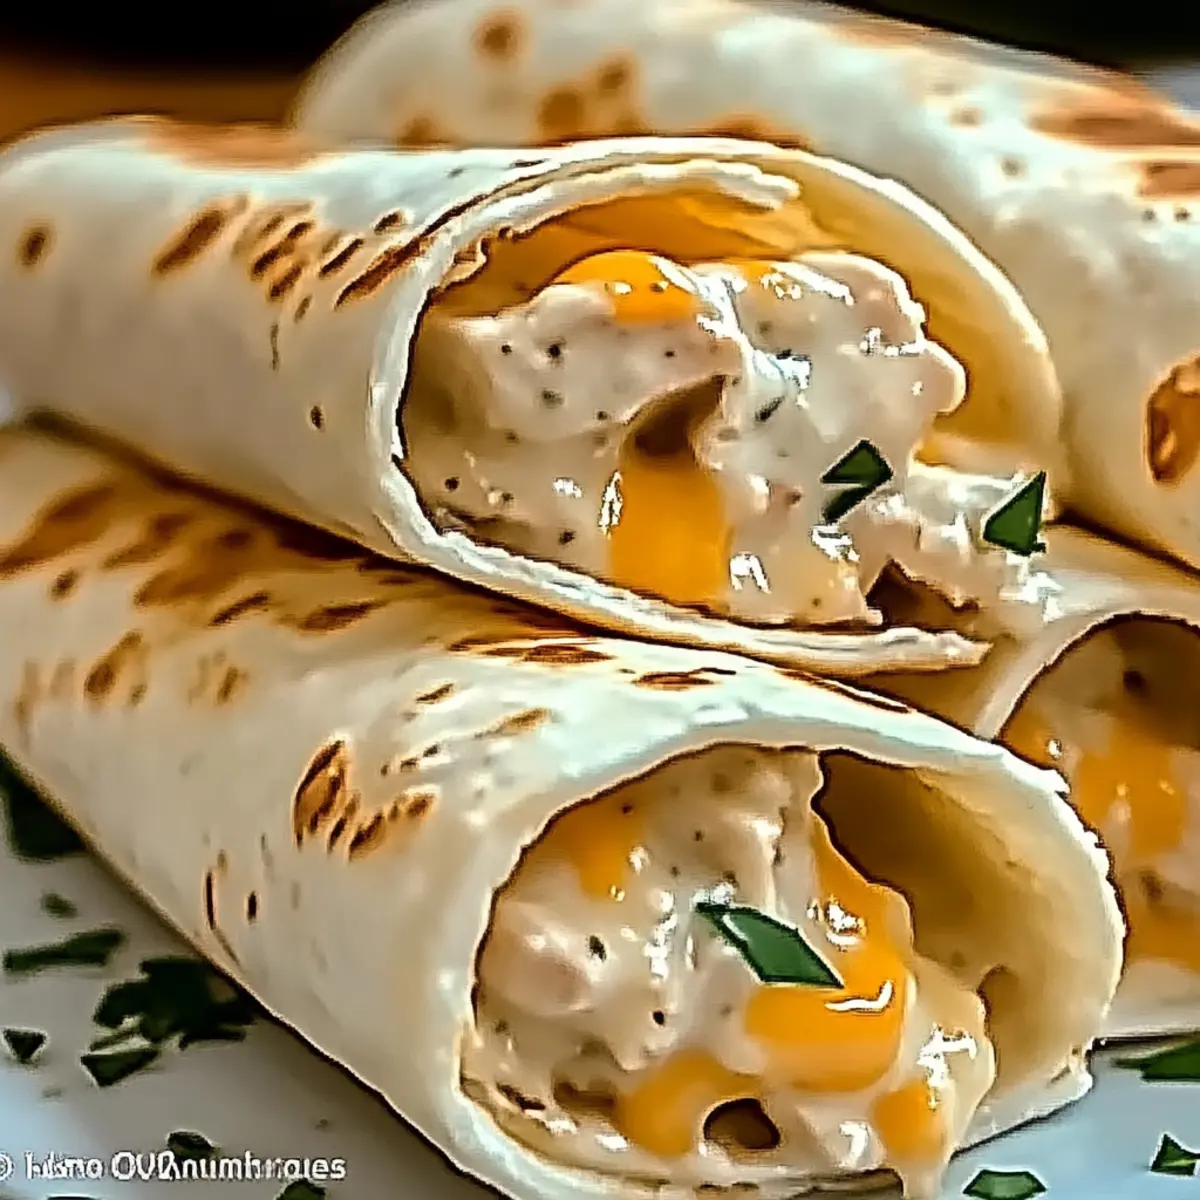
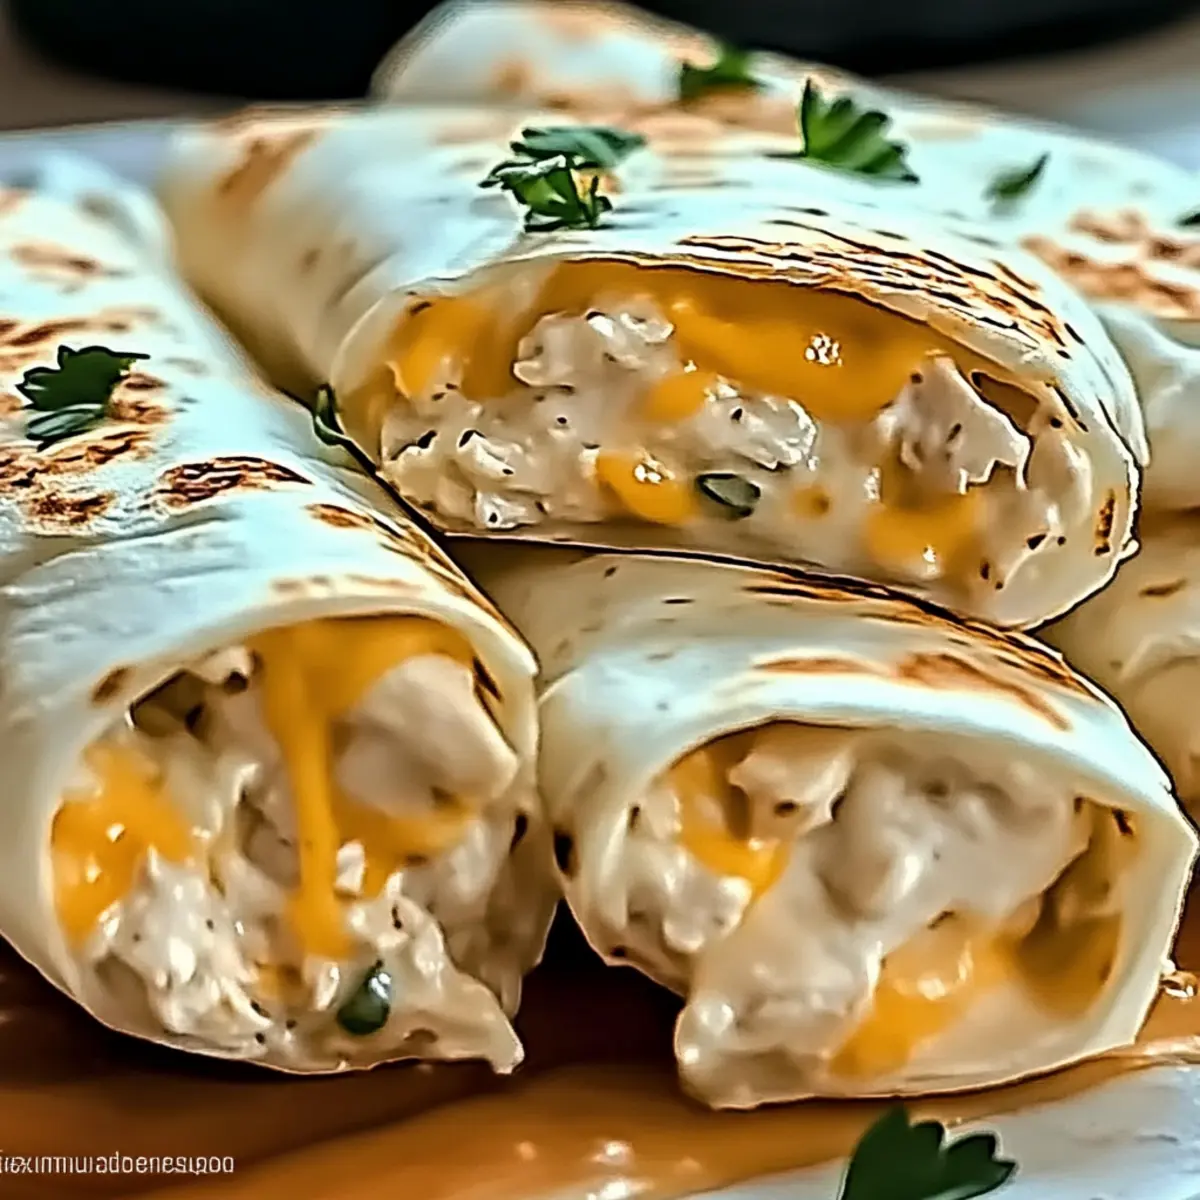
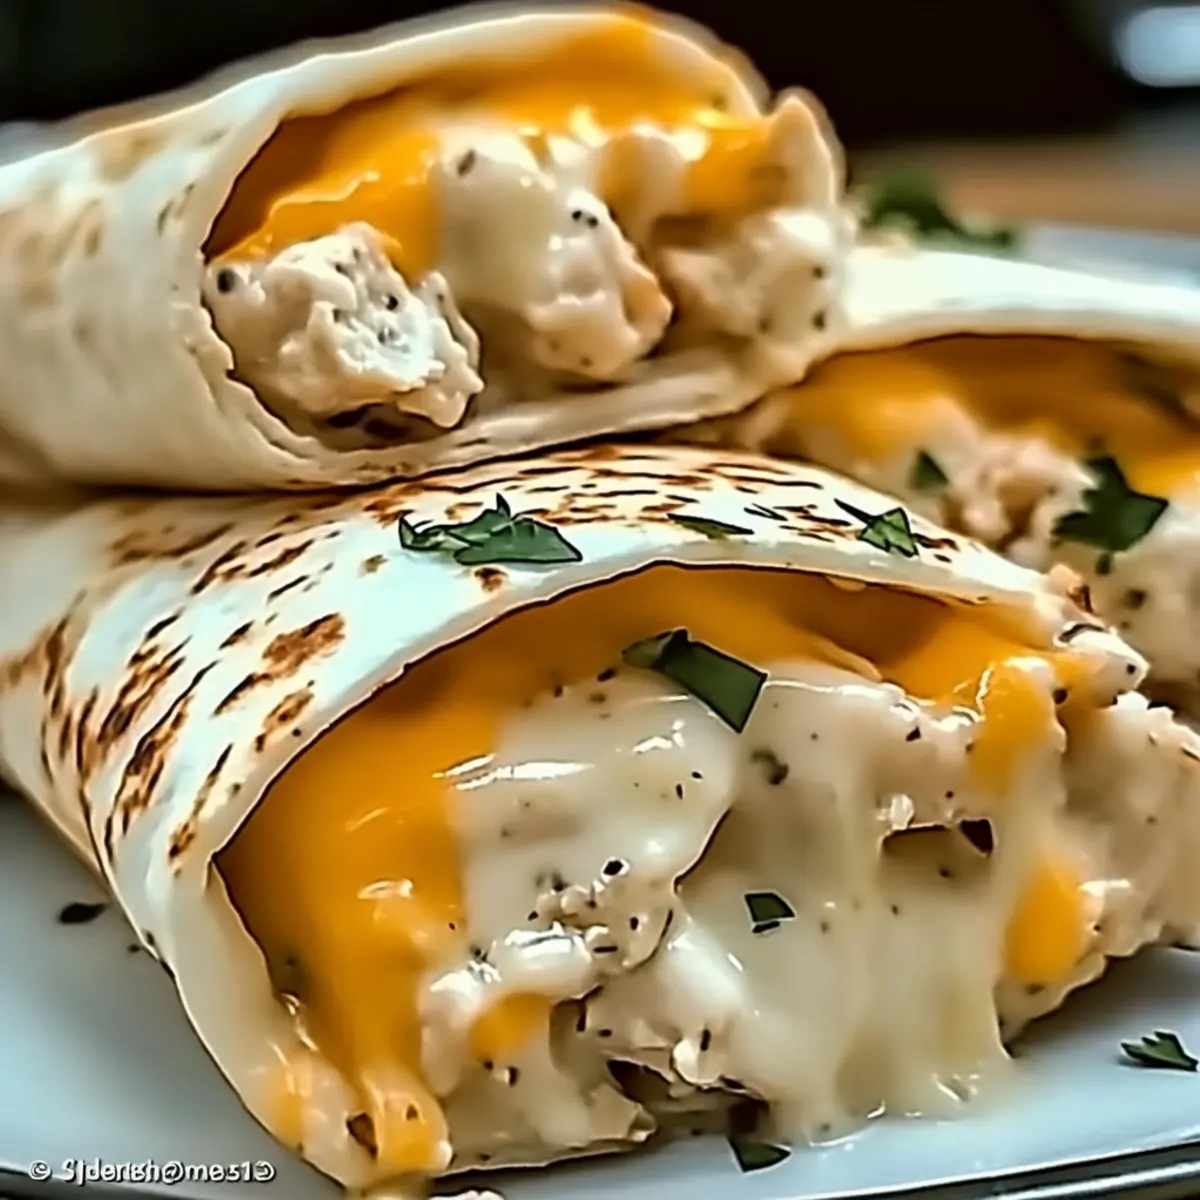
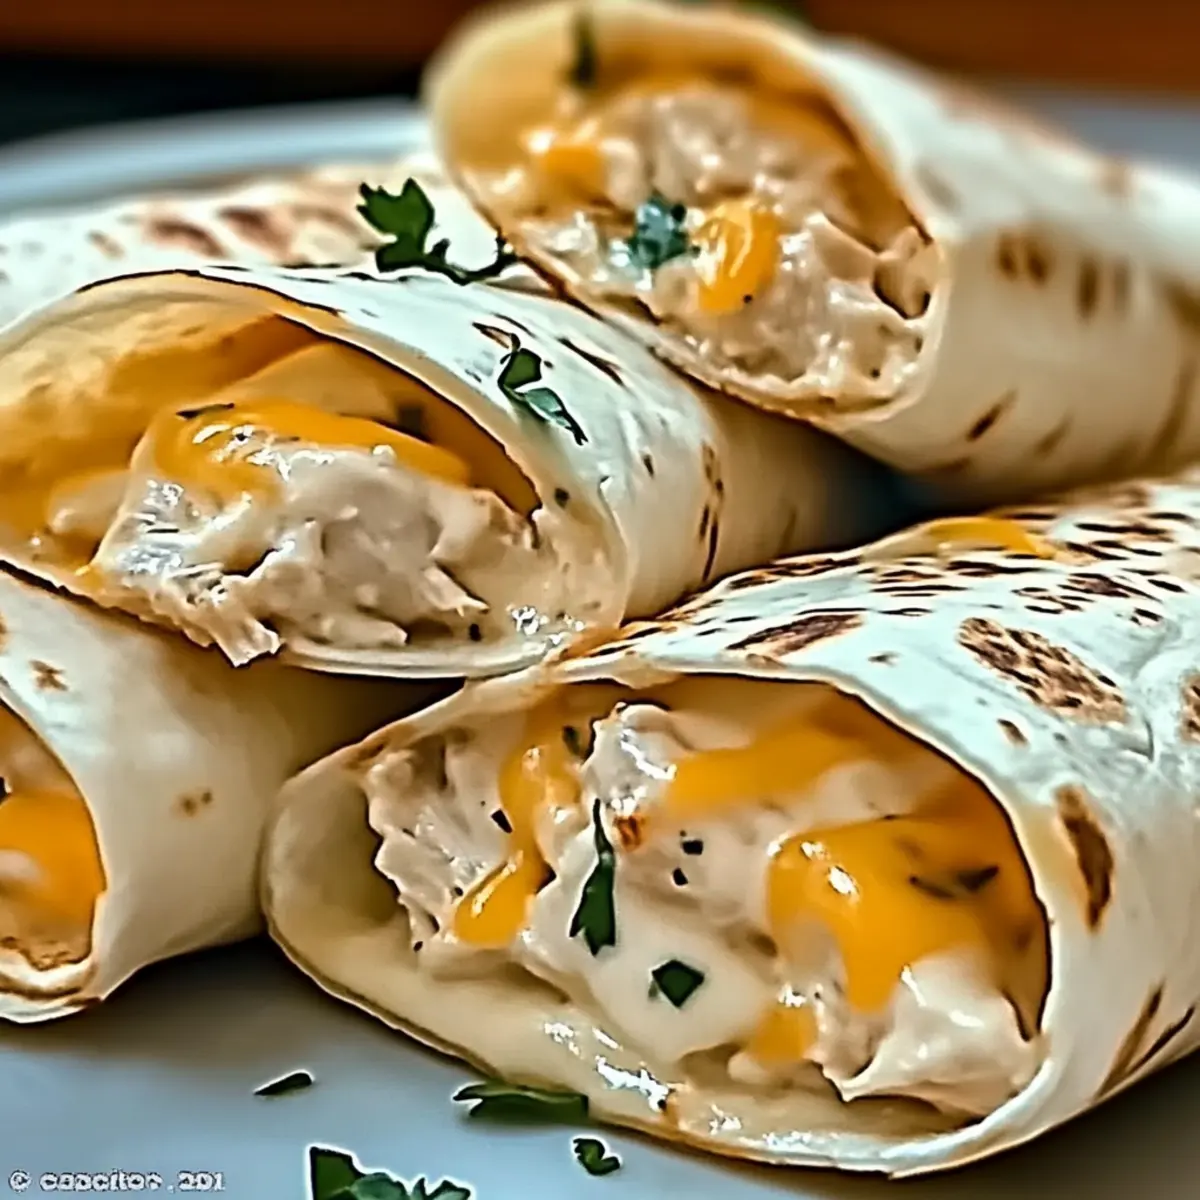
The tantalizing scent of garlic and sizzling chicken wafts through the kitchen, transporting me to those cozy family dinners we all crave. Today, I’m thrilled to share my Quick and Customizable Cheesy Garlic Chicken Wraps—your new go-to weeknight meal! Whipping up these mouthwatering wraps takes just 25 minutes, making them perfect for those hectic evenings when you need something delicious yet effortless. Not only are they family-friendly, but the beauty lies in their versatility; feel free to play with different cheeses and veggies to suit everyone’s palate. Are you ready to roll up your sleeves and dive into a culinary adventure that won’t break the bank or your spirit? Let’s get started!
Why Should You Try Cheesy Chicken Wraps?
Quick and Easy: These wraps come together in just 25 minutes, making them an ideal solution for busy weeknights.
Customization Galore: Mix and match your favorite ingredients—choose different cheeses or add in sautéed veggies for a unique twist.
Family-Friendly: Everyone will love wrapping up their own personal creation, encouraging the little ones to help in the kitchen.
Satisfying Flavor: The combination of gooey cheese and seasoned chicken packs a delicious punch in every bite.
Health-Conscious Options: Swap out with gluten-free tortillas or dairy-free cheese to cater to various dietary needs, just like in my Garlic Parmesan Chicken recipe!
Crowd-Pleaser: Perfect for family gatherings or casual dinners with friends, you’ll have everyone coming back for seconds!
Cheesy Chicken Wrap Ingredients
For the Wraps
• Chicken Breasts – Tender protein that can also be substituted with turkey or tofu for a lighter option.
• Flour Tortillas – Essential for holding your ingredients; whole wheat or gluten-free alternatives work wonderfully.
• Olive Oil – Adds moisture and enhances flavor during cooking; feel free to use vegetable or avocado oil instead.
For the Seasoning
• Garlic Powder – Brings savory depth; fresh minced garlic can also be used for a stronger flavor.
• Onion Powder – Adds an extra layer of taste; you can skip this if you prefer a milder wrap.
• Paprika – Provides color and a hint of warmth; chili powder is a great alternative for those who like it spicy.
• Salt & Pepper – Essential for seasoning to your liking for that perfect bite.
For the Cheesy Filling
• Shredded Cheddar Cheese – Adds rich creaminess; swap for Monterey Jack or pepper jack for unique flavors.
• Shredded Mozzarella Cheese – Contributes an irresistible stretchiness; mixing with cheddar is optional but recommended!
For the Sauce
• Creamy Garlic Sauce – Enriches the flavors; consider using ranch or a dairy-free alternative if needed.
For Garnish
• Fresh Parsley (optional) – Adds a pop of freshness and color to your wraps.
Now you have everything ready to create your delicious Cheesy Chicken Wraps! Let’s get cooking!
Step‑by‑Step Instructions for Cheesy Garlic Chicken Wraps
Step 1: Season Chicken
In a medium mixing bowl, combine diced chicken breasts with olive oil, garlic powder, onion powder, paprika, salt, and pepper. Ensure each piece of chicken is well-coated, allowing the spices to infuse. Set the bowl aside for about 5 minutes to let the flavors meld while you prepare your cooking surface.
Step 2: Cook Chicken
Heat a non-stick pan over medium heat and add the seasoned chicken to the skillet. Cook for 6-8 minutes, stirring occasionally, until the chicken turns golden brown and is fully cooked through, reaching an internal temperature of 165°F. Once done, remove the chicken from the pan and let it cool slightly while you get the tortillas ready.
Step 3: Prepare Tortillas
Spread a generous layer of creamy garlic sauce over each tortilla with a spoon, making sure to cover the surface evenly. This creamy base will add richness to your Cheesy Garlic Chicken Wraps. Take your time to coat them well, as this will enhance the flavors of the fillings once assembled.
Step 4: Assemble Wraps
Distribute the cooked chicken evenly among the tortillas, ensuring each one gets a good portion. Then, sprinkle a mix of shredded cheddar and mozzarella cheeses over the chicken, creating a cheesy layer that will melt beautifully during grilling. Fold the tortillas gently to encase the fillings.
Step 5: Grill Wraps
Preheat the same non-stick pan or a grill over medium heat. Fold the tortillas in half and place them on the grill, cooking for 2-3 minutes on each side until they are golden brown and the cheese has melted. Keep an eye on them to prevent burning, flipping them carefully with a spatula.
Step 6: Serve
Once grilled to perfection, remove the Cheesy Garlic Chicken Wraps from the pan and let them rest for a minute. Slice each wrap in half and garnish with freshly chopped parsley if desired. Serve warm on a plate, ready to be enjoyed by family and friends around the dinner table.
Variations & Substitutions for Cheesy Chicken Wrap
Feel free to let your creativity shine by customizing these wraps to fit your taste buds and dietary preferences!
- Dairy-Free: Use your favorite dairy-free cheese and a creamy garlic sauce replacement for a delicious alternative.
- Veggie-Loaded: Add sautéed bell peppers, mushrooms, or spinach for an extra boost of nutrients and flavor.
- Spicy Twist: Incorporate sliced jalapeños or switch to pepper jack cheese to spice things up.
- Grain-Free: Try lettuce wraps instead of tortillas for a low-carb, fresh option that still packs flavor.
- Flavorful Marinades: Marinate the chicken in soy sauce or lime juice to infuse extra zest before cooking.
- Nutty Add-Ins: Toss in some toasted pine nuts or slivered almonds for a crunchy surprise that contrasts beautifully with the soft filling.
- Smoky Flavor: Add a dash of smoked paprika or use chipotle seasoning for a smoky depth in every bite.
- Mix and Match Cheeses: Experiment with gouda, feta, or blue cheese to create your ideal cheesy combination.
Now, why not pair your wraps with a crisp cucumber salad or maybe some sweet potato fries for a meal that’s both hearty and wholesome?
What to Serve with Cheesy Garlic Chicken Wraps
Pair your meal with delightful sides that will elevate your Cheesy Garlic Chicken Wraps experience.
-
Crispy Sweet Potato Fries: The natural sweetness and crunch of these fries provide a lovely contrast to the cheesy wraps.
-
Zesty Cucumber Salad: This refreshing salad adds a light and tangy note, balancing the rich flavors of the wraps perfectly.
-
Creamy Guacamole: Avocado’s smoothness complements the savory chicken, creating a delightful flavor explosion in every bite.
-
Roasted Veggies: A medley of caramelized veggies brings both color and nutrients, enhancing the meal’s overall appeal and healthiness.
-
Classic Coleslaw: Crunchy, tangy coleslaw offers a refreshing texture alongside the gooey wraps, making each bite more exciting.
-
Sparkling Lemonade: A bubbly, citrusy beverage adds a refreshing lift to your meal, enhancing those garlicky flavors with a bright finish.
-
Chocolate Chip Cookies: After the savory wraps, indulge in warm cookies that add a sweet ending, bringing joy to the dinner table.
Enjoy crafting your perfect meal with these complementary sides!
Make Ahead Options
These Cheesy Garlic Chicken Wraps are perfect for meal prep, allowing you to save valuable time on busy weeknights! You can season and cook the chicken up to 3 days in advance; just store the cooked chicken in an airtight container in the refrigerator. Additionally, you can assemble the wraps (filled tortillas without grilling) and refrigerate them for up to 24 hours. To maintain quality, keep the filled tortillas tightly wrapped to prevent drying out. When you’re ready to serve, simply grill the wraps for 2-3 minutes on each side until golden brown and cheese is melted, ensuring every bite remains just as delicious as when freshly made!
How to Store and Freeze Cheesy Chicken Wraps
Fridge: Store any leftover wraps in an airtight container for up to 3 days, ensuring they remain fresh and tasty.
Freezer: For longer storage, ungrilled wraps can be frozen for up to 3 months. Wrap them tightly in plastic wrap and foil, then reheat directly from frozen after thawing.
Reheating: To maintain crispiness, reheat wraps in a skillet over medium heat for about 3-5 minutes, flipping occasionally until hot and cheese melts.
Prep Ahead: You can also season and cook the chicken up to 3 days in advance and store it separately for easier assembly later.
Expert Tips for Cheesy Chicken Wraps
- Perfect Cooking: Aim for precisely 6-8 minutes when cooking the chicken; this ensures it’s juicy and not dry.
- Even Heating: Grill your wraps in batches, avoiding overcrowding the pan to achieve crispiness without steaming.
- Cheese Melting: Allow the wraps to sit for a couple of minutes after grilling before slicing. This preserves the gooey melted cheese inside.
- Storage Solutions: For any leftovers, store them in an airtight container for up to 3 days and reheat in a skillet to retain crispness.
- Flavor Boost: Experiment with spices and marinades for your chicken before cooking; this will elevate the flavor profile of your Cheesy Chicken Wraps!
Cheesy Garlic Chicken Wraps Recipe FAQs
What’s the best way to choose ripe chicken?
Absolutely! When selecting chicken, look for breasts that are pale pink in color and feel firm. Avoid any that have a strange smell or are slimy. Fresh chicken typically has minimal liquid in the packaging—if you see lots of liquid, it may not be the freshest option!
How should I store leftover Cheesy Chicken Wraps?
To keep your wraps fresh, place any leftovers in an airtight container and store them in the fridge for up to 3 days. Make sure to reheat them in a skillet for 3-5 minutes to maintain their crispiness—a microwave can make them chewy instead.
Can I freeze Cheesy Chicken Wraps?
Yes, you can! To freeze, carefully wrap ungrilled Cheesy Chicken Wraps tightly in plastic wrap and then in foil, ensuring no air gets in. They can be stored in the freezer for up to 3 months. When you’re ready to enjoy, let them thaw in the fridge overnight, then grill them straight from frozen for a quick dinner.
What should I do if the chicken is dry after cooking?
If your chicken ends up dry, don’t worry! Monitor your cooking time closely; chicken breasts should only be cooked for 6-8 minutes to avoid overcooking. If you find it dry, consider pan-searing it with a splash of broth or adding extra sauce to moisten it during assembly.
Are these wraps suitable for my gluten-free friend?
Absolutely! You can easily cater to gluten-free diets by opting for gluten-free tortillas. Just double-check other ingredients like sauces and seasonings to ensure they are gluten-free as well, making it a delightful meal for everyone!
Can I make these wraps ahead of time?
Definitely! You can season and cook the chicken up to 3 days in advance. Store it in the fridge, and when you’re ready to assemble, just load your tortillas with the chicken, cheese, and sauce for a quick meal. Alternatively, prepare the wraps fully without grilling, wrap them tightly, and refrigerate for up to 24 hours before grilling.
Gooey Cheesy Chicken Wraps for a Quick Dinner Delight
Ingredients
Equipment
Method
- In a medium mixing bowl, combine diced chicken breasts with olive oil, garlic powder, onion powder, paprika, salt, and pepper. Let sit for about 5 minutes.
- Heat a non-stick pan over medium heat and add the seasoned chicken. Cook for 6-8 minutes until fully cooked.
- Spread a layer of creamy garlic sauce over each tortilla.
- Distribute the cooked chicken evenly among the tortillas, then sprinkle shredded cheeses over the chicken.
- Preheat the pan and grill the folded wraps for 2-3 minutes on each side until golden and cheese melts.
- Remove from heat, let rest, slice in half, and garnish with parsley. Serve warm.
Leave a Reply