
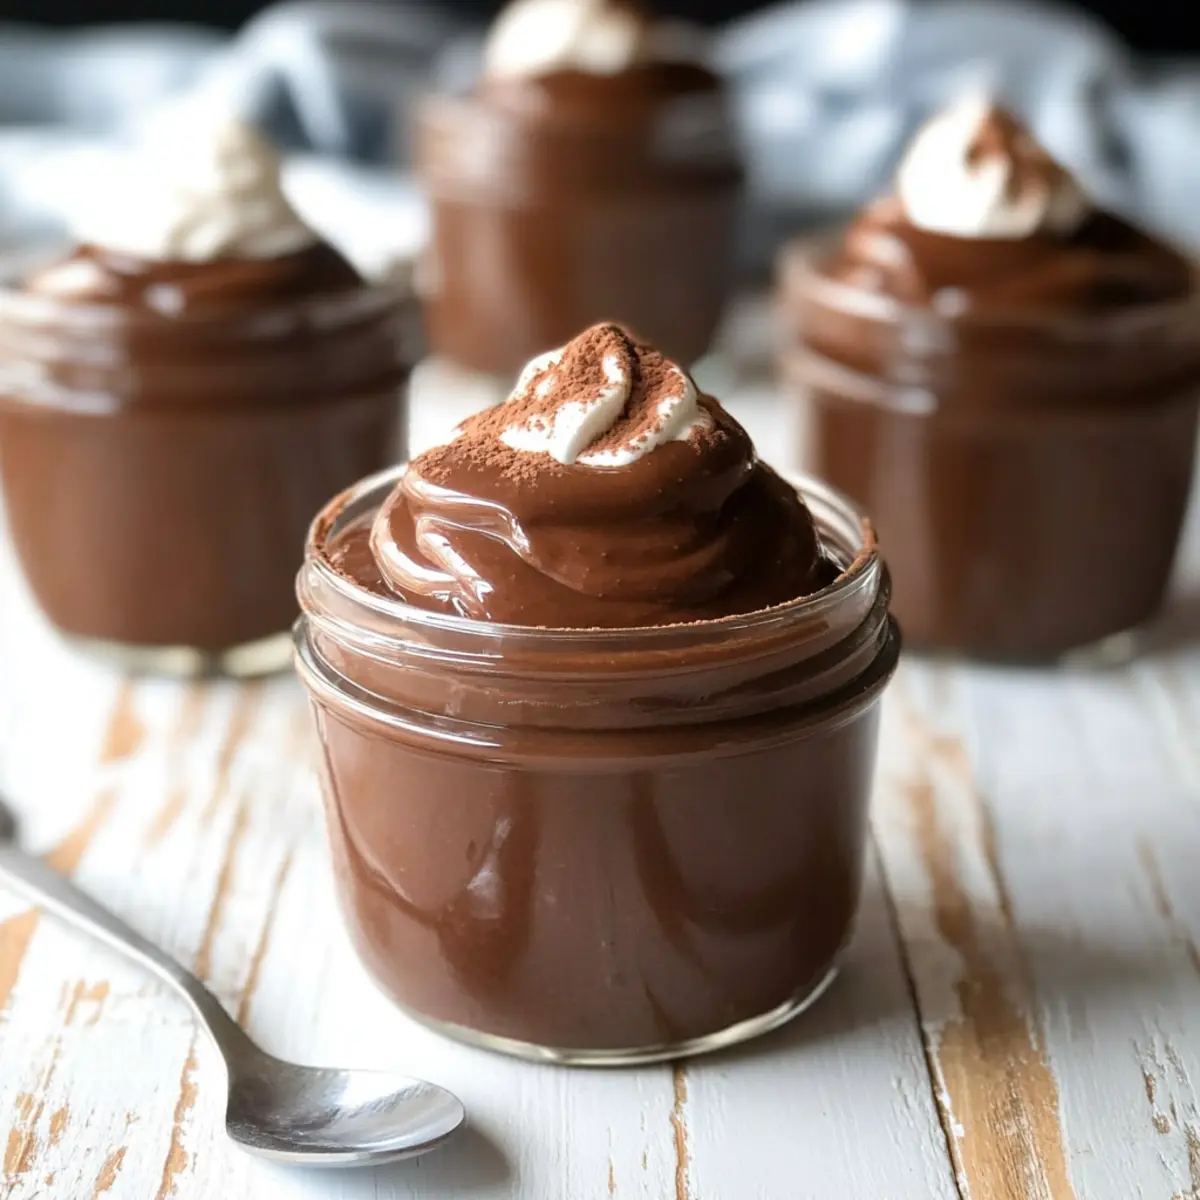
There’s a unique charm in the simplicity of homemade treats, and this recipe for Chocolate Pudding is no exception. With just a handful of ingredients, you can whip up a silky, creamy dessert that touches the heart and tantalizes the taste buds. What I love most about this pudding is not only how easy it is to make, but it also brings a nostalgic comfort that takes you right back to childhood moments spent in the kitchen. Plus, it’s a guilt-free option since you can choose all natural ingredients, making it a wholesome dessert for any occasion. Whether you’re treating yourself after a long day or impressing friends at a gathering, this indulgent yet straightforward recipe is sure to become a staple in your home. Are you ready to rediscover the joy of making Chocolate Pudding from scratch?
Why Is Homemade Chocolate Pudding Irresistible?
Simplicity: With just a few easy-to-find ingredients, you can create a delightful dessert without any fuss.
Nostalgic: Each silky spoonful evokes childhood memories, making it a perfect comfort food for every age.
Customizable: Opt for almond or coconut milk for a vegan twist, or experiment with fun flavors like mint extract!
Time-Saving: Ready in just over two hours, it’s an excellent option for those spontaneous dessert cravings or last-minute gatherings.
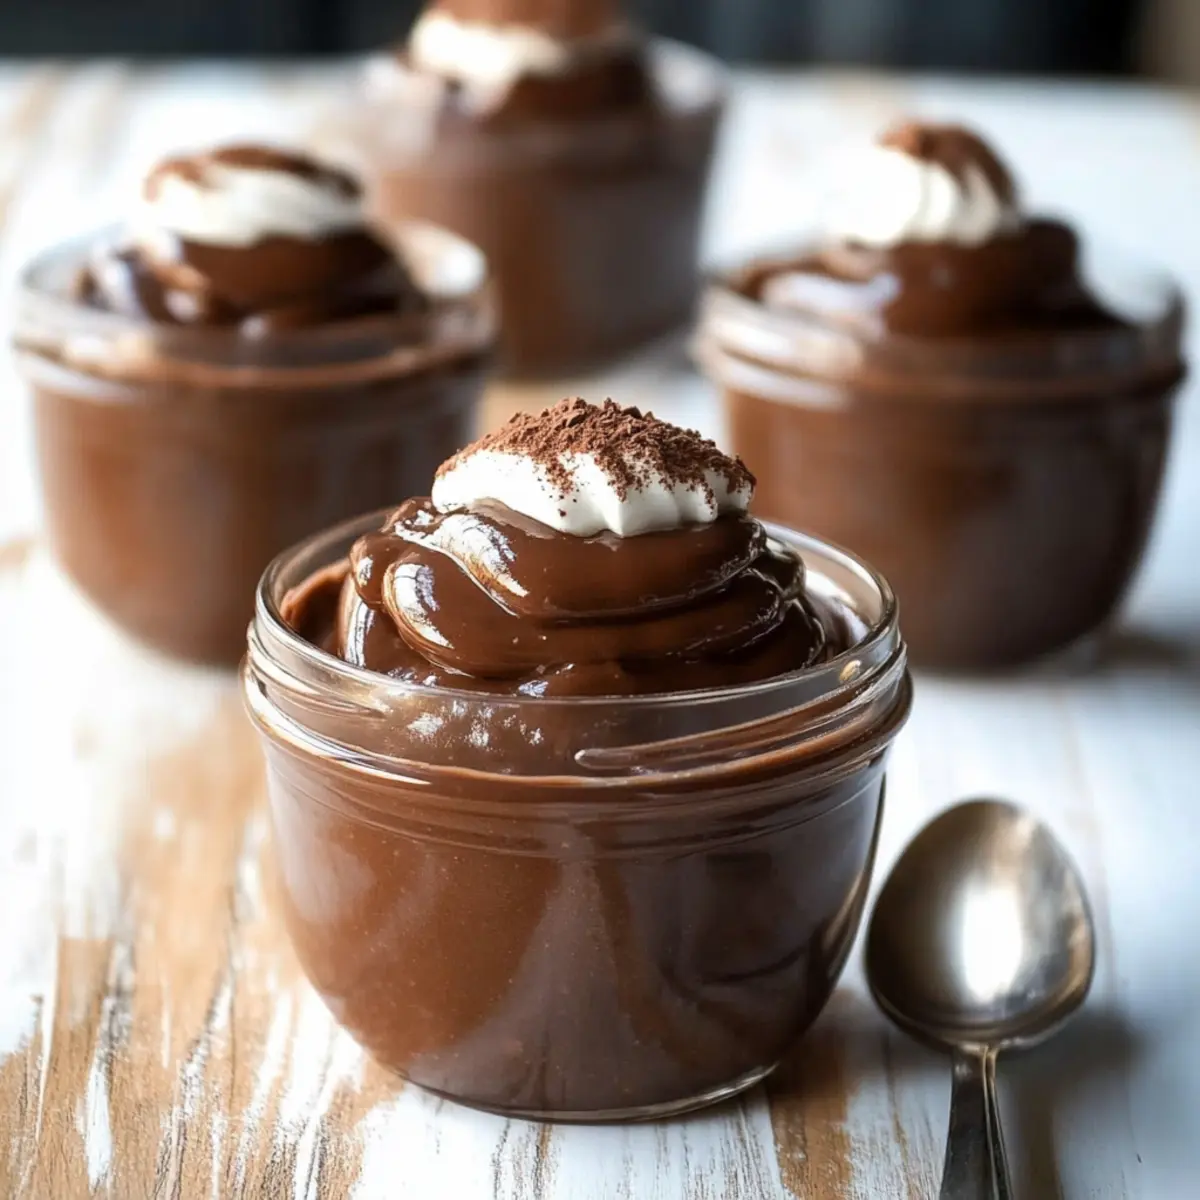
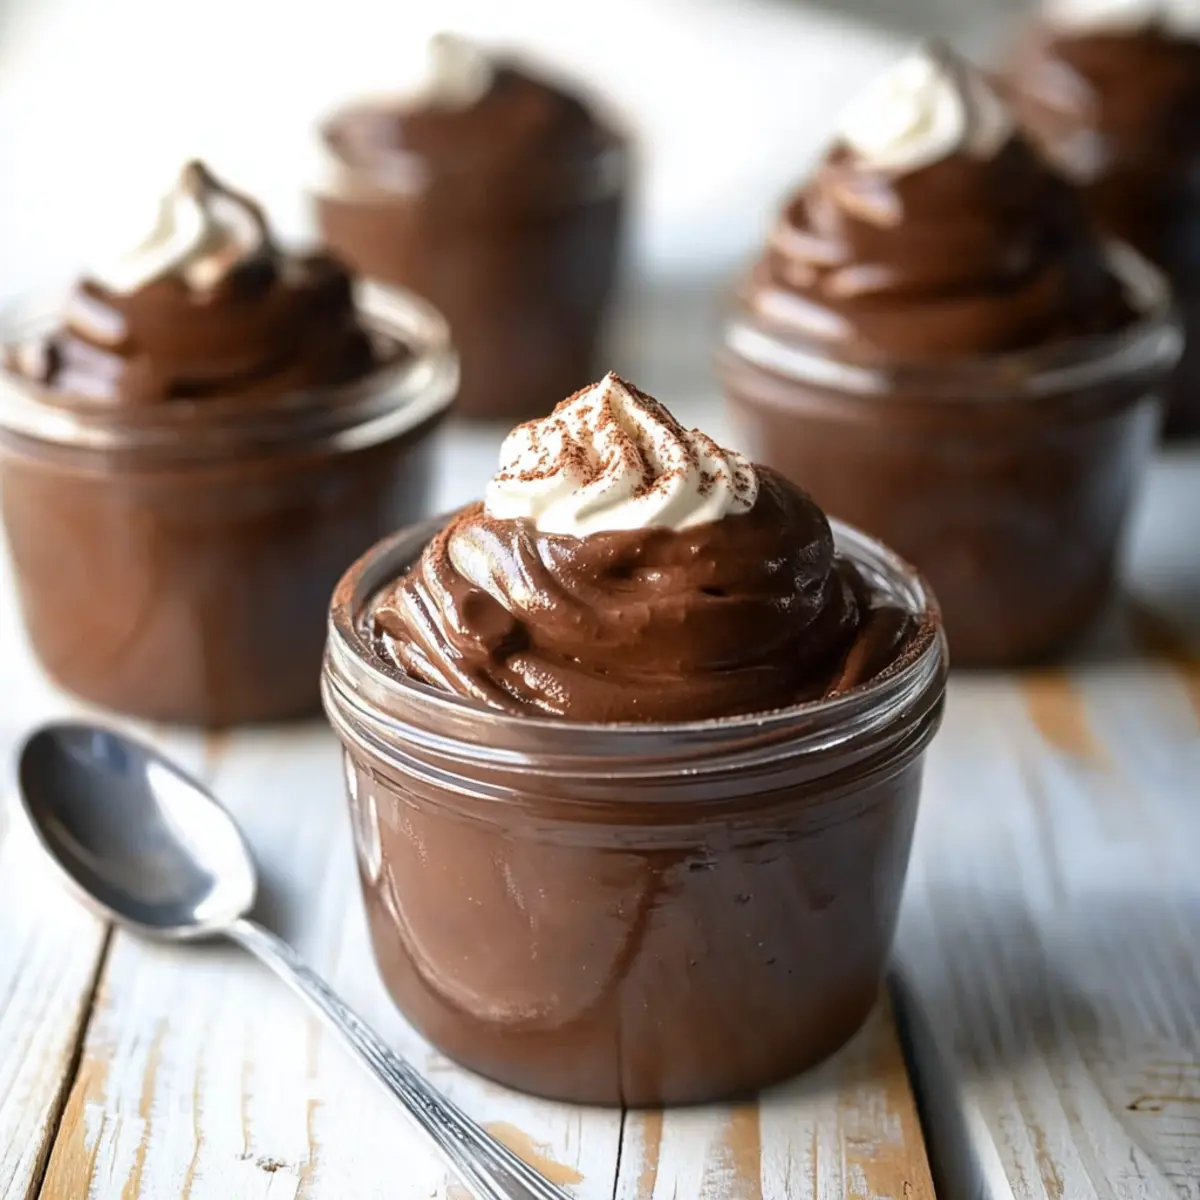
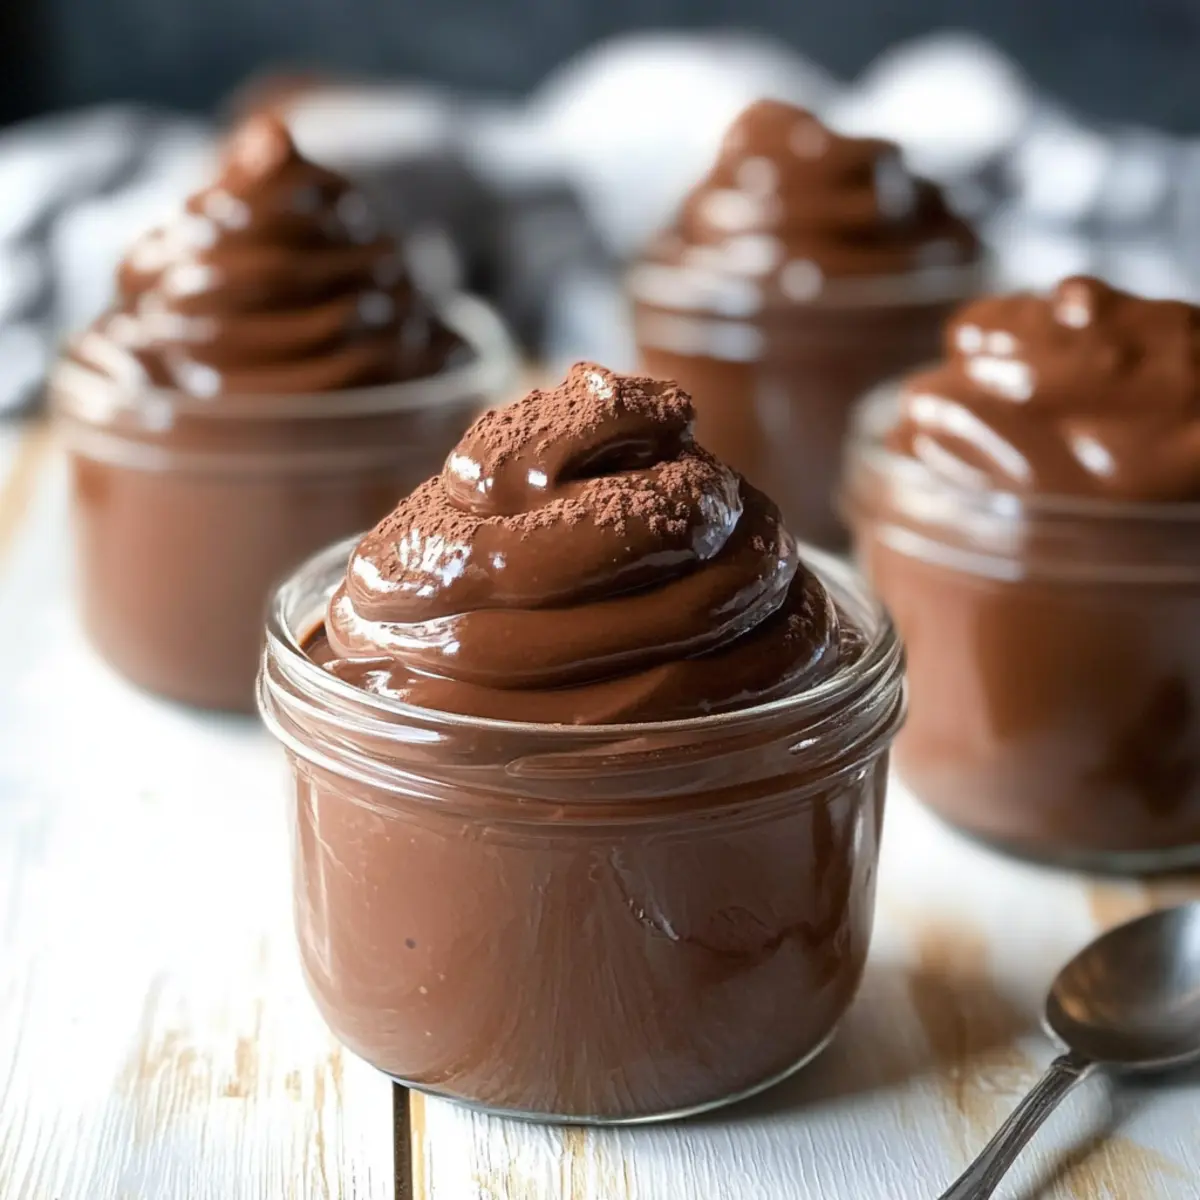
Crowd-Pleasing: Serve it in individual bowls topped with whipped cream or fresh berries to impress your guests!
Indulge in this classic treat today, and if you’re looking for variations, check out my recipe for Vegan Chocolate Mousse or try a delicious Gluten Free Chocolate option!
Chocolate Pudding Ingredients
For the Pudding
• Milk – Provides the base for the pudding; can substitute with almond or coconut milk for a vegan version.
• Granulated Sugar – Sweetens the pudding; adjust to taste and consider sugar substitutes for a lower-calorie option.
• Unsweetened Cocoa Powder – Adds rich chocolate flavor; ensure it’s unsweetened for the best results.
• Cornstarch – Acts as a thickener for a creamy consistency; it’s essential and cannot be replaced in this specific recipe.
• Salt – Enhances the flavor; don’t omit, as even a pinch improves taste.
• Butter – Adds creaminess and sheen; can be replaced with margarine or coconut oil for non-dairy.
• Vanilla Extract – Infuses a warm flavor that complements the chocolate; optional but highly recommended.
• Instant Coffee Granules – Boosts the richness of chocolate flavor; this is optional and can be omitted if not preferred.
Now, gather these simple yet essential ingredients to create your own delectable homemade chocolate pudding that will surely delight everyone!
Step‑by‑Step Instructions for Chocolate Pudding
Step 1: Combine Dry Ingredients
In a medium saucepan, combine 3/4 cup granulated sugar, 1/3 cup unsweetened cocoa powder, 1/4 cup cornstarch, a pinch of salt, and 2 tablespoons of instant coffee granules (if using). Stir the dry ingredients together thoroughly until the mixture is uniform, ensuring there are no lumps that could mar your silky Chocolate Pudding later on.
Step 2: Add Milk Gradually
Slowly pour in 2 3/4 cups of milk while whisking continuously to incorporate it well with the dry ingredients. This helps eliminate any clumps that might form. Place the saucepan over medium heat, stirring often, and watch for the mixture to begin simmering, signaling that it’s time for the next step in your homemade pudding journey.
Step 3: Thicken the Mixture
Once the cocoa mixture starts simmering, keep stirring constantly for 1 to 2 minutes. You will notice it begin to thicken and coat the back of a spoon. This is when your Chocolate Pudding becomes rich and creamy, transforming into the irresistible dessert you’re aiming for. Do not walk away, as constant stirring is crucial to prevent burning.
Step 4: Incorporate Butter and Vanilla
Remove the saucepan from heat and immediately stir in 2 tablespoons of butter and 1 teaspoon of vanilla extract. Continue mixing until the butter is fully melted and seamlessly blended into the pudding, creating a glossy finish. This step elevates the flavor profile, making your Chocolate Pudding even more delectable and inviting.
Step 5: Cool It Down
Transfer the warm chocolate pudding into a storage container, using a spatula to scrape down the sides of the saucepan. To prevent a skin from forming, press a piece of plastic wrap directly against the surface of the pudding. This precaution will keep your treat smooth and luscious as it cools.
Step 6: Chill in Refrigerator
Finally, place the covered pudding in the refrigerator and allow it to chill for about 2 hours. This resting period is essential for the pudding to set properly, achieve the right texture, and develop that wonderful chocolate flavor. Once chilled, your creamy Chocolate Pudding will be ready to serve and enjoy!
What to Serve with Homemade Chocolate Pudding?
There’s nothing quite like the comforting richness of a decadent dessert, and each spoonful invites you to complete the experience with delightful pairings.
- Fresh Berries: Juicy strawberries or raspberries add a burst of freshness and a beautiful contrast to the creamy pudding.
- Whipped Cream: A dollop of airy whipped cream brings a light, fluffy texture that balances the pudding’s richness perfectly.
- Chocolate Shavings: Elevate your dessert by sprinkling dark chocolate shavings on top for a touch of elegance and extra chocolate flavor.
- Mint Leaves: Fresh mint leaves introduce a refreshing note, enhancing the chocolate taste while making the dish visually appealing.
- Caramel Sauce: Drizzling warm caramel sauce over the pudding creates a luscious combination of flavors that’s simply irresistible.
- Cookie Crumbles: Crushed cookies or graham crackers add a delightful crunch that contrasts beautifully with the silky smoothness of the pudding.
- Iced Coffee or Espresso: Pairing with a chilled coffee or a shot of espresso enhances the chocolate flavors and makes for a splendid finish.
- Vanilla Ice Cream: A scoop of creamy vanilla ice cream adds an indulgent twist, creating a delightful melting effect when combined with warm pudding.
- A Glass of Red Wine: For a more sophisticated pairing, a glass of red wine beautifully complements the chocolate, making for an adults-only treat.
How to Store and Freeze Chocolate Pudding
Fridge: Store your chocolate pudding in an airtight container for up to 7 days to maintain its creamy texture and fresh flavor.
Plastic Wrap: To prevent a skin from forming, press plastic wrap directly onto the surface of the pudding before sealing the container.
Freezer: If you need to freeze it, pour the pudding into a freezer-safe container and use it within 1 month. Thaw in the fridge overnight before serving for best results.
Reheating: Gently reheat in the microwave, stirring every 30 seconds to restore its silky consistency. Enjoy your homemade chocolate pudding just like it was freshly made!
Chocolate Pudding Customizations
Feel free to explore these delightful variations and make this Chocolate Pudding your own!
- Dairy-Free: Replace regular milk with almond or coconut milk to create a vegan-friendly dessert.
- Sugar-Free: Use sugar substitutes like stevia or monk fruit sweetener to decrease calories without sacrificing sweetness.
- Nutty Twist: Stir in a spoonful of peanut butter or almond butter for a subtle nutty flavor that pairs beautifully with chocolate.
- Minty Freshness: Add 1/2 teaspoon of mint extract for a refreshing twist that’s perfect for a summer dessert!
- Citrus Zing: Incorporate a splash of orange extract or lemon zest to brighten up the rich chocolate flavor.
- Decadent Chocolate: For a more intense chocolate experience, fold in some chocolate chips after removing the pudding from heat.
- Creamy Delight: Mix in a dollop of whipped cream when serving for an extra layer of creaminess and a beautiful presentation.
- High-Protein Option: Boost your pudding’s protein content by including a scoop of your favorite protein powder—a delicious way to indulge guilt-free!
Looking for more ways to enjoy chocolate? Don’t miss out on trying my scrumptious Marry Me No-Bake Raspberry Chocolate Mousse Cups or the delightful High Protein Chocolate Chia Pudding. Enjoy crafting your perfect pudding!
Make Ahead Options
Preparing homemade Chocolate Pudding in advance is a game-changer for busy home cooks! You can easily make the pudding up to 24 hours ahead of time, allowing it to chill in the refrigerator overnight for perfect texture. Simply follow the recipe instructions through Step 5, then press plastic wrap directly onto the surface of the pudding before refrigerating to prevent a skin from forming. When you’re ready to serve, just give it a gentle stir to restore its smoothness before plating. This way, you’ll enjoy a silky, rich dessert with minimal effort, making it ideal for last-minute gatherings or weeknight treats!
Expert Tips for Chocolate Pudding
• Stir Constantly: Continuously stir while heating the mixture to prevent it from burning, ensuring your chocolate pudding remains smooth.
• Straining for Smoothness: For an ultra-smooth texture, strain the pudding after cooking to remove any lumps that may have formed.
• Preventing a Skin: Press plastic wrap directly onto the surface of the pudding while it cools to avoid a skin from forming.
• Adjust Sweetness: Taste and adjust the sugar to your liking; using alternatives can also create a lower-calorie chocolate pudding.
• Chill Time Matters: Allow at least 2 hours for chilling; it helps the flavors meld and the pudding to achieve its perfect creamy consistency.
Chocolate Pudding Recipe FAQs
What type of milk can I use for the chocolate pudding?
Absolutely! You can use regular cow’s milk for a classic taste, but if you’re looking for a vegan option, I recommend almond or coconut milk. Both will still create that creamy texture, just remember to choose unsweetened for best flavor results!
How should I store the chocolate pudding?
The best way to store your chocolate pudding is in an airtight container in the fridge, where it will keep fresh for up to 7 days. To prevent a skin from forming, make sure to press plastic wrap directly onto the surface before sealing the container.
Can I freeze chocolate pudding?
Yes, you can definitely freeze chocolate pudding! Pour it into a freezer-safe container, and be sure to use it within 1 month for optimal quality. When ready to enjoy, thaw it overnight in the fridge. For best results, gently reheat it in the microwave, stirring every 30 seconds to restore its silky consistency.
What if my chocolate pudding doesn’t thicken properly?
If you find your pudding is too thin, don’t worry! First, make sure you stirred constantly while cooking, as this is key for thickening. If it’s still not thickening, you can mix an additional tablespoon of cornstarch with a splash of cold milk until smooth and then gradually stir it into the pudding while it’s still on the heat. Continue stirring until it thickens.
Can pets eat chocolate pudding?
No, it’s best to keep chocolate pudding away from pets, especially dogs and cats, as chocolate can be toxic to them. Always stick to pet-safe treats for your furry friends!
What are some ingredient substitutions I can make?
If you’re looking to lower the calories, consider using sugar substitutes in place of granulated sugar. For dairy-free options, simply swap regular butter for coconut oil or vegan margarine. Additionally, feel free to add flavor variations, like peanut butter powder or mint extract, to customize your chocolate pudding experience!
Creamy Chocolate Pudding That Melts Hearts and Taste Buds
Ingredients
Equipment
Method
- In a medium saucepan, combine 3/4 cup granulated sugar, 1/3 cup unsweetened cocoa powder, 1/4 cup cornstarch, a pinch of salt, and 2 tablespoons of instant coffee granules (if using). Stir thoroughly.
- Slowly pour in 2 3/4 cups of milk while whisking continuously. Place the saucepan over medium heat, stirring often.
- Once the mixture starts simmering, keep stirring constantly for 1 to 2 minutes until it thickens.
- Remove from heat, stir in 2 tablespoons of butter and 1 teaspoon of vanilla extract until fully melted.
- Transfer the pudding into a storage container, press plastic wrap directly against the surface to prevent a skin.
- Place in the refrigerator to chill for about 2 hours.
Leave a Reply