
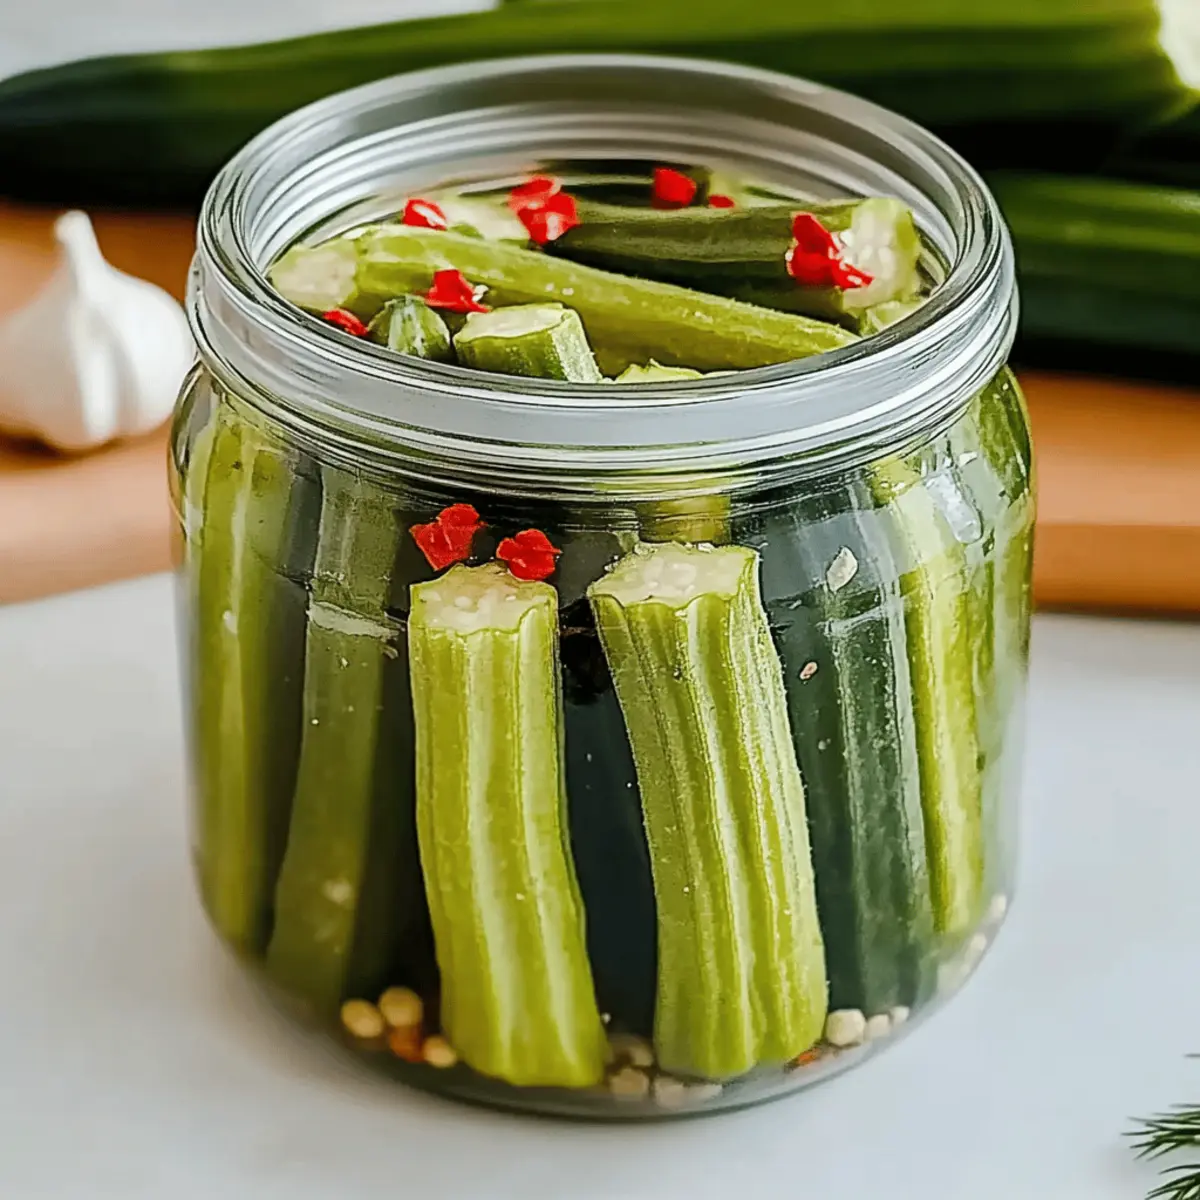
In the heart of Southern kitchens, a refreshing crunch awaits those seeking a unique twist on traditional pickles. Enter the delightful world of homemade Dill Pickle Okra—a quick and easy way to transform fresh young pods into a zesty snack that’s sure to steal the show. With just a handful of basic ingredients and no complex gadgets required, this recipe honors the vibrant flavors of Southern cuisine while offering a satisfying crunch that outperforms store-bought versions. Not only is this irresistible treat perfect for impromptu gatherings, but it also makes for a fun DIY project that you can relish for weeks to come. Curious how to elevate your snacking game with a little Southern charm? Let’s dive into the simple steps that will bring the tangy crunch of Dill Pickle Okra right to your table!
Why Will You Love Dill Pickle Okra?
Irresistible Crunch: The delightful snap of freshly made dill pickle okra is unmatched, making each bite a joyful experience.
Quick to Make: With just a few ingredients and minimal effort, you can create a flavorful snack in no time.
Versatile Use: Perfect as an appetizer, snack, or side dish, this okra is a fantastic addition to any meal.
Healthy Delight: Low in calories and packed with flavor, it offers a guilt-free way to satisfy your cravings while adding a Southern twist to your diet.
DIY Fun: This recipe is an enjoyable project for both novice and seasoned chefs, allowing anyone to relish the satisfaction of homemade goodness. Dive into this delicious journey and explore just how easy it is to make your own pickles at home!
Dill Pickle Okra Ingredients
• Gather these essentials to create your tangy delight!
For the Brine
- Water – This is the base for your brine, dissolving the flavors beautifully.
- White Vinegar – Adds acidity that elevates the real dill pickle taste in your okra.
- Salt – Essential for flavor enhancement and preservation.
For the Pickles
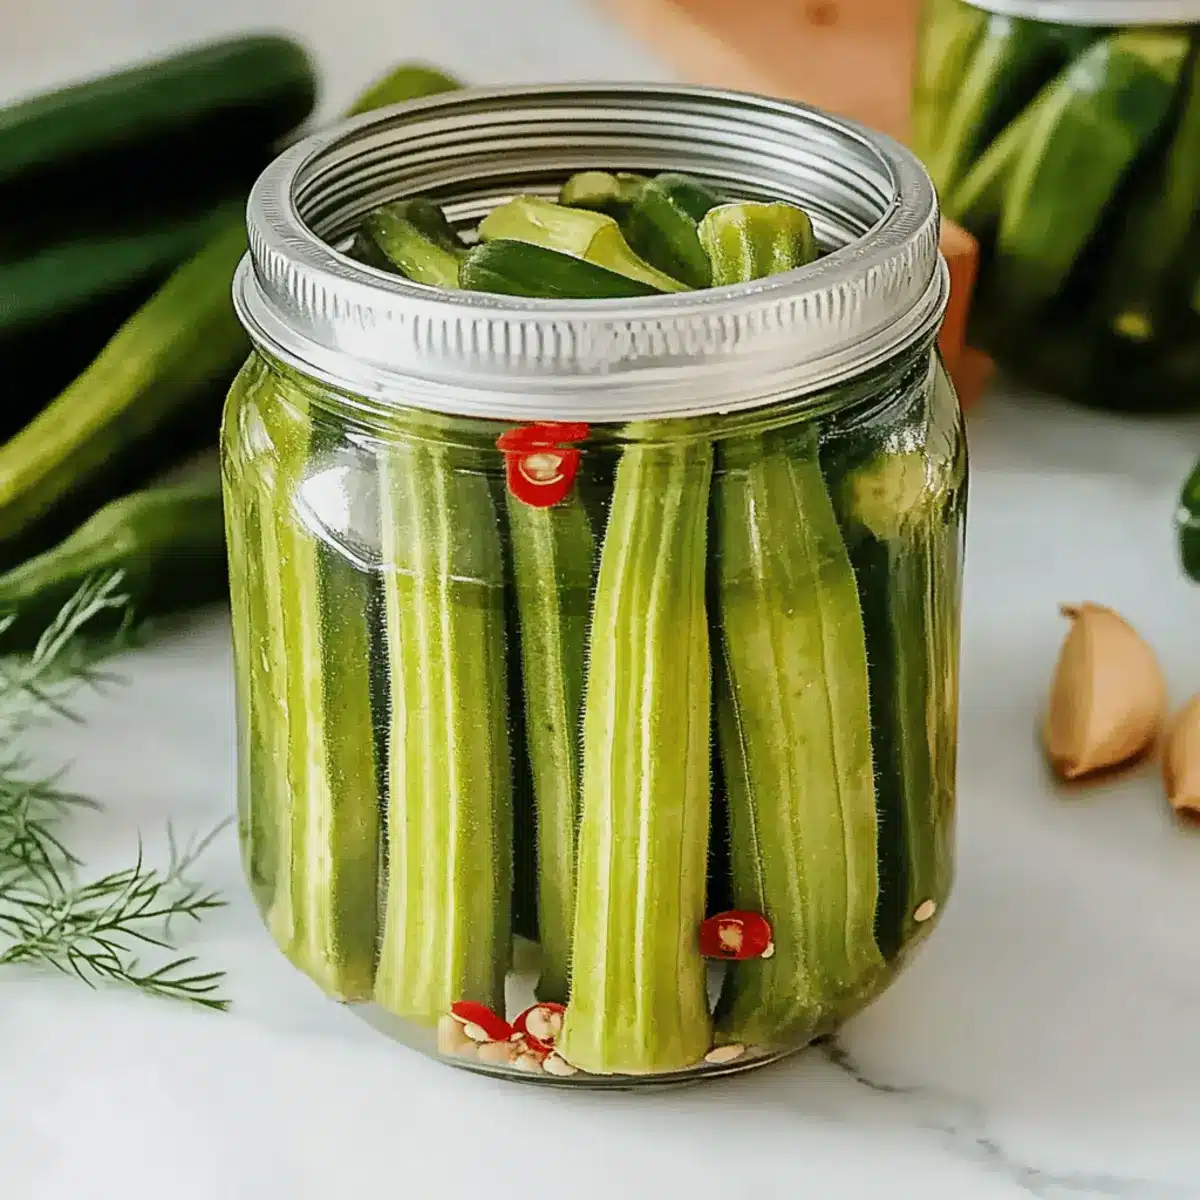
- Young Okra Pods – Choose 2-4 inch pods for that perfect crunchy texture!
- Fresh Dill – No dill pickle okra is complete without this aromatic herb for authentic flavor.
- Garlic Clove – Infuses richness into your pickles; feel free to adjust based on taste!
- Thai or Hot Chili Pepper – Optional for those who crave a spicy kick in their pickles!
Storage Needs
- Jar – Make sure to use a sterilized jar to safely store your delicious pickles.
Step‑by‑Step Instructions for Dill Pickle Okra
Step 1: Prepare the Okra
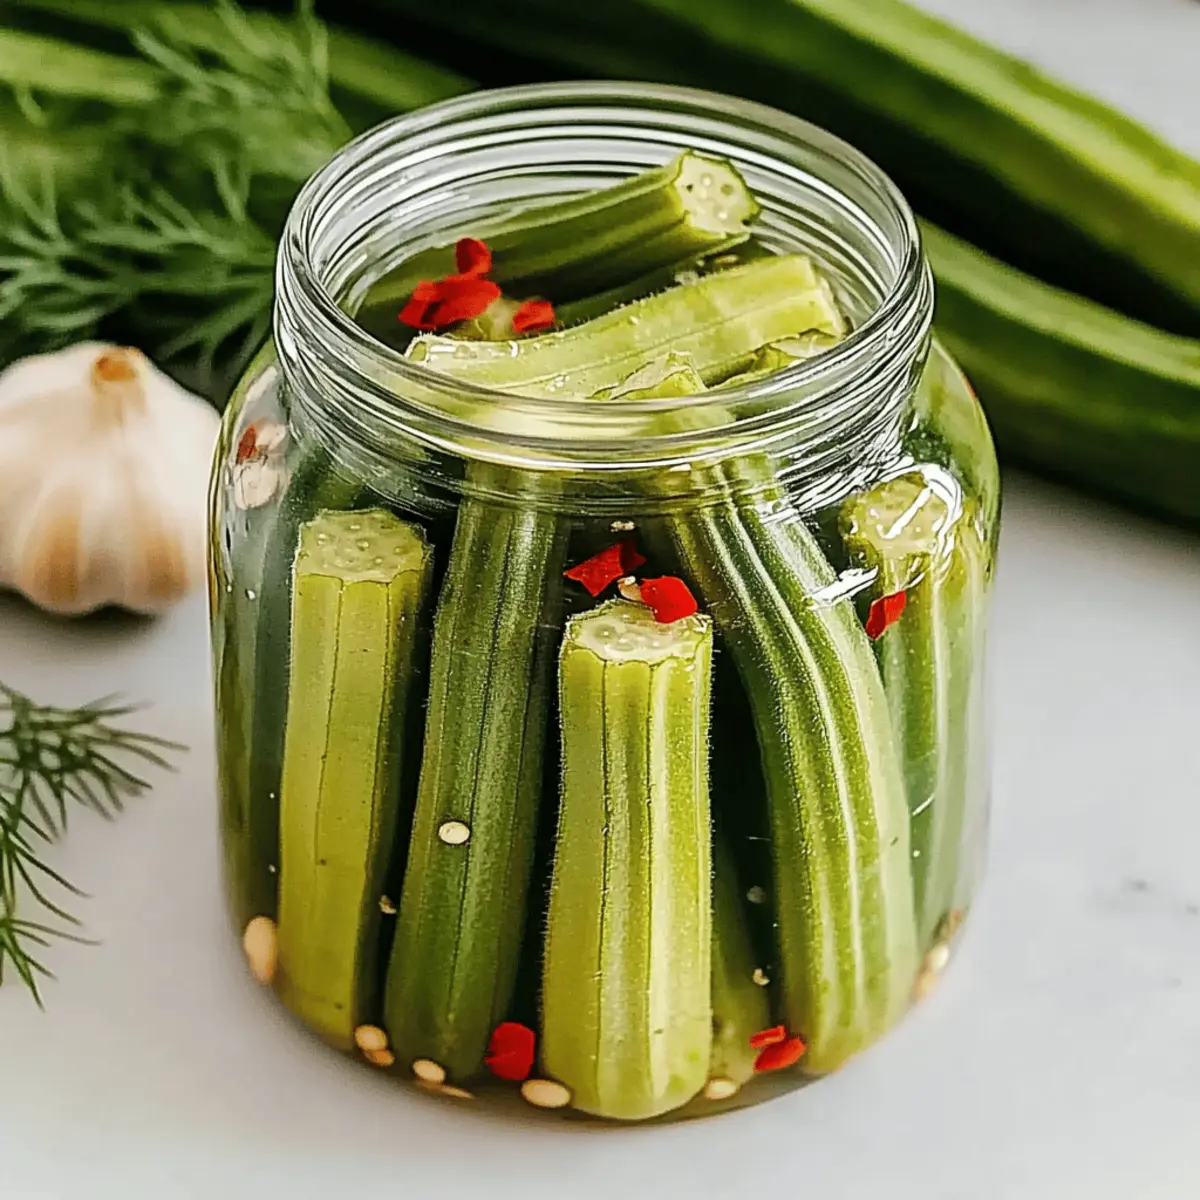
Start by washing the young okra pods thoroughly under cool running water. Using a fork or a knife, pierce each pod once, which will allow the brine to seep in, enhancing the flavor of your dill pickle okra. This step ensures the okra absorbs that lovely brine, so take your time to make sure each pod is ready for the pickling process.
Step 2: Make the Brine
In a saucepan, combine equal parts of water and white vinegar along with salt—this is your flavorful brine. Heat the mixture over medium-high heat, stirring until the salt completely dissolves. Bring the brine to a gentle boil, which should take around 5 minutes. Once boiling, remove it from the heat to cool slightly while you prepare the jars.
Step 3: Pack the Jars
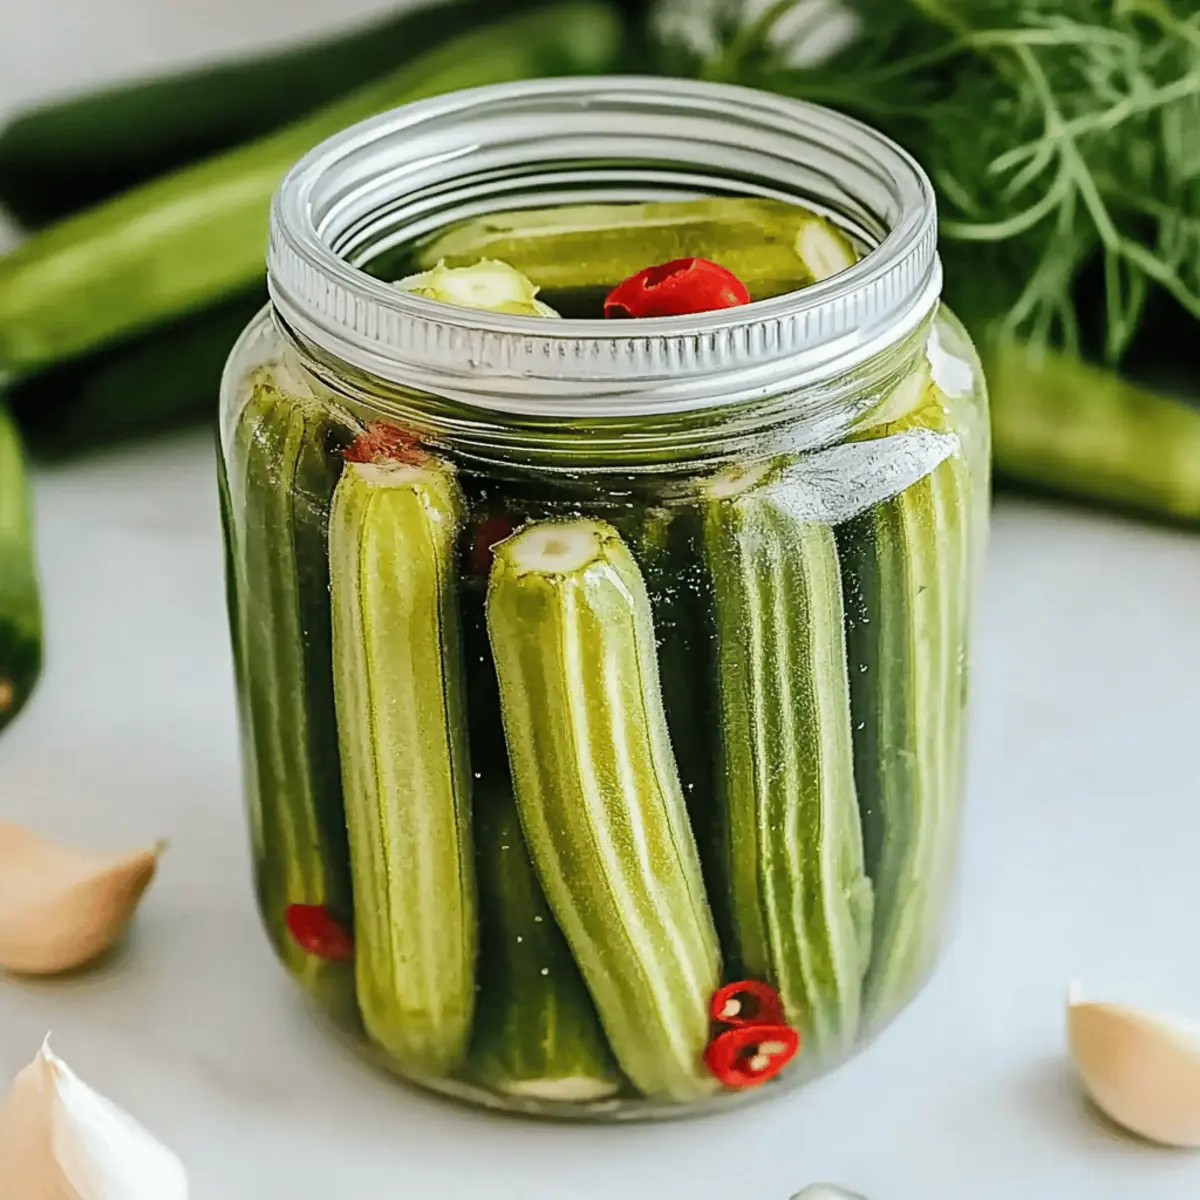
Carefully place the pierced okra pods into your sterilized jars. Add the fresh dill, a smashed garlic clove for added depth, and optional hot chili pepper if you prefer some heat in your dill pickle okra. Make sure to pack them tightly but gently to maximize the flavor but prevent excessive bruising.
Step 4: Pour the Brine
Once your brine has cooled slightly, pour it over the packed okra until they are fully submerged. Use a spoon to gently push down any floating pods, ensuring every piece is covered in brine. This is crucial for proper pickling, as exposure to air can affect the flavor and safety of your dill pickle okra.
Step 5: Process or Refrigerate
If you wish to store your dill pickle okra for longer shelf life, process the jars in boiling water for 10 minutes to seal them. If you prefer quicker access, simply seal the jars with lids and place them in the refrigerator. Remember, refrigerator pickles can be enjoyed sooner, but they won’t have the same shelf stability.
Step 6: Let Them Sit
After sealing, place your jars in the refrigerator or a cool dark pantry if processed. Allow the jars to sit for at least 24 hours to let the flavors meld. For an even tastier experience, try to wait at least a week before indulging in your homemade dill pickle okra—patience truly pays off!
How to Store and Freeze Dill Pickle Okra
Fridge: Keep sealed jars of dill pickle okra in the refrigerator for up to 3 months. This ensures they stay fresh and maintain their delightful crunch.
Freezer: While it’s not typically recommended to freeze pickled items due to texture changes, you can freeze unprocessed okra before pickling. Freeze in an airtight container for up to 6 months.
Pantry: If processed correctly, jars can last in a cool, dark pantry for up to a year, making it a fantastic way to preserve your delicious dill pickle okra.
Reheating: For the best flavor, enjoy dill pickle okra cold as a snack or side. There’s no need for reheating—just open and enjoy crunchy, tangy goodness!
Dill Pickle Okra: Fun Variations Await!
Feel free to explore these tasty twists that bring your dill pickle okra to new heights of flavor and enjoyment!
-
Spicy Kick: Add extra sliced Thai or serrano peppers to the jar for a heat boost that will awaken your taste buds!
-
Herb Swap: Experiment with fresh thyme or tarragon instead of dill for a unique twist on the classic flavor profile.
-
Sweet & Savory: Mix in a teaspoon of sugar with the brine to balance the acidity, giving your okra an unexpected sweet note.
-
Garlic Lover’s Delight: Toss in extra garlic cloves or try roasted garlic for a deeper, richer flavor experience.
-
Vinegar Varieties: Use apple cider vinegar instead of white vinegar for a tangy twist that offers a subtle fruity flavor.
-
Pickle Spice Blend: Incorporate mustard seeds and black peppercorns to create a robustly seasoned brine that tantalizes the senses.
-
Texture Boost: Add sliced carrots or baby cucumbers to the jar alongside the okra for added crunch and flavor diversity.
-
Oven-Dry Option: For a different take, try roasting the okra before pickling! This might lend a delightful smokiness to your preserve without losing that fabulous crunch.
Feel inspired? Check out more warm and satisfying snack ideas that celebrate Southern flavors! Whether you’re dressing up your okra or enjoying it as-is, happy pickling!
What to Serve with Irresistible Dill Pickle Okra
Elevate your dining experience by pairing this tangy, crunchy delight with complementary dishes that sing Southern charm.
-
Fried Chicken: The crispy exterior and juicy meat of fried chicken pair perfectly with the tangy bite of dill pickle okra, enhancing each mouthful with contrasting flavors. Enjoy this classic combination for a festive family meal!
-
Barbecue Ribs: Sweet and smoky barbecue ribs balance the sharpness of the okra, creating a well-rounded plate. The pickles provide a refreshing crunch that cuts through the richness, making each bite satisfying.
-
Cornbread: Serving warm cornbread alongside your dill pickle okra adds a comforting, slightly sweet element to your meal. The fluffy texture of cornbread perfectly complements the zesty crunch, offering diverse textures.
-
Southern Coleslaw: A creamy coleslaw brings a cool contrast to the spicy notes of the dill pickle okra. Its crisp veggies and tangy dressing create harmony, perfect for a backyard gathering.
-
White Bean Salad: This light and refreshing salad, featuring protein-packed beans and vibrant veggies, makes for a nutritious accompaniment. The flavors intertwine beautifully, enriching your overall dining experience.
-
Sweet Tea: Sip on a glass of sweet tea to refresh your palate between bites. The sweetness of the tea complements the tangy kick of the dill pickle okra, enhancing this Southern-inspired feast.
-
Peach Cobbler: For a delightful dessert, serve peach cobbler. The warm fruit filling and flaky crust offer a sweet finale that contrasts beautifully with the savory crunch of the okra.
Expert Tips for Dill Pickle Okra
-
Choose Wisely: Selecting young, firm okra pods is crucial; they must be 2-4 inches long to prevent toughness and sliminess in the final product.
-
Sterilize Jars: Properly sterilizing your jars is essential to avoid spoilage, ensuring a safe and tasty dill pickle okra experience.
-
Pierce Thoroughly: Don’t skip the step of piercing each okra pod; this allows the brine to penetrate effectively, enhancing the flavor of your pickles.
-
Avoid Early Sampling: Resist the temptation to open your jars too soon; letting them sit for at least 24 hours, or ideally a week, will deepen the flavors.
-
Monitor Storage: For long-lasting freshness, keep sealed jars in the refrigerator for up to 3 months, ensuring your dill pickle okra stays crunchy and delicious.
Make Ahead Options
These Dill Pickle Okra are perfect for busy home cooks looking to save time! You can prepare the okra by washing and piercing the pods up to 24 hours in advance, ensuring they’re ready to absorb all that delicious brine. The brine itself can also be made ahead and refrigerated for up to 3 days; just combine the water, vinegar, and salt, then seal it tightly. When you’re ready to finish your pickles, pack the okra with dill and garlic into sterilized jars, pour the cooled brine over them, and seal. This way, you’ll enjoy the tangy crunch of dill pickle okra with minimal last-minute effort, all while maintaining their delightful flavor and texture!
Dill Pickle Okra Recipe FAQs
What type of okra is best for pickling?
Absolutely! The best okra for pickling is young and firm, ideally 2-4 inches long. Choose pods that are bright green with no dark spots; this ensures a tender, crunchy texture that’s perfect for your dill pickle okra.
How should I store dill pickle okra after making it?
Store sealed jars of dill pickle okra in the refrigerator for up to 3 months, ensuring they remain crisp and flavorful. If you’ve processed the jars properly, they can last in a cool, dark pantry for up to a year.
Can I freeze dill pickle okra?
While freezing pickled okra isn’t typically recommended due to potential texture changes, you can freeze unprocessed okra. Wash and freeze it in an airtight container for up to 6 months. When ready to use, simply thaw and pickle it before enjoying that delightful crunch!
What should I do if my okra is slimy after pickling?
Very! If your okra turns out slimy, it likely means the pods were too mature or you cut off too much of the stem before pickling. Always select young, firm pods, and be sure to pierce them lightly with a fork to allow the brine to penetrate without compromising texture.
Is dill pickle okra safe for all diets?
Yes, dill pickle okra is generally a healthy snack, low in calories! However, if you have specific dietary needs or allergies—like a sensitivity to garlic or vinegar—be sure to adjust the ingredients accordingly. Always consult with your healthcare professional if you’re unsure.
How can I enhance the flavor of my dill pickle okra?
For a delicious twist, try adding mustard seeds or black peppercorns to the mix when packing your jars. Feel free to substitute garlic with onion slices for an aromatic touch. Experimenting with spices can elevate your pickle experience!
Dill Pickle Okra: Your New Favorite Crunchy Snack Adventure
Ingredients
Equipment
Method
- Wash the young okra pods thoroughly and pierce each pod once.
- Combine water, white vinegar, and salt in a saucepan. Heat until salt dissolves, then bring to a gentle boil.
- Place the pierced okra in sterilized jars, adding fresh dill, smashed garlic, and optional chili pepper.
- Pour cooled brine over okra, ensuring they are fully submerged.
- Process jars in boiling water for 10 minutes or seal and refrigerate.
- Allow jars to sit for at least 24 hours to meld flavors, ideally a week.
Leave a Reply