
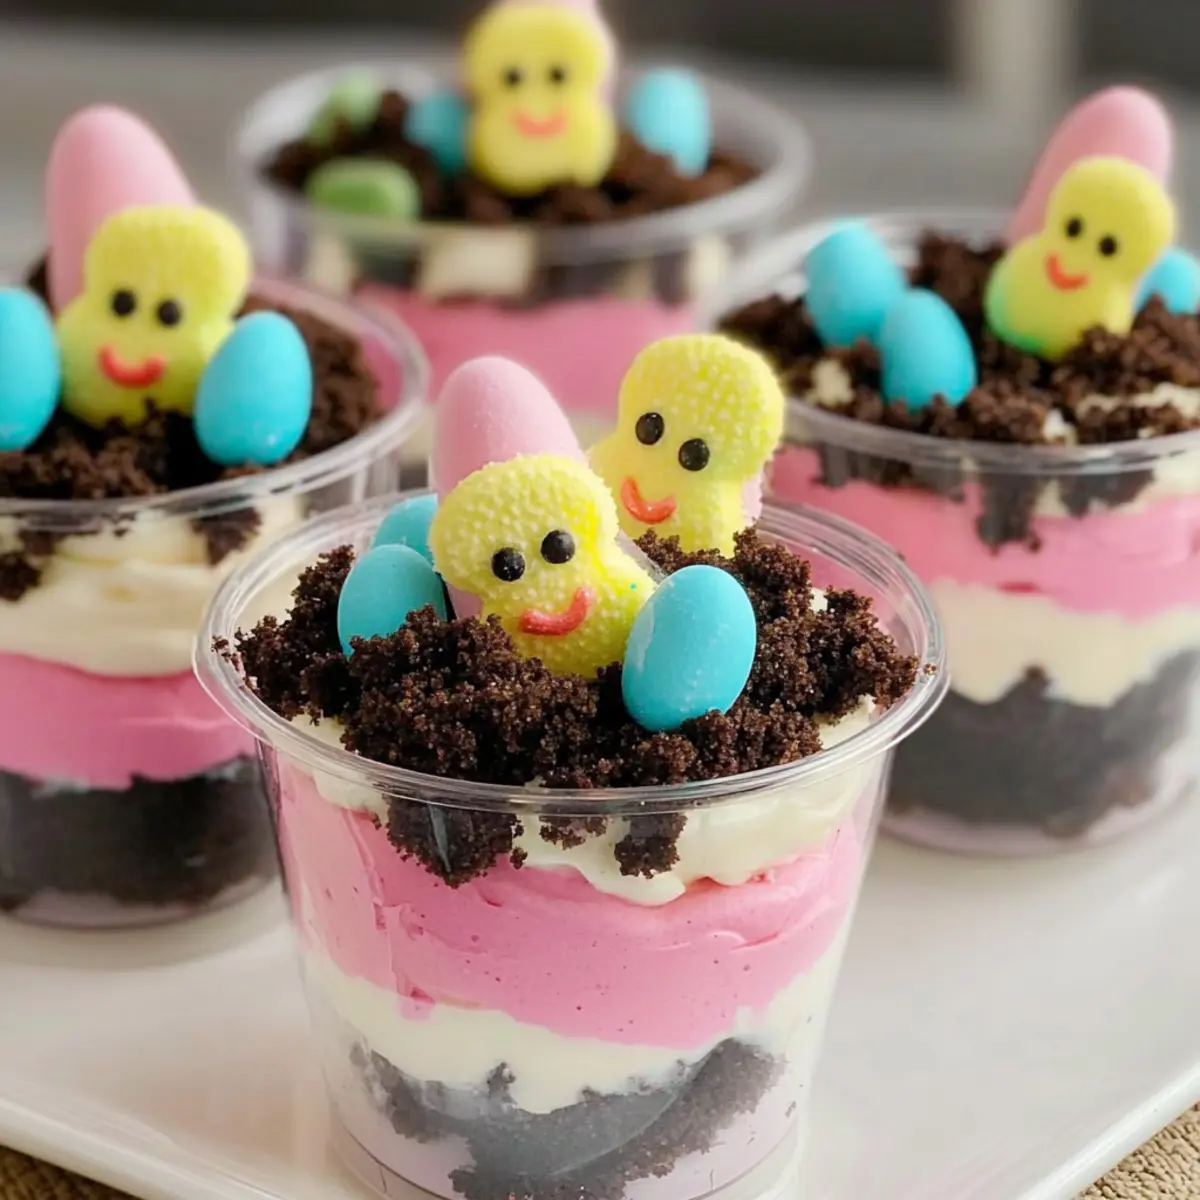
“Pardon me, but did you just say dessert and no-bake in the same sentence?” Those were my exact words when I first stumbled upon the idea of making Easter Dirt Cups. This delightful treat combines layers of creamy vanilla pudding, crushed Oreos, and cheerful Peeps to create a festive dessert that even the kids can help with! The best part? These Easter Dirt Cups are not only super simple to whip up, but they also promise a fun and interactive experience around the table. Perfect for gatherings, this recipe is a crowd-pleaser that transforms ordinary ingredients into playful little cups of joy. Trust me, you’ll have everyone asking for seconds, and this charming dessert may just become a holiday tradition. Ready to dig in and see how these adorable treats come together?

Why are Easter Dirt Cups a must-try?
Easy Preparation: With no baking required, these delightful cups can be assembled in minutes, allowing you to spend more time with family during the festive season.
Kid-Friendly Fun: Perfect for involving kids, this recipe lets little hands help layer ingredients, making it a memorable activity for the whole family.
Festive Appeal: The vibrant Peeps and colorful mini chocolate eggs create an eye-catching centerpiece for your Easter gatherings.
Versatile Ingredients: Enjoy the freedom to customize by swapping flavors, whether you choose chocolate pudding for a richer dessert or add layers of fresh fruit for a refreshing twist. Try it alongside our Marry Bake Cups for more sweet inspiration!
Crowd-Pleasing Delight: With its combination of creamy and crunchy textures, everyone at your table will be reaching for seconds, making this dessert a hit for all ages!
Easter Dirt Cups Ingredients
• Get ready for a delightful dessert!
For the Base Layer
- Oreos – A crunchy base that provides a rich chocolate flavor; substitute with chocolate wafer cookies for a different twist.
- Cool Whip – Adds lightness and fluffy texture to the pudding; feel free to use homemade whipped cream for a personalized touch.
For the Pudding Mixture
- Vanilla Pudding – Creamy and sweet, this essential ingredient makes the cups luscious; you can swap it with chocolate pudding if you prefer a richer taste.
- Whole Milk – Hydrates the pudding mix for a smooth consistency; almond or oat milk is a great dairy-free option!
For the Toppings
- Mini Eggs – These colorful chocolate candies add a cheerful decorative touch; any small chocolate treats can work as alternatives.
- Peeps – The signature Easter decoration that makes the cups whimsical; if you can’t find them, marshmallows or chocolate-covered strawberries are excellent substitutes.
Get ready to assemble your Easter Dirt Cups and create unforgettable memories!
Step‑by‑Step Instructions for Easter Dirt Cups
Step 1: Prepare the Cups
Begin by gathering 12 small (8-ounce) cups and placing them on your work surface. Add 1 ½ tablespoons of crushed Oreos to the bottom of each cup, creating a delightful chocolatey base. Ensure the crumbs are evenly distributed for maximum crunch. This base layer will provide a delicious contrast to the creamy pudding coming next.
Step 2: Make the Pudding Mixture
In a large mixing bowl, whisk together the vanilla pudding mix and 2 cups of cold whole milk using a hand mixer. Beat the mixture for about 2 minutes or until it thickens noticeably, resembling a custard. Make sure there are no lumps; this smooth and creamy pudding is the heart of your Easter Dirt Cups!
Step 3: Fold in the Cool Whip
Gently fold the entire container of Cool Whip into the thickened pudding mixture. Use a spatula to combine; be careful not to deflate the Cool Whip too much, as you want to maintain that light and fluffy texture. This creates a luscious filling that complements the crunchy Oreo base wonderfully.
Step 4: Layer the Ingredients
With your pudding mixture ready, it’s time to layer. In each cup, place two heaping spoonfuls of the pudding mixture on top of the crushed Oreos. Follow this with another 1 ½ tablespoons of Oreo crumbs. Repeat this layering once more for a total of two layers, finishing with a smaller sprinkle of Oreo crumbs on the top for that perfect finishing touch.
Step 5: Refrigerate to Set
Cover the assembled cups with plastic wrap and place them in the refrigerator. Allow them to chill for at least one hour to set the layers properly. This step is vital as it enhances the flavors and ensures that the pudding fills the cups neatly, making your Easter Dirt Cups even more enjoyable.
Step 6: Decorate and Serve
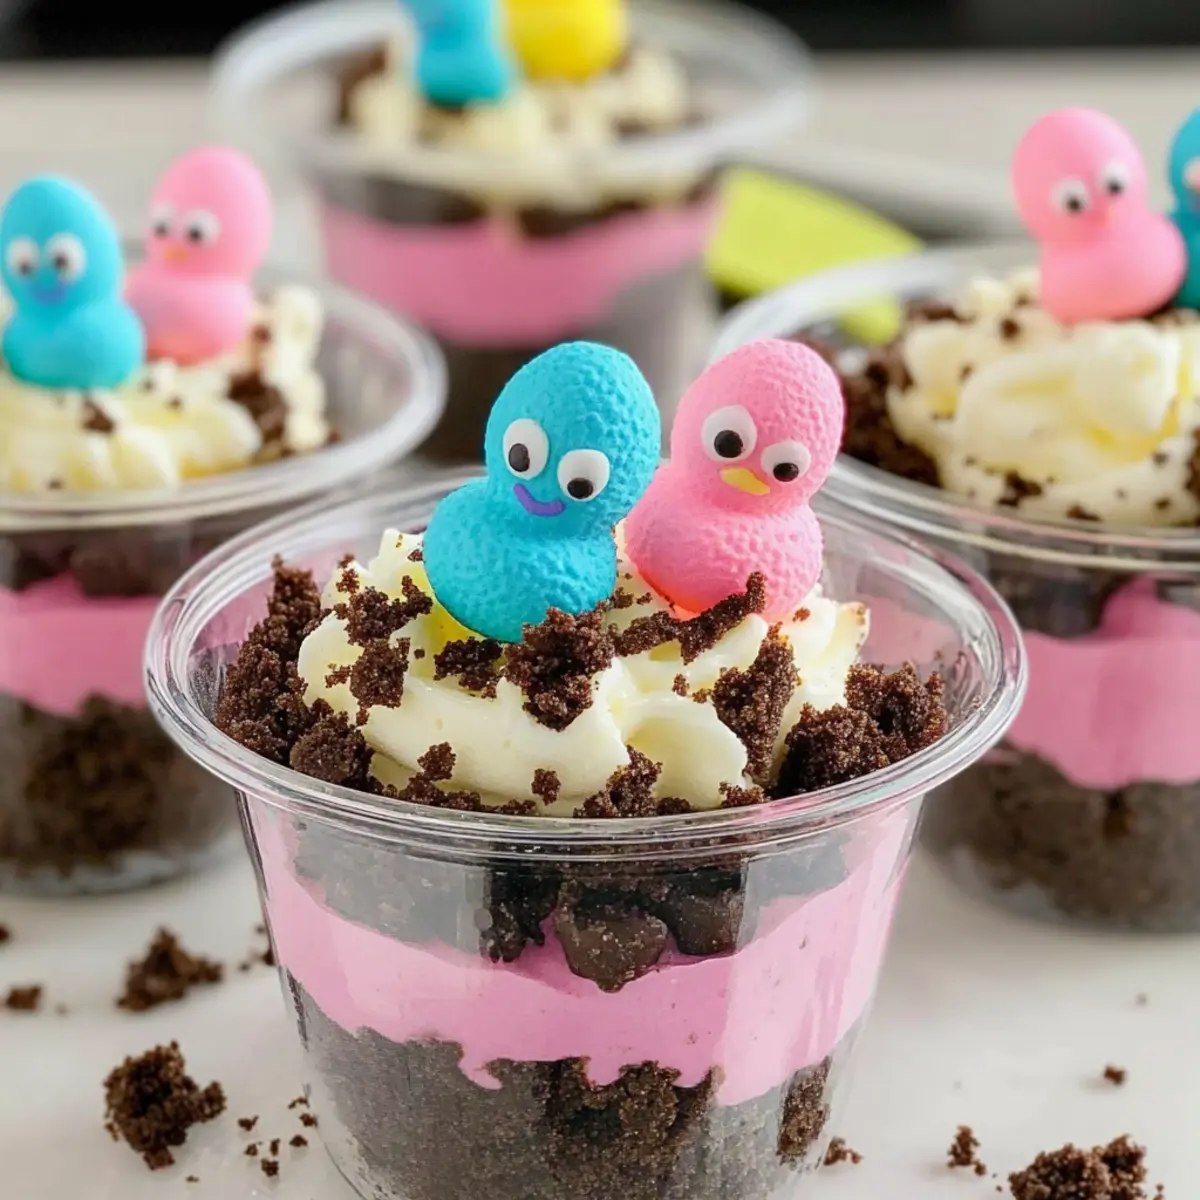
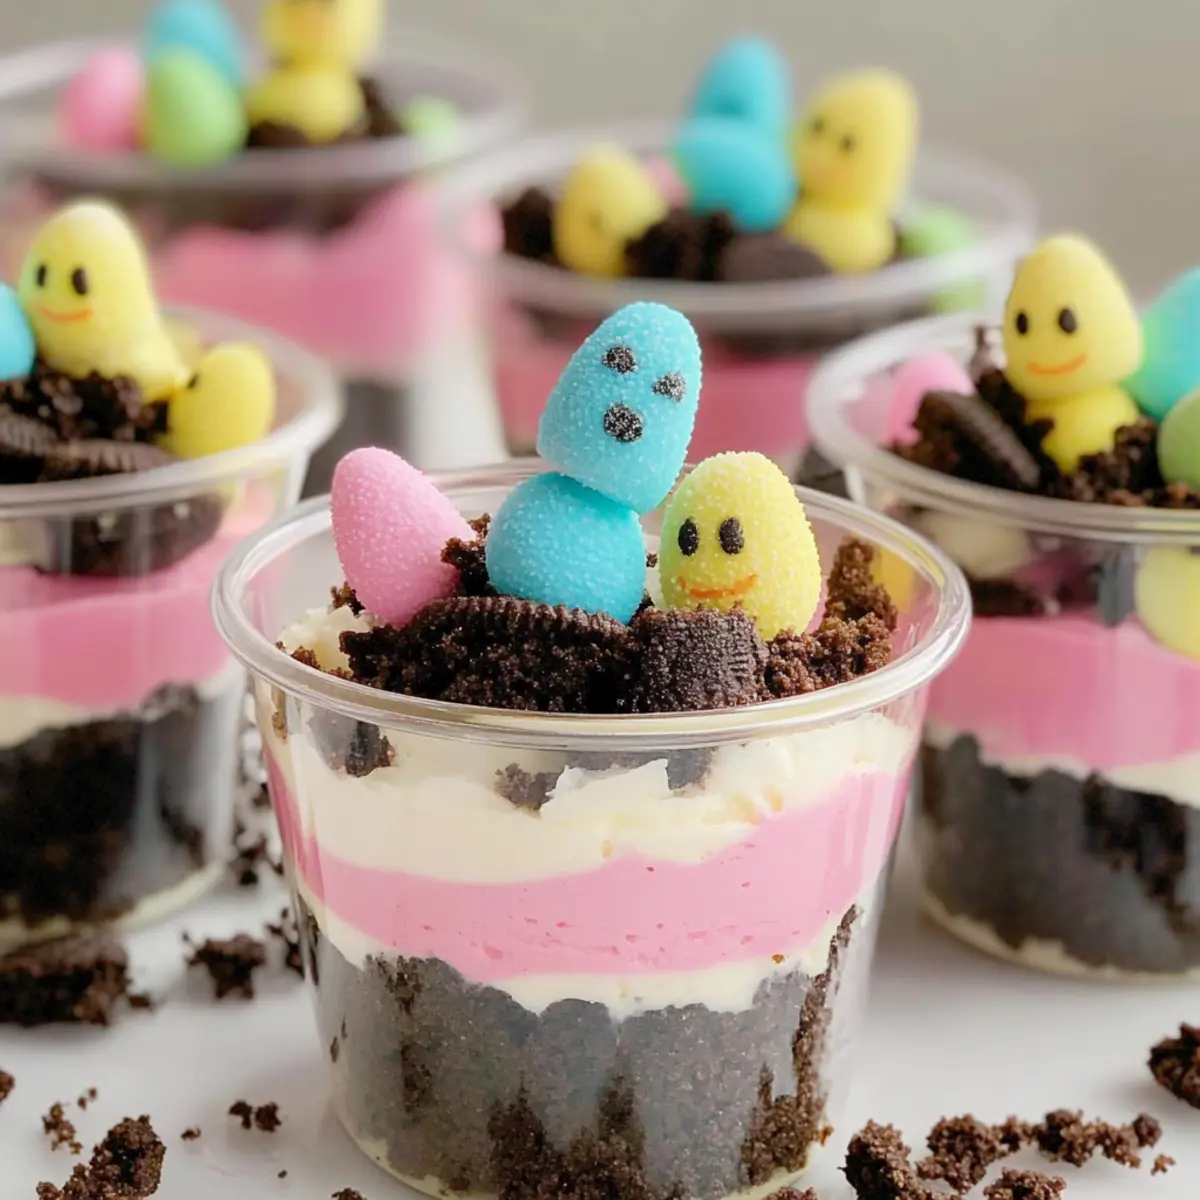
Just before serving, take the cups out of the refrigerator and remove the plastic wrap. Top each cup with 3 mini chocolate eggs and one delightful Peeps Marshmallow Treat. This vibrant decoration adds a festive touch, making your Easter Dirt Cups a whimsical centerpiece that will charm your guests and celebrate the holiday spirit.
What to Serve with Easter Dirt Cups
Elevate your Easter gathering with delightful pairings that complement the whimsical charm of these no-bake treats.
-
Light Fruit Salad: A refreshing mix of seasonal fruits adds brightness, balancing the rich creaminess of the Dirt Cups.
-
Chocolate-Covered Strawberries: These sweet bites of indulgence mirror the dessert’s playful character while offering a touch of elegance.
-
Whipped Cream Topping: A dollop of fluffy whipped cream alongside brings an extra layer of sweetness, perfect for those creamy moments.
-
Sparkling Lemonade: The zesty effervescence of sparkling lemonade creates a refreshing contrast to the sweet layers in the cups, perfect for ringing in the season.
-
Carrot Cake Squares: Serve some moist carrot cake for a hint of spice and a festive nod to Easter flavors, inviting everyone to enjoy a flavorful journey.
-
Mini Cheesecakes: Light and creamy, these petite desserts playfully contrast the crunchy layers of the Dirt Cups, making for a delightful dessert spread.
-
Coffee or Hot Chocolate: Treat your guests with warm beverages that bring cozy flavors alongside the sweet treats; a comforting touch for a festive celebration.
-
Peep S’mores: Get playful with dessert by creating these fun s’mores that incorporate Peeps, tying in the signature elements of your Easter Dirt Cups.
Easter Dirt Cups Variations & Substitutions
Embrace your creativity and customize these delightful Easter Dirt Cups to make them even more irresistible!
- Dairy-Free: Use almond or oat milk instead of whole milk, and swap Cool Whip for a dairy-free whipped cream to keep it light and fluffy.
- Chocolate Lovers: For a richer dessert, substitute the vanilla pudding with chocolate pudding and use chocolate wafer cookies for the base layer.
- Fruit Layers: Add vibrant layers of fresh fruit like sliced strawberries or bananas between the pudding and Oreo layers for a refreshing twist.
- Flavor Fun: Experiment with different pudding flavors such as banana or butterscotch to create exciting variations. Each flavor will lend a unique taste to this classic dessert!
- Crunchy Texture: For added crunch, sprinkle in some chopped nuts or granola between layers. This twist introduces a delightful surprise in every bite!
- Mini-Mallow Swap: If you can’t find Peeps, use marshmallows or chocolate-covered strawberries for decoration, ensuring your cups still look festive and fun.
- Choose Your Toppings: Replace mini chocolate eggs with any small chocolate candies, like M&M’s or Reese’s Pieces, for a colorful and playful topping.
- Make it a Layered Parfait: Instead of cups, layer the ingredients in a large trifle dish for a stunning centerpiece suitable for family gatherings. Share your creations and make fond memories with every bite!
Feeling inspired? Try serving these festive treats alongside our Breakfast Granola Cups for a delightful brunch, or complement with a refreshing drink like a Strawberry Dirty Sprite for added sweetness! Enjoy the process, and let your imagination run wild with flavors and combinations!
Expert Tips for Easter Dirt Cups
• Crumb Perfection: Ensure that you crush the Oreos finely. Too large chunks may make it difficult for the layers to hold together nicely.
• Pudding Tip: To get the best texture, always use cold milk when mixing the vanilla pudding for your Easter Dirt Cups. It helps achieve that creamy consistency.
• Whip It Good: Gently folding the Cool Whip into the pudding is key to maintaining airiness. Avoid beating it too vigorously to preserve lightness.
• Make Ahead: Feel free to prepare the Easter Dirt Cups a day in advance. Just remember to add the toppings shortly before serving for the freshest look!
• Playful Substitutes: Don’t hesitate to experiment with different toppings or pudding flavors, like chocolate or butterscotch, to personalize your Easter Dirt Cups.
How to Store and Freeze Easter Dirt Cups
Refrigerator: Keep your assembled Easter Dirt Cups covered in the refrigerator for up to 2 days. This ensures they stay fresh and delicious while the layers settle perfectly.
Layering Tip: Avoid adding toppings like mini eggs and Peeps until just before serving. This helps maintain their visual appeal and keeps the dessert looking festive.
Freezer: While it’s best to enjoy Easter Dirt Cups fresh, you can freeze the assembled cups for up to 1 month if necessary. Wrap tightly with plastic wrap, then foil, to prevent freezer burn.
Thawing: To enjoy frozen cups, transfer them to the fridge for several hours or overnight to thaw. Add toppings after they’ve thawed for the best presentation!
Make Ahead Options
These Easter Dirt Cups are perfect for busy home cooks looking to save time during festive celebrations! You can assemble all the layers up to 24 hours in advance. Start by preparing the Oreo base and pudding mixture as directed, then layer everything in the cups and refrigerate them tightly covered. This method keeps the cups deliciously fresh and prevents the Oreos from becoming too soggy. Just remember to add the finishing touches—mini eggs and Peeps—right before serving to maintain their vibrant appeal! With this make-ahead approach, you’ll enjoy an effortlessly delightful dessert that your family will adore.
Easter Dirt Cups Recipe FAQs
What kind of Oreos should I use for Easter Dirt Cups?
Absolutely! You can use regular Oreos for that classic chocolate flavor, but feel free to switch it up with chocolate wafer cookies if you’re looking for a different twist. Just make sure they are finely crushed to create a solid base layer!
How should I store Easter Dirt Cups?
To keep your Easter Dirt Cups fresh, cover them with plastic wrap and store them in the refrigerator for up to 2 days. Don’t forget to hold off on adding the toppings until right before serving to maintain their vibrant appeal!
Can I freeze Easter Dirt Cups?
Yes, you can freeze the assembled Easter Dirt Cups for up to 1 month if needed. Just wrap them tightly with plastic wrap and then with foil to prevent freezer burn. When you’re ready to enjoy them, transfer the cups to the fridge for several hours or overnight to thaw, and don’t forget to add those fun toppings afterward!
What if my pudding doesn’t thicken properly?
If your pudding mix isn’t thickening after whisking for 2 minutes, it may need a bit more time or a quick trip to the fridge to cool down. Make sure you’re using cold milk, as room temperature milk won’t provide the same creamy consistency. If you’re still having issues, check the expiration date on your pudding mix to ensure it’s still active.
Are Easter Dirt Cups suitable for kids with nut allergies?
Very! By using whole milk and avoiding ingredients with nuts, such as certain brands of chocolate, you can easily tailor the Easter Dirt Cups for nut allergies. Always be cautious about cross-contamination if preparing in a shared kitchen. Just check all ingredient labels before diving into this fun dessert!
Easter Dirt Cups: A Delightful No-Bake Treat for Everyone
Ingredients
Equipment
Method
- Prepare the Cups: Gather 12 small (8-ounce) cups and place them on your work surface. Add 1 ½ tablespoons of crushed Oreos to the bottom of each cup.
- Make the Pudding Mixture: In a large mixing bowl, whisk together the vanilla pudding mix and 2 cups of cold whole milk using a hand mixer. Beat until thickened.
- Fold in the Cool Whip: Gently fold the entire container of Cool Whip into the thickened pudding mixture without deflating it.
- Layer the Ingredients: In each cup, place two heaping spoonfuls of pudding on top of the crushed Oreos, followed by more Oreo crumbs, and repeat for two layers.
- Refrigerate to Set: Cover the cups with plastic wrap and refrigerate for at least one hour to set the layers properly.
- Decorate and Serve: Top each cup with 3 mini chocolate eggs and one Peeps Marshmallow Treat before serving.
Leave a Reply