
As the crisp autumn air begins to settle in, there’s an undeniable magic that fills the atmosphere—it’s Halloween season! This year, I’m thrilled to share a collection of 12 spooktacular Halloween desserts, including the whimsical Halloween Dirt Cups that promise to be an instant hit at any gathering. With these easy, no-bake recipes, you can impress fans of all ages without drowning in kitchen chaos. Imagine treating your friends and family to everything from creeping gummy worms in chocolate pudding to vibrant candy corn cheesecakes, all while keeping your prep time quick and delightful. So, are you ready to whip up some eerie-sistible treats that will enchant your guests? Let’s dive into the fun and fright of Halloween baking!
Why Are Halloween Dirt Cups So Fun?
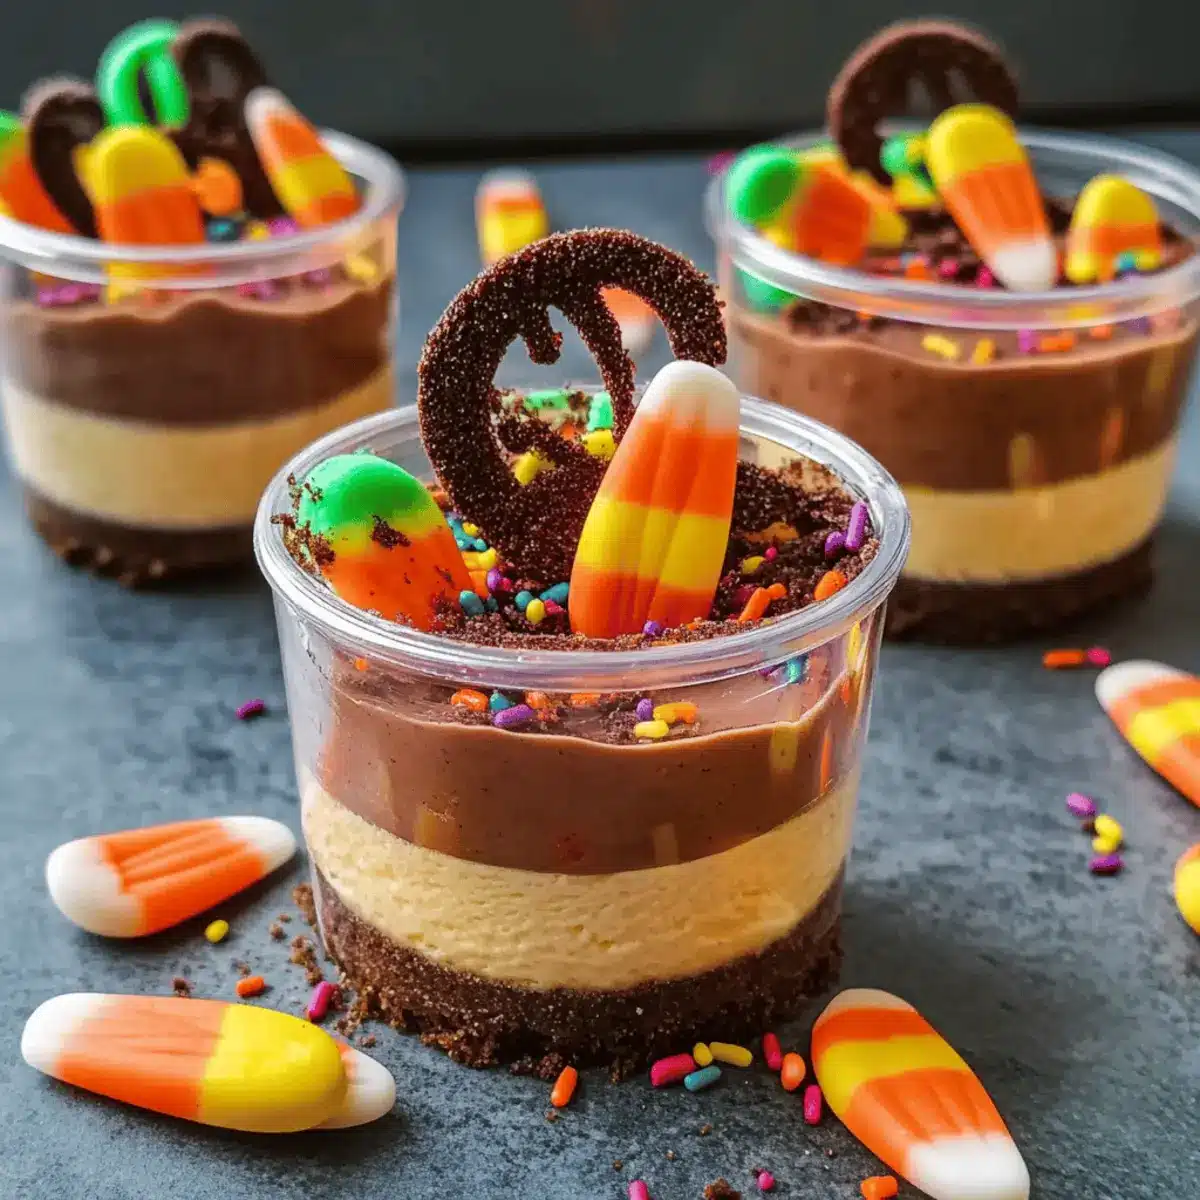
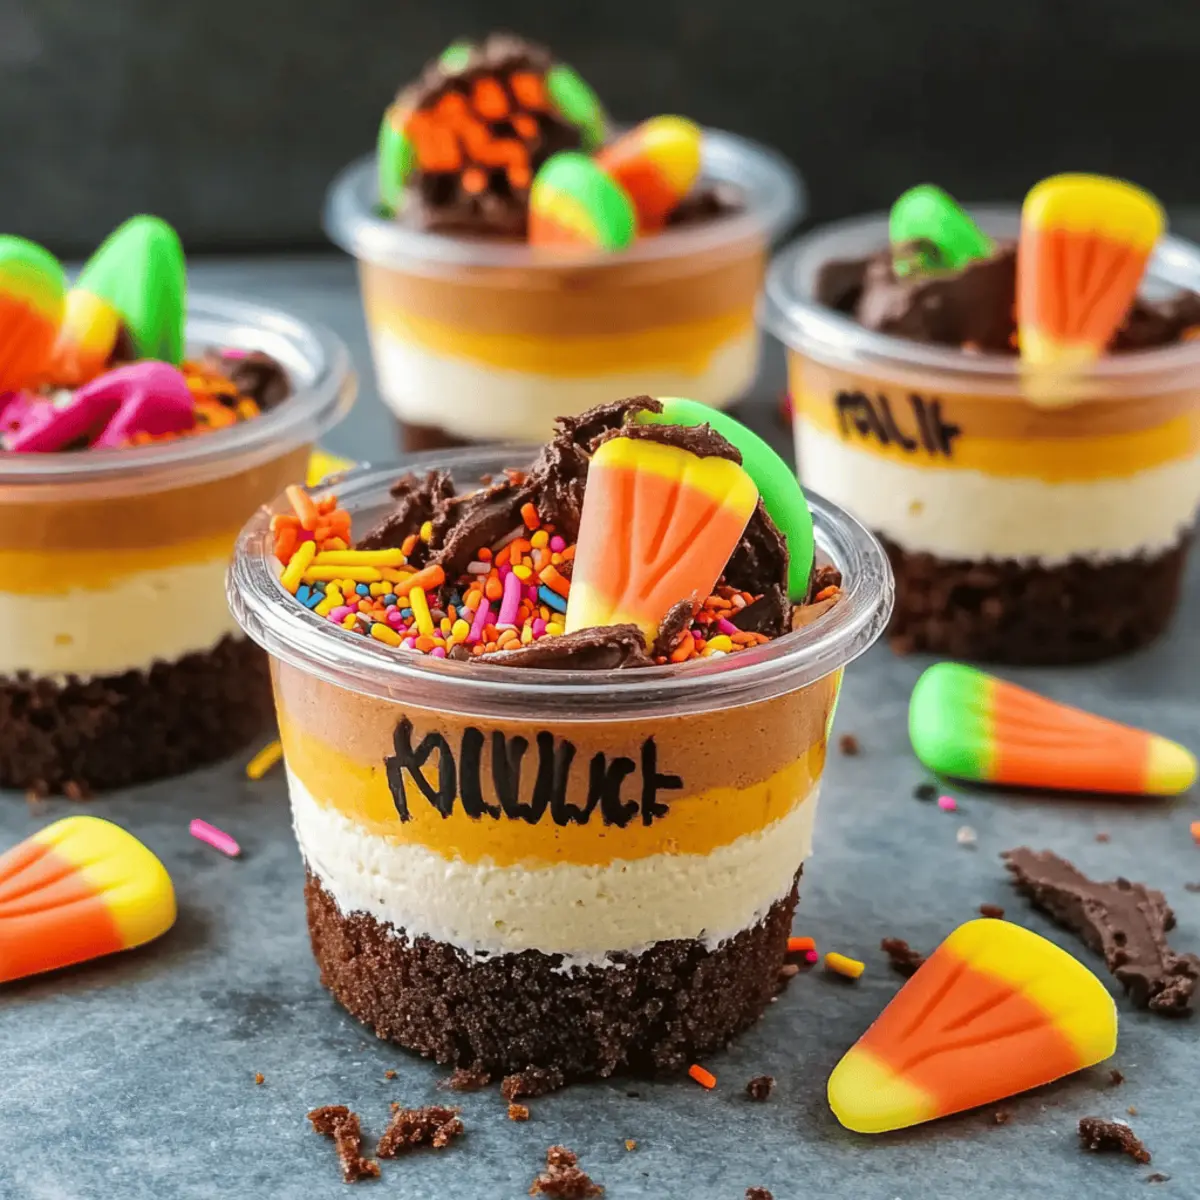
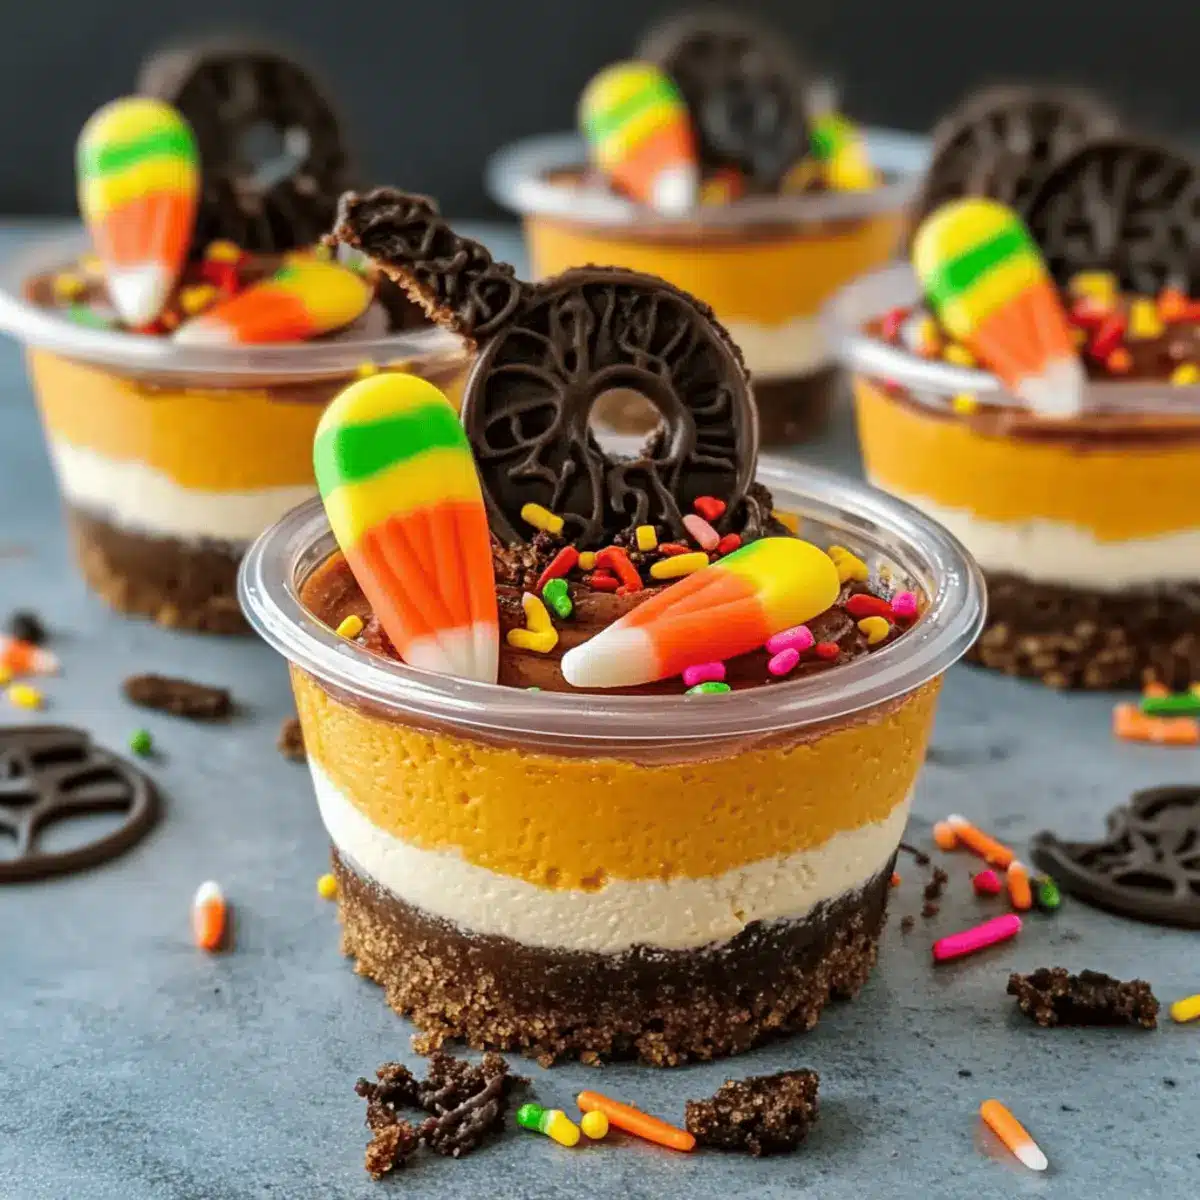
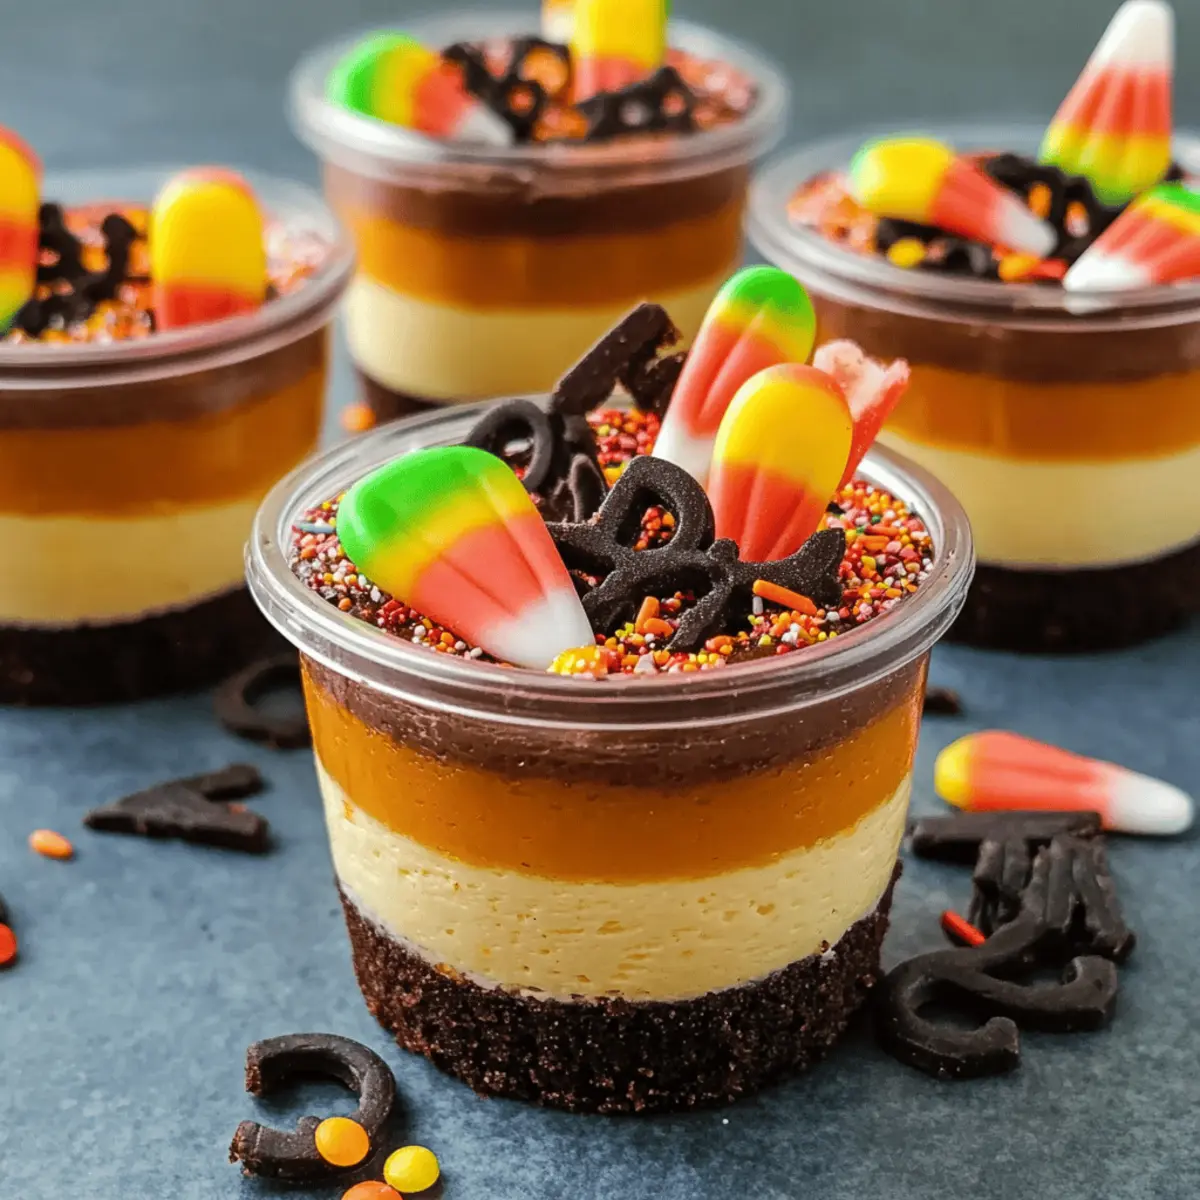
Unique Presentation: Halloween Dirt Cups are a feast for the eyes, layered to resemble creepy dirt, complete with gummy worms peeking through!
Easy to Assemble: No-bake means minimal prep—perfect for busy parents or last-minute party planners.
Family-Friendly Fun: Kids love getting involved, making these cups a perfect treat for family gatherings.
Versatile Variations: Customize with different toppings, like edible glitter or spooky sprinkles, to suit your Halloween theme.
Crowd-Pleasing Delight: The rich chocolate flavor and fun textures make these treats a hit among guests of all ages!
In addition to these dirt cups, consider pairing them with creations like Marry Bake Cups for a delightful dessert spread!
Halloween Dirt Cups Ingredients
• Note: You’ll need these ingredients to create the ultimate spooky dessert experience with Halloween Dirt Cups!
For the Dirt Cups
- Chocolate Pudding – Adds rich flavor and creaminess to make the dirt cup layers irresistible.
- Crushed Oreos – Provides a realistic dirt texture that kids and adults will find appealing.
- Gummy Worms – Perfect for crawling out of the dirt and adding a fun, creepy touch to the presentation.
For the Toppings
- Whipped Cream – Lightens the dessert and adds a fluffy texture on top for balance.
- Candy Eyes – Use these to give your dirt cups some spooky personalities!
- Sprinkles – Choose Halloween-themed sprinkles to create extra festive flair.
For Optional Additions
- Chocolate Syrup – Drizzle for extra sweetness and to enhance the ‘dirt’ look.
- Edible Glitter – Elevate the aesthetic with a sprinkle that shines in the Halloween moonlight.
With these ingredients, your Halloween Dirt Cups will be a treat that no one can resist!
Step‑by‑Step Instructions for Halloween Dirt Cups
Step 1: Prepare the Pudding
Begin by whisking together your instant chocolate pudding mix with 2 cups of cold milk in a large mixing bowl. Stir vigorously for about 2 minutes until the mixture thickens and becomes smooth. This velvety pudding will serve as the rich base for your Halloween Dirt Cups, ensuring each bite is filled with decadent chocolate flavor.
Step 2: Crush the Oreos
While the pudding sets in the refrigerator for about 5 minutes, take 10-12 Oreo cookies and place them into a zip-lock bag. Use a rolling pin or your hands to crush the cookies into fine crumbs, resembling dirt. This deliciously chocolatey layer is essential for creating that authentic dirt cup look, so ensure there are no large chunks remaining.
Step 3: Layer the Ingredients
Gather clear cups or jars to showcase your Halloween Dirt Cups. Start by adding a generous layer of chocolate pudding to the bottom, about a third of the way full. Next, sprinkle a layer of the crushed Oreo cookies over the pudding, creating a “dirt” layer that looks deliciously sinister. Repeat the process until the cups are filled, leaving space for toppings at the top.
Step 4: Add Whipped Topping
Once your cups are layered, add a dollop of fluffy whipped cream to the top of each one. This not only lightens the dessert but also gives it a spooky, cloud-like appearance. Make sure to spread the whipped cream evenly, so it peaks slightly above the cookie layer, creating a fun texture contrast in your Halloween Dirt Cups.
Step 5: Decorate Creatively
Now comes the fun part—decorating your Halloween Dirt Cups! Stick a couple of gummy worms into the whipped cream, letting them dangle over the sides for a creepy effect. Sprinkle Halloween-themed sprinkles and add candy eyes to give personality to your treats, transforming them into delightful spooky characters that will surprise your guests.
Step 6: Chill and Serve
Finally, refrigerate your assembled Halloween Dirt Cups for at least 30 minutes to allow the flavors to meld and the dessert to chill. This cooling step makes the pudding firm up just a bit more for optimal texture. Once chilled, serve them to your eager guests and relish in the fun and festivity of these spooky treats!
What to Serve with Halloween Dirt Cups
As the spine-chilling festivities unfold, pair these delightful treats with accompaniments that enhance the spooky theme and excite your guests.
- Creepy Cocktails: Create fun, themed drinks like “Witch’s Brew” using green soda and gummy worms to delight adults at your party.
- Monster Eye Cake Pops: These sweet treats, coated with colorful candy melts, add whimsy to your dessert table and please kids and adults alike.
- Pumpkin Bread: Moist and spiced, this autumn classic brings rich flavors that balance the sweet chocolate of the dirt cups. Serve warm for an inviting touch.
- Mummy Dogs: Serve these easy-to-make, wrapped hot dogs as savory finger food to complement the sweets. They’re fun, nostalgic, and perfect for Halloween!
- Spooky Fruit Skewers: Thread grapes, melon balls, and banana slices on skewers to create edible art that contrasts nicely with the heavy textures of the dirt cups.
- Halloween Macarons: These delicate confections can be themed to match your party’s decor, providing a light, gourmet touch that pairs well with the rich dirt cups.
- Chilling Pumpkin Soup: A smooth, spiced soup can be a unique savory addition. Its seasonal flavor ties beautifully into the Halloween theme.
- Ghostly Marshmallow Pops: Simple and fun, these treats resemble ghosts and can be decorated by kids, adding interactive fun to your dessert table.
- Spiced Apple Cider: Warm or cold, this comforting drink enhances the holiday spirit and brings a cozy element to your Halloween gathering.
Expert Tips for Halloween Dirt Cups
- Use Instant Pudding: For quick preparation, opt for instant chocolate pudding. This saves time and guarantees a smooth texture for your dirt cups.
- Crush Evenly: Ensure the Oreos are finely crushed to achieve a realistic dirt look. Large chunks can disrupt the layered presentation and texture.
- Chill Thoroughly: Allow your assembled Halloween Dirt Cups to chill for at least 30 minutes. This helps set the layers and enhances flavors before serving.
- Decorate with Care: When adding gummy worms and sprinkles, be creative! Position the worms to dangle out in a fun way for extra spookiness.
- Involve the Kids: Get the little ones involved in layering and decorating! This transforms the process into a memorable family activity while creating delightful Halloween desserts.
- Experiment with Toppings: Don’t hesitate to customize! Add edible glitter or chocolate syrup to elevate your Halloween Dirt Cups while enhancing their visual appeal.
How to Store and Freeze Halloween Dirt Cups
Fridge: Keep the assembled Halloween Dirt Cups in an airtight container for up to 3 days. This ensures they stay fresh and maintain their delicious texture.
Freezer: Freezing is not recommended for these dirt cups, as the creamy pudding and whipped cream can separate and change texture once thawed.
Prepare in Advance: You can prepare the pudding and crushed Oreos a day ahead—store them separately in the fridge until you’re ready to layer and serve.
Reheating: No need to reheat; simply remove your Halloween Dirt Cups from the fridge and serve them chilled for a delightful treat during your spooky celebrations!
Make Ahead Options
These Halloween Dirt Cups are perfect for meal prep enthusiasts! You can prepare the chocolate pudding and crush the Oreos up to 24 hours in advance, storing them separately in sealed containers in the refrigerator to maintain their quality. Simply layer the pudding and Oreos right before serving for the best texture and flavor—this ensures the delicate pudding stays creamy and the cookies retain their crunch. Additionally, you can pre-cut gummy worms and have your toppings ready to go, allowing for a quick assembly when it’s time to impress your guests. With these make ahead tips, you’ll be saving valuable time while still serving up deliciously spooky treats!
Halloween Dirt Cups Variations & Substitutions
Feel free to get creative and make these Halloween Dirt Cups uniquely yours with a few simple twists!
-
Vanilla Pudding: Swap chocolate pudding for vanilla or butterscotch for a lighter flavor.
This can give your cups a tasty twist while keeping that festive look intact! -
Gluten-Free Options: Use gluten-free Oreos or chocolate cookies for a gluten-free dessert.
Everyone can join in on the spooky fun without worry! -
Healthier Swaps: Replace whipped cream with Greek yogurt for a protein boost.
It’s a delicious trick that keeps the creaminess while adding a tangy surprise. -
Fruit Twists: Incorporate layers of mashed bananas or applesauce instead of pudding for a fruity version.
You can enjoy a healthier treat while still capturing the essence of Halloween. -
Nut Butter Layer: Add a layer of almond or peanut butter for a nutty flavor and creamy texture.
It’s a delightful surprise that adds richness to the classic treat. -
Chocolate Syrup Drizzle: Enhance the richness with a drizzle of chocolate syrup over the whipped cream.
This extra touch can elevate the dessert and make it even more indulgent. -
Make It Spicy: Add a sprinkle of cayenne pepper or cinnamon to your chocolate pudding for a spicy kick.
The unexpected heat will shock and delight those adventurous taste buds among your guests! -
Candy Corn Mini Layer: Incorporate layers of candy corn or use mini marshmallows as an alternative topping.
This adds color and fun textures that are perfect for Halloween festivities!
Each of these variations can be a fantastic way to delight your friends and family while celebrating the season. Enjoy combining your favorite flavors and textures! For more festive ideas, why not check out the delicious Strawberry Dirty Sprite to serve alongside?
Halloween Dirt Cups Recipe FAQs
How do I choose ripe ingredients for Halloween Dirt Cups?
Absolutely! When selecting ingredients, make sure to pick fresh whipped cream without additives. For the gummy worms, go for vibrant colors and a fresh smell to ensure deliciousness. Use quality chocolate pudding mix that shows no lumps or damage on the packaging. Lastly, check that the Oreos are intact without any unpleasant odors.
How should I store my Halloween Dirt Cups?
You’ll want to keep these delectable treats in an airtight container in the fridge for up to 3 days. If properly sealed, they’ll retain their fresh taste and lovely layers. Just remember, do not store them at room temperature, as this can compromise their texture.
Can I freeze Halloween Dirt Cups?
Unfortunately, freezing is not recommended for these dirt cups. The creamy pudding and whipped cream can separate when thawed, creating an unappetizing texture. If you’d like to prepare in advance, you can make the pudding and crush the Oreos a day ahead and store them separately in the fridge until ready to layer.
What should I do if my pudding is lumpy?
Very! If you find lumps in your pudding, simply whisk it vigorously for a few more minutes. You can also add a bit more milk while blending to help smooth it out. If all else fails, you can strain the mixture through a fine mesh sieve to get that silky-smooth texture you want for your dirt cups!
Are Halloween Dirt Cups safe for children with allergies?
Great question! Always check the ingredients in your pudding mix, whipped cream, and Oreos for potential allergens like gluten or dairy. You can substitute ingredients as needed, like using a gluten-free cookie or dairy-free whipped topping. It’s a festive treat everyone can enjoy if proper substitutions are made!
How can I make my Halloween Dirt Cups even more festive?
The more the merrier! Consider adding edible glitter or colorful Halloween sprinkles to the whipped cream tops. You can also experiment with themed decorations like mini candy pumpkins or chocolate spiders on top to enhance the spooky aesthetic. Your creativity can make these treats shine at the party!
Deliciously Spooky Halloween Dirt Cups Everyone Will Love
Ingredients
Equipment
Method
- Whisk together instant chocolate pudding mix with 2 cups of cold milk in a large mixing bowl for 2 minutes until thick and smooth.
- Crush 10-12 Oreo cookies in a zip-lock bag until they're fine crumbs, resembling dirt.
- Layer the chocolate pudding and crushed Oreos in clear cups, leaving space for toppings.
- Add a dollop of whipped cream on top, making sure it peaks above the cookie layer.
- Decorate with gummy worms, Halloween-themed sprinkles, and candy eyes for a spooky look.
- Refrigerate the cups for at least 30 minutes before serving.
Leave a Reply