
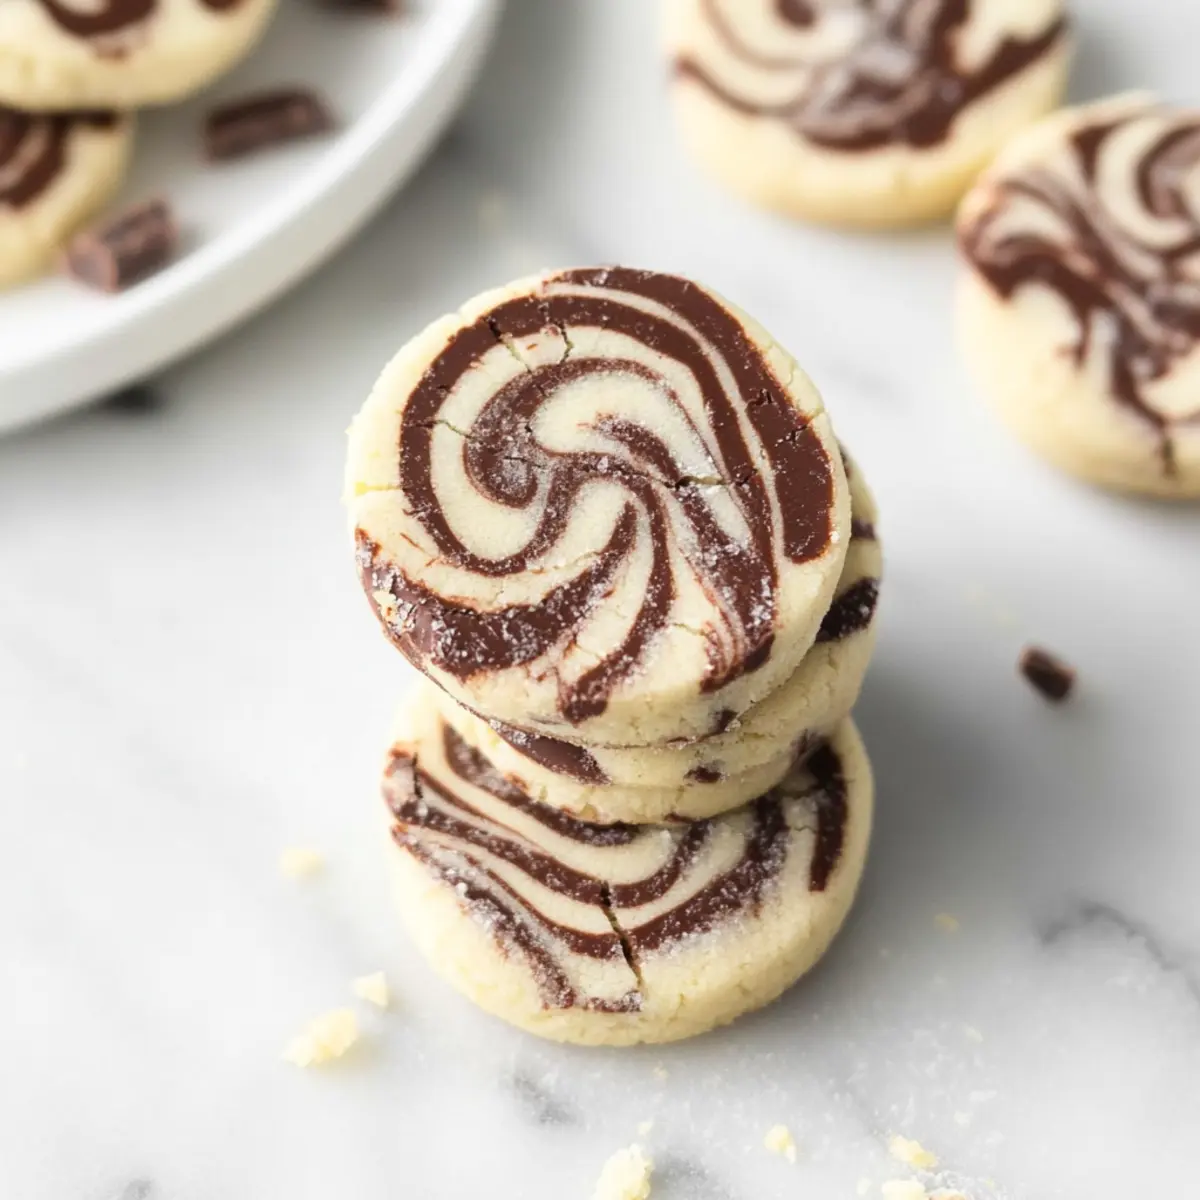
As I unwrapped the layers of parchment paper from the dough log, the anticipation was palpable. These Chocolate Peppermint Marble Cookies are not just cookies; they are festive morsels that blend the richness of chocolate with the fresh zing of peppermint, creating a delightful treat that friends and family will adore. The striking marbled design adds a visual feast to your holiday table, while the buttery texture delivers a melt-in-your-mouth experience. One of the best parts? You can whip up the dough ahead of time and pop it in the freezer, making holiday baking a breeze. Whether you’re hosting a gathering or simply treating yourself, these icebox cookies bring joy and convenience to your kitchen. Ready to fill your home with the aroma of freshly baked cookies? Let’s dive into this recipe!
Why are these cookies a must-bake?
Simplicity at its core: With easy-to-follow steps, even novice bakers can create these stunning treats.
Festive flavors explode in every bite as the chocolate and peppermint blend to create a uniquely satisfying taste.
Make-ahead magic: Prepare the dough in advance and freeze for quick baking whenever the craving strikes.
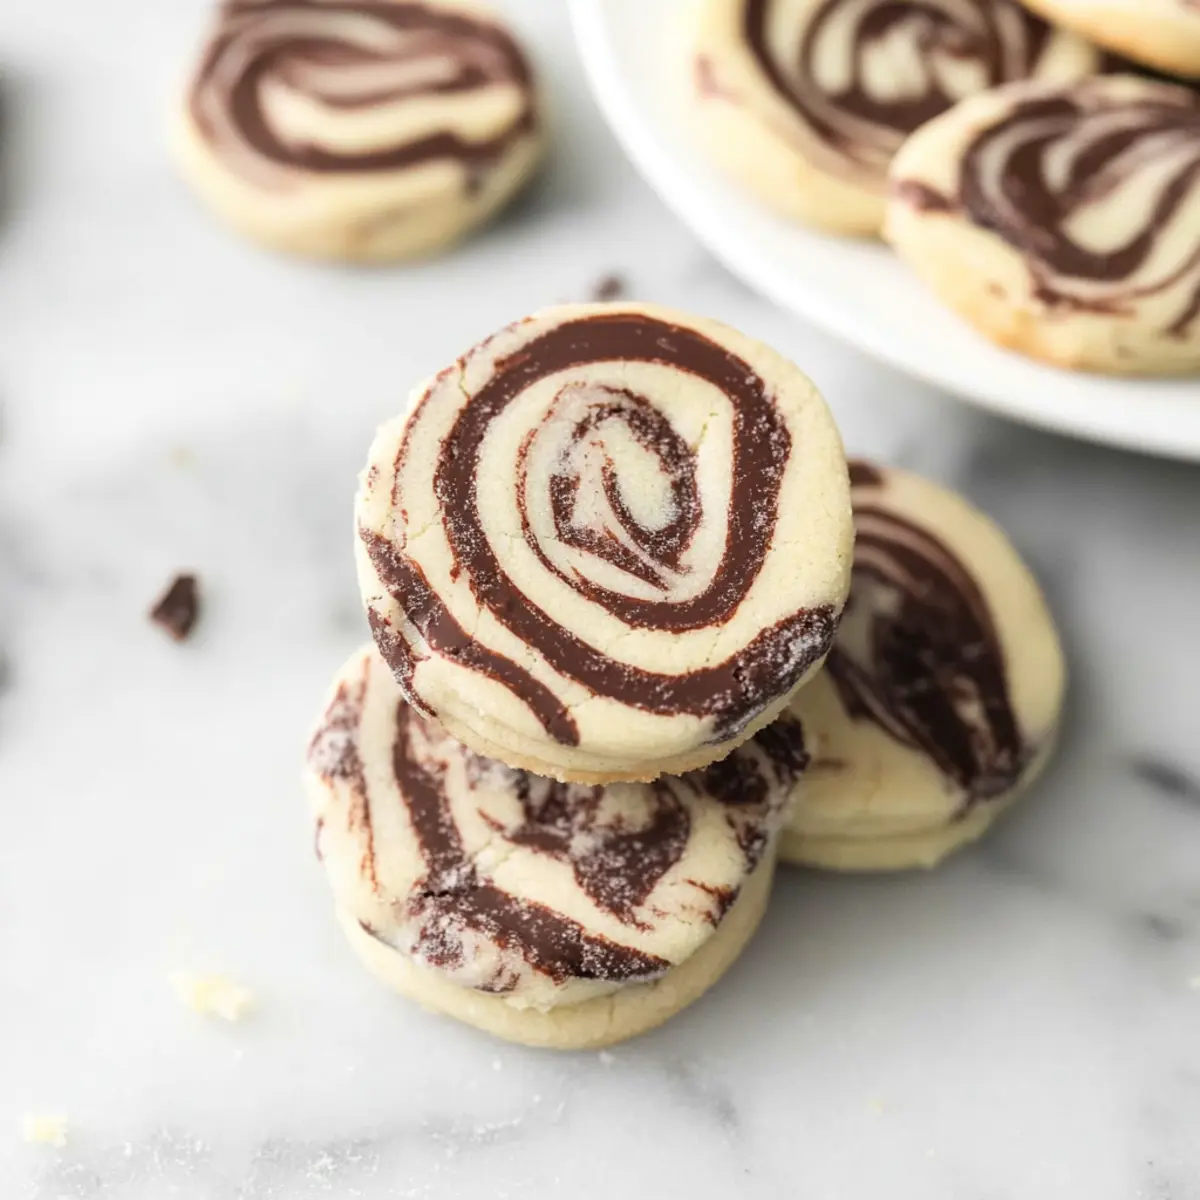
Visual appeal makes them perfect for holiday gatherings—each cookie’s marbled design is as delightful to see as it is to eat.
Versatility shines: Swap extracts for other flavors like almond or vanilla to customize your cookie experience. Don’t forget to check out our Chocolate Oat Cookies for more delicious treats!
Marble Cookies Ingredients
For the Vanilla Dough
- Salted Butter – Adds richness and moisture, ensure it’s softened for easy mixing.
- Powdered Sugar – Sweetens and creates a smooth texture; no substitute needed for best results.
- Vanilla Extract – Enhances the flavor; feel free to replace it with almond extract for a twist.
- All-Purpose Flour – Provides structure; measure accurately for great results.
For the Chocolate Peppermint Dough
- Salted Butter – Use the same as in the vanilla dough for consistent flavor and texture.
- Powdered Sugar – Necessary for sweetness and smoothness; stick with powdered sugar for optimal effect.
- Peppermint Extract – Imparts the classic holiday flavor; swap for vanilla if you want a non-peppermint version.
- Cocoa Powder – Delivers the chocolate flavor in your marble cookies; choose high-quality cocoa for richness.
- All-Purpose Flour – Again for structure and consistency; proper measurement is key.
These ingredients come together to create not just cookies, but a festive centerpiece for your holiday baking! Enjoy creating these delicious marble cookies.
Step‑by‑Step Instructions for Chocolate Peppermint Marble Cookies
Step 1: Prepare Vanilla Dough
Cream together 1 cup of softened salted butter and 1 cup of powdered sugar in a mixing bowl until the mixture is light and fluffy, about 2-3 minutes. Add 1 teaspoon of vanilla extract and mix well. Gradually incorporate 2 cups of all-purpose flour until a soft dough forms. Shape the dough into a disk, wrap it in plastic wrap, and chill in the refrigerator for at least 30 minutes.
Step 2: Prepare Chocolate Peppermint Dough
In the same bowl (no need to clean), beat 1 cup of softened salted butter with 1 cup of powdered sugar until smooth and creamy. Stir in 1 teaspoon of peppermint extract for that festive kick. Gradually mix in ½ cup of cocoa powder followed by 1 cup of all-purpose flour until you achieve a clumping texture. Shape this dough into a disk, wrap, and chill alongside the vanilla dough for another 30 minutes.
Step 3: Roll Out Doughs
Once chilled, place each dough between two sheets of parchment paper. Roll the vanilla dough into a 9-by-12 inch rectangle. Repeat with the chocolate peppermint dough, creating the same sized rectangle. Carefully tear the chocolate dough into irregular pieces and layer them on top of the vanilla dough, arranging them artfully for a beautiful marbled appearance.
Step 4: Marble Dough
Using your hands, fold and twist the two layers of dough together. This will create the desired marbled effect. Once well combined but still visually distinct, shape the dough into a log, about 2 inches in diameter. Wrap the log tightly in plastic wrap and chill in the refrigerator until firm, preferably for at least 30 minutes, to ensure clean slicing when you’re ready to bake.
Step 5: Bake Cookies
Preheat your oven to 350°F (175°C) while the dough sets. Once chilled, unwrap the dough log and slice it into ¼-inch thick rounds using a sharp knife. Carefully arrange the cookies on a lined baking sheet, making sure to leave space for spreading. Bake for 16-20 minutes, or until the edges are golden but the centers remain soft. Let cool on the baking sheet for a few minutes before transferring to a wire rack to cool completely.
Marble Cookies Customization Ideas
Feel free to get adventurous and customize these delicious marble cookies to suit your taste and dietary needs!
-
Vanilla Swap: Replace peppermint extract with almond or vanilla extract for a different flavor profile that still delights.
You can enjoy a lovely almond aroma that pairs beautifully with the chocolate, making each bite unexpectedly delightful. -
Cocoa-Free Treats: Use finely ground nuts or seed flour in place of cocoa for a lovely nutty twist that adds texture and flavor.
This variation can make your cookies unique while providing a gluten-free option; simply adjust the flour to maintain consistency. -
Meringue Magic: Incorporate beaten egg whites for a light and airy texture that enhances the cookie’s tenderness.
This slight change brings a lovely puff to your cookies, creating a melt-in-your-mouth experience that feels festive and fun! -
Minty Infusion: Add crushed candy canes or peppermint candy pieces into the dough for extra texture and a delightful crunch.
Every bite will be bursting with festive cheer, elevating the cookie’s holiday spirit and making them even more irresistible. -
Seasonal Flavor Boost: Include spices like cinnamon or nutmeg in your vanilla dough for a seasonal touch that warms the palate.
Imagine cozy holidays filled with the scent of baking as these spices mingle with the classic flavors of chocolate and peppermint. -
Fruit Twist: Swap cocoa for finely chopped freeze-dried fruits like strawberries or raspberries for a colorful, fruity variation.
This can add a tangy new element to the cookies and turn them into a beautiful treat for the eyes and taste buds alike. -
Spicy Kick: Add a pinch of cayenne pepper or chili powder to the chocolate dough for an unexpected spicy twist.
The heat from the spices pairs interestingly with the chocolate, surprise your guests with this bold flavor infusion. -
Nutty Crunch: Fold in chopped walnuts or pecans for a delightful texture contrast that adds a nutty dimension.
Pairing the chocolate and peppermint with crunchy nuts offers a completely different cookie experience that is equally delightful.
Don’t forget to explore other delicious options like our Chocolate Oat Cookies for inspired variations!
Storage Tips for Marble Cookies
-
Room Temperature: Store baked marble cookies in an airtight container at room temperature for up to 1 week to keep them soft and flavorful.
-
Fridge: If the weather is particularly warm, you can keep the cookies in the fridge for up to 3 days; just ensure they’re well-wrapped to avoid any dryness.
-
Freezer: For longer storage, freeze unbaked dough or baked cookies in a freezer-safe container or bag for up to 3 months. Wrap tightly to prevent freezer burn.
-
Reheating: If the cookies have been frozen, simply thaw them at room temperature. For a fresh-baked taste, reheat baked cookies in a preheated oven at 350°F for about 5 minutes. Enjoy your delightful marble cookies!
Expert Tips for Marble Cookies
-
Creaming Technique: Properly cream the butter and sugar until light and fluffy; this ensures your marble cookies have a tender texture.
-
Dough Chilling: Don’t skip the chilling steps! Chilling the dough helps maintain shape during slicing and prevents excessive spreading while baking.
-
Quality Cocoa: Use high-quality cocoa powder for a richer chocolate flavor that really shines through in your marble cookies.
-
Marbling Mastery: To achieve the best marbled effect, fold and twist the dough gently—avoid over-mixing, which can lead to a muddy appearance.
-
Storage Solutions: Keep your marble cookies fresh in an airtight container for up to a week. You can also freeze the dough for future baking adventures!
Make Ahead Options
These Chocolate Peppermint Marble Cookies are perfect for busy home cooks looking to streamline their holiday baking! You can prepare the dough up to 3 days in advance by wrapping it tightly in plastic wrap and refrigerating it. Additionally, for even longer storage, the dough can be frozen for up to 3 months—just make sure to double-wrap it to prevent freezer burn. When you’re ready to bake, simply thaw the dough overnight in the refrigerator. After slicing, bake them as directed for cookies that are just as delicious as fresh. This make-ahead magic allows you to enjoy the festive flavors without the last-minute rush!
What to Serve with Chocolate Peppermint Marble Cookies
Imagine cozying up on a chilly evening with a delightful spread that complements sweet, minty flavors and the festive spirit.
- Hot Chocolate: A luxurious beverage that pairs beautifully with the cookies, enhancing their chocolate flavor while adding a touch of warmth.
- Coffee: The rich, bold taste of coffee contrasts the sweetness of the cookies, making each bite even more enjoyable.
- Whipped Cream: A dollop of freshly whipped cream brings a lightness to the plate, highlighting the peppermint essence and adding creaminess.
- Peppermint Bark: Combining similar flavors and textures, this treat amplifies the festive vibe and makes for a perfect holiday snack.
- Ice Cream: A scoop of vanilla or chocolate ice cream balances the cookies’ richness, creating a delightful contrast in temperatures.
- Festive Fruit Salad: The tartness of berries or citrus offers a refreshing, zesty contrast that cuts through the cookie’s sweetness beautifully.
- Eggnog: This holiday classic adds a rich, spiced flavor that complements the chocolate and peppermint perfectly, creating a cozy festive atmosphere.
- Chocolate Milk: A childhood favorite, serving chocolate milk adds a playful touch that pairs well with the indulgent cookies.
- Nutty Biscotti: Dip these crunchy delights in coffee or tea to develop deeper flavors that meld wonderfully with marble cookie sweetness.
Chocolate Peppermint Marble Cookies Recipe FAQs
What should I look for when selecting ingredients?
Absolutely! When choosing your ingredients, ensure that your salted butter is softened, making it easier to cream with powdered sugar. For the peppermint extract, go for pure extract rather than imitation for the best flavor. Also, select high-quality cocoa powder; this detail can significantly elevate the chocolate flavor in your marble cookies.
How long can I store these cookies after baking?
You can store your baked marble cookies in an airtight container at room temperature for up to 1 week. If stored correctly, they’ll stay delightful and soft. If you notice any staleness, you can pop them in the microwave for a few seconds to warm them up and regain some softness!
Can I freeze the dough for marble cookies?
Yes, indeed! To freeze the dough, wrap your formed log tightly in plastic wrap, then place it in a freezer-safe bag. This method prevents freezer burn and keeps the dough fresh for up to 3 months. When you’re ready to bake, just thaw it in the refrigerator overnight before slicing and baking as per the instructions.
What if my dough is too sticky or too dry?
If your dough is too sticky, try chilling it a bit longer, as this can help firm it up. Alternatively, you can sprinkle in a little extra flour, but add it gradually to avoid making the dough too dry. On the other hand, if it’s too dry, add a teaspoon of milk or an extra tablespoon of softened butter to bring it back to a perfect texture.
Can these cookies be made gluten-free?
Very! To make gluten-free marble cookies, substitute all-purpose flour with a one-to-one gluten-free baking blend. Make sure to check that all other ingredients are gluten-free as well, and you’ll have delicious cookies without sacrificing flavor.
What can I do to enhance the peppermint flavor?
If you’re a peppermint enthusiast, consider adding crushed peppermint candies or chocolate chips that include peppermint flavor to the dough before baking. This addition will not only intensify the minty taste but also create a delightful surprise in every bite of your marble cookies!

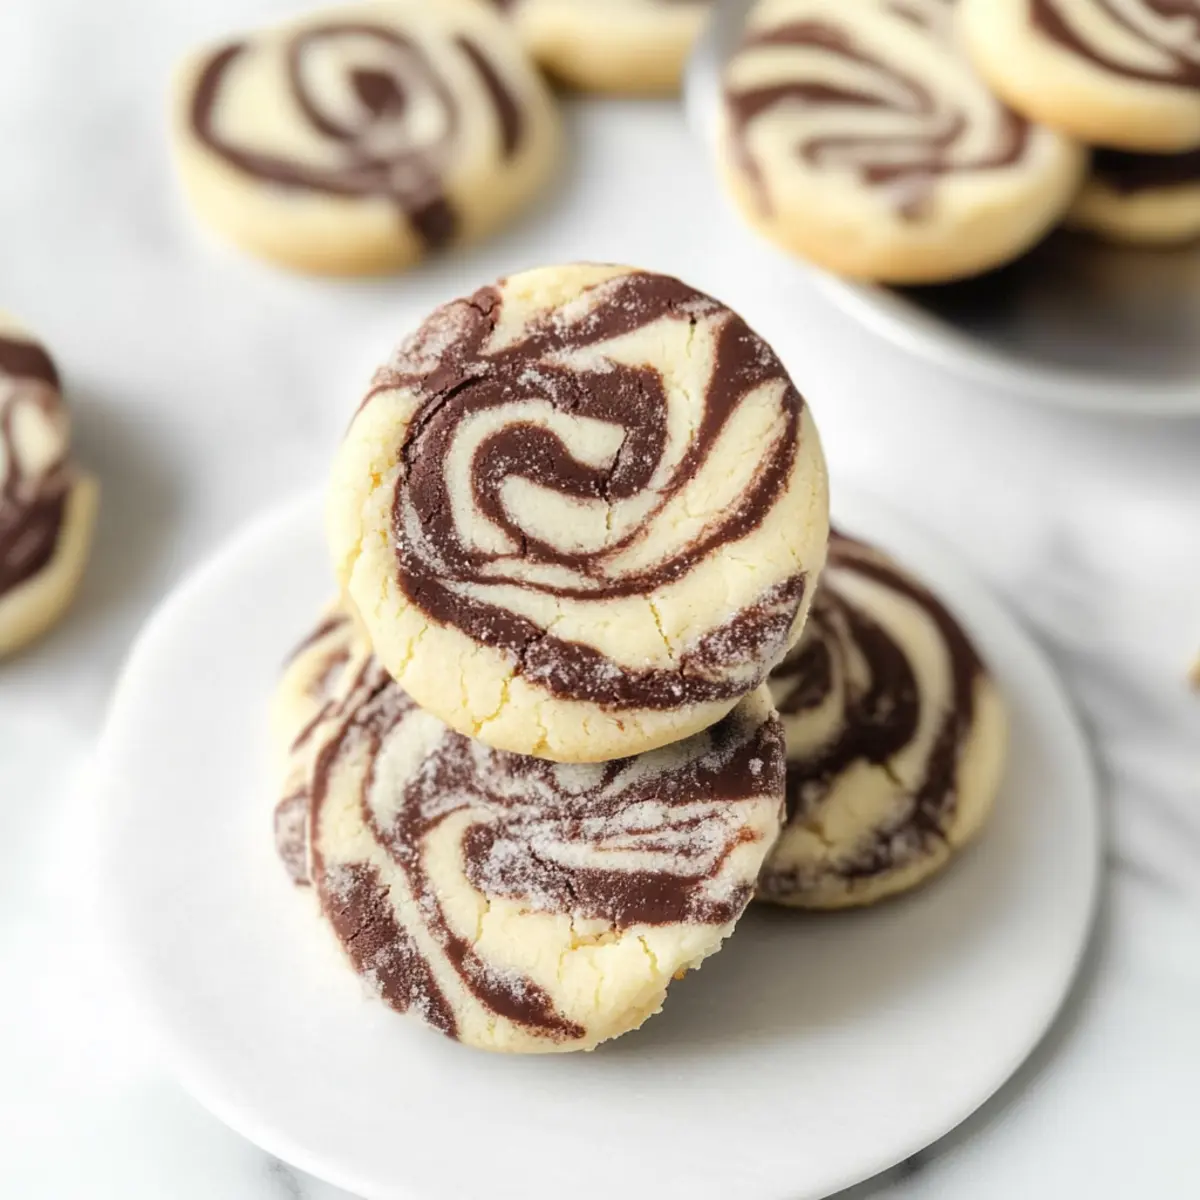
Delicious Marble Cookies with Chocolate Peppermint Swirls
Ingredients
Equipment
Method
- Cream together butter and powdered sugar in a bowl until light and fluffy. Add vanilla extract and mix well. Gradually incorporate all-purpose flour until a soft dough forms. Shape into a disk, wrap, and chill for at least 30 minutes.
- In the same bowl, beat butter and powdered sugar until creamy. Stir in peppermint extract. Gradually mix in cocoa powder and all-purpose flour until clumpy. Shape into a disk, wrap, and chill for another 30 minutes.
- Roll out each dough between parchment paper into a 9-by-12 inch rectangle. Tear chocolate dough into pieces and layer on top of vanilla dough for marbling.
- Fold and twist the two layers of dough together, then shape into a log. Wrap tightly and chill in the refrigerator until firm.
- Preheat oven to 350°F. Slice the chilled dough into ¼-inch rounds and arrange on a lined baking sheet. Bake for 16-20 minutes until edges are golden. Let cool before transferring to a wire rack.
Leave a Reply