
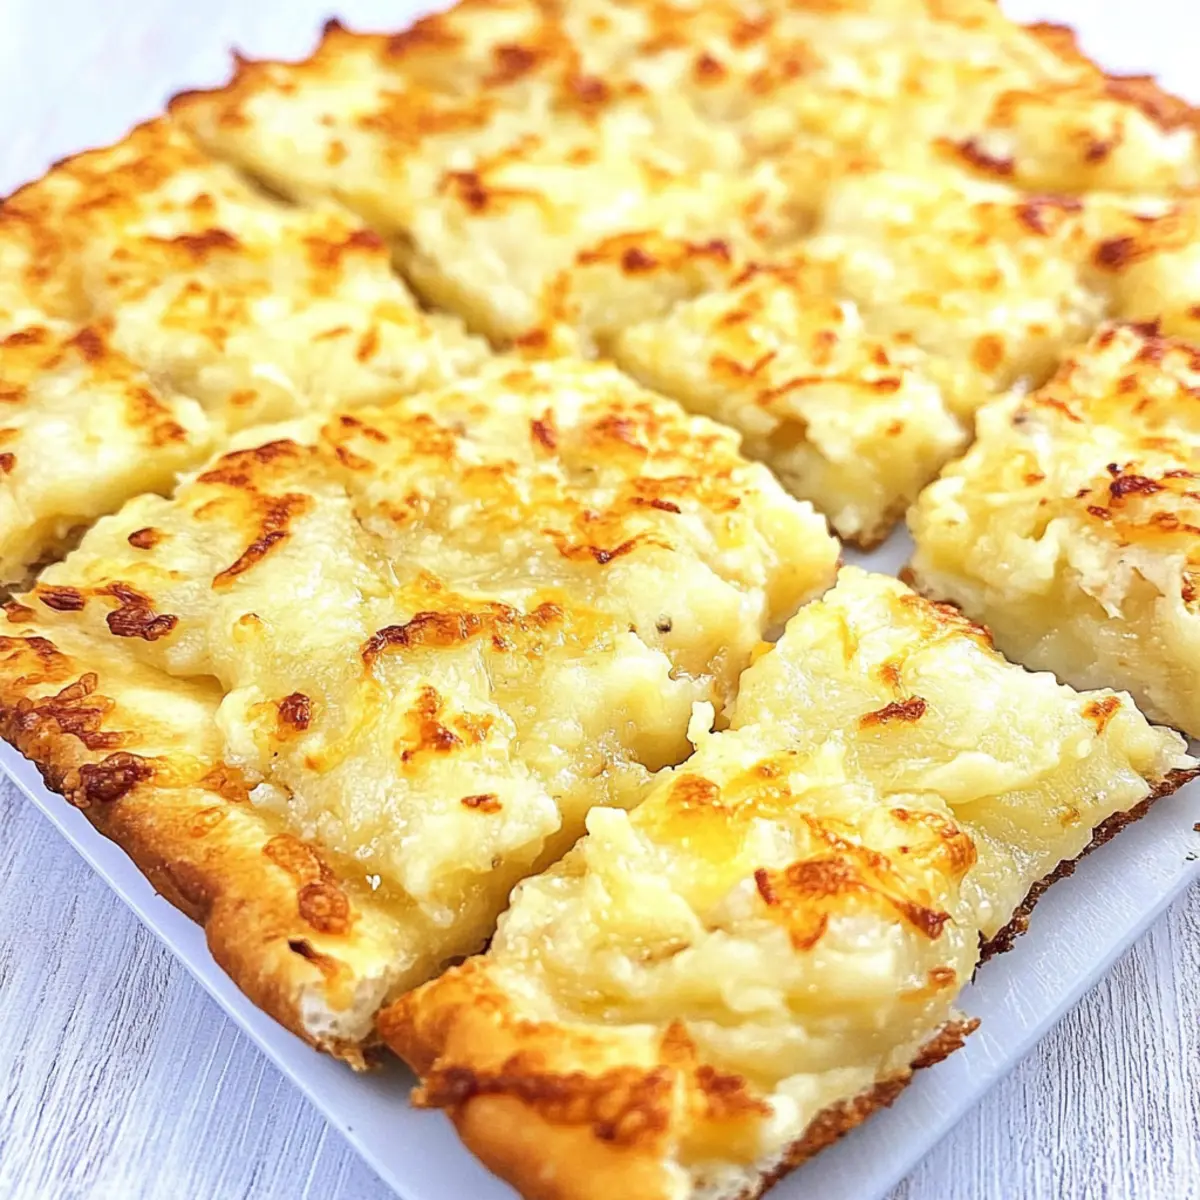
There’s something magical about gathering around a table filled with comfort food that feels like a warm hug from the inside. Today, I’m thrilled to introduce you to my Cheesy Pagach, also known as Pierogi Pizza—a homey dish celebrated in Northeast Pennsylvania. This delightful creation pairs a crispy pizza crust with a luscious filling of creamy mashed potatoes, golden sautéed onions, and a generous sprinkle of sharp cheddar cheese. Not only is this recipe easy to whip up, it’s a fantastic way to impress family and friends with minimal fuss. Each bite offers the perfect balance of fluffy and savory, making it ideal for cozy dinners or laid-back gatherings. Curious to learn about unexpected twists you can add to this comforting favorite? Let’s dive in!
What makes Pierogi Pizza so special?
Comforting and rich, this dish is a true crowd-pleaser that brings smiles to every table. Unique flavors shine through with the combination of creamy mashed potatoes, savory sautéed onions, and sharp cheddar cheese. Versatile and easy, you can customize it with different toppings like crispy bacon or even try High Protein Pizza for a healthier twist! Quick prep and cook time mean less fuss and more fun with family and friends. Perfect for leftovers, enjoy it warm or cold, making it a fantastic snack any time of day!
Pierogi Pizza Ingredients
For the Crust
• Store-bought pre-baked rectangular Sicilian-style pizza crust – This base provides sturdy support for the delicious toppings. Note: Look for it in the refrigerated/dairy section of your supermarket.
For the Filling
• Potatoes (2 pounds, peeled and cut into 1-inch pieces) – These are your creamy filling stars. Tip: Russets or Yukon Golds work best for that perfect texture.
• Butter (4 tablespoons) – Adds a rich and flavorful touch to your sautéed onions.
• Chopped onions (4 cups) – Provides a sweet and savory depth of flavor when cooked until golden brown.
For the Topping
• Extra-sharp cheddar cheese (3 cups, divided) – The key ingredient that brings a bold, cheesy flavor. Feel free to mix it with mozzarella for varied tastes!
• Milk (¼ cup) – Helps create a smooth and spreadable potato mixture.
• Salt and pepper – Essential for seasoning; taste and adjust according to your preference.
This comforting Pierogi Pizza is sure to become a beloved staple in your home!
Step‑by‑Step Instructions for Pierogi Pizza
Step 1: Preheat the Oven and Prepare the Crust
Begin by preheating your oven to 425°F (220°C). While the oven heats, place your store-bought pre-baked Sicilian-style pizza crust on a large baking sheet. This crust forms the sturdy foundation for your delicious Pierogi Pizza, so ensure it’s evenly placed to avoid any spills during baking.
Step 2: Boil the Potatoes
In a large pot, combine the peeled and chopped potatoes with enough salted water to cover them completely. Bring the pot to a rolling boil and cook the potatoes for 10–12 minutes or until they are fork-tender. Once cooked, drain the potatoes and allow any excess moisture to evaporate for a fluffy filling.
Step 3: Sauté the Onions
In a skillet over medium heat, melt 4 tablespoons of butter, then add the chopped onions. Sauté them for about 15 minutes, stirring occasionally, until they turn golden brown and caramelized. This will infuse your Pierogi Pizza with a wonderful sweetness, so don’t rush this step; set aside half for topping later.
Step 4: Mash the Potatoes
Transfer the drained potatoes to a mixing bowl and mash them until smooth. Fold in 2½ cups of the sautéed onions and add ¼ cup of milk to achieve a creamy, spreadable texture. Season the mixture with salt and pepper to taste, ensuring the flavors are balanced before spreading onto the crust.
Step 5: Assemble the Pizza
Spread the creamy potato mixture evenly over the prepared pizza crust, leaving about a ½ inch border around the edges. The generous layer of filling ensures every bite of your Pierogi Pizza is satisfying. Your masterpiece is now ready to bake; place it in the preheated oven for 10 minutes until the crust is golden and crisp.
Step 6: Broil for Toppings
After baking, remove the pizza and top it with the reserved sautéed onions and the remaining ½ cup of extra-sharp cheddar cheese. Broil the pizza for an additional 5 minutes or until the cheese is melted and bubbly. This step adds an irresistible gooey layer that enhances the overall flavor.
Step 7: Cool and Slice
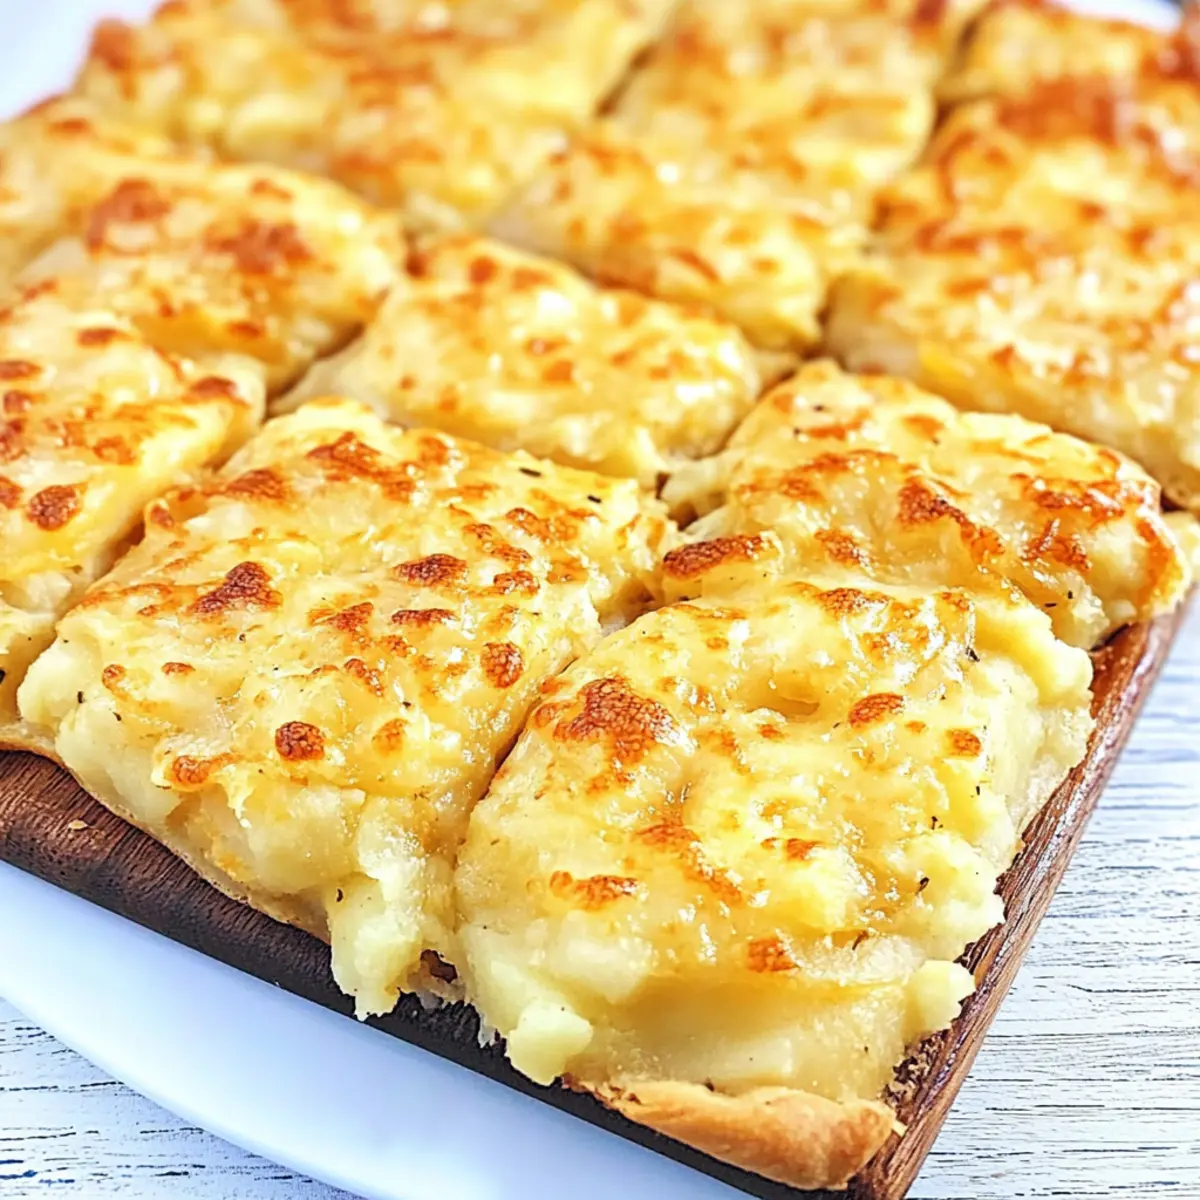
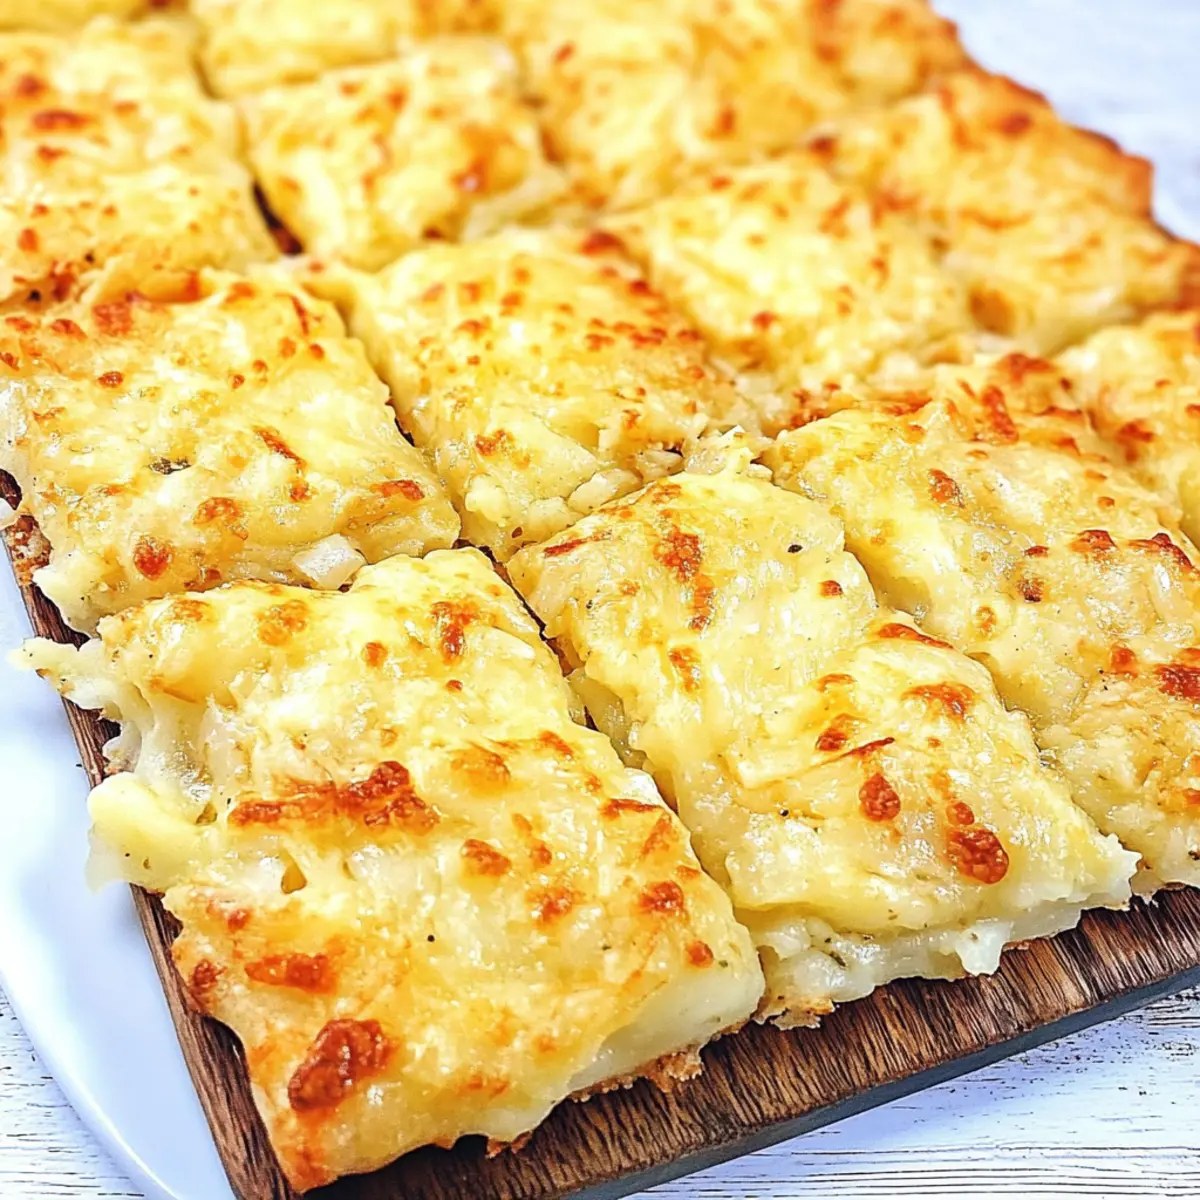
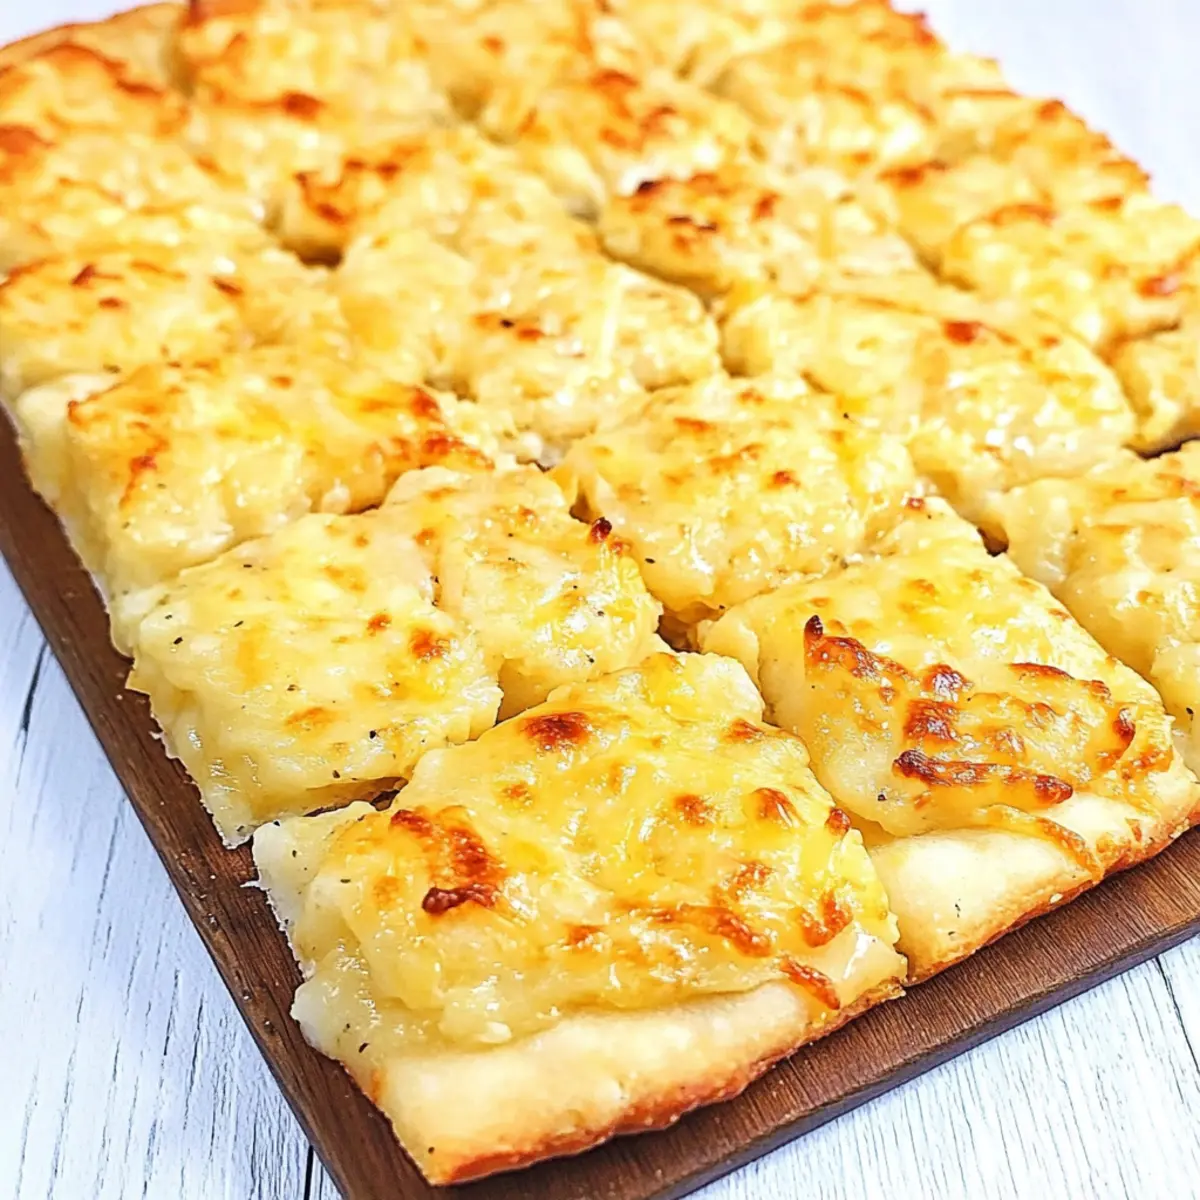
Once broiling is complete, take the Pierogi Pizza out of the oven and let it cool for 5–10 minutes. This resting period helps firm up the filling and makes slicing easier. Cut the pizza into 12 squares, and enjoy this cheesy, comforting dish with family and friends!
Expert Tips for Pierogi Pizza
-
Season Your Potatoes: Always salt the water when boiling your potatoes. This step enhances the flavor and ensures your filling isn’t bland.
-
Avoid Watery Filling: After boiling, let the drained potatoes sit for a minute to evaporate excess moisture, ensuring a creamy texture without being runny.
-
Taste Before Baking: Don’t forget to taste your potato mixture before spreading it on the crust. Adjust salt and pepper as needed for the best flavor in your Pierogi Pizza.
-
Crust Base Choices: If you want a thicker crust, consider using homemade dough or a thicker Italian-style crust for added heartiness and texture.
-
Storing Leftovers: To maintain the crispiness of the crust when reheating, avoid the microwave. Instead, reheat in a 325°F oven or a skillet for that delicious crispy texture.
Pierogi Pizza Variations & Substitutions
Feel free to customize your Pierogi Pizza and make it uniquely yours—explore these delightful twists that will elevate your dish!
- Cheese Swap: Substitute sharp cheddar with mozzarella or mix for a creamier flavor profile.
- Meat Lovers: Add cooked sausage or crispy bacon to the potato filling for a heartier, savory delight.
- Herb Infusion: Mix in fresh herbs like chives or parsley with the potato mixture for a vibrant flavor boost.
- Gluten-Free Crust: Use a gluten-free pizza crust or cauliflower crust to make this dish accessible to everyone.
- Spicy Kick: Stir in some crushed red pepper flakes or jalapeños to the potato mixture for a fiery twist.
- Vegetable Boost: Add sautéed spinach, mushrooms, or bell peppers to the filling for added nutrition and flavor.
- Savory Topping: Top with a dollop of sour cream or Greek yogurt after baking to add creaminess and tang.
You can even switch things up entirely by trying a twist on your pizza crust. If you’re intrigued, check out my simple approach to making High Protein Pizza, which is another delicious way to enjoy your favorite comfort food!
What to Serve with Cheesy Pagach (Pierogi Pizza)
Imagine a cozy dinner where each bite is filled with warmth and flavor, perfectly complementing your main dish!
- Crispy Brussels Sprouts: Roasted until golden, the nuttiness of these sprouts provides an excellent texture contrast to the creamy pizza.
- Garden Salad: A fresh mix of greens dressed in a light vinaigrette adds bright, zesty notes that balance the richness of the cheese.
- Beet Relish: This tangy condiment not only brightens the plate but also enhances the savory elements of the Pierogi Pizza with its sweet-earthy flavors.
- Pickled Vegetables: The crunch and acidity of pickles cut through the richness of the dish, making for a refreshing pairing.
- Garlic Bread: Freshly baked garlic bread offers a delightful crunch and flavor, inviting you to scoop up any leftover potato filling.
Enhancing your meal with these sides provides varied textures and flavors, ensuring a satisfying dining experience for everyone!
Make Ahead Options
These Cheesy Pierogi Pizza bites are perfect for meal prep enthusiasts! You can prepare the creamy potato mixture and sauté the onions up to 24 hours in advance, storing them in the refrigerator. For even greater convenience, you can fully assemble the Pierogi Pizza and refrigerate it for up to 3 days before baking. When ready to enjoy, simply preheat your oven and bake the pizza directly from the fridge, adding a few extra minutes to ensure it’s heated through. This approach maintains the dish’s delicious quality, ensuring the crust remains crispy and the filling flavorful. With these make-ahead tips, you can savor all the comforting goodness of Pierogi Pizza with minimal fuss on busy weeknights!
How to Store and Freeze Pierogi Pizza
Fridge: Store any leftover Pierogi Pizza in an airtight container in the refrigerator for up to 3 days. This keeps it fresh and ready to enjoy later!
Freezer: For longer storage, wrap slices of Pierogi Pizza tightly in plastic wrap and then in aluminum foil. Freeze for up to 2 months, preserving its delicious flavor.
Reheating: To reheat, place the pizza in a 325°F oven for about 15 minutes to regain its crispiness. Alternatively, you can microwave briefly and then crisp it in a skillet on the stovetop.
Room Temperature: If serving at room temperature, it’s best to consume Pewrog Pizza within 2 hours to maintain food safety and quality.
Pagach (Pierogi Pizza) Recipe FAQs
What type of potatoes should I use for Pagach?
For the best creamy filling, I recommend using Russet or Yukon Gold potatoes. Both varieties will give you that perfect fluffy texture that pairs beautifully with the other ingredients.
How should I store leftovers?
Store any leftover Pagach in an airtight container in the refrigerator for up to 3 days. This keeps it fresh and delicious, ready to reheat and enjoy later!
Can Pagach be frozen?
Absolutely! To freeze, wrap slices of Pagach tightly in plastic wrap, and then in aluminum foil to maintain flavor and prevent freezer burn. It can be frozen for up to 2 months. Just make sure to label and date your packages!
What’s the best way to reheat Pagach?
For the best results, reheat your Pagach in a 325°F oven for about 15 minutes to restore its crispiness. If you’re in a hurry, you can microwave it briefly and then place it in a skillet on the stovetop to regain that delicious crunch.
Are there any dietary considerations to keep in mind?
Yes, when making Pagach, be aware of potential allergies to dairy in ingredients like butter and cheese. For a dairy-free version, you can substitute with plant-based butter and cheese alternatives. Always check ingredient labels to ensure they are free from allergens that may affect you or your guests.
Cheesy Pierogi Pizza: Comfort Food You’ll Crave Again!
Ingredients
Equipment
Method
- Preheat your oven to 425°F (220°C) and prepare the pizza crust on a large baking sheet.
- In a large pot, boil the peeled and chopped potatoes in salted water for 10-12 minutes until fork-tender. Drain and evaporate excess moisture.
- Melt butter in a skillet over medium heat, add onions, and sauté for 15 minutes until golden brown, reserving half for topping.
- Mash drained potatoes in a bowl, fold in 2½ cups sautéed onions, and mix in milk, seasoning with salt and pepper.
- Spread the creamy potato mixture on the prepared pizza crust, leaving a ½ inch border.
- Bake for 10 minutes until the crust is golden and crisp.
- Remove the pizza, top with reserved onions and remaining cheese, and broil for 5 minutes until cheese is melted.
- Let cool for 5-10 minutes, slice into 12 squares, and enjoy!
Leave a Reply