
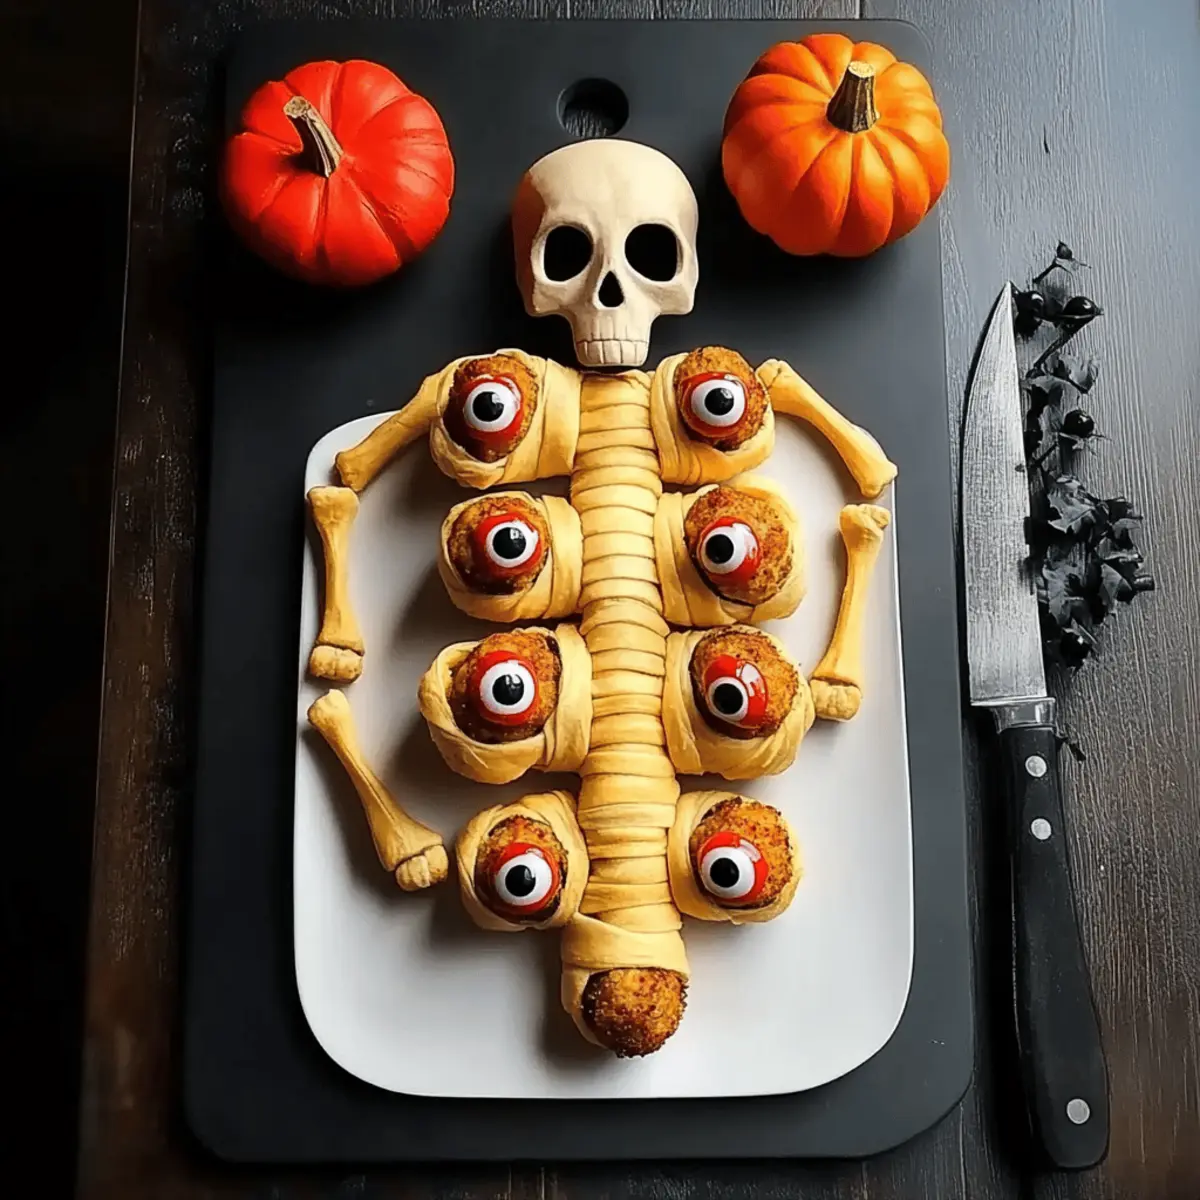
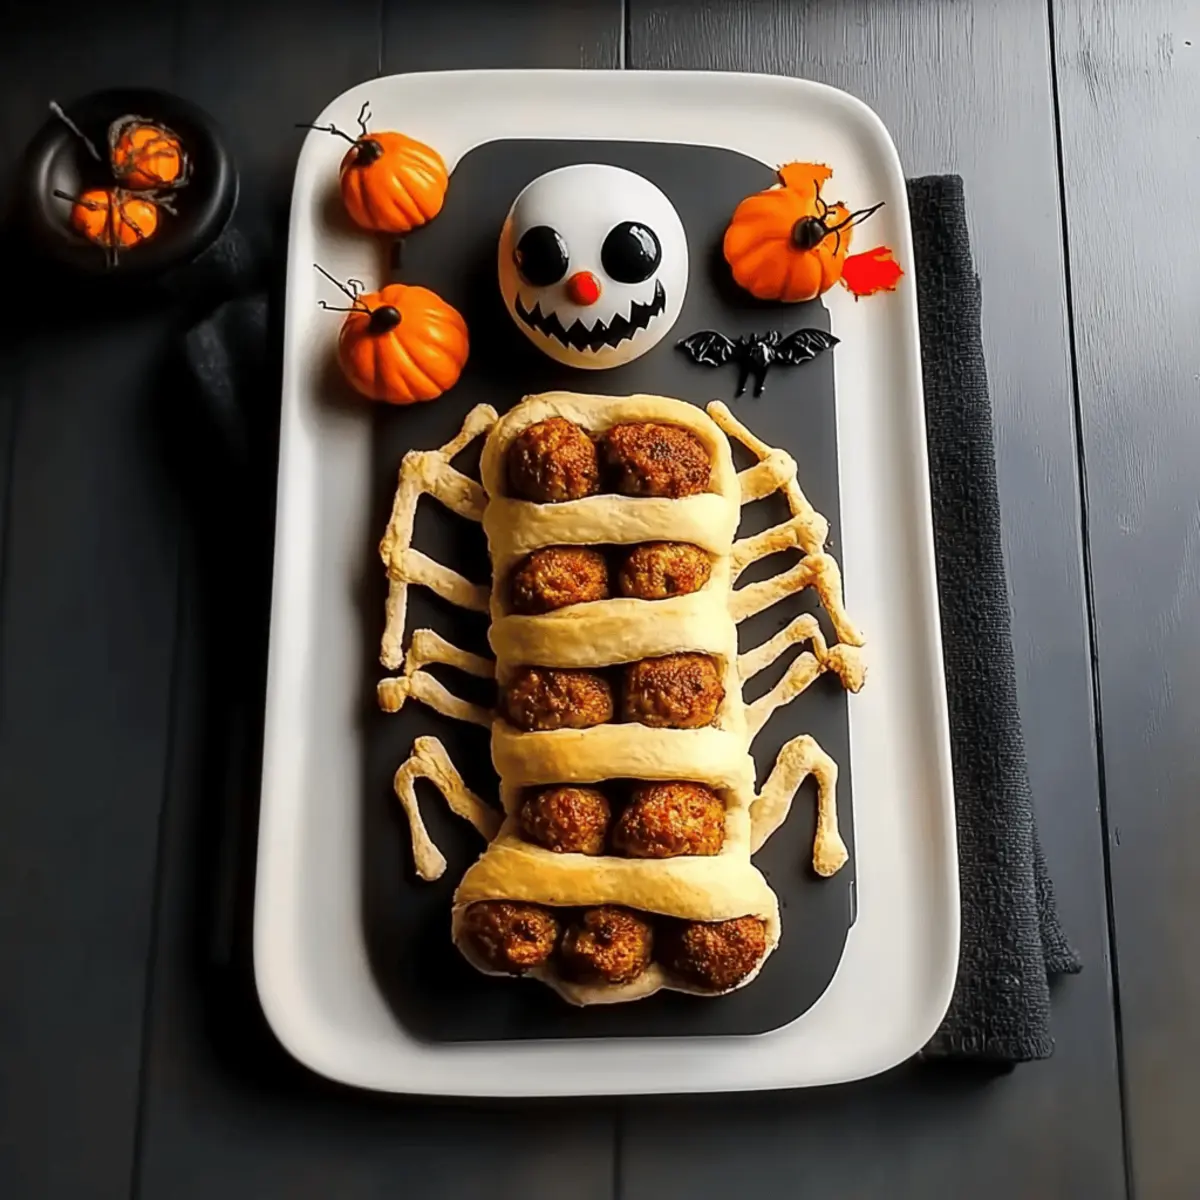
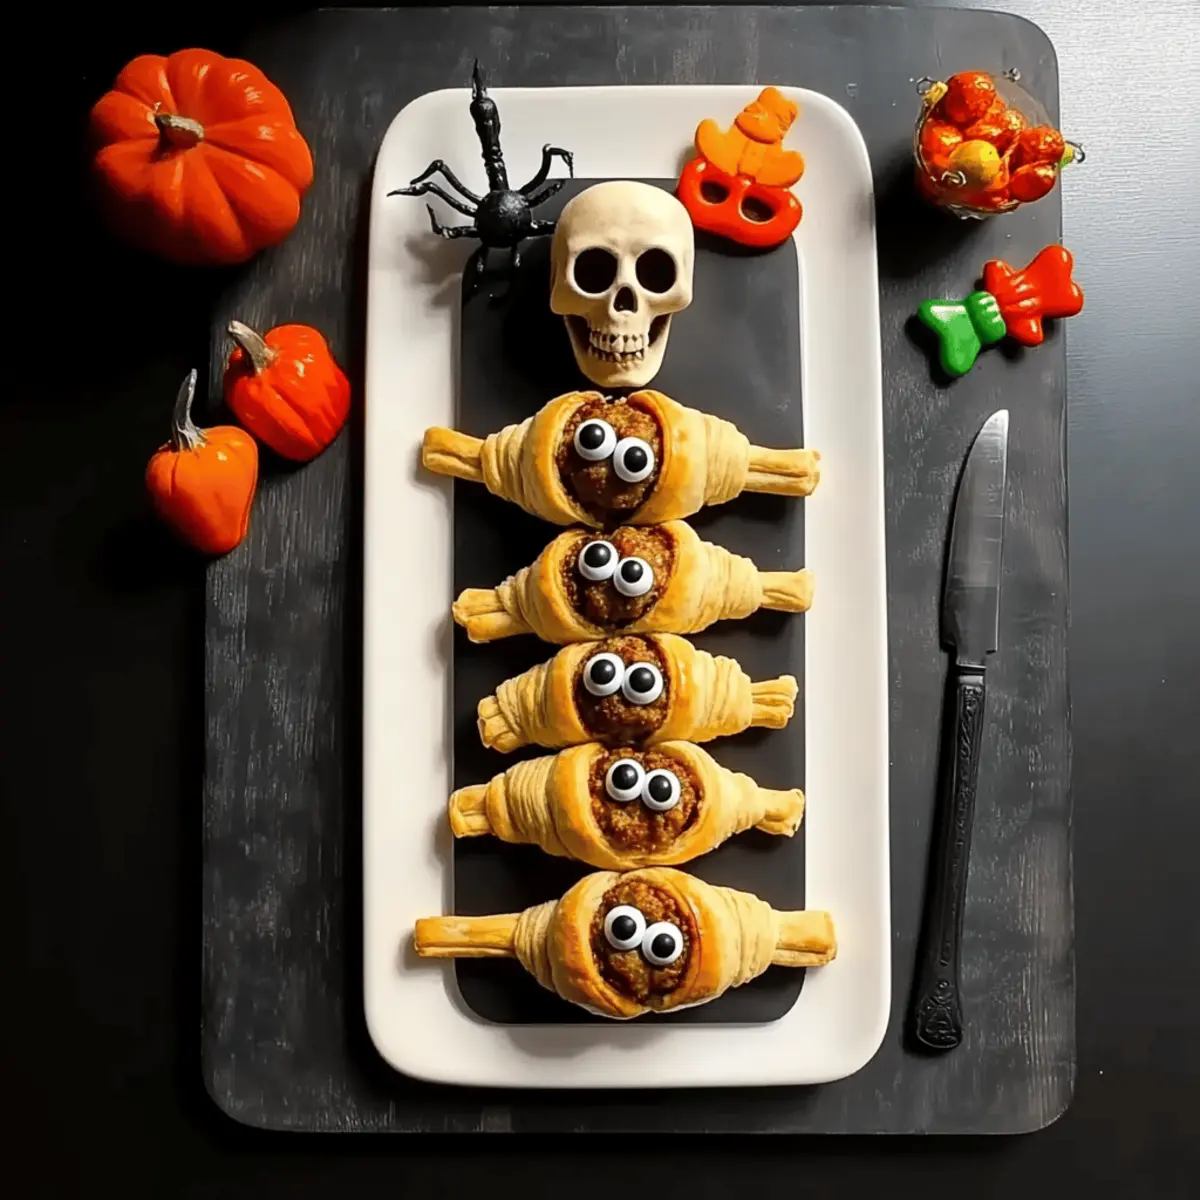
As I stepped into the kitchen, a whirlwind of festive ideas danced in my mind, ready to come to life for our Halloween bash. When it comes to creating an unforgettable Halloween surprise, the Skeleton Cheese Board is a showstopper that’s sure to mesmerize your guests! Not only does it allow for creativity in presentation, but it’s also an easy, crowd-pleasing choice that everyone—kids and adults alike—will love. Imagine the laughter and delight as your friends dig into a platter filled with creepy and delicious delights! This recipe is a perfect way to elevate your party spread while keeping things light and fun. Curious about how to craft the ultimate spooky cheese board? Let’s embark on this deliciously thrilling journey together!
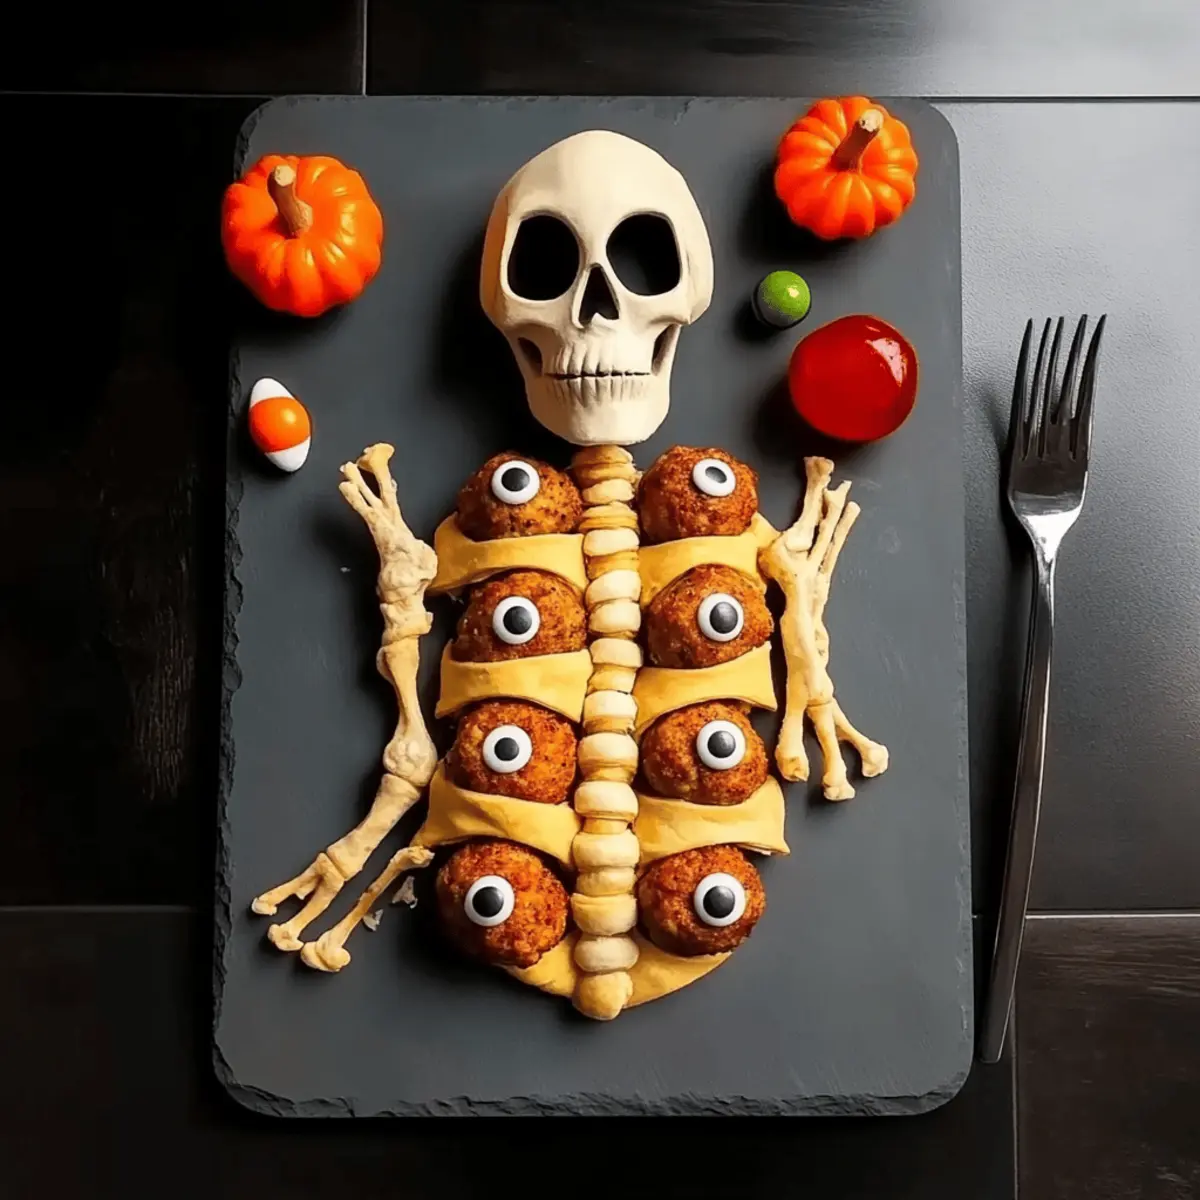
Why is the Skeleton Cheese Board a Must?
Visual Appeal: The Skeleton Cheese Board transforms simple ingredients into a stunning centerpiece that will captivate your guests. Versatile Options: Customize it with a variety of cheeses, fruits, and veggies to suit any palate. Easy Prep: Assemble it in minutes without cooking, letting you focus on other party details. Crowd-Pleaser: Perfect for all ages, ensuring everyone can enjoy a spooky snack. Healthy Choices: Incorporate fresh produce for a guilt-free, tasty treat, complementing other favorites like Mashed Potato Cheese that balance indulgence with nutrition. Interactive Fun: Encourage guests to design their own skeleton faces, making it a fun icebreaker!
Skeleton Cheese Board Ingredients
For the Cheese Selection
• Cheddar Cheese – A classic choice with great melting properties; consider using orange cheddar for a spooky hue.
• Brie Cheese – Creamy and rich, it’s perfect for spreading; make it extra festive with a sprinkle of edible glitter.
• Goat Cheese – Tangy and soft, this option is fantastic for variety; roll it in herbs for added flavor and appeal.
For the Accompaniments
• Baguette Slices – Essential for a cheese board; opt for fresh slices for that beautiful crunch.
• Grapes – Sweet and juicy, they balance savory flavors perfectly; use black or red for a ghoulish touch.
• Carrot Sticks – Crisp and healthy, great for adding color and crunch; consider cutting them into bone shapes for fun!
• Olives – They add brininess and can easily represent spooky eyeballs; mix green and black for visual interest.
• Cherry Tomatoes – Bright and juicy, they can mimic festive decorations; try flagging them with little pumpkin toppers.
For the Additional Fun Elements
• Pretzel Sticks – Crunchy and fun, perfect for building “skeleton bones;” pair them with mustard for an added dazzle.
• Nuts (Almonds or Walnuts) – Add texture and health to your board; use them as “little skulls” by placing them in fun shapes.
• Dried Fruit (Apricots or Cranberries) – These add sweetness and color; place them to define the skeleton’s outline on the board.
• Hummus or Dip – Serve alongside your cheese; use beet hummus for a festive touch that aligns perfectly with the theme.
Embrace creativity with your Skeleton Cheese Board, transforming not only your table but your whole party experience into a delightfully spooky celebration!
Step‑by‑Step Instructions for Skeleton Cheese Board
Step 1: Gather Your Ingredients
Start by assembling all your ingredients for the Skeleton Cheese Board. Lay out your cheeses, baguette slices, fruits, and veggies on a clean countertop. Make sure to have a cutting board and knife handy for slicing, and visually check that the colors and textures will create a vibrant layout. Aim to set aside about 15 minutes for this preparation to keep everything fresh.
Step 2: Slice the Baguette
Begin by slicing the baguette into thin pieces, about half an inch thick. Arrange these slices on one side of your platter, creating a beautiful base for your cheese board. You can lightly toast the slices in the oven at 350°F for 5-7 minutes until crisp and golden, adding a delightful crunch that complements the creamy cheeses.
Step 3: Arrange the Cheeses
Next, place the cheeses onto the board, starting with the larger pieces like brie and cheddar. Cut the cheddar into fun shapes using cookie cutters—think ghosts or skeletons for added creativity. Position the goat cheese in the center, rolling it in herbs for an aromatic touch. This technique not only enhances flavor but also contributes to the visual appeal of your Skeleton Cheese Board.
Step 4: Add Fresh Fruits and Vegetables
Now it’s time to add your colorful accompaniments! Scatter the grapes, carrot sticks, and cherry tomatoes around the cheese for a burst of color. To play into the spooky theme, cut the carrot sticks to mimic bones. Group the olives to mimic eyeballs, mixing green and black to create an eye-catching contrast.
Step 5: Incorporate Crunchy Elements
For extra texture, place pretzel sticks on the board to mimic skeleton bones and sprinkle nuts like almonds or walnuts as “skulls.” Ensure these crunchy elements are evenly distributed to create a playful yet spooky design. You’ll be looking for that perfect balance that invites your guests to dive in and create their own spooky skeleton faces.
Step 6: Serve with Dips
Finish your Skeleton Cheese Board by adding a small bowl of hummus or beet hummus, which can be placed in a central location. This festive dip not only aligns with your Halloween theme but also offers a creamy contrast to the other textures. Make sure to use a spoon for serving to keep things tidy and to encourage your guests to dip in!
Step 7: Final Touches
Take a step back and admire your Skeleton Cheese Board! Adjust any elements that need repositioning for a balanced, visually impressive display. You can even sprinkle some edible glitter on the brie for that last touch of sparkle. This board is now an art piece and a delicious centerpiece that’s sure to spook and please at your Halloween party.
Expert Tips for Skeleton Cheese Board
• Cheese Variety: Choose a mix of textures and flavors—creamy brie, sharp cheddar, and tangy goat cheese create a balanced experience.
• Visual Arrangement: Think about color and shape when placing ingredients; fun cutouts and vibrant fruits will enhance your Skeleton Cheese Board’s appeal.
• Advance Prep: Prepare components a few hours ahead to allow flavors to meld and reduce stress on party day; keep vegetables crisp by storing them properly.
• Interactive Element: Encourage guests to create their own skeleton designs, making the board an engaging and fun activity, especially for kids.
• Dietary Considerations: Remember to include gluten-free and vegan-friendly options to cater to all your guests while ensuring the Skeleton Cheese Board remains festive!
What to Serve with Skeleton Cheese Board
A delightful cheese board can set the stage for a vibrant feast filled with color and flavor. Enhance your spooky gathering with these fantastic pairings!
- Crispy Baked Nachos: Layered with cheese and jalapeños, these crunchy bites are perfect for the cheese board’s creamy goodness.
- Spooky Veggie Platter: Fill a platter with fresh-colored vegetables like bell peppers and radishes, offering a fresh contrast to the rich cheeses.
- Pumpkin Spice Hummus: Complement the savory flavors with sweet and spicy pumpkin hummus for a festive dip that guests will rave about.
- Charcuterie Treats: Add prosciutto or salami slices for savory richness; the saltiness pairs wonderfully with creamy cheeses.
- Dark Chocolate Bark: Delight guests with sweet treats like dark chocolate bark sprinkled with nuts, for a balanced sweet and salty indulgence.
- Fizzy Apple Cider: Serve chilled for a refreshing, seasonal drink that perfectly matches the fun flavors of your skeleton cheese board.
- Ghoulish Fruit Skewers: Skewer grapes and melon in spooky shapes so that each bite brings a playful and festive element to your dinner.
- Graveyard Dirt Cups: Layer chocolate pudding with crushed cookies and gummy worms, creating a playful dessert that ties into the Halloween theme for a memorable finale.
Make Ahead Options
These Skeleton Cheese Boards are perfect for meal prep enthusiasts looking to save time on party day! You can slice and prepare your baguette, cheeses, and veggies up to 24 hours in advance; store them in the refrigerator in airtight containers to keep them fresh. For added convenience, consider pre-arranging some elements on the board without the dips or delicate items (like grapes), which you can add right before serving. Additionally, you can whip up beet hummus or any other dip up to 3 days ahead, storing it in the refrigerator to let the flavors meld. When it’s time to serve, simply arrange everything according to your design and let the fun begin—your guests will be impressed, and you’ll have more time to enjoy the celebration!
Skeleton Cheese Board Variations
Feel free to take this spooky delight to the next level by customizing it to your tastes!
-
Cheese Swap: Use different cheese varieties like gouda or blue cheese to introduce unique flavors. Each cheese brings its own character, making your board a rich tapestry of taste.
-
Vegetable Shapes: Cut carrot sticks and cucumbers into fun Halloween-themed shapes, like bats or pumpkins, to add a playful twist. Your guests will love the surprise of interactivity!
-
Fruit Fun: Swap out grapes for seasonal fruits like pomegranate seeds or figs for a pop of color and seasonal flavor. These changes can elevate your board while providing a delightful crunch.
-
Dippy Alternatives: Opt for flavored hummus, like roasted red pepper or olive tapenade, to provide exciting new tastes. This not only adds depth but also allows for a variety of pairings with your components.
-
Nut Varieties: Use pecans or pistachios in place of almonds for a different crunch factor. Each nut brings its own flavor profile, enhancing the overall experience of the cheese board.
-
Spooky Sauces: Serve with a side of spicy salsa or ghost pepper dip for those who dare to add a little kick! It can balance the creamy textures with a bold surprise.
-
Garnish Designs: Decorate your board with fresh herbs like rosemary to add a pop of green and a hint of aroma. This simple touch complements the skeleton theme beautifully.
-
Sweet Touches: Incorporate dark chocolate pieces or Halloween-themed candy for a sweet ending to your savory spread. You could pair these with rich cheeses for an indulgent taste contrast.
Whichever variations you choose, remember that this creative Skeleton Cheese Board invites you to play with textures and flavors. If you’re looking for more delicious ideas, check out the delightful Strawberry Crunch Cheesecake for dessert or pair it with a savory Chicken Mac Cheese to create a fantastic spread!
How to Store and Freeze Skeleton Cheese Board
Fridge: Store any leftover components in an airtight container for up to 3 days. Keep cheese wrapped and veggies in a separate bag to maintain freshness.
Room Temperature: Let your Skeleton Cheese Board sit out for no more than 2 hours at room temperature to prevent spoilage.
Reheating: If you have leftover dips, they can be gently heated in the microwave. Stir well and check temperature before serving again.
Freezer: Cheese and dried fruits can be frozen for up to 3 months, but avoid freezing fresh veggies; instead, prep them fresh for the next gathering.
Skeleton Cheese Board Recipe FAQs
What kind of cheese is best for a Skeleton Cheese Board?
Absolutely! A mix of textures and flavors is key. I recommend using creamy brie for spreading, sharp cheddar for a classic touch, and tangy goat cheese rolled in herbs for an aromatic surprise. This combo not only satisfies a variety of palates but also creates an appealing visual experience.
How should I store leftovers from the Skeleton Cheese Board?
For storage, place any leftover items in airtight containers. Cheese can be wrapped tightly and stored in the fridge for up to 3 days. Keep vegetables in a separate bag to maintain their crispness. Avoid leaving the board out for more than 2 hours at room temperature to prevent spoilage.
Can I make a Skeleton Cheese Board ahead of time?
Very! You can prepare most components a few hours before your gathering. Cut the baguette, fruits, and veggies in advance, but keep them in the fridge to maintain freshness. Assemble the board 30 minutes before serving for optimal flavor and presentation, allowing the cheese to reach room temperature.
How do I freeze components of the Skeleton Cheese Board?
If you have surplus cheese or dried fruits, these can be frozen. Wrap cheese tightly in plastic wrap, then in aluminum foil to prevent freezer burn, and it can last up to 3 months. Dried fruits also freeze well; just ensure they’re in a sealed container. Fresh veggies will not freeze well, so always prepare those fresh on the day of your gathering.
What are some dietary considerations for the Skeleton Cheese Board?
Be sure to cater to all your guests! Include lactose-free cheese options or a plant-based spread for vegan guests. Additionally, you can offer gluten-free crackers or fresh vegetables alongside to meet various dietary preferences, ensuring everyone can enjoy this spooky delight!
Can kids help with making the Skeleton Cheese Board?
The more the merrier! Inviting kids to help create their skeleton faces on the board is not only fun but also keeps them engaged. Just ensure they’re supervised while handling any sharp utensils, and let their creativity shine as they arrange the colorful ingredients!
Spook Up Your Night with a Skeleton Cheese Board Delight
Ingredients
Equipment
Method
- Gather all your ingredients for the Skeleton Cheese Board.
- Slice the baguette into thin pieces and arrange on one side of your platter.
- Arrange the cheeses onto the board with fun shapes from the cheddar.
- Add fresh fruits and vegetables around the cheese.
- Incorporate crunchy elements like pretzel sticks and nuts.
- Serve with dips in a central location on the board.
- Adjust elements for a balanced display and consider adding edible glitter.
Leave a Reply