
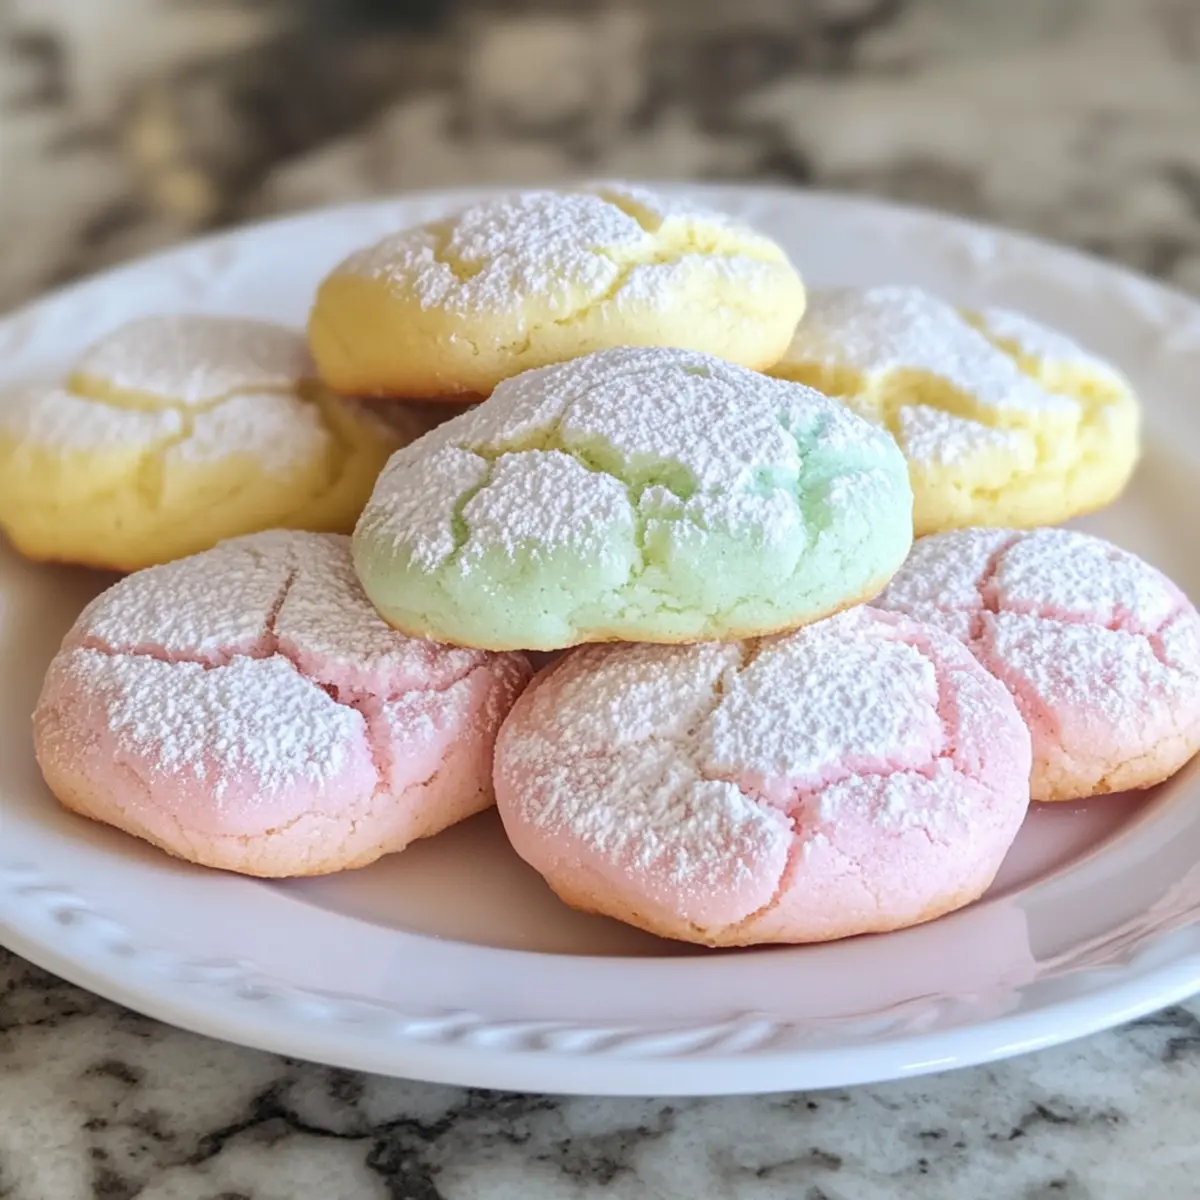
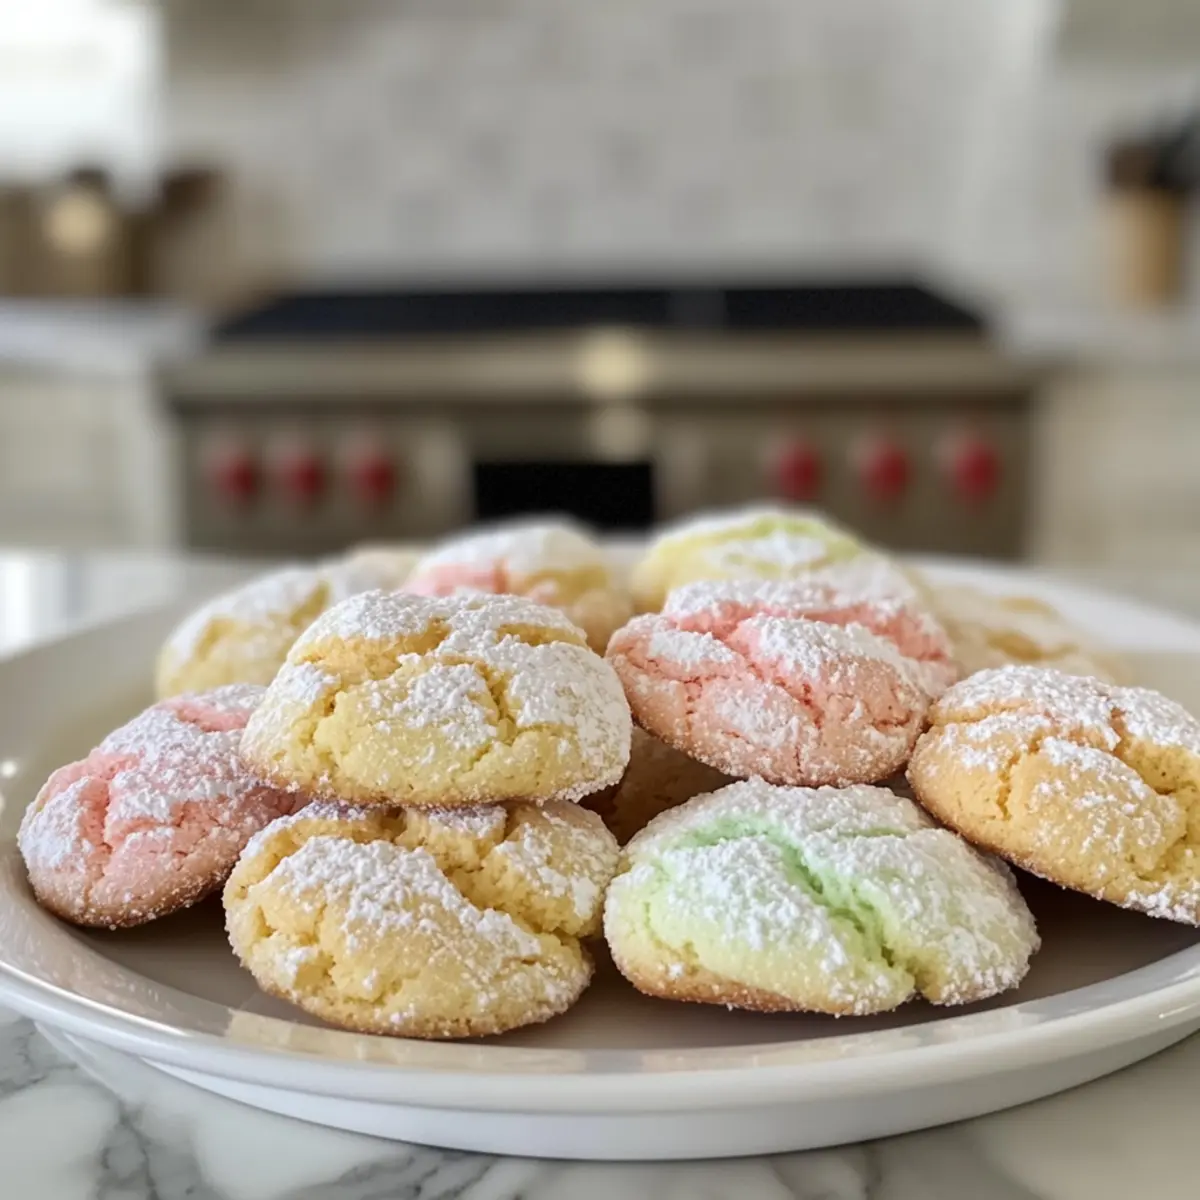
As spring blossoms into full swing, I can’t help but feel a wave of joy washing over me—especially when I think about the delightful Springtime Crinkle Cookies. These colorful little treats not only bring a cheerful touch to any gathering but are incredibly easy to whip up, making them perfect for both seasoned and novice bakers alike. With their soft, tender interiors and a beautifully crackled surface dusted in powdered sugar, each cookie is a charming reminder that homemade goodness can elevate any celebration. Plus, they’re freezer-friendly, meaning you can bake them in advance for spontaneous get-togethers or just to brighten a rainy day. Ready to dive into a world of pastel sweetness? Let’s get started!
Why Are Springtime Crinkle Cookies a Must-Try?
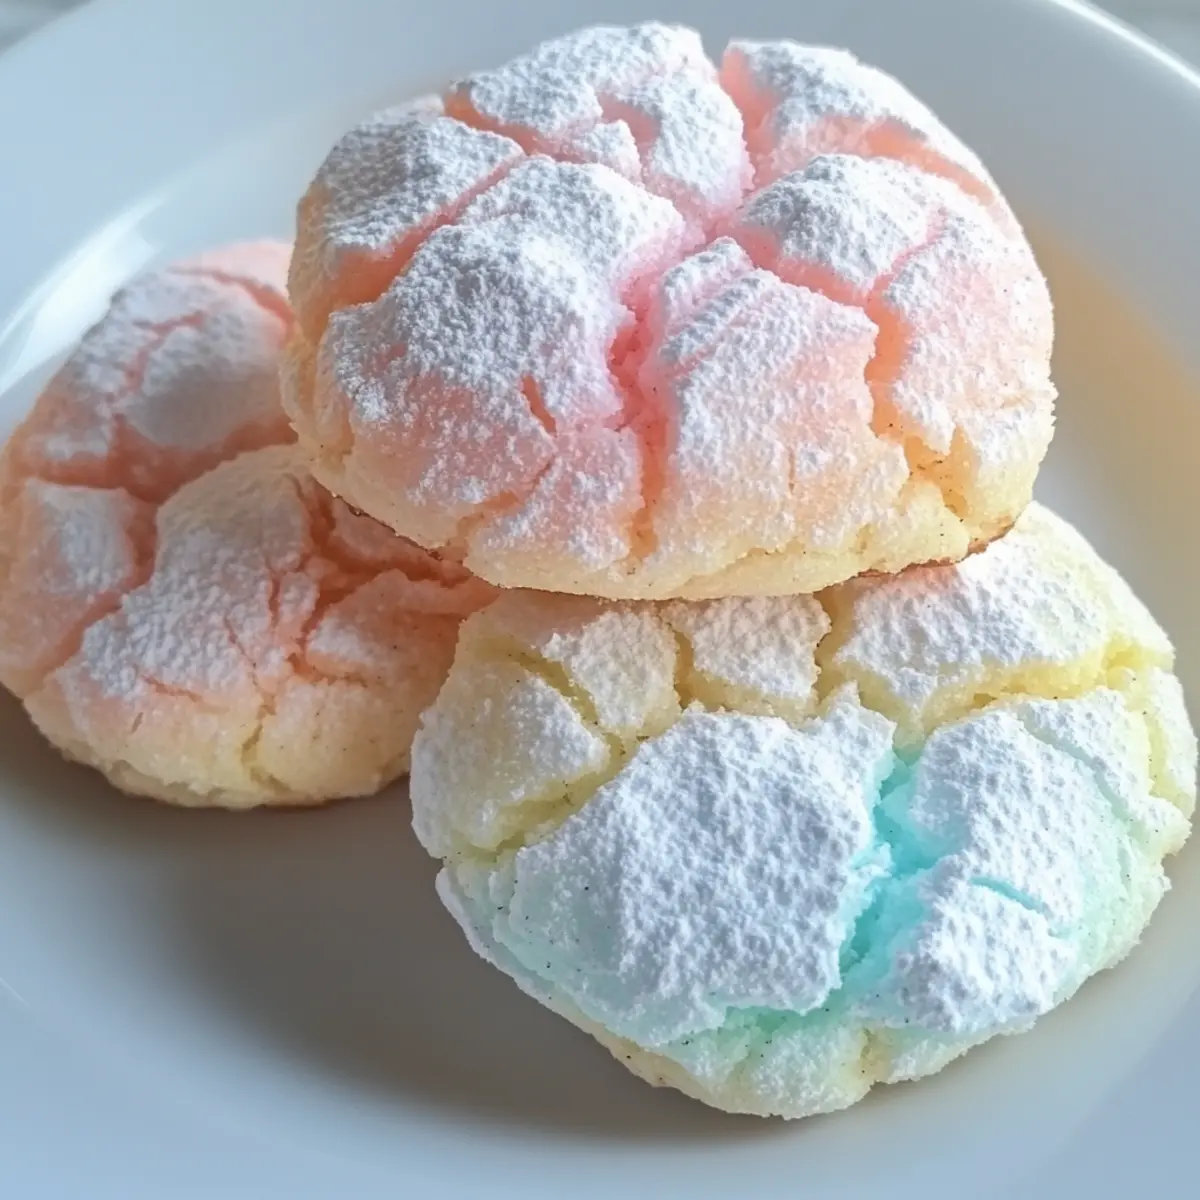
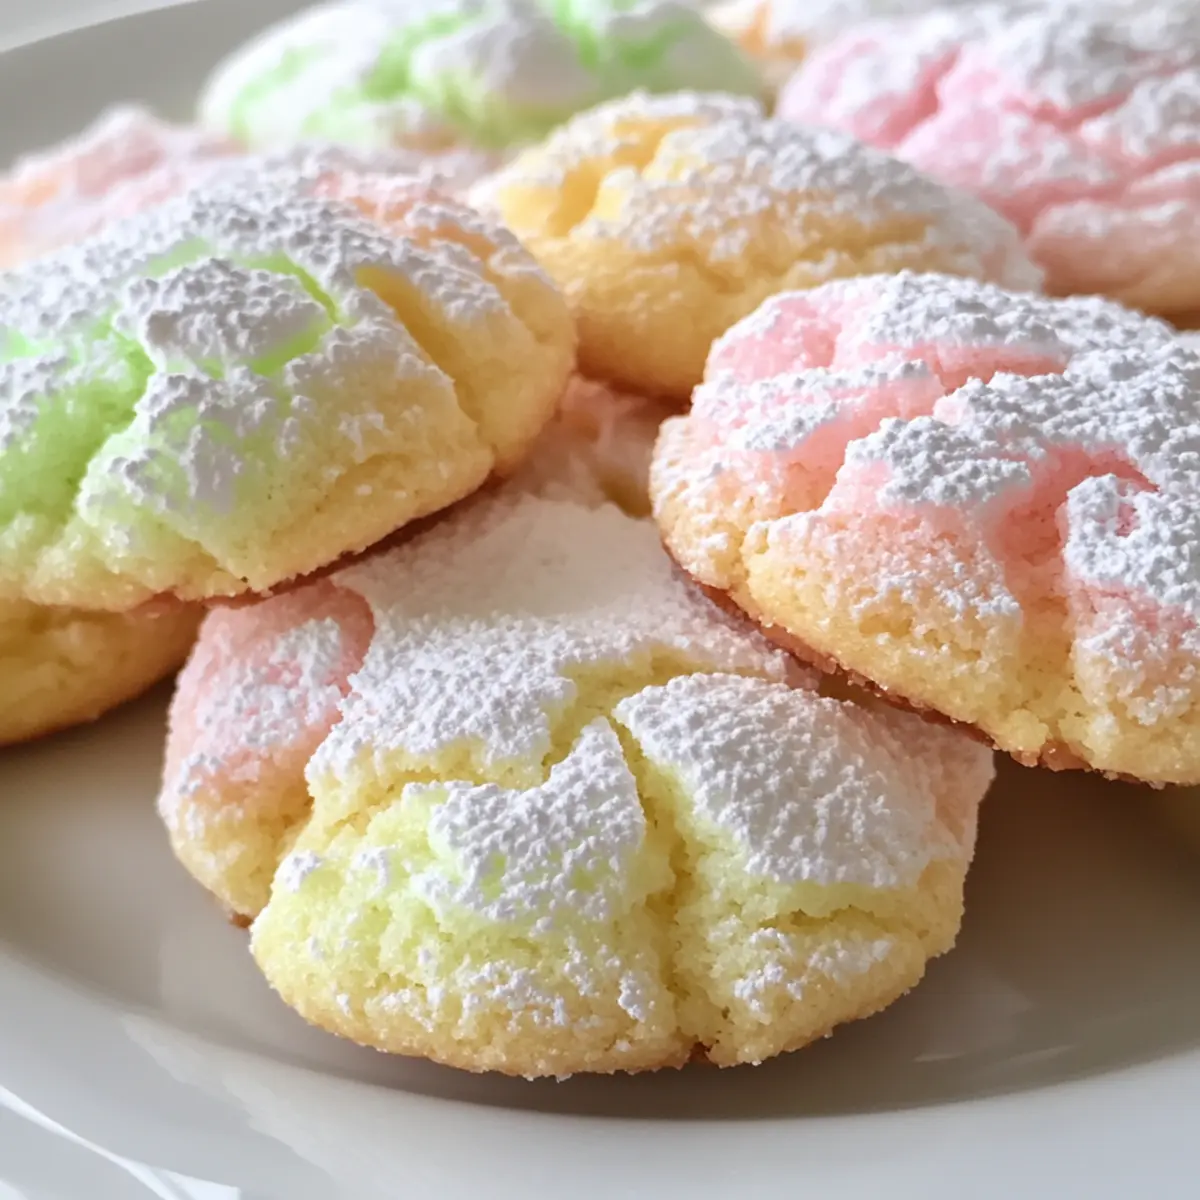
Vibrant Colors: These cookies are a feast for the eyes, with cheerful pastel hues that bring spring to your table.
Easy to Make: Perfect for all skill levels, the uncomplicated steps make these a go-to recipe.
Festive Treat: Ideal for Easter gatherings or any spring celebration, they instantly uplift any occasion.
Irresistible Texture: Experience a delightful contrast of a crackled surface and soft, chewy interior in every bite.
Make-Ahead Option: Want to save time? You can conveniently freeze the dough for spontaneous baking sessions.
Indulge even further by trying out these wonderful Chocolate Oat Cookies that pair magic with simplicity.
Springtime Crinkle Cookies Ingredients
• Dive into the delightful components that create these colorful treats!
For the Cookie Dough
- All-Purpose Flour – Provides structure; you can use gluten-free flour for a suitable substitute.
- Baking Powder – Helps the cookies rise to their soft and chewy perfection.
- Salt – Enhances the sweetness and overall flavor profile of the cookies.
- Unsalted Butter – Adds delicious moisture; ensure it’s softened for easy mixing.
- Granulated Sugar – Sweetens the cookies while contributing to their texture.
- Eggs – Bind the ingredients together; add them one at a time for even distribution.
- Vanilla Extract – Infuses the dough with warm and inviting flavor.
- Almond Extract – Optional, but adds a delightful depth to the sweetness.
- Gel Food Coloring – Provides vibrant colors for those festive spring vibes without compromising dough texture.
For Rolling
- Powdered Sugar – Creates the signature crackled surface; use extra for a generous coating on the cookie balls.
Let the joy of Springtime Crinkle Cookies brighten your baking day, and get ready to share these delightful creations with your loved ones!
Step‑by‑Step Instructions for Springtime Crinkle Cookies
Step 1: Prepare Dry Ingredients
In a medium bowl, whisk together 2 cups of all-purpose flour, 1 tablespoon of baking powder, and a pinch of salt until well combined. This creates a uniform dry mixture that helps ensure the Springtime Crinkle Cookies rise beautifully. Set this bowl aside as we move on to the next step.
Step 2: Cream Butter and Sugar
In a separate large bowl, beat ½ cup of softened unsalted butter and 1 cup of granulated sugar using an electric mixer. Mix on medium speed for about 2-3 minutes until the mixture is light, fluffy, and pale in color. This step is crucial for incorporating air, which will yield soft and tender cookies.
Step 3: Incorporate Eggs and Extracts
Add in 2 large eggs one at a time, mixing well after each addition. Then, stir in 1 teaspoon of vanilla extract and optionally, ½ teaspoon of almond extract. Continue mixing until just incorporated, ensuring a rich flavor in your Springtime Crinkle Cookies dough that complements the other ingredients beautifully.
Step 4: Combine Mixtures
Gradually add the prepared dry ingredients to the wet mixture while mixing on low speed. Combine until a thick dough forms, scraping down the sides of the bowl as needed. This should take about 1-2 minutes; be careful not to overmix, as that can affect the final texture of your cookies.
Step 5: Divide and Color Dough
Once the dough is formed, divide it into equal portions. Using gel food coloring, mix in a few drops to each portion, kneading gently with your hands until you achieve your desired vibrant colors. Make sure to wash your hands thoroughly between colorings to prevent mixing them unintentionally.
Step 6: Chill the Dough
Wrap each colored dough portion tightly in plastic wrap and refrigerate for at least 30 minutes. Chilling firmens the dough and intensifies flavors, making it easier to handle when rolling into balls for the Springtime Crinkle Cookies. This step is key for achieving perfectly shaped cookies!
Step 7: Preheat Oven and Prepare Baking Sheets
About 10 minutes before removing the dough from the fridge, preheat your oven to 350°F (175°C). Line two baking sheets with parchment paper to prevent sticking. This will ensure your cookies bake evenly and do not burn on the bottom during the baking process.
Step 8: Shape and Coat Cookies
Once chilled, take the colored dough out and roll it into 1-inch balls. Generously coat each ball in powdered sugar, ensuring an even distribution around the cookie. Place the coated dough balls on the prepared baking sheets, spacing them about 2 inches apart to allow for spreading.
Step 9: Bake
Bake the cookies in your preheated oven for 10-12 minutes. Keep an eye on them, and watch for cracks forming on the surface. The edges should appear set while the centers remain soft and slightly underbaked for that perfect, chewy texture.
Step 10: Cool
Once baked, remove the cookies from the oven and let them sit on the baking sheets for about 5 minutes before transferring them to wire racks. Allow the Springtime Crinkle Cookies to cool completely before enjoying. This cooling period enhances their texture and flavor as they finish setting up.
Make Ahead Options
Springtime Crinkle Cookies are the ultimate treat for busy home cooks looking to save time without sacrificing flavor! You can prepare the cookie dough up to 24 hours in advance by mixing all the ingredients and coloring the dough. Simply wrap it tightly in plastic wrap and refrigerate; this helps maintain the vibrant colors and texture. When you’re ready to bake, just take the dough out, let it sit at room temperature for about 10-15 minutes, roll into balls, coat in powdered sugar, and bake as directed. This way, you’ll have fresh, delicious cookies ready in no time, perfect for spontaneous spring gatherings!
How to Store and Freeze Springtime Crinkle Cookies
Room Temperature: Store baked Springtime Crinkle Cookies in an airtight container at room temperature for up to 5 days to keep them fresh and flavorful.
Fridge: If you prefer softer cookies, store them in the fridge for up to a week. Just be sure to let them come to room temperature before serving for the best texture.
Freezer: Freeze cookies for up to 3 months, placing them between layers of parchment paper in a freezer-safe container to maintain their delightful crackled surface.
Reheating: For a fresh-out-of-the-oven experience, simply reheat frozen cookies in the oven at 350°F (175°C) for 5-7 minutes. Enjoy the warmth and sweetness again!
Springtime Crinkle Cookies Variations
Feel free to get creative and make these Springtime Crinkle Cookies your own with some fun and delightful twists!
-
Lemon Zest: Add vibrant flavor by mixing in a teaspoon of fresh lemon zest for a refreshing citrusy note.
-
Chocolate Chips: Fold in semi-sweet or white chocolate chips to the dough before chilling for an indulgent surprise in every bite.
-
Nutty Crunch: Incorporate finely chopped nuts like walnuts or pecans for added texture and a lovely nutty flavor that complements the sweetness.
-
Dairy-Free: Substitute butter with coconut oil and use dairy-free chocolate chips to create a deliciously dairy-free version everyone can enjoy.
-
Minty Fresh: Swap vanilla extract for peppermint extract to create a festive cookie that’s perfect for spring celebrations. The mint will elevate your taste experience.
-
Colorful Sprinkles: Before baking, sprinkle the dough balls with vibrant sprinkles to add a dazzling finish that makes your cookies even more festive and fun.
-
Spiced Variation: Mix in a pinch of cinnamon or nutmeg for a warm spice undertone to enhance the overall flavor profile.
-
Gelatin Surprise: For an exciting texture twist, add a tablespoon of gelatin to your dough to create a chewier cookie, perfect for those who love a satisfying bite.
And if you’re in the mood for more sweet delights, don’t forget to try out these Chocolate Oat Cookies or dive into some uniquely crafted Gluten-Free Cookies. Indulging in these variations can turn your baking experience into a wonderful adventure!
Expert Tips for Springtime Crinkle Cookies
-
Perfect Butter Temperature: Ensure your butter is softened, not melted, to achieve the best texture. This crucial step affects the dough’s ability to rise beautifully.
-
Chill for Success: Remember to chill the dough for at least 30 minutes. This prevents the Springtime Crinkle Cookies from spreading too much during baking—your reward will be nicely defined cookies!
-
Use the Right Coloring: Opt for gel food coloring rather than liquid versions. Gel colors provide vibrant hues without altering the dough’s consistency, ensuring delightful results.
-
Watch the Oven: Keep an eye on the baking time. It’s better to slightly underbake than overbake, as the centers should remain soft for that perfect, chewy interior.
-
Spacing Is Key: When placing dough balls on baking sheets, leave about 2 inches of space between them. This allows room for spreading while baking, resulting in properly shaped cookies.
What to Serve with Springtime Crinkle Cookies
There’s something magical about creating a colorful feast that perfectly complements your sweet treats.
-
Fresh Fruit Salad: A refreshing mix of vibrant berries and citrus provides a zesty contrast to the sweetness of the cookies. Ideal for balancing flavors, it adds extra springtime cheer to your table.
-
Creamy Cheesecake: The rich, smooth texture of cheesecake pairs beautifully with the crinkly, sugary cookies. Consider serving mini cheesecake bites drizzled with fruit compote for a stunning visual treat.
-
Iced Tea or Lemonade: Crisp and refreshing beverages like homemade iced tea or lemonade offer a delightful hydration that complements the festive flavors of the cookies. They keep the palate clean and ready for another bite!
-
Chocolate Dipped Strawberries: For an added touch of elegance, present chocolate dipped strawberries alongside your cookies. Their slight bitterness beautifully offsets the sweet notes and adds a romantic flair to your gathering.
Indulging in these pairings truly elevates the experience of enjoying Springtime Crinkle Cookies, making every moment festive and memorable.
Springtime Crinkle Cookies Recipe FAQs
How do I choose the right gel food coloring for my Springtime Crinkle Cookies?
Absolutely! When selecting gel food coloring, go for high-quality brands that provide vibrant hues. Gel food coloring is best because it will give you bright, bold colors without changing the dough’s consistency. Avoid liquid food coloring, as it can make your dough too runny. I often mix colors to create unique combinations—think pastel pinks and yellows for a lovely Easter feel!
What is the best way to store Springtime Crinkle Cookies?
I recommend storing baked cookies in an airtight container at room temperature for up to 5 days. This keeps them soft and prevents them from going stale. If you prefer a softer cookie, feel free to keep them in the refrigerator for up to a week, but let them come to room temperature before enjoying for the best taste and texture.
Can I freeze the unbaked dough for Springtime Crinkle Cookies?
Absolutely! You can freeze the unbaked dough for up to 3 months. Divide the dough into individual balls, then place them on a baking sheet and freeze for about an hour until firm. Once solid, transfer the dough balls into a freezer-safe bag or container, layered with parchment paper to prevent sticking. To bake, simply remove from the freezer and let them sit at room temperature for about 10-15 minutes before rolling in powdered sugar and baking.
What should I do if my dough is too sticky?
Very! If your dough feels excessively sticky, don’t worry—this can happen sometimes. Simply sprinkle a little extra flour on your hands and the work surface, then knead in some flour gradually until the dough is manageable. Make sure to avoid adding too much flour at once, as that could affect the texture of your Springtime Crinkle Cookies. This should make rolling them a breeze!
Are Springtime Crinkle Cookies safe for pets?
It’s best to keep these cookies away from pets. They contain ingredients like sugar and butter that can cause gastrointestinal issues for dogs and cats. If your furry friends are looking for a treat, consider baking or buying some pet-specific goodies instead.
Springtime Crinkle Cookies for a Colorful Celebration
Ingredients
Equipment
Method
- Whisk together 2 cups of all-purpose flour, 1 tablespoon of baking powder, and a pinch of salt in a medium bowl.
- In a large bowl, beat ½ cup of softened unsalted butter and 1 cup of granulated sugar until light and fluffy, about 2-3 minutes.
- Add 2 large eggs one at a time, mixing well after each addition, then stir in 1 teaspoon of vanilla extract and ½ teaspoon of almond extract.
- Gradually add the dry ingredients to the wet mixture while mixing on low speed until a thick dough forms.
- Divide the dough and mix in gel food coloring to each portion until vibrant.
- Wrap each colored dough portion in plastic wrap and refrigerate for at least 30 minutes.
- Preheat oven to 350°F (175°C) and line baking sheets with parchment paper.
- Roll the colored dough into 1-inch balls and coat in powdered sugar. Place on prepared baking sheets with 2 inches apart.
- Bake for 10-12 minutes until cracked and slightly underbaked in the center.
- Let cookies cool on baking sheets for 5 minutes before transferring to wire racks to cool completely.
Leave a Reply