
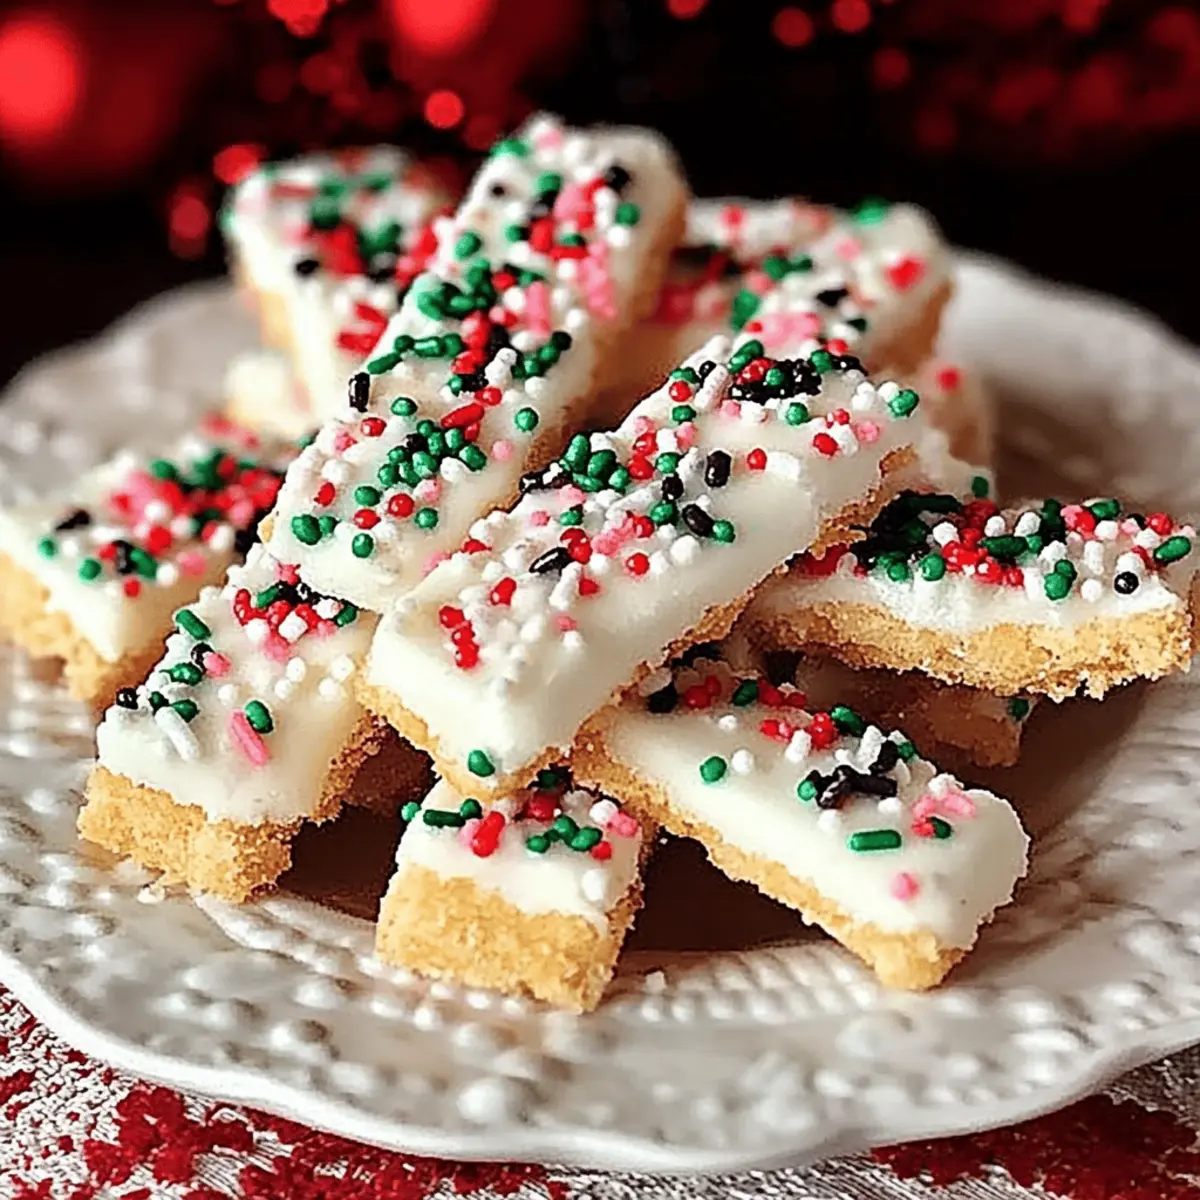
As the holiday season approaches, the air fills with the sweet scent of nostalgia, bringing back cherished memories of family gatherings and festive fun. This year, I’m excited to share my easy and delightful recipe for White Chocolate-Dipped Sugar Wafers. Perfectly light and crunchy, these no-bake treats are a wonderful way to get the kids involved in the kitchen while also delivering a crowd-pleasing dessert for your holiday celebrations. With just a few simple ingredients, you can create a visually stunning platter that’s not only festive but also a guaranteed hit with young ones and adults alike. Are you ready to become the holiday hero with these charming delights? Let’s dive in!
Why will you adore these wafers?
No-Bake Convenience: With easy steps and minimal effort, these festive treats allow you to spend more time with loved ones and less time in the kitchen.
Perfect for Kids: Involve your little ones in the fun—dipping and decorating these wafers is a great way for them to express their creativity!
Crowd-Pleasing Appeal: The sweet, creamy white chocolate beautifully complements the light crunch of the sugar wafers, making them irresistible for guests of all ages.
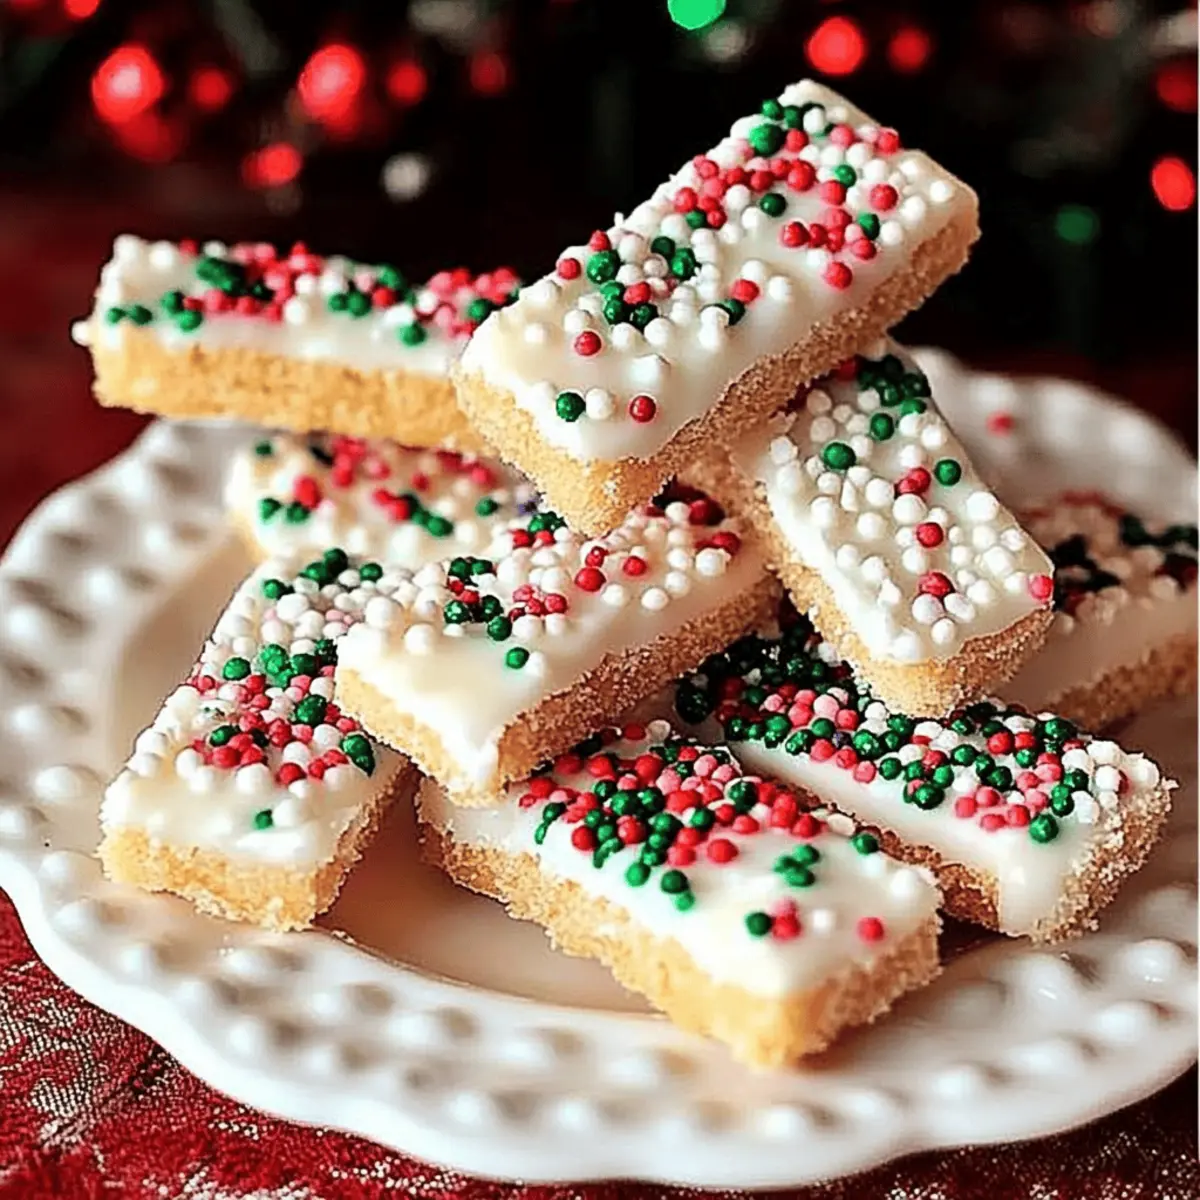
Versatile Decor Options: Get creative with sprinkles, crushed candies, or even edible glitter to match your holiday table.
A Timeless Classic: These treats not only taste delightful but also evoke the warm nostalgia associated with holiday gatherings, reminiscent of the comfort found in my Brown Sugar Chai Cake or White Cheddar Spinach Chicken Burgers.
Give these white chocolate-dipped treasures a try, and watch them become a new tradition in your home!
White Chocolate-Dipped Sugar Wafers Ingredients
• A delightful blend of simple ingredients awaits you!
For the Wafers
- Sugar Wafers – The light, crunchy base that holds everything together and is ready to use.
- White Chocolate – Provides a creamy sweetness; dark chocolate makes a great substitution if you prefer a richer flavor.
For the Decoration
- Sprinkles (optional) – Fun toppings to add a festive touch; choose colors that match your holiday theme for extra flair.
Step‑by‑Step Instructions for White Chocolate-Dipped Sugar Wafers
Step 1: Melt the Chocolate
Begin by breaking your white chocolate into small pieces and placing them in a microwave-safe bowl. Heat in the microwave at 50% power in 30-second intervals, stirring between each session until smooth and creamy, which should take about 1 to 2 minutes total. Alternatively, you can use a double boiler on low heat, stirring constantly to prevent burning.
Step 2: Prepare for Dipping
Set up your workstation with a parchment-lined baking sheet, which will catch the drips and serve as a base for your dipped wafers. Have your melted white chocolate ready and grab a fork or a dipping tool to make the process easier. This setup will help streamline your creation of these delightful White Chocolate-Dipped Sugar Wafers.
Step 3: Dip the Wafers
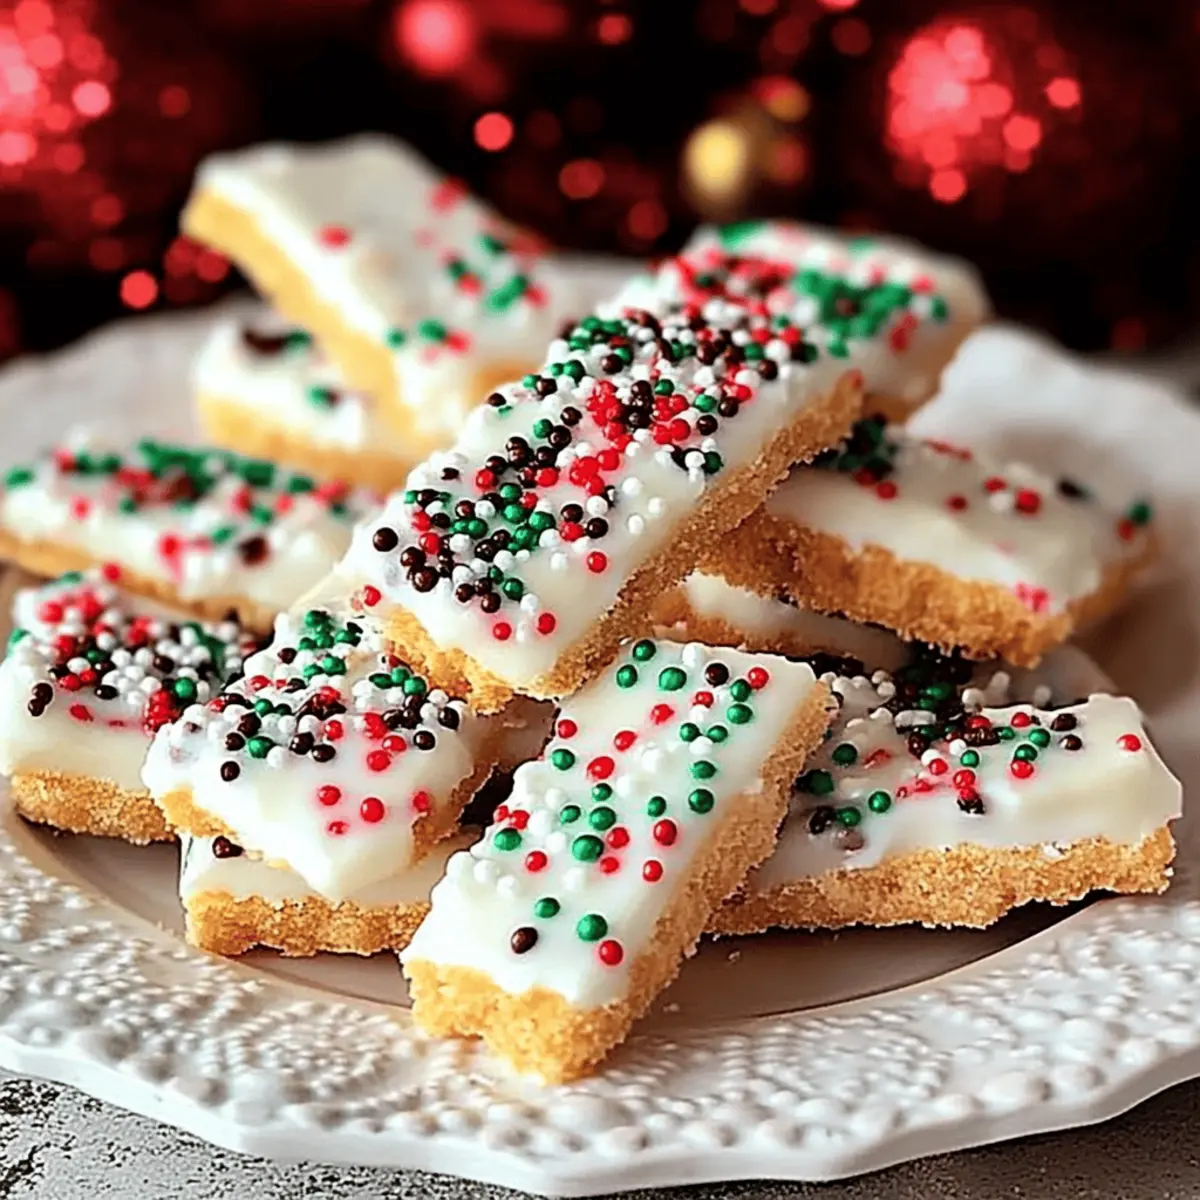
Take each sugar wafer and gently dip it halfway into the melted white chocolate. Be sure to let any excess chocolate drip off back into the bowl, ensuring a smooth coating. This step should be done quickly to maintain a nice flow and even coverage on each wafer, creating that beautiful contrast you’ll love.
Step 4: Decorate Your Wafers
While the chocolate is still wet, sprinkle your desired decorations on top—this can include colorful sprinkles or crushed candy canes for that festive flair. Be creative and make each wafer a unique treat to impress your guests. This step is best done right after dipping, so act swiftly for the sprinkles to stick.
Step 5: Let Them Set
Once decorated, transfer the wafers to the parchment-lined baking sheet and ensure they are spaced apart. Let the White Chocolate-Dipped Sugar Wafers sit at room temperature for about 20 to 30 minutes, or until the chocolate has completely hardened. You can speed up the process by placing them in the refrigerator for a few minutes, but keep an eye on them to avoid condensation.
Step 6: Store and Serve
After the chocolate has set, carefully lift the wafers from the parchment, and store them in an airtight container to preserve freshness. They can be kept at room temperature for up to two weeks, making them a perfect treat for your holiday gatherings. Enjoy these delightful snacks as a festive addition to any dessert table!
Storage Tips for White Chocolate-Dipped Sugar Wafers
Room Temperature: Store your White Chocolate-Dipped Sugar Wafers in an airtight container to maintain their freshness for up to two weeks. Keep them away from direct sunlight for the best results.
Fridge: If you live in a warm climate, consider refrigerating the wafers to prevent melting. However, allow them to come to room temperature before serving for the best texture.
Freezer: For longer storage, you can freeze the wafers for up to two months. Place them in a single layer in a freezer-safe container, and use parchment paper between layers to avoid sticking.
Reheating: There’s no need to reheat these delightful treats! Simply enjoy them as they are after removing from the fridge or freezer.
What to Serve with White Chocolate-Dipped Sugar Wafers
Elevate your holiday gatherings with delightful pairings that enhance these sweet, festive treats.
-
Festive Fruit Salad: A refreshing mix of seasonal fruits adds a bright and tangy contrast to the creamy sweetness of the wafers.
-
Homemade Hot Cocoa: Rich, velvety cocoa warms the soul, creating the perfect cozy pairing for your delectable wafers.
-
Spiced Chai Latte: The aromatic spices of chai complement the sweet, creamy chocolate, making for a comforting holiday beverage.
-
Nutty Biscotti: Crunchy, sweet biscotti provides a delightful texture variation and pairs well with both chocolate and coffee.
-
Caramel Drizzle: A warm caramel sauce adds a rich sweetness that pairs beautifully with the white chocolate’s creaminess.
-
Gingerbread Cookies: The spiced warmth of gingerbread offers a lovely contrast, enriching the holiday spirit of your dessert table.
-
Mini Cheesecakes: These creamy little bites can balance the crunchy texture of your wafers, bringing an indulgent touch to your dessert spread.
-
Peppermint Tea: An invigorating peppermint infusion enhances the festive flair, refreshing your palate after indulging in your delicious wafers.
Make Ahead Options
These White Chocolate-Dipped Sugar Wafers are perfect for meal prep enthusiasts! You can prepare the sugar wafers and melt the white chocolate up to 48 hours in advance, storing each component separately. Simply refrigerate the melted chocolate in an airtight container to maintain its smooth consistency. When you’re ready to serve, reheat the chocolate gently to bring it back to a silky texture. Dip your wafers and decorate them right before sharing; this ensures they look bright and festive! With this make-ahead strategy, you’ll save valuable time during the busy holiday season, allowing you to focus on enjoying the festivities with your loved ones.
Expert Tips for White Chocolate-Dipped Sugar Wafers
• Tempering Chocolate: Ensure your white chocolate is tempered properly to prevent clumping; this ensures a smooth and silky coating on your wafers.
• Dipping Technique: Use a fork to dip the sugar wafers, allowing excess chocolate to drip back into the bowl for a cleaner finish and optimal coverage.
• Quick Decoration: Sprinkle decorations while the chocolate is still wet for the best adherence; this additional step ensures the festive touches stick beautifully.
• Avoiding Chocolate Bloom: Store your White Chocolate-Dipped Sugar Wafers in an airtight container away from light to avoid any unsightly chocolate bloom.
• Customization: Feel free to experiment with different toppings, like crushed nuts or holiday-themed candies, to personalize your festive treats and delight your guests!
White Chocolate-Dipped Sugar Wafers Variations
Feel free to explore these creative twists to make these delightful treats even more personal and festive!
-
Dark Chocolate: Swap the white chocolate for dark chocolate for a richer flavor that adds complexity to each bite.
-
Graham Crackers: Substitute sugar wafers with graham crackers for a slightly different texture, perfect for a cozy, crunchy variation.
-
Holiday Colors: Use colored white chocolate melts in red or green to create an eye-catching display that embodies the festive spirit.
-
Nutty Crunch: Add finely chopped nuts, like pistachios or almonds, on top of the still-wet chocolate for an added crunch and a touch of elegance.
-
Flavor Infusions: Mix in a splash of peppermint extract into the melted chocolate for a refreshing minty finish. Holiday flavors come alive!
-
Caramel Drizzle: After the chocolate has set, drizzle some melted caramel on top for an indulgent surprise that adds sweetness and richness.
-
Mini Candy Canes: Crush mini candy canes to sprinkle over your wafers—their minty crunch lends a classic holiday vibe that’ll transport you straight to winter wonderlands.
These variations can help make your White Chocolate-Dipped Sugar Wafers uniquely yours, just like my favorite Brown Sugar Chai Cake or colorful White Chocolate Raspberry delights. Explore and enjoy!

White Chocolate-Dipped Sugar Wafers Recipe FAQs
How do I choose the best sugar wafers?
Absolutely! When selecting sugar wafers, look for ones that are intact and free from any dark spots or cracks, as this indicates freshness. You want the wafers to be crunchy, so avoid any packaging that appears crushed or stale. If you’re feeling adventurous, you could also experiment with flavored wafers, such as vanilla or chocolate, for a fun twist on the classic recipe!
What’s the best way to store White Chocolate-Dipped Sugar Wafers?
Very! To keep your delightful treats fresh, store the White Chocolate-Dipped Sugar Wafers in an airtight container at room temperature for up to two weeks. Make sure they are completely cooled before sealing the container to prevent condensation. This way, you’ll enjoy that satisfying crunch in every bite!
Can I freeze White Chocolate-Dipped Sugar Wafers?
Of course! You can freeze these delectable treats for up to two months, which is perfect for planning ahead for your holiday gatherings. Place them in a single layer in a freezer-safe container, inserting parchment paper between layers to prevent sticking. When you’re ready to enjoy them, simply remove from the freezer and let them thaw at room temperature for about 30 minutes.
What common issues should I be aware of when making these wafers?
Certainly! One common issue is chocolate clumping due to overheating. To prevent this, melt your white chocolate slowly. If it does clump, don’t despair—just add a teaspoon of vegetable oil and stir until smooth. Additionally, if your sprinkles aren’t sticking, try sprinkling them on while the chocolate is still wet to ensure they adhere properly.
Are White Chocolate-Dipped Sugar Wafers safe for kids with allergies?
Great question! These wafers typically contain wheat and may have lactose from the chocolate, so if you’re catering to someone with dietary restrictions, I recommend checking the labels on both the sugar wafers and white chocolate. For a nut-free option, ensure your sprinkles are also made in a nut-free facility. Always best to be cautious!
Delicious White Chocolate-Dipped Sugar Wafers for the Holidays
Ingredients
Equipment
Method
- Melt the white chocolate in a microwave-safe bowl at 50% power in 30-second intervals until smooth.
- Prepare a parchment-lined baking sheet for dipping the wafers.
- Dip each sugar wafer halfway into the melted white chocolate and let excess drip off.
- While the chocolate is wet, decorate with sprinkles or crushed candies.
- Let the wafers sit at room temperature for 20 to 30 minutes to set.
- Store the set wafers in an airtight container at room temperature.
Leave a Reply