
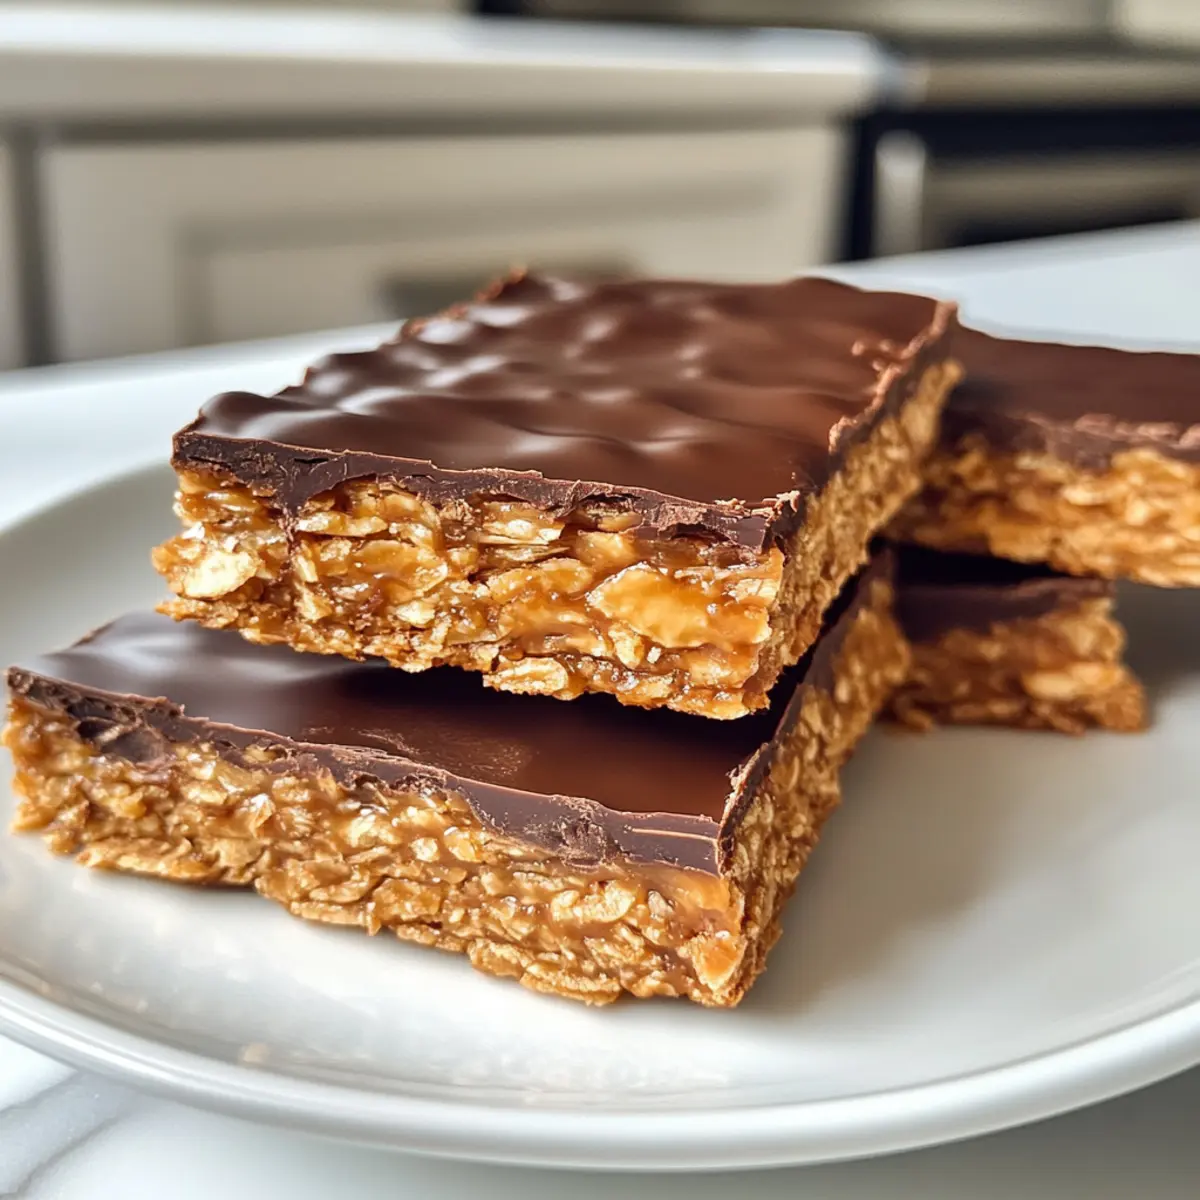
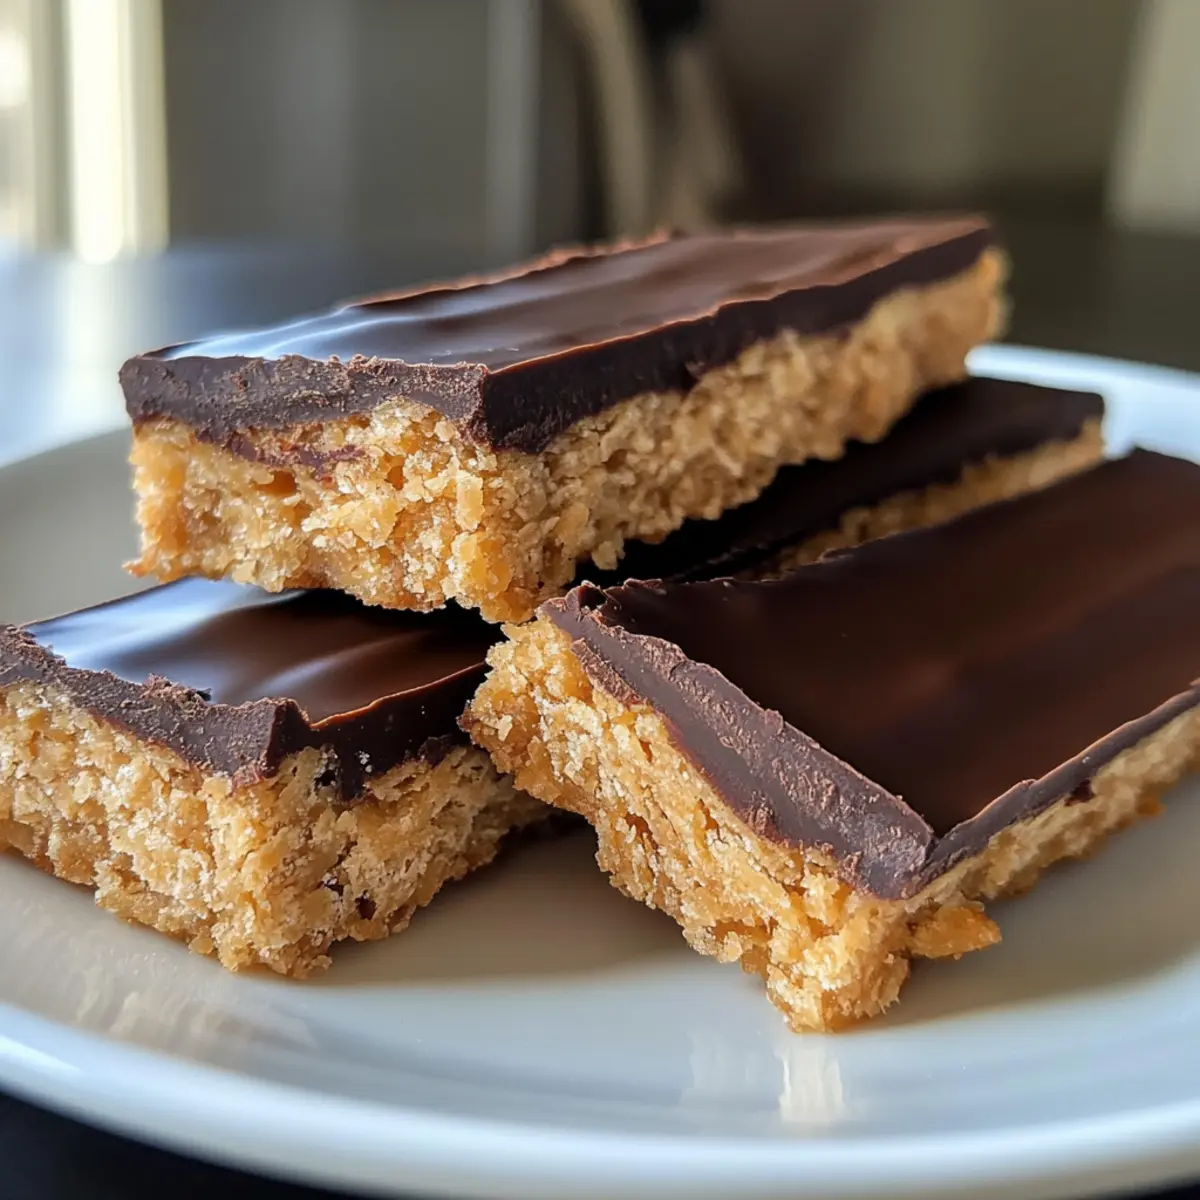
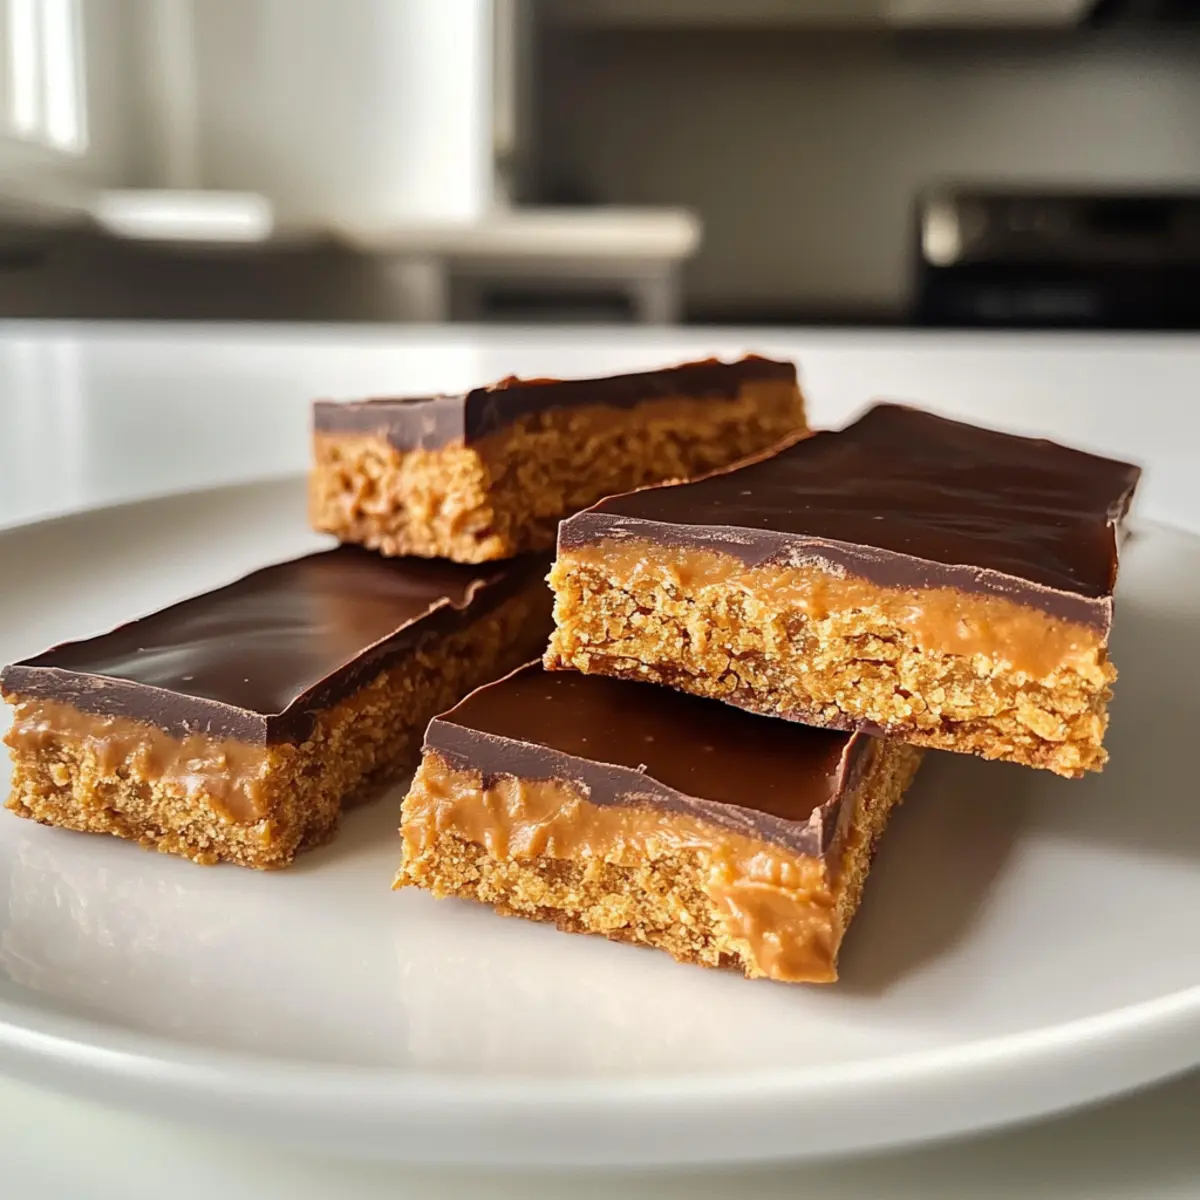
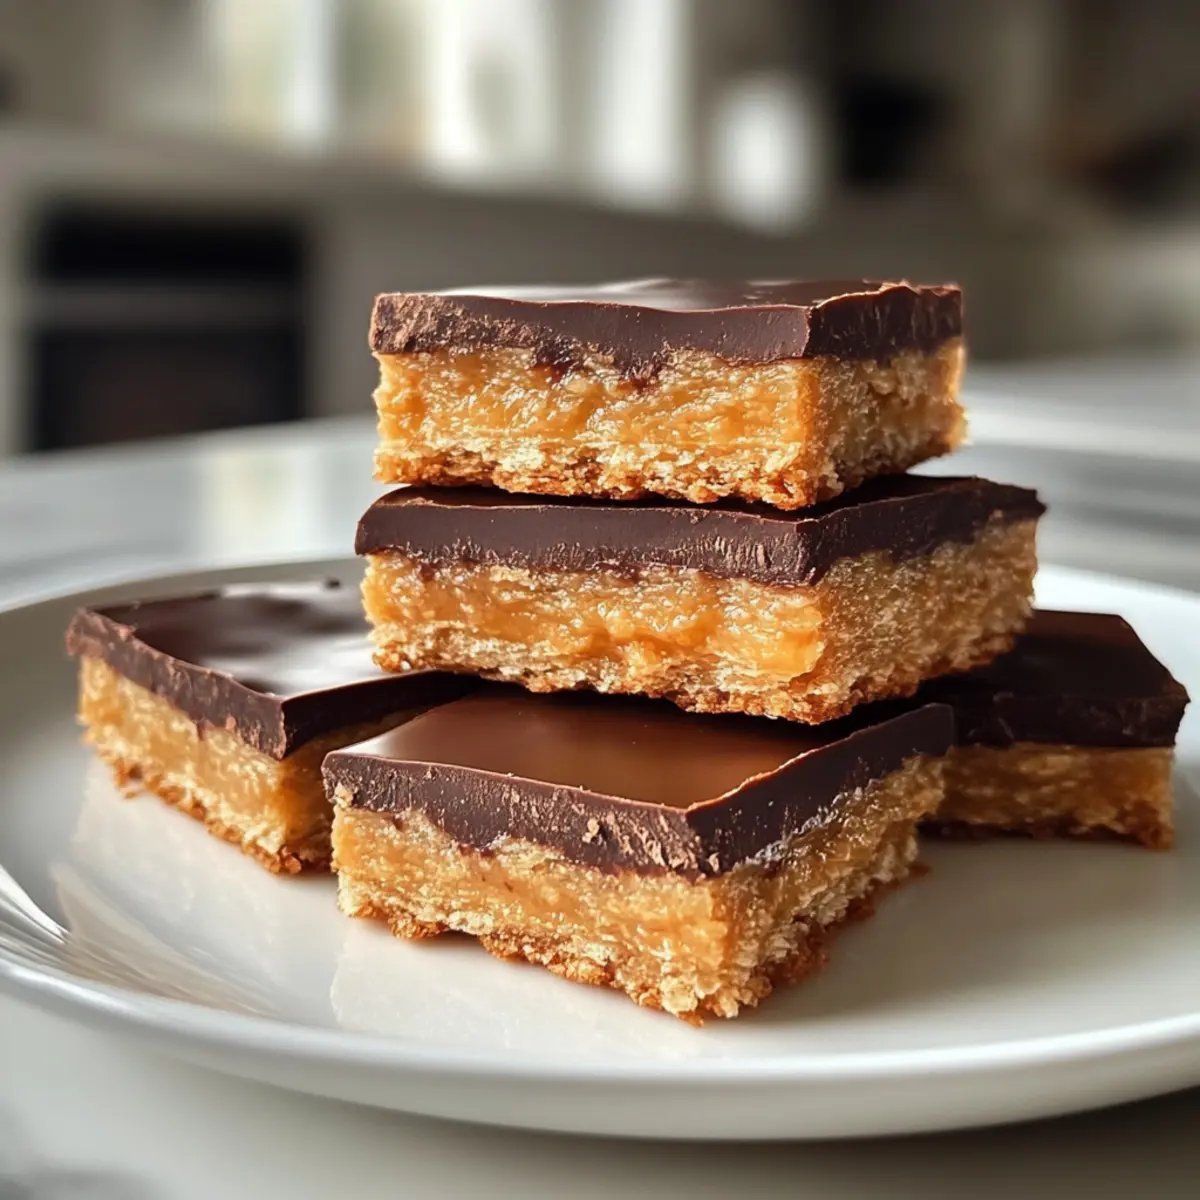
While rummaging through my pantry the other day, I found a half-empty jar of peanut butter and a box of corn flakes—two ingredients that stirred a sense of nostalgia. That’s when it hit me: I needed to create a healthier homage to my childhood favorite, the Butterfinger. These Healthy Homemade Butterfingers are the result, combining crispy corn flakes with the creaminess of peanut butter, all encased in a deliciously rich chocolate coating. With just five simple ingredients, this gluten-free and dairy-free treat offers a guilt-free indulgence that satisfies your sweet tooth without the typical sugar rush of store-bought candy. These bars are not only a delightful alternative to traditional candy but also perfect for meal prepping—just make a batch and freeze them for on-the-go snacking or lively lunchbox surprises. Curious about how to whip up this easy and nutritious treat? Let’s dive into the recipe!
Why Make Healthy Homemade Butterfingers?
Simplicity: This recipe requires only five ingredients, making it accessible for cooks of any skill level.
Nostalgic Treat: Experience the classic Butterfinger flavor with a healthy twist, sure to remind you of childhood favorites.
Nutritious Indulgence: Packed with healthy fats and natural sweetness, these bars are a great alternative to sugary snacks.
Versatile Options: Feel free to customize with different nut butter or chocolate coatings; options are endless!
Make Ahead: Prepare a batch, store them in the freezer, and enjoy a convenient snack anytime. You can also explore other delicious alternatives like Light Healthy Cheesecake for more guilt-free recipes!
Healthy Homemade Butterfingers Ingredients
For the Bars
- Peanut Butter – Provides creaminess and richness. Substitution: Almond butter for a different flavor; ensure it’s natural and unsweetened.
- Maple Syrup or Honey – Acts as a natural sweetener and binding agent. Note: Maple syrup is fully vegan; honey is not.
- Corn Flakes – Adds crunch and structure to the bars. Substitution: Gluten-free oats if looking for a similar texture.
For the Coating
- Chocolate Chips – Coats the bars for a delicious finish. Note: Use dairy-free chocolate chips to maintain dairy-free status.
- Coconut Oil – Helps to smooth the chocolate for dipping and adds richness. Note: Can substitute with vegetable oil if desired.
Step‑by‑Step Instructions for Healthy Homemade Butterfingers
Step 1: Crush Corn Flakes
Begin by placing the corn flakes in a zip-top bag. Use a rolling pin or your hands to crush them into small pieces, approximately the size of a quarter. This will provide a nice crunch for your Healthy Homemade Butterfingers. Aim for a consistency that still has some texture but is not too fine.
Step 2: Mix Base Ingredients
In a large mixing bowl, combine the peanut butter and either maple syrup or honey. Use a spatula or spoon to thoroughly mix these ingredients together until well blended. The mixture should be smooth and creamy, with no lumps. This step creates the base for your tasty candy treats.
Step 3: Incorporate Corn Flakes
Gently add the crushed corn flakes to the peanut butter mixture. Carefully fold them in using your spatula, ensuring that the corn flakes are evenly distributed throughout the mixture. This will give the Healthy Homemade Butterfingers their beloved crunch. The mixture should hold together but have a light, crumbly texture.
Step 4: Prepare for Freezing
Line a loaf pan with parchment paper, leaving some overhang for easy removal later. Pour the mixture into the lined pan, pressing it down firmly to create an even layer. Use the back of a spatula to ensure it’s tightly packed. Freeze the mixture for at least 1 hour, allowing it to harden and set.
Step 5: Cut into Bars
Once your mixture has firmed up, carefully lift it out of the pan using the parchment paper. Place it on a cutting board and cut it into 12 equal bars. You want each piece to have a good thickness to maintain that delicious texture characteristic of Healthy Homemade Butterfingers.
Step 6: Melt Chocolate
In a small microwave-safe bowl, combine the chocolate chips and coconut oil. Microwave in 30-second intervals, stirring well until smooth and melted. The chocolate should be glossy and fluid, which will make for an easy coating. Make sure not to overheat, as chocolate can seize up quickly.
Step 7: Coat Bars
Using a fork or skewer, dip each bar into the melted chocolate, ensuring that it is fully coated. Let any excess chocolate drip off before placing it on a parchment-lined plate. This step adds a delightful finish to your Healthy Homemade Butterfingers and enhances their richness.
Step 8: Final Freezing
Once all the bars are coated, transfer the plate to the freezer for about 10 minutes, allowing the chocolate to set firmly. After that, your Healthy Homemade Butterfingers are ready to be stored in an airtight container in the freezer for up to 3 months, ensuring that they remain a convenient, guilt-free indulgence.
Expert Tips for Healthy Homemade Butterfingers
-
Smooth Peanut Butter: Ensure peanut butter is smooth and fully blended for the best texture in your Healthy Homemade Butterfingers. Chunky varieties won’t hold together well.
-
Check Your Ingredients: Double-check that the chocolate chips you use are dairy-free if following a strict dairy-free diet. Substituting with the wrong type can change the flavor profile.
-
Firm Packing: Press the mixture firmly into the pan to achieve a compact, crunchy bar. A loose mixture will result in crumbly bars that fall apart.
-
Custom Coatings: Feel free to customize your chocolate coating. Drizzle with white or dark chocolate for a fun twist that enhances visual appeal and adds flavor.
-
Storage Tips: Store your bars in an airtight container in the freezer. This preserves freshness while keeping them on hand for quick, guilt-free snacking.
How to Store and Freeze Healthy Homemade Butterfingers
Fridge: Store your Healthy Homemade Butterfingers in an airtight container in the refrigerator for up to 1 week. This helps maintain their texture while keeping them fresh.
Freezer: For long-term storage, keep the bars in an airtight container or zip-top bag in the freezer for up to 3 months. They’re perfect for grab-and-go snacking!
Thawing: When you’re ready to enjoy, simply take out a bar and let it thaw at room temperature for about 10 minutes, or pop it in the microwave for a few seconds for a warm treat.
Batch Preparation: Feel free to make a double batch of these delicious bars! They freeze beautifully, so you can always have a healthy treat on hand.
What to Serve with Healthy Homemade Butterfingers?
These delightful treats are perfect for pairing with a variety of foods and beverages to elevate your snacking experience.
-
Creamy Almond Milk: A glass of chilled almond milk complements the chocolate coating, adding a nutty creaminess that enhances the overall flavor.
-
Fresh Fruit Platter: A colorful array of strawberries, bananas, and apples provides a tangy contrast to the rich sweetness of the butterfingers.
-
Decadent Yogurt Parfait: Layer Greek yogurt with granola and berries for a nutritious, textural contrast that balances the richness of the candy.
Indulge in the richness of a homemade butterfinger while enjoying the freshness of fruit. It’s a delicious way to keep things light yet satisfying!
-
Nutty Trail Mix: A mix of nuts, seeds, and dried fruit offers crunch and natural sweetness, making it an excellent snack alongside your butterfingers.
-
Mug of Herbal Tea: Sipping on soothing herbal tea, like chamomile or peppermint, adds warmth and enhances the chocolate notes of the bars.
-
Chocolate-Covered Pretzels: For a sweet and salty medley, pair these bars with crunchy, chocolate-covered pretzels that echo their decadent flavor.
-
Nut Butter Dip: Enjoy with a side of your favorite nut butter for dipping, making a heavenly addition that adds richness and protein to your snack time.
Healthy Homemade Butterfingers Variations
Get ready to unleash your creativity in the kitchen and make these treats truly your own!
-
Nut-Free: Use sunflower seed butter instead of peanut butter for a delightful nut-free version that still packs a creamy punch. Your taste buds will thank you while enjoying this safe treat option!
-
Vegan Chocolate: Opt for a vegan chocolate coating using your favorite dairy-free chocolate chips to keep it completely plant-based. This choice ensures that everyone can enjoy this nostalgic delight without compromise.
-
Protein Boost: Stir in a scoop of your favorite protein powder or vanilla extract into the mixture for that extra nutritional kick. Packed with added benefits, these bars will satisfy your sweet cravings and fuel your day.
-
Oat Variation: Swap out corn flakes for gluten-free oats for a chewy and hearty version. The slight change in texture brings an unexpected twist to your Healthy Homemade Butterfingers!
-
Flavor Infusion: Add a teaspoon of cinnamon or a splash of almond extract to the base mixture for a warm, cozy flavor that complements the sweetness. It’s a lovely way to elevate the taste profile!
-
Crunchy Topping: Before freezing, sprinkle crushed nuts or seeds on top of the bars for a delightful crunch and an extra dose of healthy fats. These little additions can elevate the flavor and texture beautifully.
-
Draped Chocolate: Try drizzling melted white chocolate or using dark chocolate for a stunning visual appeal. Not only does it look gorgeous, but it also adds complexity to the classic flavor.
-
Chocolate-Dipped Fruity Twist: After coating in chocolate, add a touch of dried fruit like cranberry or cherry before the chocolate sets. The burst of fruity flavor cleverly balances out the rich, chocolatey treat.
For more delicious, guilt-free recipes, check out our Crispy Baked Eggplant and invigorating Gyoza Homemade Japanese—because healthy eating can be an adventure!
Make Ahead Options
These Healthy Homemade Butterfingers are perfect for meal prep, allowing busy cooks to enjoy a guilt-free treat anytime! You can prepare the entire bar mixture up to 3 days in advance; simply follow the first four steps and freeze the pressed mixture in the loaf pan. When you’re ready to enjoy, let the mixture thaw slightly for easier cutting, then proceed to cut into bars and coat with chocolate as instructed. Remember, for optimal quality, store the finished bars in an airtight container in the freezer for up to 3 months—they taste just as delicious even after freezing! Enjoy the convenience of having a homemade candy alternative on hand, making your snacking stress-free!
Healthy Homemade Butterfingers Recipe FAQs
What kind of peanut butter should I use?
Absolutely! I recommend using smooth, natural peanut butter for the best texture in your Healthy Homemade Butterfingers. Look for one without added sugars or oils. If you prefer a different flavor, almond butter works well too—just ensure it’s unsweetened.
How should I store Healthy Homemade Butterfingers?
To keep your Healthy Homemade Butterfingers fresh, store them in an airtight container in the refrigerator for up to 1 week. For longer storage, you can freeze them in a zip-top bag or an airtight container for up to 3 months. They make a perfect grab-and-go snack!
Can I freeze these bars?
Very! To freeze your Healthy Homemade Butterfingers, simply place them in a single layer in an airtight container or zip-top bag, ensuring they’re not touching to prevent sticking. They can be frozen for up to 3 months. When you’re ready to enjoy, let them thaw at room temperature for about 10 minutes.
What should I do if the mixture is crumbly?
If your mixture feels crumbly and won’t hold together, it might be due to not enough binding agents. Try adding a bit more peanut butter or maple syrup to help it come together. Ensure you press the mixture firmly into the pan to give it the necessary compactness.
Are there any allergy considerations?
Yes, good question! If you or anyone you’re serving has nut allergies, consider using sunflower seed butter instead of peanut butter for a nut-free alternative. Additionally, always double-check that chocolate chips are dairy-free if adhering to a strict dairy-free diet.
Healthy Homemade Butterfingers: Guilt-Free Crunch for You
Ingredients
Equipment
Method
- Crush the corn flakes in a zip-top bag until small pieces remain.
- Combine peanut butter and maple syrup or honey in a mixing bowl until smooth.
- Gently fold crushed corn flakes into the peanut butter mixture.
- Line a loaf pan with parchment paper, pour in the mixture, and freeze for at least 1 hour to set.
- Once firm, lift the mixture out and cut it into 12 equal bars.
- Melt chocolate chips and coconut oil together in a microwave-safe bowl.
- Dip each bar in the melted chocolate, letting excess drip off before placing on a plate.
- Freeze coated bars for 10 minutes until chocolate is set, then store in an airtight container.
Leave a Reply