
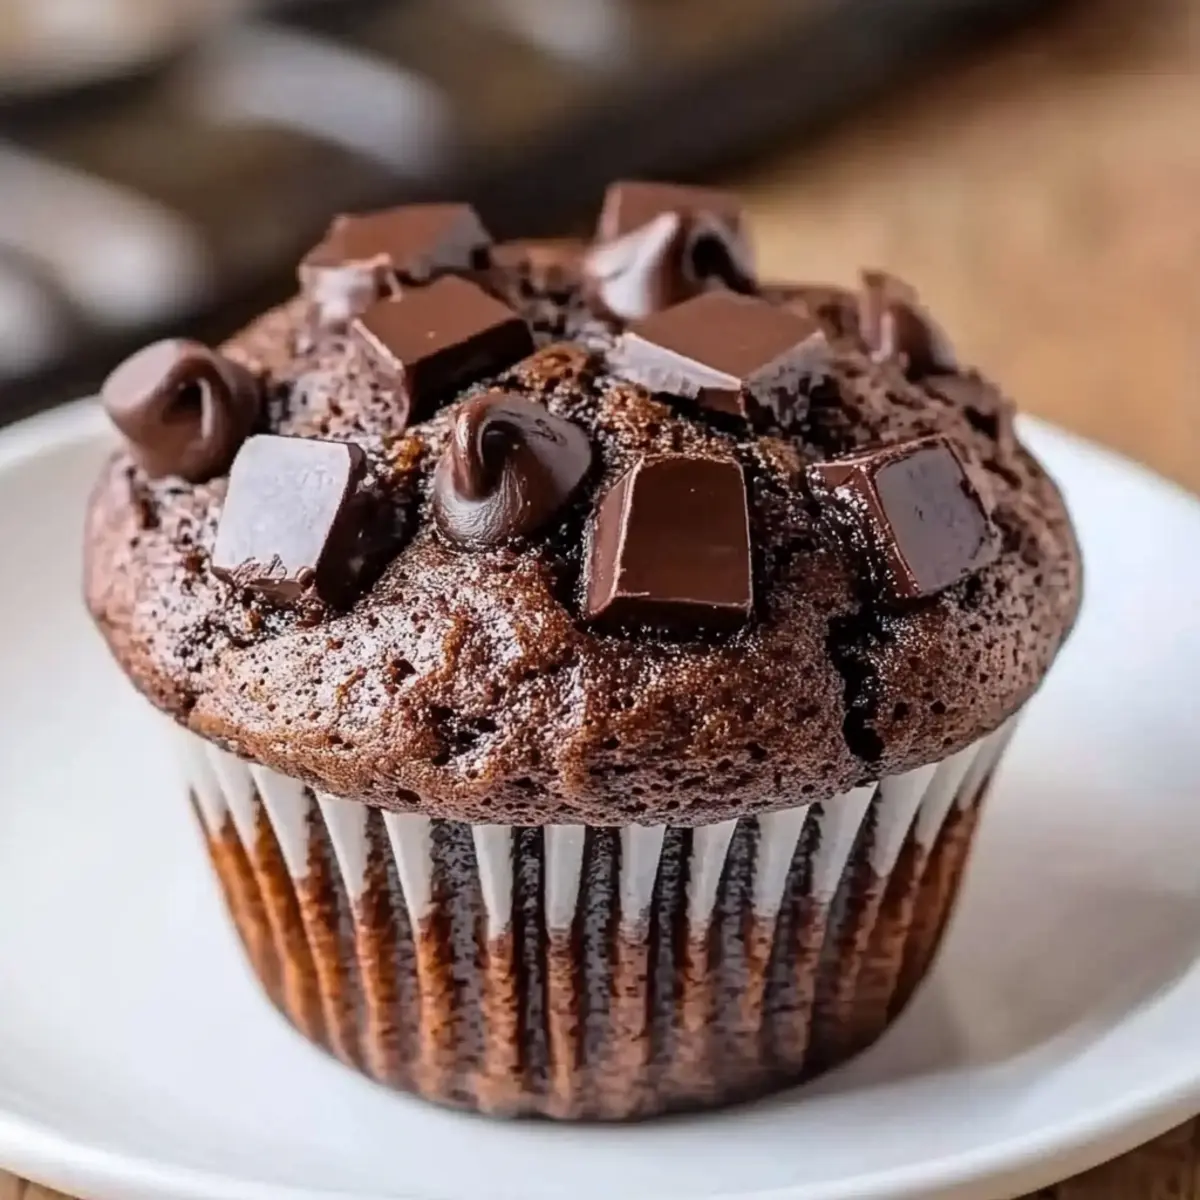
As I peeled open the oven door, a wave of rich chocolate aroma enveloped me, instantly transporting me to my favorite cozy cafe. There’s something truly magic in the air when these rich and fluffy chocolate muffins are baking. Soft, tender, and slightly cracked on top, they’re gilded with melting chocolate chips that create delightful pockets of gooey bliss. Not only are these chocolate muffins an easy recipe perfect for breakfast or dessert, but they’re also freezer-friendly, making them an ideal treat for unexpected guests—or those late-night cravings! Imagine biting into one fresh from the oven, with the warm chocolate oozing—does it get any better? Stick around to whip up your own batch; I promise, your kitchen will thank you!
Why Are These Chocolate Muffins Irresistible?
Easy and Quick: Baking these chocolate muffins takes less than 30 minutes, making them perfect for a cozy weekend breakfast or an impromptu dessert.
Melt-in-Your-Mouth Goodness: Each muffin boasts a rich, tender crumb, giving you that delightful experience with every bite.
Freezer-Friendly: Bake a batch and save some for later—just pop them in the microwave, and they’re good to go!
Gooey Chocolate Bliss: With melting chocolate chips throughout, you’ll experience bursts of rich flavor that will satisfy any chocolate craving.
Versatile Delight: Enjoy them as-is, or add a dash of espresso powder or nuts to elevate the taste, perfect for the adventurous baker!
If you’re in the mood for more sweet delights, check out these Vegan Chocolate Mousse or try these quick 4-Ingredient Chocolate Oat Cookies for more chocolatey goodness!
Chocolate Muffin Ingredients
- For the Batter
• All-purpose flour – Provides structure to the muffins; gluten-free blend can be used if needed.
• Granulated sugar – Adds sweetness and moisture; can be reduced slightly for less sweetness.
• Unsweetened cocoa powder – Infuses rich chocolate flavor; Dutch-process is recommended for a smoother taste.
• Baking powder – Acts as a leavening agent for lightness; essential for creating a fluffy texture.
• Baking soda – Works with buttermilk to enhance lift; a vital component for the muffin’s rise.
• Salt – Balances sweetness and enhances chocolate notes; essential for flavor depth.
• Large eggs – Binds ingredients and enriches the batter; crucial for the muffin’s structure.
• Vegetable oil – Adds moisture and tenderness; can be replaced with melted butter.
• Buttermilk – Contributes to a tender crumb and adds tang; plain yogurt thinned with milk is a suitable substitute.
• Vanilla extract – Rounds and deepens flavor; enhances overall taste profile.
• Chocolate chips – Provides bursts of chocolate flavor; a mix of dark and semisweet creates complexity.
Step‑by‑Step Instructions for Chocolate Muffins
Step 1: Preheat and Prepare
Begin by preheating your oven to 350°F (175°C). While that’s warming up, grab a muffin tin and line it with paper muffin liners to ensure easy removal later. This simple step sets the stage for baking your rich and fluffy chocolate muffins, so make sure to get everything ready before you start mixing.
Step 2: Combine Dry Ingredients
In a large mixing bowl, whisk together the all-purpose flour, granulated sugar, unsweetened cocoa powder, baking powder, baking soda, and salt. Combine these dry ingredients until well blended; you want to ensure each scoop of your chocolate muffins has a consistent taste and texture. This crucial step brings out the rich chocolate flavor and creates a fluffy texture.
Step 3: Mix Wet Ingredients
In a separate bowl, beat the large eggs first, then add the vegetable oil, buttermilk, and vanilla extract. Whisk these ingredients together until they are well combined and smooth. The buttermilk is key for adding moisture and tenderness to your muffins, which is essential for that melt-in-your-mouth goodness.
Step 4: Combine Wet and Dry Mixtures
Pour the wet mixture into the dry ingredients. Using a spatula or wooden spoon, gently stir the mixtures together until just combined, being careful not to overmix. A few lumps are fine—this will help keep your chocolate muffins tender and fluffy.
Step 5: Fold in Chocolate Chips
Now it’s time to add the star ingredient! Fold in the chocolate chips gently with your spatula. You want to evenly distribute them throughout the batter, ensuring each muffin has delightful pockets of gooey chocolate. This is where those bursts of chocolate flavor come to life in your baked treats.
Step 6: Fill Muffin Cups
Using a scoop or spoon, divide the muffin batter among the prepared muffin cups, filling each about two-thirds full. This gives your chocolate muffins room to rise beautifully in the oven while preventing overflow. Make sure they are equally filled for uniform baking and perfect presentation.
Step 7: Bake to Perfection
Place the muffin tin in your preheated oven and bake for 18-20 minutes. Keep an eye on them, and check for doneness by inserting a toothpick into the center; if it comes out clean, your chocolate muffins are ready. You want to see a slightly domed and cracked top, which shows they’re ready to come out.
Step 8: Cool and Serve
Once baked, let your chocolate muffins cool in the pan for about 5 minutes. This will allow them to set before transferring them to a wire rack. Cooling completely ensures the perfect texture and makes them easier to handle, so be patient before indulging in these delicious goodies!
Storage Tips for Chocolate Muffins
-
Room Temperature: Store your chocolate muffins in an airtight container at room temperature for up to 2 days to maintain their softness and rich flavor.
-
Fridge: If you want to keep your muffins fresh for a bit longer, refrigerate them for up to 5 days. Just make sure they are well-wrapped to prevent them from drying out.
-
Freezer: For long-term storage, individually wrap each muffin in plastic wrap and place them in a freezer-safe bag. They can be stored for up to 3 months, ensuring your chocolate muffins are ready for a cozy treat anytime.
-
Reheating: To enjoy them warm, simply microwave the frozen muffins for about 15-20 seconds, or until heated through, and savor that gooey chocolate experience all over again!
Chocolate Muffins: Variations & Substitutions
Feel free to make this classic recipe your own—experimenting can lead to delightful surprises!
- Gluten-Free: Substitute all-purpose flour with a gluten-free blend to enjoy these muffins without the gluten.
- Lower Fat: Swap half the vegetable oil with unsweetened applesauce for a lower-fat, moist muffin. Just keep in mind that the texture may be denser.
- Dairy-Free: Use almond or oat milk in place of buttermilk, and choose dairy-free chocolate chips for a deliciously dairy-free treat.
- Nutty Crunch: Add chopped walnuts or pecans to the batter for an exciting crunchy contrast and rich flavor. Nuts not only enhance texture but also add nutritional benefits.
- Spicy Twist: Mix in a teaspoon of cinnamon or a pinch of cayenne pepper to complement the chocolate and add warmth. The unexpected heat can create a delightful flavor profile.
- Fruity Flavor: Fold in some fresh raspberries or chopped strawberries for a fruity twist that complements the chocolate perfectly. The sweet-tart notes of the berries brighten up each bite!
- Espresso Boost: Incorporate a teaspoon of espresso powder into the dry ingredients to intensify that rich chocolate taste. This small addition can turn your muffins into an even greater coffee lover’s delight.
For more sweet ideas, try these irresistible Vegan Chocolate Mousse or these quick and easy 4-Ingredient Chocolate Oat Cookies for a different fun twist!
Make Ahead Options
These Chocolate Muffins are perfect for busy home cooks looking to simplify meal prep! You can prepare the batter up to 24 hours in advance and refrigerate it to save time during the week. Just mix all the dry ingredients and wet ingredients separately, then combine them right before baking for that fresh-from-the-oven experience. Additionally, you can bake the muffins, let them cool completely, and store them in an airtight container at room temperature for up to 3 days. For longer storage, freeze the muffins individually wrapped for up to 3 months. To maintain their delightful texture, reheat them in the microwave for a few seconds before serving—your morning routine just got a whole lot easier!
What to Serve with Rich and Fluffy Chocolate Muffins
Imagine a delightful spread that complements your warm chocolate muffins, transforming them into a truly memorable meal.
-
Fresh Berries: Juicy strawberries or blueberries add a refreshing burst, balancing the sweet richness of the muffins.
-
Whipped Cream: A dollop of whipped cream creates a luxurious treat that enhances each chocolatey bite, making every morsel feel indulgent.
-
Espresso or Coffee: The bold flavors of coffee pair perfectly with chocolate, enhancing the muffins’ flavors and providing a cozy breakfast vibe.
-
Greek Yogurt: A spoonful of tangy Greek yogurt on the side brings a refreshing contrast, making for a balanced breakfast option. It adds protein too!
-
Nutty Granola: Serve a small bowl of crunchy granola alongside to add texture and a nutty flavor that pairs beautifully with the chocolatey goodness.
-
Chocolate Drizzle: For an extra touch of decadence, drizzle some melted chocolate over the muffins before serving—pure bliss in every bite!
Expert Tips for Chocolate Muffins
-
Measure Flour Accurately: Using the correct amount of flour is crucial. Too much can lead to dense muffins, so spoon it into your measuring cup rather than scooping directly.
-
Don’t Overmix: Stir the batter gently until just combined. Overmixing can result in tough muffins, sacrificing the tender texture we crave in chocolate muffins.
-
Innovate with Flavor: Experiment with additions like nuts or a sprinkle of espresso powder. These can enhance the chocolate flavor and give your muffins a unique twist.
-
Check Oven Temperature: Use an oven thermometer to ensure accurate baking temperatures. This prevents underbaking or overbaking, helping achieve that perfect fluffy texture.
-
Store for Freshness: Keep chocolate muffins in an airtight container at room temperature for the best taste. Consider freezing extras for a warm treat anytime!
Chocolate Muffins Recipe FAQs
What kind of flour should I use for chocolate muffins?
I recommend using all-purpose flour for the best structure in chocolate muffins. If you’re following a gluten-free diet, feel free to substitute it with a gluten-free flour blend—just make sure it’s a one-to-one replacement for an easy transition.
How should I store chocolate muffins for maximum freshness?
To keep your chocolate muffins fresh, store them in an airtight container at room temperature for up to 2 days. If you want to extend their shelf life, you can refrigerate them for up to 5 days. Just ensure they’re well-wrapped to retain moisture.
Can I freeze chocolate muffins, and if so, how?
Absolutely! To freeze your chocolate muffins, wrap each muffin individually in plastic wrap and then place them in a freezer-safe bag. They will remain fresh for up to 3 months. To enjoy later, simply microwave a frozen muffin for 15-20 seconds until warmed through.
What can I do if my muffins are too dense?
If your chocolate muffins turn out dense, it might be due to too much flour or overmixing the batter. Ensure you’re measuring flour accurately—spoon it into your measuring cup instead of scooping. Additionally, mix just until combined to maintain a fluffy texture.
Are chocolate muffins safe for pets?
Chocolate can be toxic to dogs and cats, so it’s best to keep these delightful chocolate muffins away from your furry friends. Always check for ingredient safety if you’re feeding them homemade treats, and opt for pet-friendly recipes instead.
Can I make chocolate muffins healthier?
You can definitely make your chocolate muffins healthier by substituting half of the vegetable oil with applesauce or mashed bananas. This will reduce the fat content while still keeping the muffins moist. Keep in mind that the texture may be denser with these substitutions, but they’ll still be delicious!
Irresistibly Soft Chocolate Muffins for Cozy Mornings
Ingredients
Equipment
Method
- Preheat your oven to 350°F (175°C) and line a muffin tin with paper liners.
- In a bowl, whisk together the flour, sugar, cocoa powder, baking powder, baking soda, and salt until well blended.
- In a separate bowl, beat the eggs, then add the oil, buttermilk, and vanilla extract; whisk until smooth.
- Pour the wet mixture into the dry ingredients and stir until just combined, avoiding overmixing.
- Fold in the chocolate chips gently.
- Divide the batter among the muffin cups, filling each about two-thirds full.
- Bake for 18-20 minutes, checking for doneness with a toothpick.
- Let muffins cool in the pan for 5 minutes, then transfer to a wire rack to cool completely.
Leave a Reply