
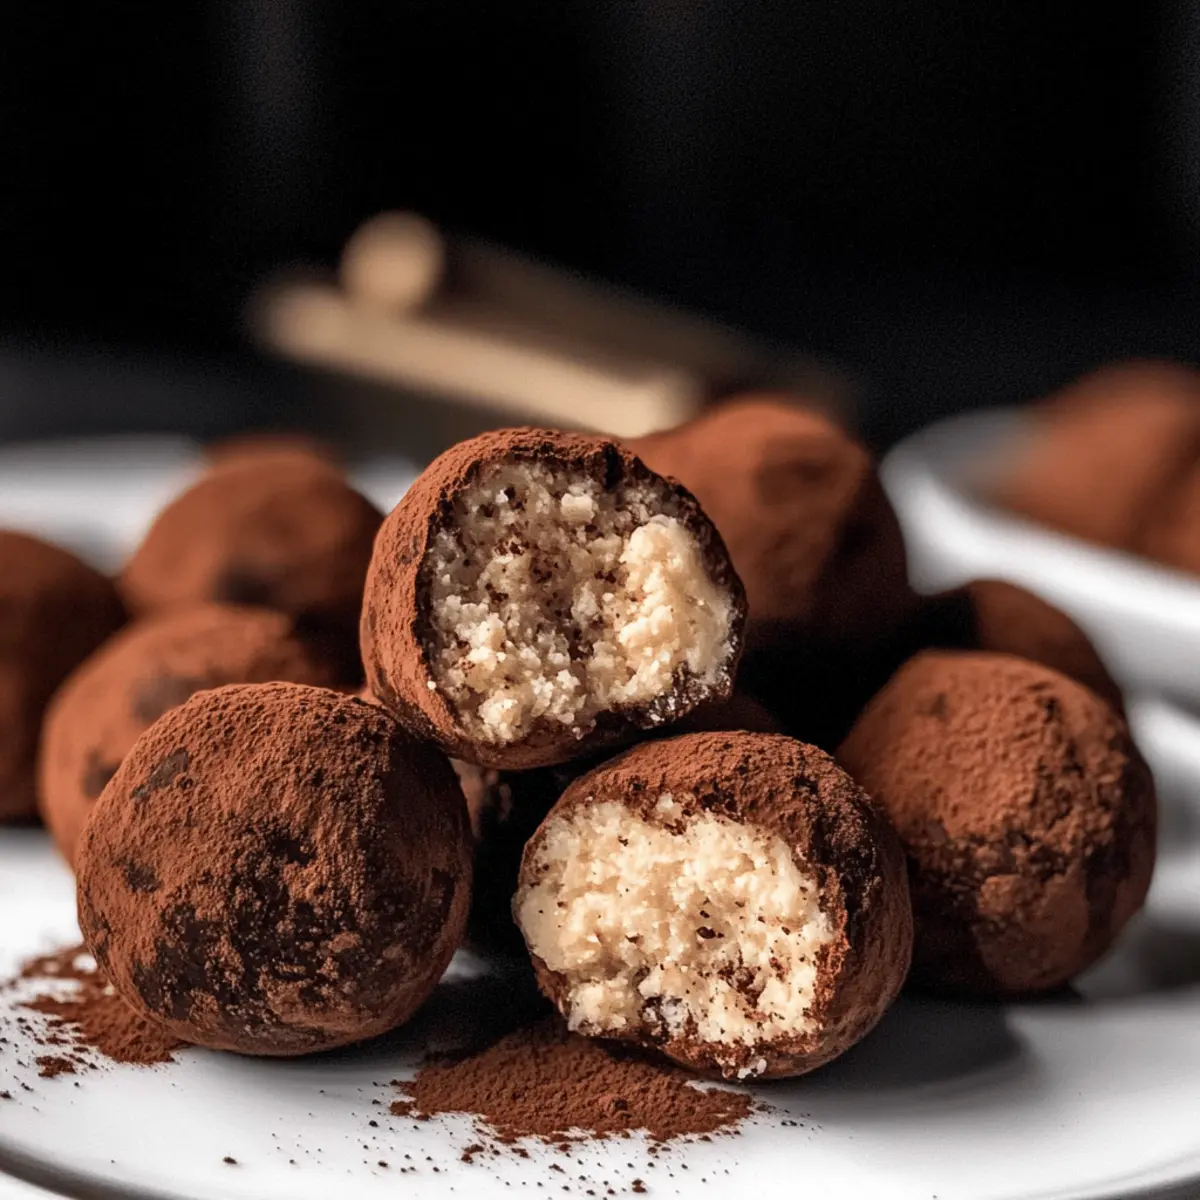
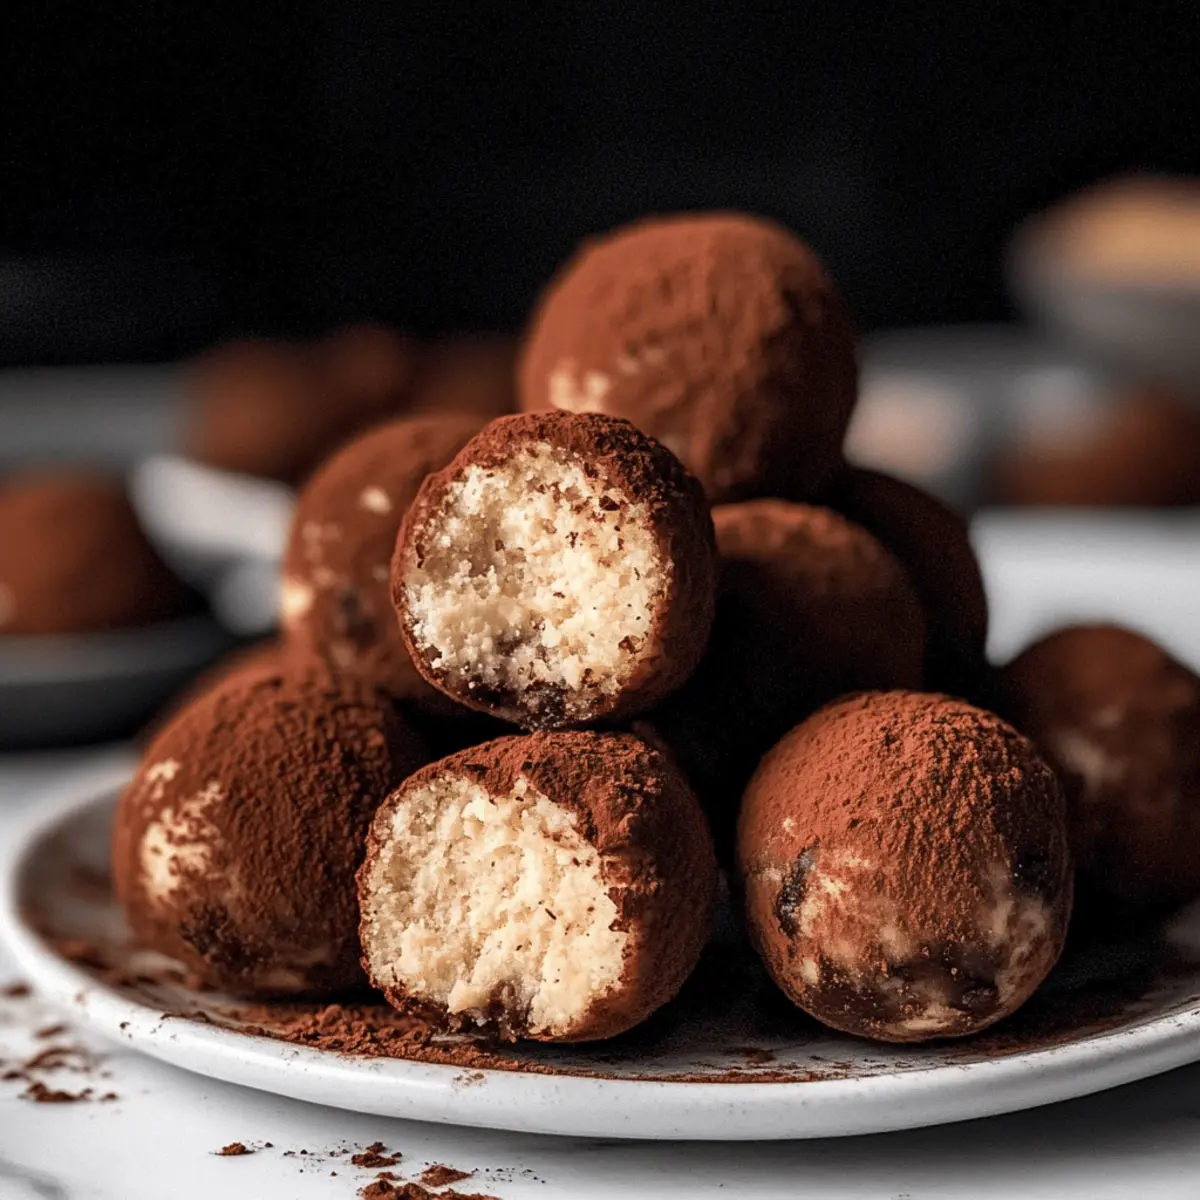
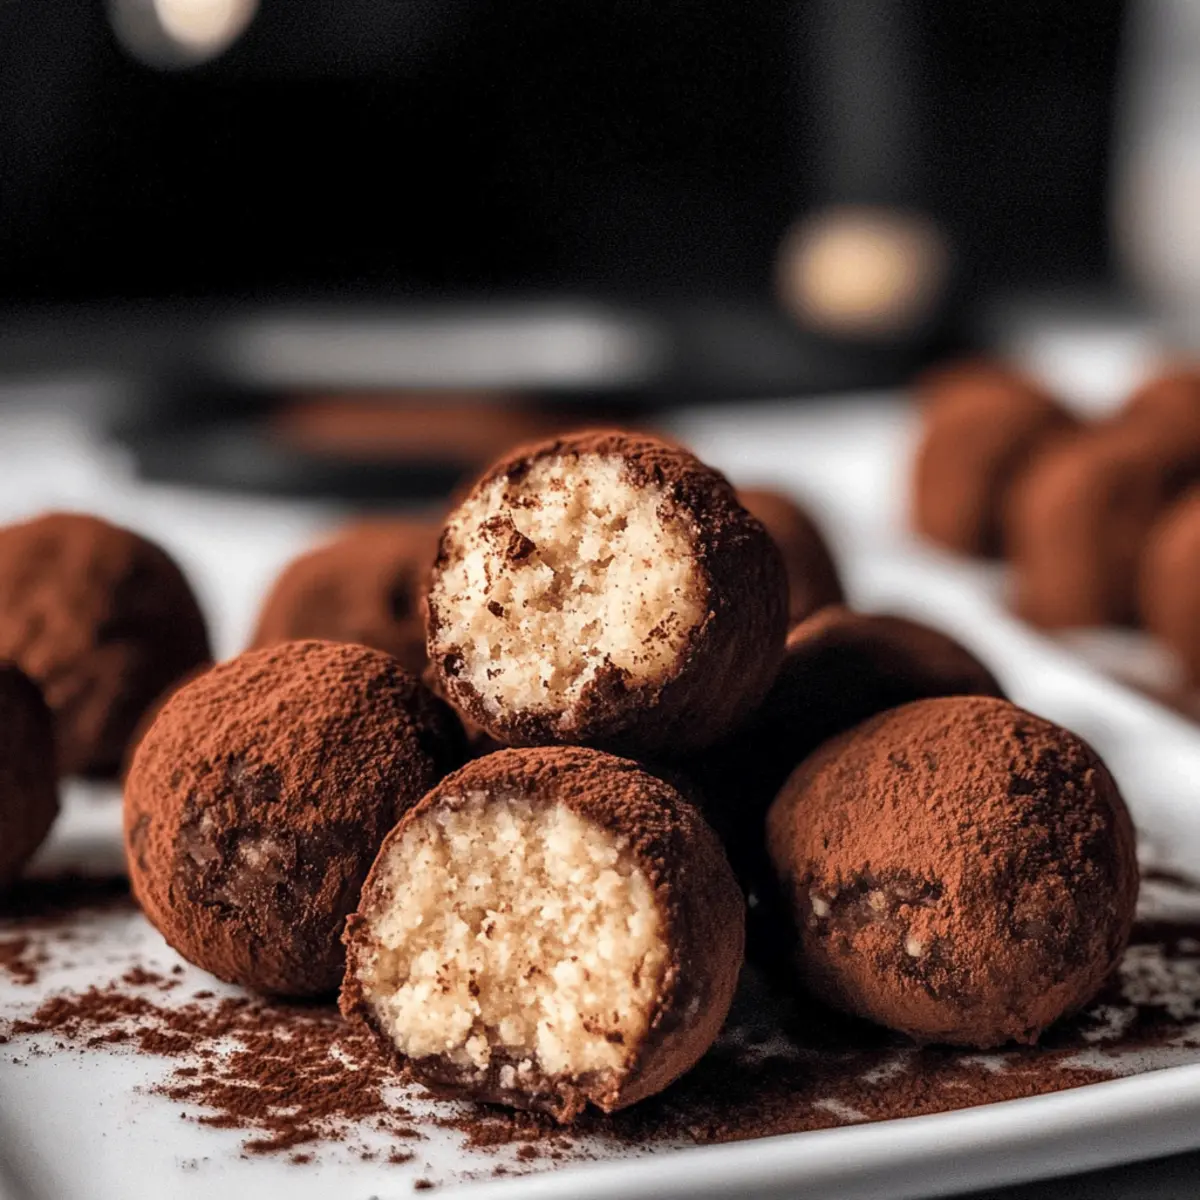
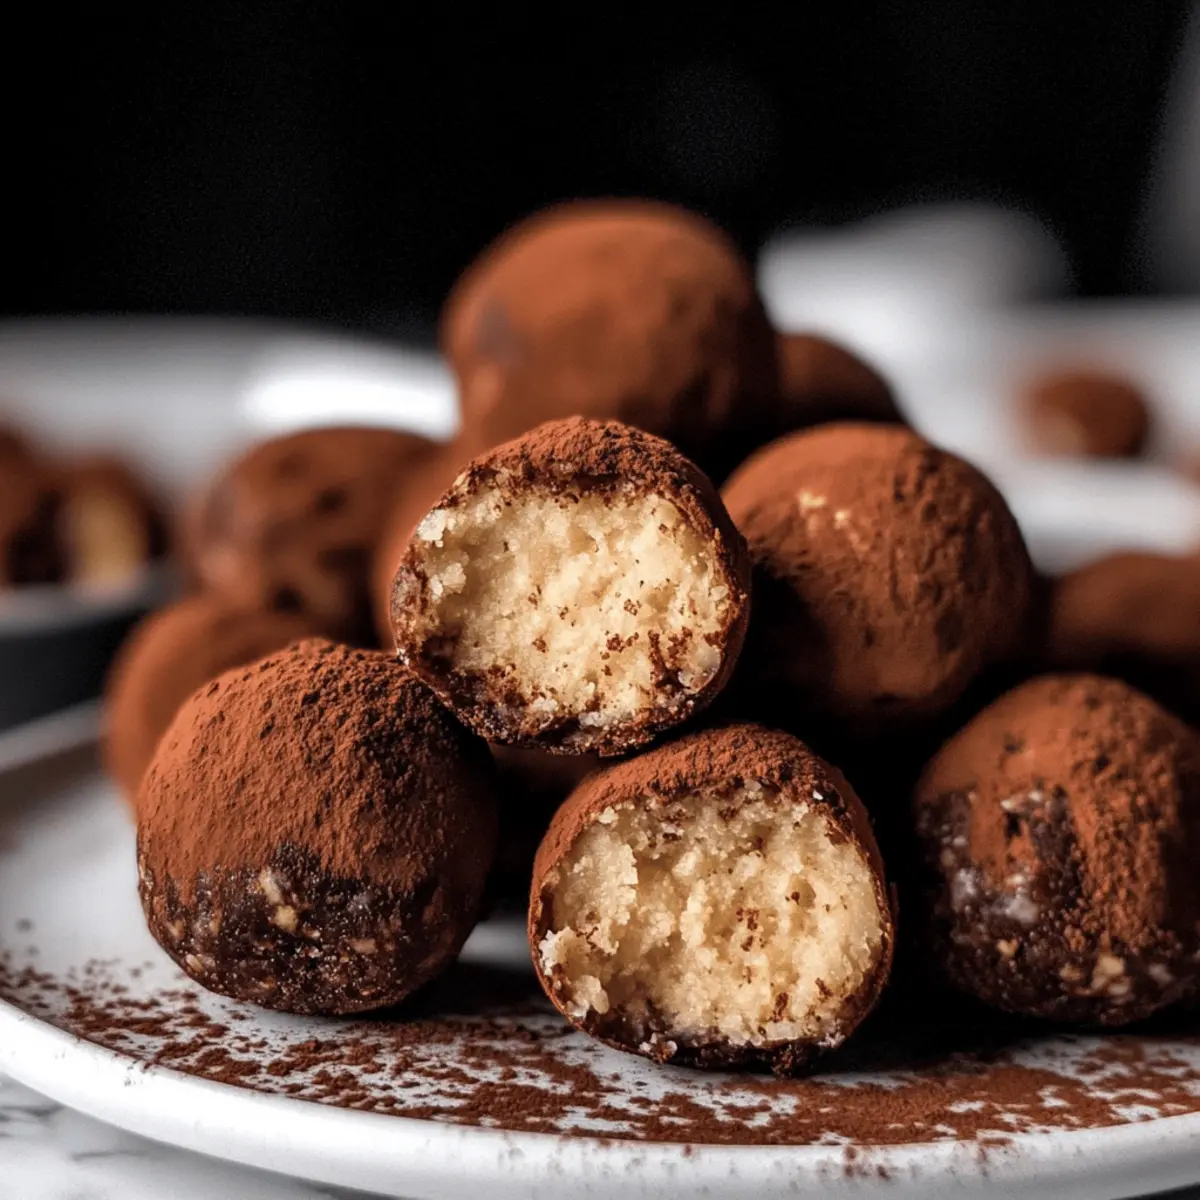
The moment I bit into a rich, creamy tiramisu ball for the first time, it was as if the essence of Italy had been distilled into one delightful morsel. These no-bake Tiramisu Balls are the ultimate solution for those craving a sweet escape—especially when you have just 10 minutes to spare! With no intricate layers or lengthy baking involved, this quick recipe lets you indulge without the usual fuss. Plus, you can easily customize these truffles with your favorite toppings, whether you fancy a sprinkle of cocoa or a decadent chocolate dip. Perfect for gatherings or a well-deserved treat at home, these bites are the sweet remedy you didn’t know you needed. Ready to take your taste buds on a delicious adventure?
Why Are Tiramisu Balls a Must-Try?
Quick and Effortless: In just 10 minutes, you can create these delightful treats, making them perfect for unexpected guests or a late-night craving.
Versatile Toppings: Customize each bite! Roll them in cocoa powder, dip in chocolate, or sprinkle with your favorite sweets.
Rich Flavors: Experience the harmony of creamy cheese and the smoothness of ladyfingers, delivering an authentic Italian taste without the hassle.
No-Bake Delight: Skip the oven and enjoy a fuss-free dessert that’s simple yet incredibly satisfying.
Crowd-Pleasing Treat: These treats are sure to impress at gatherings or family dinners, easily becoming the star of the show! For more quick dessert ideas, check out my delicious Tiramisu Chia Pudding or the versatile Baked Meatballs Savory.
Tiramisu Balls Ingredients
For the Base
• Lady Fingers – These create the foundation; make sure they are dry to achieve the best texture.
• Cream Cheese – Provides creaminess; you can swap it for mascarpone for a more classic flavor.
For Sweetness
• Powdered Sugar – Sweetens your mixture; adjust the amount to fit your taste preference.
For Coating
• Cocoa Powder – Adds that rich, chocolatey finish when rolled; consider using powdered sugar if you prefer a sweeter touch.
Feel free to experiment and make these Tiramisu Balls your own!
Step‑by‑Step Instructions for Tiramisu Balls
Step 1: Prep the Mixture
In a mini food processor, combine dry lady fingers, cream cheese, and powdered sugar. Pulse this mixture until it reaches a smooth and creamy consistency, about 1-2 minutes. Scrape down the sides as needed to ensure all ingredients are well incorporated. This forms the delicious base for your Tiramisu Balls.
Step 2: Form Balls
Once the mixture is ready, use a cookie scoop to portion it into small balls, about one inch in diameter. Gently roll each portion between your palms to create a smooth finish. Place the formed balls on a parchment-lined baking sheet to help keep them from sticking while you prepare the next steps.
Step 3: Add Toppings
Roll each ball in cocoa powder, dip in melted chocolate, or cover with festive sprinkles based on your preference. Each coating will transform the Tiramisu Balls, offering different textures and flavors. Be sure to coat them evenly for a delightful presentation and taste experience.
Step 4: Chill
Refrigerate or freeze the coated Tiramisu Balls for 15-20 minutes. This chilling step helps them firm up, making them easier to handle and enhancing the flavors. You’ll know they’re ready when they feel firm to the touch, ensuring they will hold their shape when served.
Step 5: Serve
Once chilled, your Tiramisu Balls are ready to be served! Arrange them on a beautiful platter and enjoy these delightful no-bake treats. Perfect for gatherings or as a casual indulgence at home, they are sure to impress with their rich, creamy flavors wrapped in a sweet cocoa coat.
Tiramisu Balls: Customization Ideas
Feel free to make these delightful Tiramisu Balls your own, experimenting with flavors and textures that excite your palate!
-
Dairy-Free: Substitute cream cheese with a dairy-free cream cheese alternative for a delicious vegan treat.
-
Decadent Chocolate: Use dark, milk, or white chocolate for dipping to elevate the flavor; each variety brings its own charm!
-
Nutty Toppings: Roll the balls in crushed nuts like almonds or hazelnuts for added crunch and flavor. The contrast of crunchy nuts against the creamy balls is simply divine.
-
Flavored Extracts: Add a splash of vanilla, almond, or orange extract to the mixture for an unexpected flavor twist. Just a hint of extract can transform the taste experience entirely.
-
Coffee Lovers: Mix instant coffee granules into the base mixture for an added caffeine kick; it heightens the traditional tiramisu flavor.
-
Holiday Spirit: Incorporate festive sprinkles or holiday-themed toppings for seasonal celebrations. Imagine these treats dressed up for the holidays—everyone will want them!
-
Chocolate Drizzle: After chilling, drizzle melted chocolate on top for an elegant presentation. It adds a touch of artistry to your dessert.
-
Spice it Up: Sprinkle some cinnamon or nutmeg into the mixture for a warm, spicy aroma; these spices complement chocolate beautifully.
If you’re looking for more dessert variations, don’t forget to check out the wonderful Baked Chicken Meatballs or whip up some savory Baked Meatballs Savory to balance your sweet indulgence!
Expert Tips for Tiramisu Balls
- Use Dry Lady Fingers: Ensure they’re crisp to help maintain the right consistency; using soft ones may lead to a mushy texture.
- Chill Before Dipping: Refrigerate the formed balls to ensure they hold shape and don’t crumble when coating in chocolate.
- Customize Your Coatings: Experiment with toppings like flavored chocolate or nuts; it adds a personal touch to your Tiramisu Balls.
- Adjust Sweetness: Taste the mixture before rolling; you can always add more powdered sugar if you prefer a sweeter treat.
- Serve Cold: These no-bake balls are best served chilled, enhancing their creamy and rich flavor while providing a refreshing bite.
What to Serve with Tiramisu Balls
Serving up Tiramisu Balls is more than just a dessert; it’s a chance to create a memorable meal experience filled with delightful pairings.
-
Rich Espresso: A cup of bold espresso complements the creamy sweetness of the Tiramisu Balls, elevating your dessert to café-like indulgence. Sip and savor this pairing for a taste of authentic Italian culture.
-
Chocolate Fondue: Serve alongside a warm chocolate fondue for a fun, interactive dessert experience. Guests can dip the Tiramisu Balls for an even richer chocolate flavor, creating layers of sweetness and enjoyment.
-
Fresh Berries: Bright, juicy berries like raspberries or strawberries add a zesty contrast to the creamy truffles. Their tartness beautifully enhances the dessert, making each bite even more refreshing.
-
Vanilla Ice Cream: A scoop of vanilla ice cream acts as a cool, creamy contrast to the Tiramisu Balls. The smooth texture and subtle sweetness align perfectly, providing a delectable balance.
-
Whipped Cream: A dollop of fluffy whipped cream adds an extra layer of lightness to your dessert spread. It pairs seamlessly with the rich flavors and adds a decorative touch to your plating.
-
Mint Tea: Serve with a warming cup of mint tea to cleanse the palate. Its refreshing notes harmonize with the cocoa and coffee flavors of your Tiramisu Balls for a delightful conclusion.
-
Chocolate-Covered Strawberries: Adding chocolate-covered strawberries not only enhances the chocolate factor but also offers a visually appealing element to your dessert table. Their juicy freshness will brighten the rich indulgence of your Tiramisu Balls.
-
Prosecco: A glass of bubbly Prosecco is the perfect drink to accompany your dessert. Its effervescence cuts through the creaminess, offering a light, festive pairing for your sweet bites.
Make Ahead Options
These Tiramisu Balls are perfect for meal prep, saving you time during busy weeks! You can prepare the mixture up to 24 hours in advance by combining the lady fingers, cream cheese, and powdered sugar, then refrigerating it in an airtight container. Form the mixture into balls just before serving, as this helps maintain their delightful shape and freshness. If you prefer, you can also roll the balls in cocoa powder or dip them in chocolate ahead of time and store them in the refrigerator for up to 3 days. Just be sure to cover them well to prevent any drying out, and they’ll be just as delicious when it’s time to indulge!
Storage Tips for Tiramisu Balls
Room Temperature: Tiramisu Balls are best enjoyed chilled, so it’s not advisable to store them at room temperature for more than 1-2 hours.
Fridge: Store any uneaten Tiramisu Balls covered in plastic wrap in the refrigerator for up to 3-4 days; this preserves their rich flavor and creamy texture.
Freezer: For longer storage, freeze the Tiramisu Balls in an airtight container for up to 2 months. Thaw in the fridge before serving for optimal taste.
Reheating: Enjoy these no-bake delights cold straight from the fridge or freezer—there’s no need to reheat!
Tiramisu Balls Recipe FAQs
What should I look for when selecting lady fingers?
Absolutely! When selecting lady fingers, choose packages that have dry and crisp texture. Avoid any that look soft or have dark spots, as they can result in a mushy consistency when making your Tiramisu Balls. You’ll want that perfect base to hold everything together.
How should I store my Tiramisu Balls to keep them fresh?
To keep your Tiramisu Balls fresh, wrap them tightly in plastic wrap and store them in the refrigerator for up to 3-4 days. This helps preserve their rich flavor and creamy texture. Ensure they are well covered to prevent them from absorbing any fridge odors.
Can I freeze Tiramisu Balls, and how do I do it?
Yes, you can definitely freeze Tiramisu Balls! To do this, place them in a single layer in an airtight container, separating each layer with parchment paper. They can be frozen for up to 2 months. When you’re ready to enjoy them, simply thaw them in the fridge overnight. This way, you’ll have a delicious treat ready whenever you need a sweet escape!
What should I do if my mixture is too dry or too wet?
If your Tiramisu Balls mixture is too dry, simply add a little more cream cheese to achieve the desired creamy consistency. On the other hand, if it’s too wet, you can incorporate more crushed lady fingers. Start with 1 tablespoon at a time and mix until it’s manageable to form into balls. This ensures a perfect texture every time.
Are Tiramisu Balls safe for people with allergies?
Great question! Tiramisu Balls primarily contain dairy ingredients like cream cheese and lady fingers, which may not be suitable for those with lactose intolerance or dairy allergies. For a dairy-free option, consider using a plant-based cream cheese alternative. Always check ingredient labels to ensure that they fit your dietary needs.
Can I customize the toppings for my Tiramisu Balls?
Very much so! The beauty of Tiramisu Balls lies in their versatility. You can experiment with coatings such as white chocolate, flavored chocolate (like orange or raspberry), or even crushed nuts for a delightful crunch. The more, the merrier! Each topping can infuse your truffles with a unique twist that aligns with your taste preferences.
Easy Tiramisu Balls: Quick No-Bake Delight in 10 Minutes
Ingredients
Equipment
Method
- In a mini food processor, combine dry lady fingers, cream cheese, and powdered sugar. Pulse until smooth and creamy, about 1-2 minutes.
- Use a cookie scoop to portion the mixture into small balls, about one inch in diameter. Roll each portion between your palms to create a smooth finish.
- Roll each ball in cocoa powder, dip in melted chocolate, or cover with festive sprinkles based on your preference.
- Refrigerate or freeze the coated Tiramisu Balls for 15-20 minutes until firm.
- Once chilled, serve the Tiramisu Balls on a beautiful platter.
Leave a Reply