
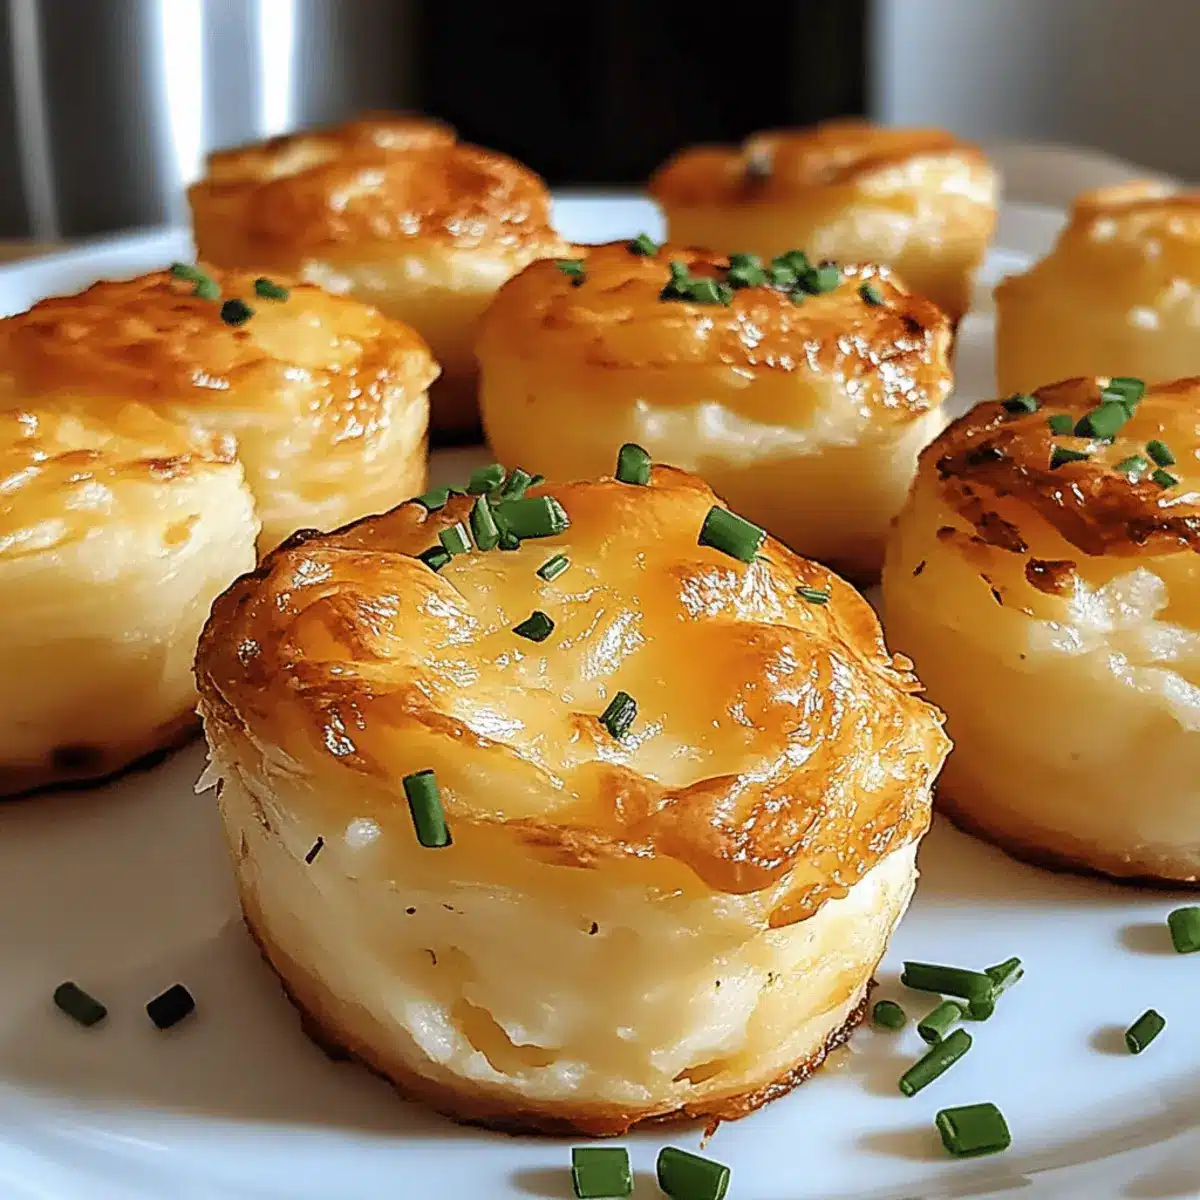
As I rummaged through my fridge last week, the remnants of a cozy dinner beckoned for a tasty transformation. Enter Cheesy Mashed Potato Puffs: the ultimate solution for those tricky leftover nights. These little nuggets are not just a clever way to reinvent yesterday’s mashed potatoes; they are a delightful treat that combines a crispy shell with a fluffy, cheesy interior. Perfect for a quick weeknight meal or a crowd-pleasing appetizer at your next gathering, they boast the comforting richness we all crave while being super simple to whip up. With endless possibilities for customization—think different cheeses or fun dips—who wouldn’t want to dive into a plate of these golden bites? Curious about how to make this irresistible snack? Let’s dive in!
Why are Cheesy Mashed Potato Puffs a Must-Try?
Irresistible Flavor: These puffs are bursting with cheesy goodness and savory chives, elevating leftovers into a gourmet treat.
Easy Recipe: No culinary wizardry required! Just combine ingredients, portion, and bake for simple comfort food at its finest.
Crispy, Creamy Delight: The contrast between the golden crust and fluffy inside creates a mouthwatering experience, reminiscent of your favorite restaurant appetizer.
Customization Options: Feel free to mix up the cheese, or add bacon for an extra kick. Try pairing them with creamy dips like ranch or guacamole for a fun twist! Discover even more flavors by exploring our Loaded Potato Taco Bowls and Cheesy Chicken Broccoli Rice Casserole.
Perfect for Any Occasion: Whether it’s a family dinner or a party platter, these puffs will be a hit with everyone, ensuring no leftovers go to waste!
Cheesy Mashed Potato Puffs Ingredients
For the Batter
• Eggs – Bind the ingredients and add structure; beat them well for fluffiness.
• Mashed Potatoes – Use room-temperature leftovers to ensure a creamy base; this ingredient holds the flavor.
• Shredded Monterey Jack Cheese – Enhances richness and gooeyness; cheddar or mozzarella makes delicious substitutes.
• Fresh Chives – Add a pop of freshness and mild onion flavor; feel free to use extra for garnish.
• Salt and Pepper – Essential for flavor enhancement; adjust according to your preference.
For Serving
• Sour Cream (optional) – Provides an extra creamy touch; swap for Greek yogurt for a lighter version.
Step‑by‑Step Instructions for Cheesy Mashed Potato Puffs
Step 1: Preheat and Prepare
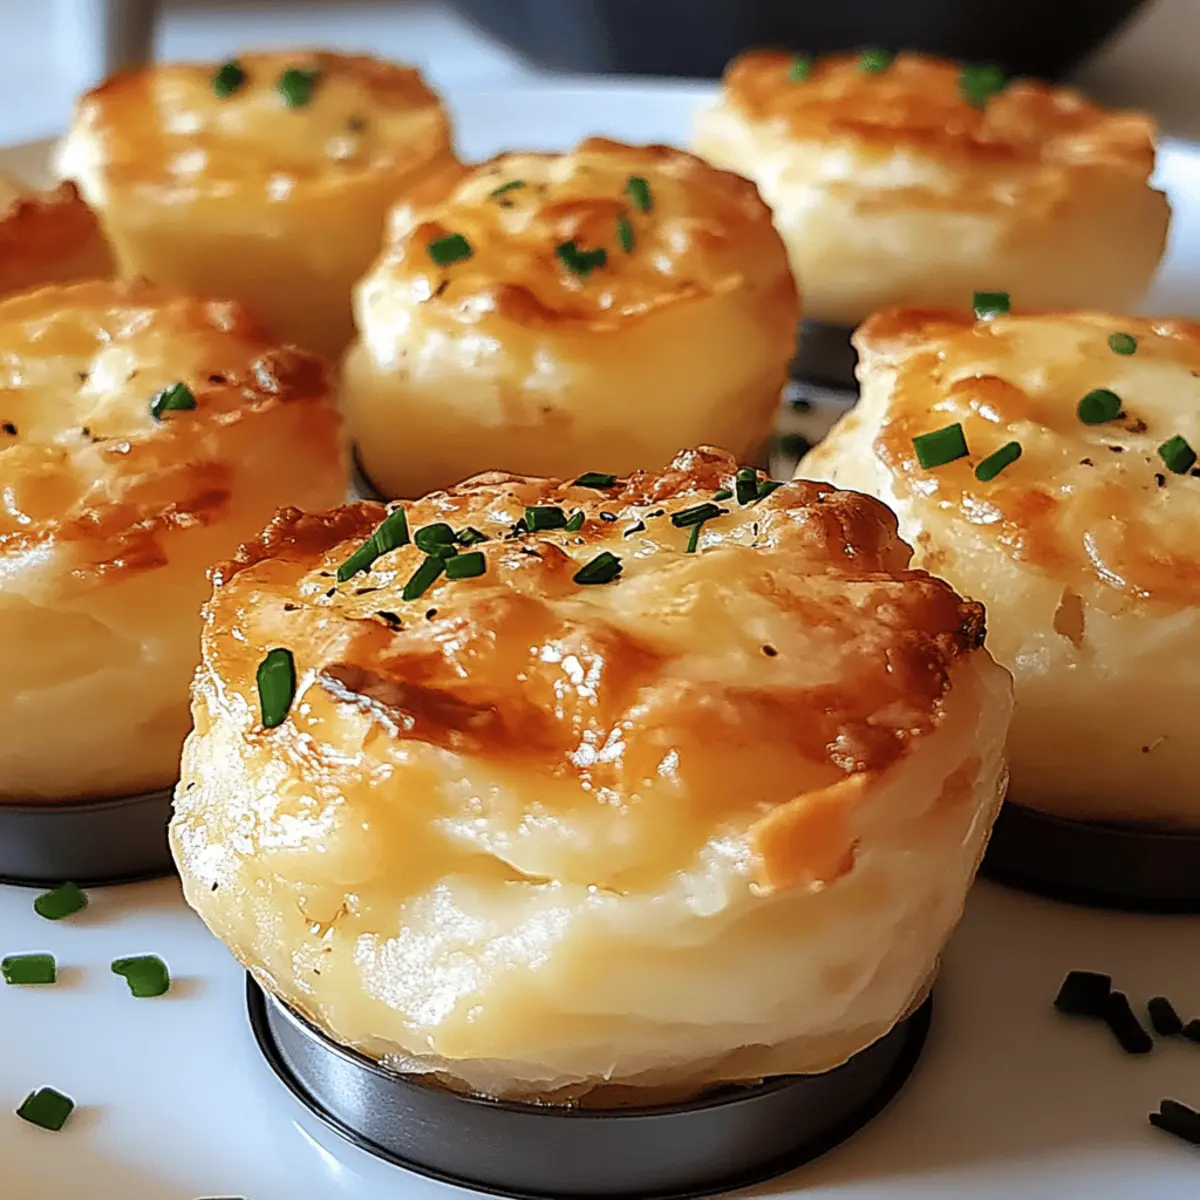
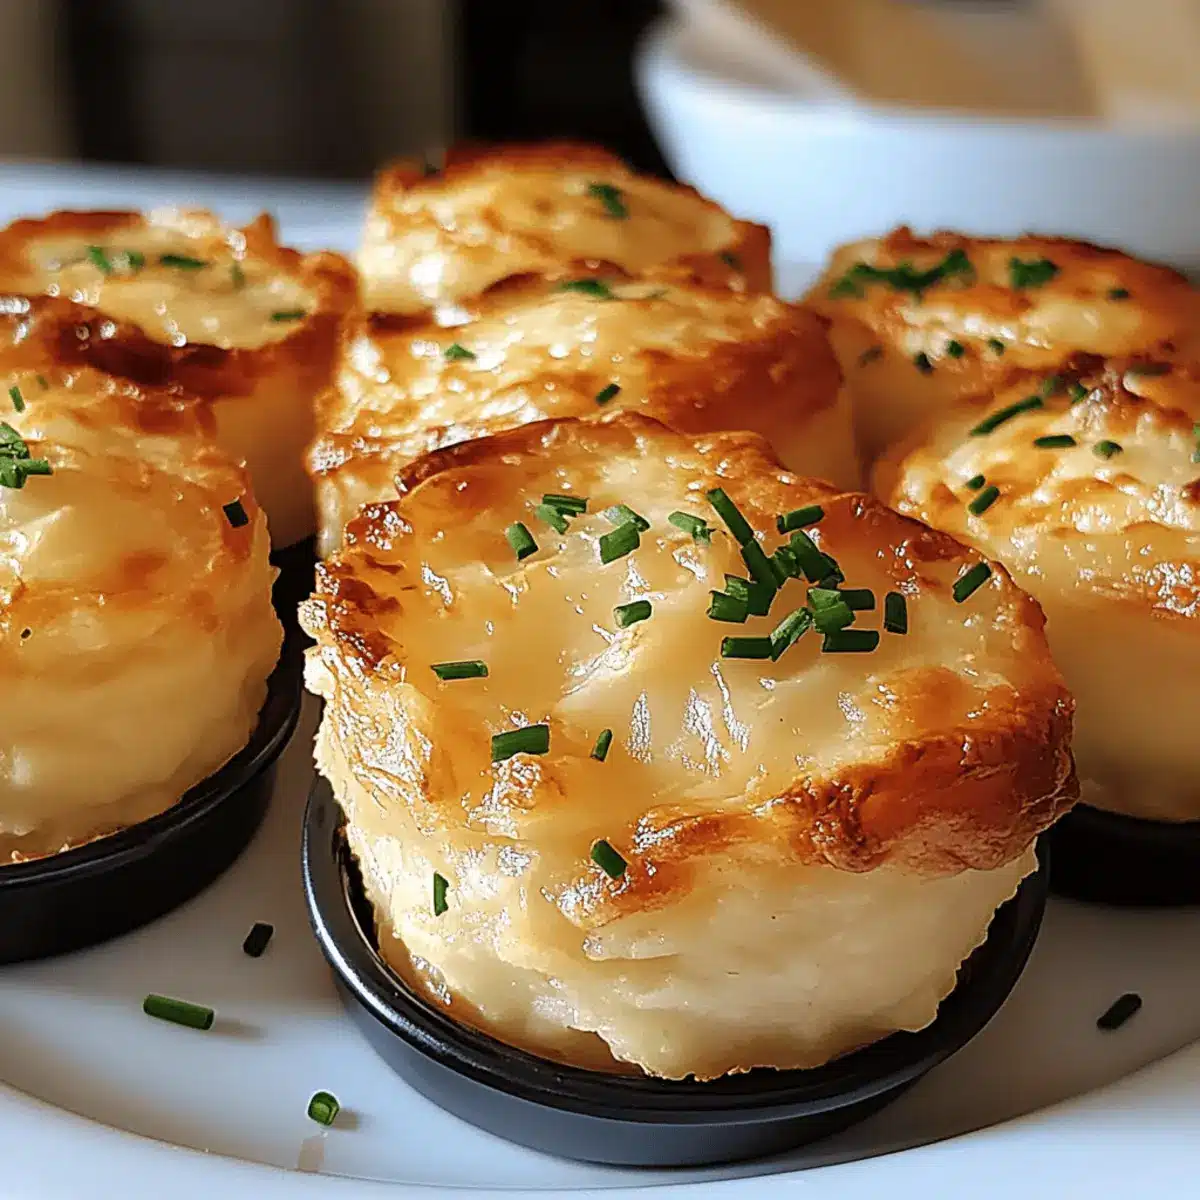
Begin by preheating your oven to 400°F (200°C). While the oven warms up, grease a 24-cup mini muffin tin with cooking spray or butter, ensuring each cup is well-covered for easy release later. This step is crucial for achieving those perfectly golden, crispy Cheesy Mashed Potato Puffs without any sticking!
Step 2: Mix the Ingredients
In a large bowl, combine your room-temperature mashed potatoes, beaten eggs, 3/4 cup of shredded Monterey Jack cheese, and chopped chives. Season the mixture generously with salt and pepper to enhance flavor. Use a spatula or spoon to gently fold the ingredients together until just combined, being careful not to overmix for a light, airy texture.
Step 3: Fill the Muffin Tin
Using a portion scoop or spoon, carefully fill each greased muffin cup with the cheesy potato mixture, making sure to fill nearly to the top without overflowing. This ensures ample space for puffing up in the oven. Aim for even distribution for consistent baking and a nice rise in your flavorful bites.
Step 4: Add Extra Cheese
Once the muffin tin is filled with the potato mixture, sprinkle the remaining 1/4 cup of shredded cheese evenly over the tops of each puff. This step not only enhances the cheesy goodness inside but also creates a bubbly, golden crust as they bake. Your Cheesy Mashed Potato Puffs are now ready for the oven!
Step 5: Bake to Perfection
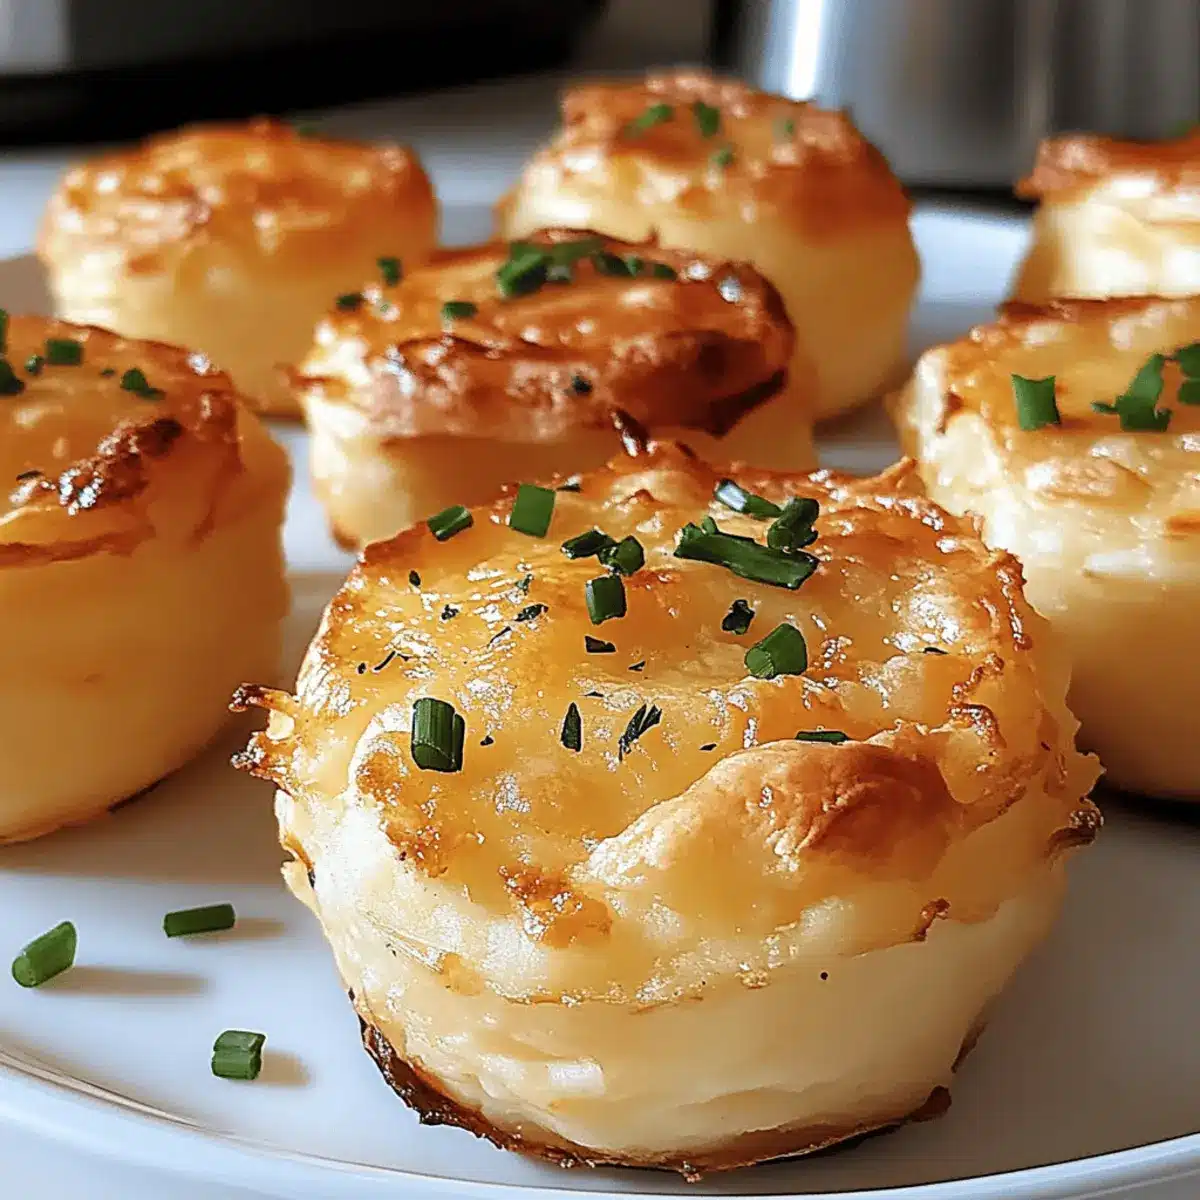
Place the muffin tin on the middle rack of your preheated oven and bake for 15-20 minutes. Keep an eye on them; you’re looking for a golden-brown top and a puffed-up appearance. The kitchen will be filled with a delicious aroma, signaling that your Cheesy Mashed Potato Puffs are almost ready!
Step 6: Cool and Serve
Once golden and puffed, remove the muffin tin from the oven and let it cool for about 5 minutes. This cooling time helps the puffs to firm up. Afterward, gently run a knife around the edges and carefully pop each Cheesy Mashed Potato Puff out of the tin. Serve warm, garnished with more chives and a dollop of sour cream if desired.
Cheesy Mashed Potato Puffs Variations
Feel free to get creative and bring your personal touch to these delightful puffs!
-
Different Cheeses: Try using cheddar, pepper jack, or even blue cheese for a flavor twist. Each cheese brings its own unique taste profile to these puffs, allowing you to cater to various palates.
-
Bacon Bits: Add crispy cooked bacon for a smoky flavor boost. This addition transforms your puffs into savory little bites that bacon lovers will adore.
-
Spicy Kick: Incorporate diced jalapeños or a dash of cayenne pepper to heat things up. Spice lovers will thank you for this zesty enhancement!
-
Vegetable Medley: Fold in sautéed spinach or roasted garlic to elevate the nutritional value and flavor. This not only adds color but also gives a delightful complexity to each bite.
-
Herbal Infusion: Experiment with fresh herbs, such as rosemary or thyme, for an aromatic lift. Chives are great, but don’t hesitate to explore other herbs for a twist!
-
Dipping Sauces: Serve with an assortment of sauces like ranch, marinara, or even a tangy avocado dip to elevate your appetizer game. These dips can create a fun, interactive experience for your guests.
-
Make it Mini: Use a mini muffin tin to create bite-sized versions perfect for parties or kids’ lunches. Little hands will love these adorable, poppable puffs!
-
Savory Whipped Cream Topping: Top with seasoned whipped cream made from sour cream and herbs for a luxurious touch. This unexpected twist can amaze and please your guests!
You’ll also love pairing these puffs with dishes like Cheesy Ground Beef and Potatoes for a delightful meal.
Expert Tips for Cheesy Mashed Potato Puffs
-
Cool Mashed Potatoes: Allow your mashed potatoes to cool completely before mixing in the eggs to prevent them from cooking and ensure the perfect creamy texture.
-
Gentle Mixing: Avoid overmixing your batter. This keeps your puffs light and fluffy instead of dense and gummy, resulting in delicious Cheesy Mashed Potato Puffs.
-
Portion Control: Using a portion scoop can make filling the muffin tin easier and more consistent, ensuring even baking and puffing throughout.
-
Crispy Factor: For extra crunch, consider using a standard muffin tin instead of mini muffin tins. The larger surface area allows for better browning.
-
Lower Rack Baking: Bake on the lower rack of your oven for more even browning and to achieve that beautiful golden crust everyone loves!
How to Store and Freeze Cheesy Mashed Potato Puffs
Fridge: Store leftover Cheesy Mashed Potato Puffs in an airtight container for up to 3 days, ensuring they maintain their delightful texture.
Freezer: These tasty puffs can be frozen for up to 3 months. Place them in a single layer on a baking sheet to freeze individually before transferring to a freezer bag.
Reheating: To enjoy crispy puffs straight from the freezer, reheat in the oven at 350°F (175°C) for about 15-20 minutes. This method ensures they retain their golden goodness.
Make-Ahead Tips: Prepare the potato mixture up to 2 days in advance and store in the fridge before baking for an effortless, quick meal.
What to Serve with Cheesy Mashed Potato Puffs
Create a delightful meal experience that showcases warmth and comfort with these perfect pairings.
-
Creamy Garlic Spinach: This luscious side adds a touch of elegance and vibrant green that beautifully contrasts the puffs. The creamy garlic sauce enhances the overall dining experience, striking a balance with the cheesy bites.
-
Herbed Grilled Chicken: Juicy and flavorful, grilled chicken seasoned with herbs pairs perfectly alongside the crispy puffs. It brings a hearty protein element to your meal, making it satisfying for everyone at the table.
-
Roasted Vegetables: A colorful medley of roasted seasonal vegetables provides fresh, earthy flavors that brighten your plate. The sweet caramelization complements the cheesy, rich puffs while adding necessary texture.
-
Crispy Bacon-Wrapped Asparagus: The saltiness from the bacon and the crunch of the asparagus make for an irresistible pairing. This elegant touch elevates the meal and gives a touch of sophistication to the comfort of mashed potatoes.
-
Zesty Dipping Sauces: Enhance your appetizer spread by offering dipping options like tangy marinara, smooth ranch, or spicy guacamole. A variety of dips invites lively conversation and adds fun to your meal.
-
Refreshing Lemonade: Serve a cool glass of homemade lemonade to cleanse the palate and cut through the richness of the cheese. Its brightness brings a cheerful element that balances the savory flavors of the meal.
-
Chocolate Lava Cake: For dessert, end on a sweet note with a warm chocolate lava cake. The gooey center of chocolate perfectly contrasts the crispy texture of the puffs, creating a joyous finish to your dinner.
Make Ahead Options
These Cheesy Mashed Potato Puffs are ideal for meal prep, allowing you to enjoy their deliciousness on busy weeknights! You can prepare the potato mixture up to 3 days in advance and store it in the refrigerator. Just mix the room-temperature mashed potatoes, eggs, cheese, and chives as directed, then cover the bowl with plastic wrap. When ready to bake, simply scoop the mixture into the muffin tin, top with extra cheese, and bake as instructed. To maintain quality, be sure to keep the mixture tightly covered and only add the cheese topping just before baking for that perfect golden crispiness. Enjoy hassle-free cooking while serving up these delightful puffs!
Cheesy Mashed Potato Puffs Recipe FAQs
What type of potatoes should I use for the mashed potato base?
For the best results, use starchy potatoes like Russet or Yukon Gold, as they create the creamiest texture. Make sure they are cooked and mashed well without any lumps for the perfect Cheesy Mashed Potato Puffs.
How should I store leftover Cheesy Mashed Potato Puffs?
Store any leftovers in an airtight container in the fridge for up to 3 days. Just be sure they have completely cooled before sealing them in; this helps to keep their texture intact.
Can I freeze Cheesy Mashed Potato Puffs?
Absolutely! You can freeze these delightful puffs for up to 3 months. Simply place them in a single layer on a baking sheet to freeze individually, then transfer them to a freezer bag. This prevents them from sticking together.
What should I do if my puffs turn out dense?
If your puffs end up dense, it might be due to overmixing the batter. To avoid this, mix gently just until combined. Ensuring your mashed potatoes are cool before adding the eggs is also essential, as it prevents them from cooking and causing a heavy texture.
Are Cheesy Mashed Potato Puffs suitable for gluten-free diets?
Yes! This recipe is naturally gluten-free, making it a fantastic option for those with gluten sensitivities. Just double-check any additional ingredients or dips you plan on serving to ensure they are gluten-free as well.
What can I use instead of Monterey Jack cheese?
You can definitely experiment with other cheeses! Cheddar adds a sharper flavor, while mozzarella provides a wonderful stretch. For something with a kick, try pepper jack. The more the merrier; mix and match for your family’s favorites!
Cheesy Mashed Potato Puffs: Irresistibly Crispy Comfort Bites
Ingredients
Equipment
Method
- Preheat your oven to 400°F (200°C) and grease a 24-cup mini muffin tin with cooking spray or butter.
- In a large bowl, combine room-temperature mashed potatoes, beaten eggs, 3/4 cup of shredded cheese, and chopped chives. Season with salt and pepper.
- Fill each greased muffin cup with the cheesy potato mixture, making sure to fill nearly to the top.
- Sprinkle the remaining 1/4 cup of shredded cheese over the tops of each puff.
- Bake for 15-20 minutes until golden brown on top and puffed up.
- Remove from the oven, let cool for about 5 minutes, then pop out of the tin. Serve warm with more chives and sour cream if desired.
Leave a Reply