
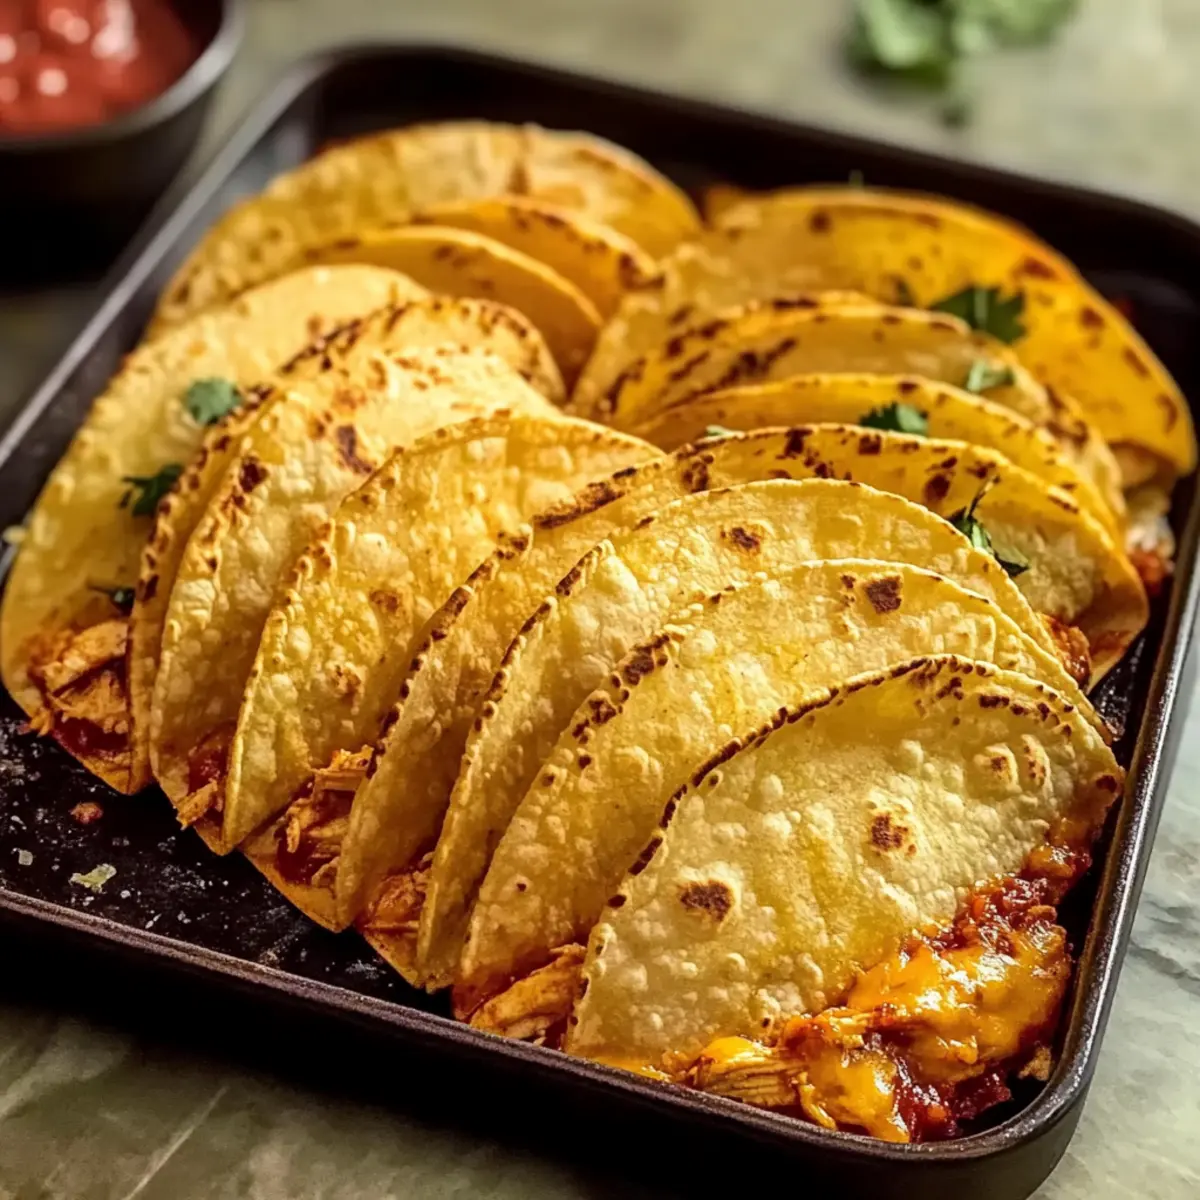
As I pulled the golden-brown baking sheet from the oven, the delightful aroma of my Baked Chicken Tacos filled the kitchen, teasing my taste buds with the promise of a cozy dinner. Crafting this dish transforms your typical taco night into an exciting culinary adventure, perfect for busy weeknights. The best part? Each crispy, cheesy bite offers a comforting crunch while being entirely customizable to suit any palate. With just a few simple ingredients and minimal prep, you can easily swap in your favorite proteins or toppings for a fully personalized experience. If fast food fatigue has set in, why not treat yourself to something homemade that’s sure to please the whole family? Ready to dive into a delicious kitchen escapade together? Let’s get started!
Why Are Baked Chicken Tacos a Must-Try?
Easy Preparation: This recipe simplifies your taco night by baking instead of frying, making it a quick weeknight dinner option.
Customizable Flavors: Feel free to swap chicken for turkey, beef, or even beans to cater to your family’s preferences—versatility at its finest!
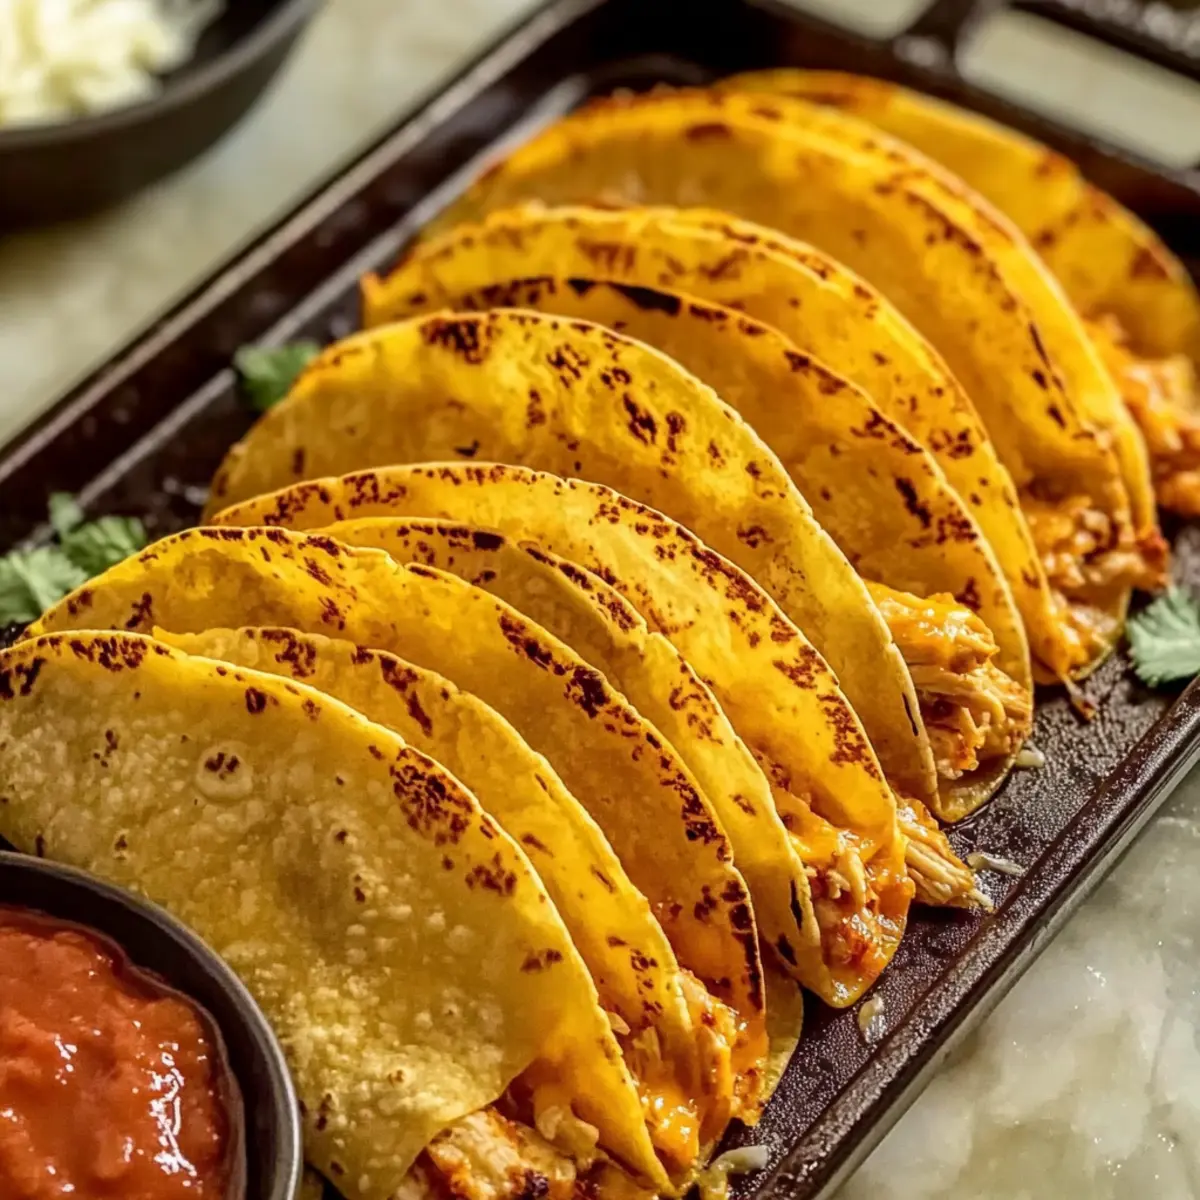
Crispy Satisfaction: Expect that delightful crunch delivered by these baked tacos without the fuss of frying.
Cheesy Goodness: A generous layer of sharp cheddar ensures each bite is creamy and satisfying, perfectly complementing the seasoned chicken.
If you’re looking for more flavorful weeknight options, try pairing these tacos with a vibrant side of Cheesy Chicken Broccoli or a delightful Lemon Herb Chicken for a complete meal.
Baked Chicken Tacos Ingredients
-
For the Tortillas
• Corn Tortillas – Essential for wrapping your fillings; warming them prevents cracking. -
For the Filling
• Chicken (8 oz, shredded into thin strips) – Delivers protein and flavor; using rotisserie chicken saves time.
• Cheddar Cheese (3/4 cup, sharp) – Melts beautifully, providing creaminess; choose a quality melting cheese like Tillamook.
• Smoked Paprika (1/2 teaspoon) – Infuses a mild smokiness; add chili powder for extra heat!
• Ground Cumin (1/4 teaspoon) – Deepens the taco flavor; feel free to adjust to your taste.
Now that you’ve got your ingredients ready, get ready to embark on the delicious journey of creating these Baked Chicken Tacos!
Step‑by‑Step Instructions for Baked Chicken Tacos
Step 1: Preheat the Oven
Begin by preheating your oven to 400°F (200°C). This is essential for achieving that crispy texture in your baked chicken tacos. While the oven heats up, gather your equipment—an oven-safe baking sheet and some aluminum foil will come in handy later.
Step 2: Prepare the Chicken
Next, take your 8 ounces of chicken and shred it into thin strips, whether raw or pre-cooked. In a mixing bowl, combine the shredded chicken with ½ teaspoon of smoked paprika and ¼ teaspoon of ground cumin. Toss the chicken well until each piece is evenly coated with the spices to ensure every bite of your baked chicken tacos is flavorful.
Step 3: Warm the Tortillas
Now it’s time to warm up those corn tortillas! Stack them and wrap the stack in a damp paper towel, then microwave for 45–60 seconds until they are soft and pliable. This step is crucial to prevent the tortillas from cracking when you fold them around the delicious filling of your baked chicken tacos.
Step 4: Assemble the Tacos
Once the tortillas are warm, work quickly to assemble your tacos. Take a warmed tortilla and place a generous amount of the spiced chicken mixture on the bottom half. Sprinkle ¾ cup of sharp cheddar cheese over the chicken, then carefully fold the tortilla in half, creating a taco shape that will encase all that goodness.
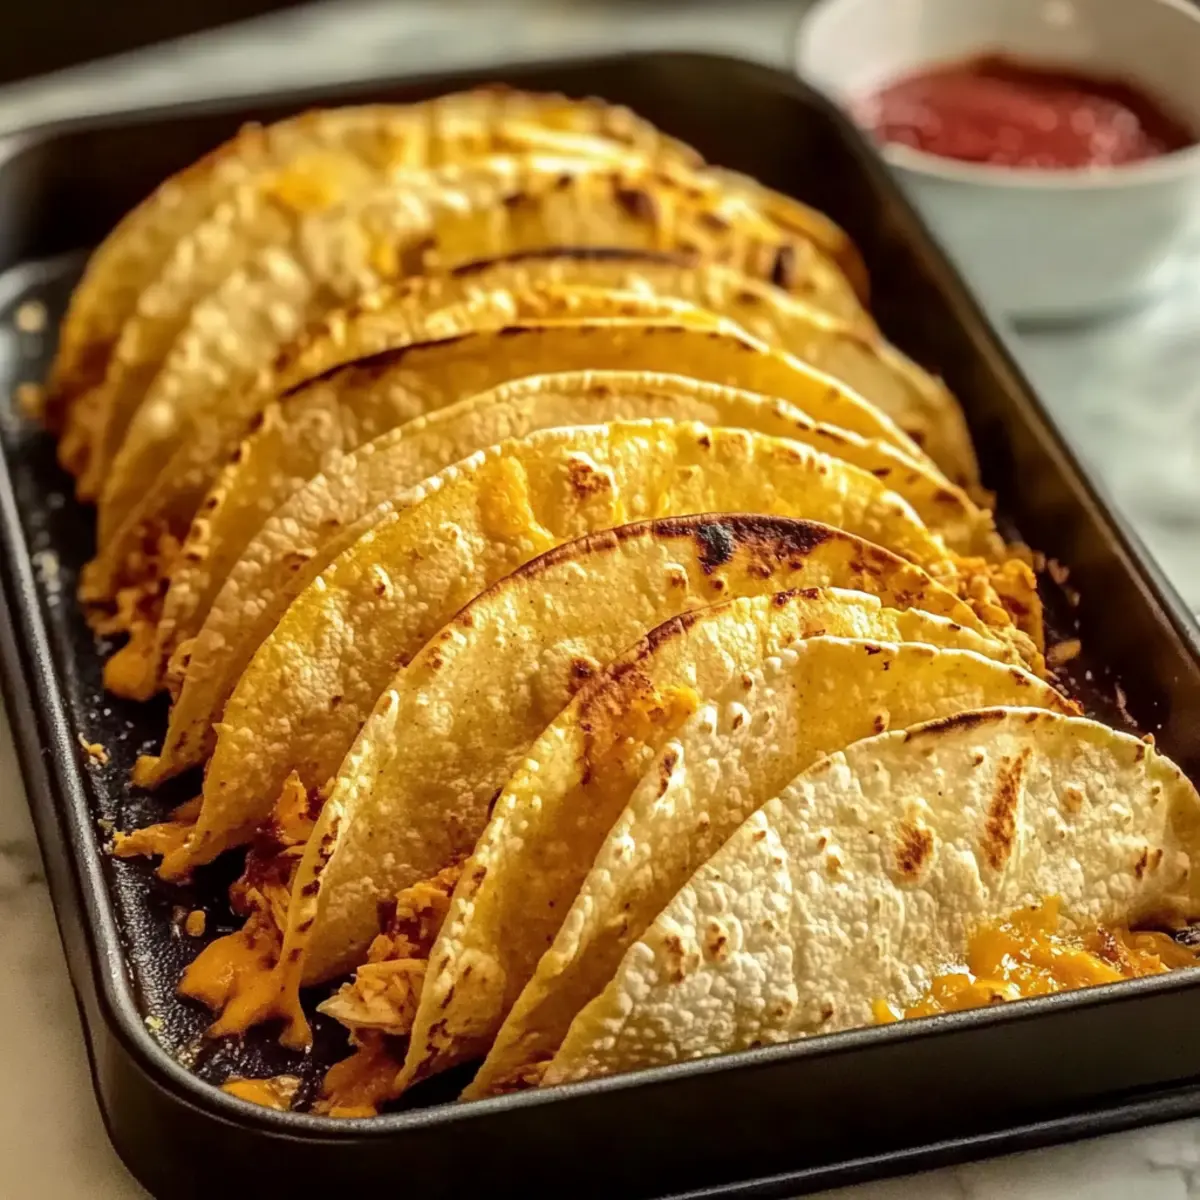
Step 5: Arrange on Baking Sheet
Place the folded tacos on your prepared baking sheet, making sure they are nestled close together but not overlapping. To help them keep their shape, press down gently on each taco with another baking sheet or a piece of parchment paper. This will also ensure they crisp up nicely as they bake.
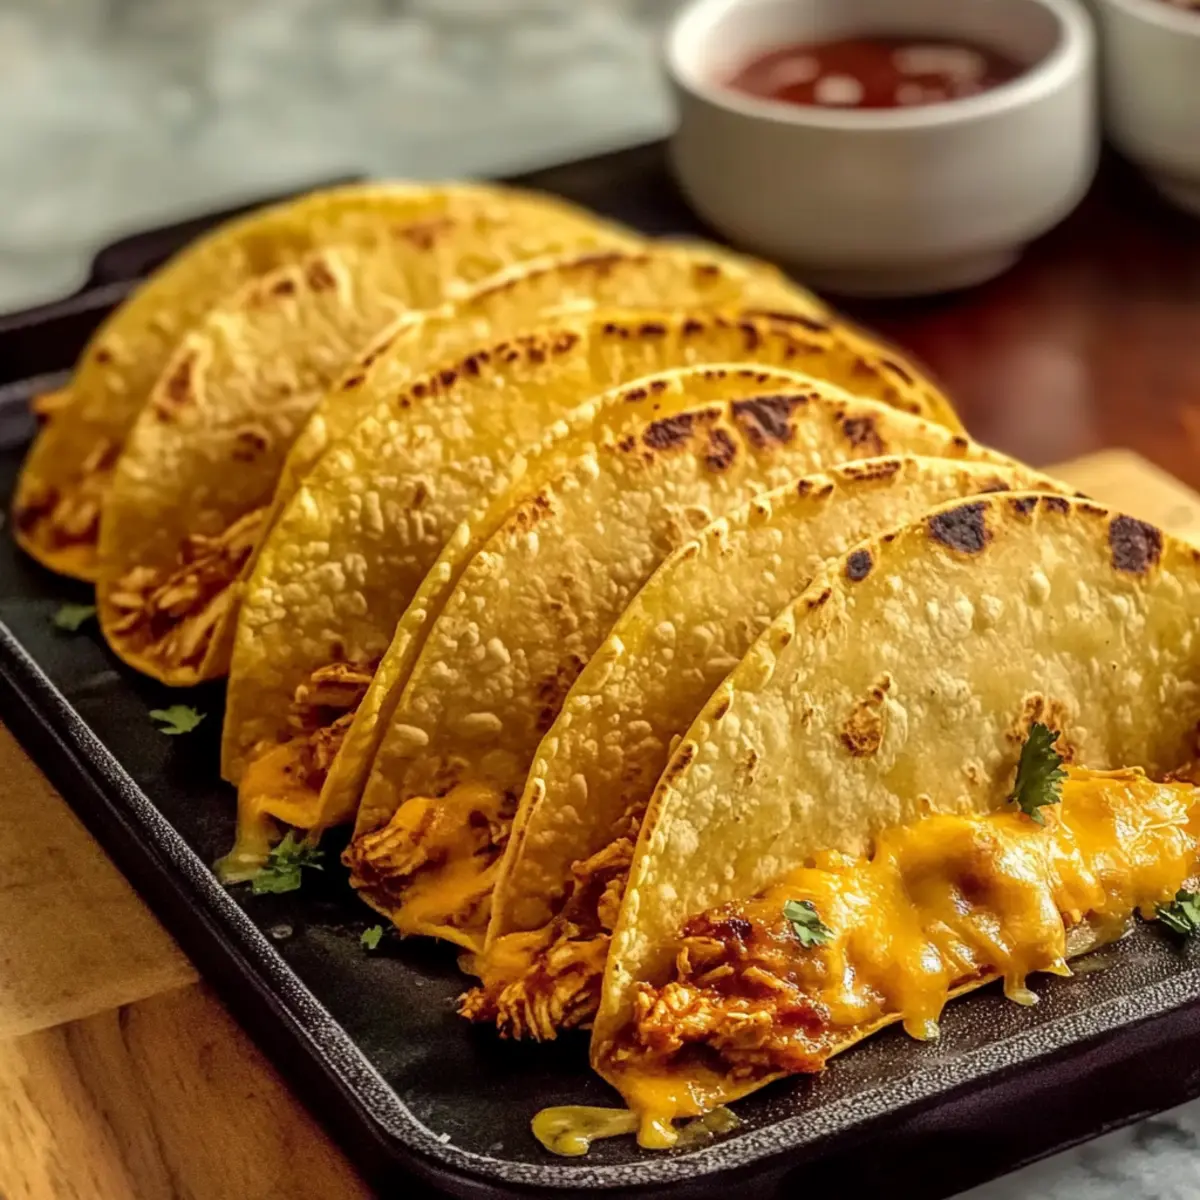
Step 6: Bake
Now, slide the baking sheet into your preheated oven. Bake the tacos for 8–12 minutes, checking at the 8-minute mark. You’ll know they’re ready when the edges are golden brown, the cheese is melted, and the aroma fills your kitchen, promising a delightful meal ahead with your fabulous baked chicken tacos.
Make Ahead Options
These Baked Chicken Tacos are a perfect solution for busy weeknights, allowing you to make them in advance! You can prepare the chicken filling (shredded and seasoned) and store it in the refrigerator for up to 3 days. Simply place the mixture in an airtight container to maintain its flavor and freshness. The corn tortillas can also be warmed and wrapped in plastic for up to 24 hours before assembling. When you’re ready to serve, simply fill the tortillas with the prepared chicken and cheese, bake for 8-12 minutes, and enjoy a homemade meal that’s just as delicious as if you made it from scratch that evening. Meal prep can make your weeknight cooking so much easier!
What to Serve with Baked Chicken Tacos?
The perfect meal deserves delightful accompaniments that elevate your culinary experience to new heights.
- Mexican Rice: A fluffy side dish that brings a comforting, starchy element, complementing the bold flavors of the tacos.
- Refried Beans: Creamy and hearty, they offer a delightful contrast to the crispy tacos and add a protein punch.
- Pico de Gallo: This fresh salsa balances the richness of the tacos with its zesty flavors, providing crunch and brightness.
- Guacamole: Creamy and rich, it’s a luscious addition that enhances each bite with its buttery texture and earthy taste.
- Corn on the Cob: Grilled or boiled, its sweetness will beautifully round out the plate, delivering a satisfying crunch.
- Simple Green Salad: Tossed greens with a light vinaigrette add freshness, balancing the flavors of the baked chicken tacos.
- Margaritas: A classic cocktail, its citrus notes perfectly complement the seasoned chicken and bring a festive touch to your meal.
- Churros: For a sweet treat, these cinnamon-sugary fritters provide a delightful finish after the savory extravaganza of tacos.
- Lime Wedges: A squeeze of lime over your tacos brightens the flavors, helping to cut through the richness and add a burst of freshness.
How to Store and Freeze Baked Chicken Tacos
-
Fridge: Store leftover baked chicken tacos in an airtight container for up to 3 days. This keeps them fresh, ready to be enjoyed again!
-
Freezer: For long-term storage, wrap individual tacos tightly in plastic wrap and then in aluminum foil. They can be frozen for up to 2 months without losing flavor.
-
Reheating: To reheat, place frozen tacos on a baking sheet and bake in a preheated oven at 350°F for about 15–20 minutes, until heated through and crispy again.
-
Make-Ahead Tip: Prepare and assemble the baked chicken tacos ahead of time, then simply refrigerate them before baking for an easy weeknight dinner that’s ready when you are!
Baked Chicken Tacos Variations
Feel free to play around with these Baked Chicken Tacos; the possibilities are endless and delightful!
-
Protein Swap: Replace chicken with ground beef, turkey, or black beans for a vegetarian twist. Each option brings its unique flavor to the mix!
-
Cheese Choices: Experiment with Monterey Jack or Pepper Jack cheese for a different melt and a hint of spice. The right cheese can elevate your taco experience.
-
Veggie Additions: Load up tacos with sautéed bell peppers, onions, or spinach for extra nutrition and flavor. These veggies add freshness and a crunchy texture!
-
Spicy Kick: Add jalapeños or a sprinkle of chili flakes for a heat level that suits your palate. You can always adjust the spice for your family’s preferences.
-
Herb Infusion: Toss in chopped cilantro or green onions as a topping for a burst of fresh herbal notes. The aroma will have everyone coming back for seconds!
-
Tasty Toppings: Top with fresh pico de gallo, creamy guacamole, or tangy sour cream to enhance your flavor profile. These toppings provide a refreshing contrast to the baked tacos.
-
Sides Galore: Serve with a side of refried beans or Mexican rice for a hearty meal. These classic sides complement your baked chicken tacos beautifully.
If you’re intrigued by more cozy dinner ideas, why not explore some charming flavors with Butter Chicken Cozy or the delightful baked options of Easy Thai Baked Chicken? Combining various cuisines keeps mealtime exciting!
Tips for the Best Baked Chicken Tacos
-
Warm Up Tortillas: Warm tortillas in the microwave to make them pliable. This prevents cracking during assembly, ensuring perfect baked chicken tacos.
-
Avoid Overfilling: Keep the filling moderate, as overstuffed tacos are likely to spill while baking. This way, you’ll achieve a cleaner presentation and an easier eating experience.
-
Try Light Oil: Lightly brush your tortillas with oil before baking for an extra crispy texture. Just be cautious not to overdo it; you want them crispy, not greasy!
-
Cover While Baking: Use a second baking sheet on top to keep the tacos from puffing up, maintaining their shape throughout the baking process.
-
Experiment with Seasoning: Feel free to adjust your spices! A tad more cumin or a splash of hot sauce can elevate the flavor profile of your baked chicken tacos to suit your taste.
Baked Chicken Tacos Recipe FAQs
What type of chicken works best for baked chicken tacos?
Absolutely! You can use raw shredded chicken, cooked rotisserie chicken, or even leftover chicken. Chicken thighs are also a great option for juiciness. If you’re short on time, pre-cooked options streamline the process beautifully!
How should I store leftover baked chicken tacos?
Very simple! Place any leftover baked chicken tacos in an airtight container, and they’ll stay fresh for up to 3 days in the refrigerator. If you want to enjoy them later, wrap them individually in plastic wrap and store in the freezer for up to 2 months.
Can I freeze baked chicken tacos?
Yes, you can! To freeze, wrap the assembled tacos tightly in plastic wrap followed by aluminum foil to prevent freezer burn. When you’re ready to eat, just bake them directly from the freezer at 350°F for about 15-20 minutes until they’re heated through and crisp again.
What should I do if my tacos break or crack?
No worries! If your tortillas are breaking, it might be because they aren’t warm enough. Always warm them in a damp paper towel in the microwave for 45-60 seconds before filling. If they crack, you can wrap them around your filling gently and place them in the oven even if they seem a bit fragile—just ensure they’re not overfilled!
Are baked chicken tacos suitable for those with food allergies?
Definitely! You can modify this recipe to make it more allergy-friendly. For gluten sensitivity, use corn tortillas which are naturally gluten-free. For lactose intolerance, opt for dairy-free cheese or simply skip the cheese altogether. Always check the ingredient labels on pre-prepared items to avoid allergens specific to your needs.
How can I make baked chicken tacos more flavorful?
To amp up the flavor, consider seasoning the chicken with additional spices like cayenne for heat or adding fresh herbs such as cilantro after baking. You can also experiment with various toppings—try fresh pico de gallo, avocado, or a drizzle of zesty lime crema to enhance each delicious bite!
Get Cozy with Baked Chicken Tacos for Easy Weeknight Dinners
Ingredients
Equipment
Method
- Preheat your oven to 400°F (200°C).
- Shred the chicken into thin strips and mix with smoked paprika and ground cumin.
- Warm the corn tortillas in a damp paper towel in the microwave for 45–60 seconds.
- Assemble the tacos with the spiced chicken mixture and cheddar cheese, then fold.
- Arrange the folded tacos on the baking sheet, pressing down gently.
- Bake in the oven for 8–12 minutes until golden brown and cheese is melted.
Leave a Reply