
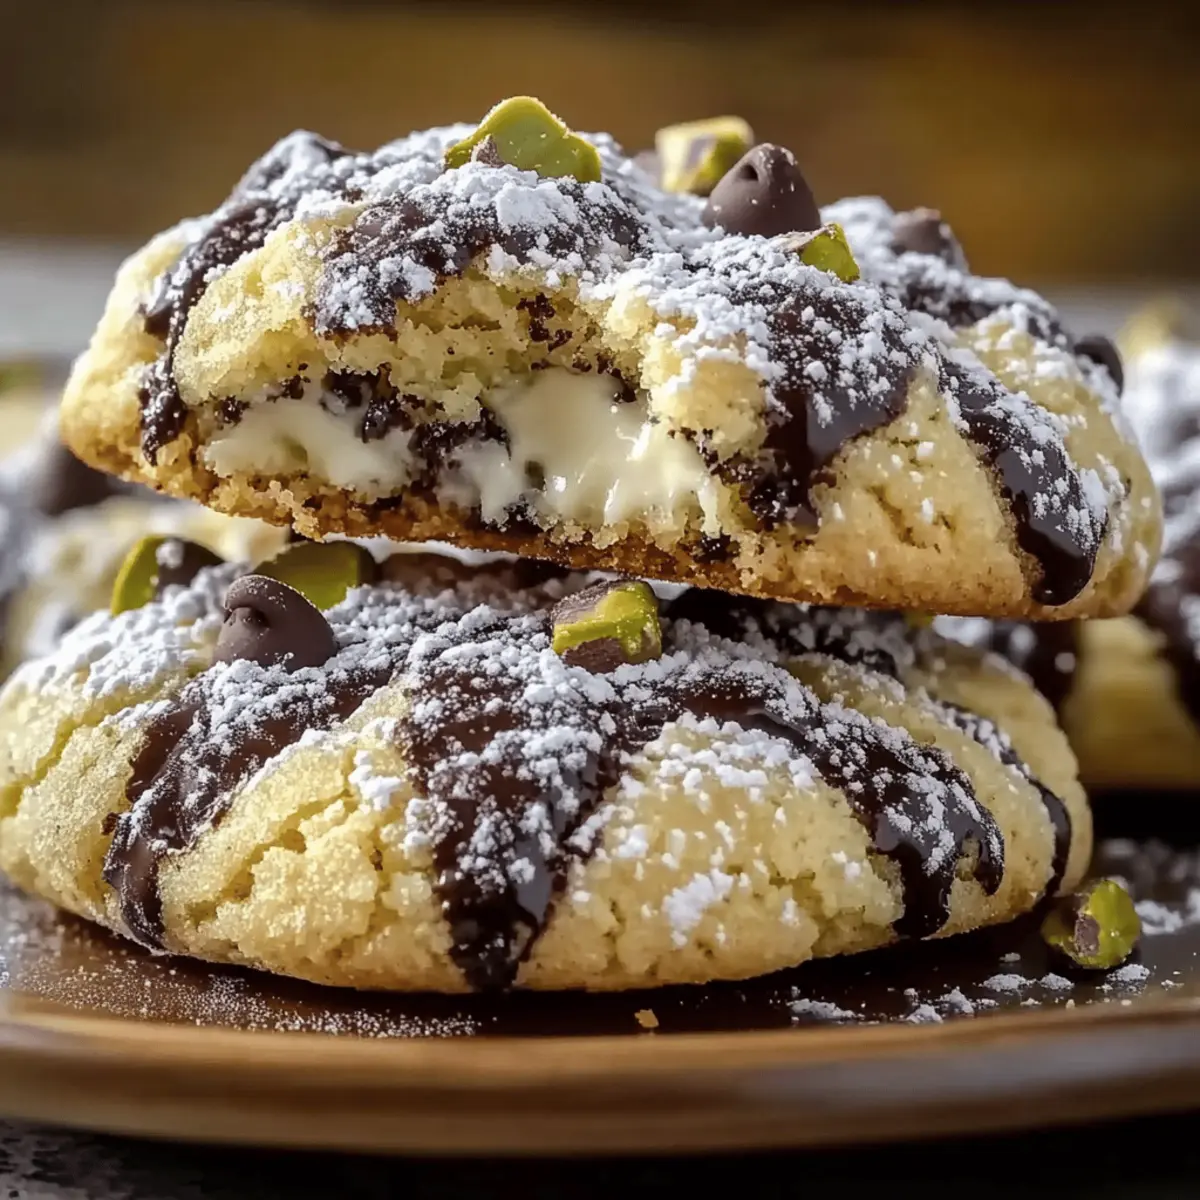
As I stood by my kitchen counter, the rich aroma of baking cookies transported me straight to the heart of Italy. These Cannoli Cookies are a delightful twist on a classic dessert, merging the crispy shell and creamy filling into a handheld treat that delivers joy in every bite. Not only are they a breeze to whip up, but they also channel the warmth of family traditions and celebration. Whether you’re a seasoned home-chef or someone just looking to bring a sweet touch to your day, this recipe is perfect. Plus, with an option for gluten-free secrets, everyone can indulge in these delightful morsels. Ready to tap into your inner pastry chef? Let’s dive into making these unforgettable Cannoli Cookies together!
Why Make Cannoli Cookies Today?
Simplicity: With just a few basic ingredients, you’ll have these decadent cookies ready in no time, making them perfect for both novice and experienced bakers.
Irresistible Flavor: The combination of rich ricotta, sweet vanilla, and zesty lemon creates a heavenly taste that will remind you of traditional Italian desserts.
Versatile: Feel free to customize! Swap in gluten-free flour or change up the filling ingredients, like chocolate or nuts, to suit your preferences.
Crowd-Pleaser: These Cannoli Cookies are sure to impress at gatherings or family dinners, becoming the star of the dessert table.
Make-Ahead: Bake them in advance or freeze unbaked cookies for a quick treat whenever a craving strikes! Check out our recipe for gluten-free cookies here for another delicious option.
Cannoli Cookies Ingredients
For the Dough
- All-purpose flour – Sift for lighter cookies and better texture.
- Granulated sugar – Adds sweetness and helps achieve that beautiful golden brown.
- Large egg – Binds the dough together; essential for the right consistency.
- Vanilla extract – Enhances the flavor profile, so opt for pure vanilla for the best taste.
- Lemon zest – Brightens up the cookies; feel free to swap with orange zest for a different twist.
For the Creamy Filling
- Ricotta cheese – The star of the filling, offering a creamy texture and delightful flavor; mascarpone can be a rich substitute.
- Mini chocolate chips – Add bursts of sweetness and texture; dark chocolate chips are a lovely alternative for a richer flavor.
- Chopped pistachios – Introduces a delightful crunch; swap for your favorite nuts if desired.
For the Finishing Touch
- Powdered sugar – A dusting on top elevates presentation and sweetness, making the cookies irresistible.
With these ingredients, you’re just a few steps away from enjoying the wonderful taste of Cannoli Cookies!
Step‑by‑Step Instructions for Cannoli Cookies
Step 1: Preheat the Oven
Start by preheating your oven to 350°F (175°C). This ensures the Cannoli Cookies will bake evenly. While the oven heats up, gather your baking sheets and line them with parchment paper to prevent sticking, making clean-up easier once the cookies are done.
Step 2: Prepare the Dry Ingredients
In a large mixing bowl, whisk together the all-purpose flour and granulated sugar until fully blended. This process should take about a minute, resulting in a light, airy mixture. Sifting the flour beforehand helps achieve that beautiful, tender texture in your Cannoli Cookies, so don’t skip this step!
Step 3: Mix the Wet Ingredients
In a separate bowl, combine the ricotta cheese, large egg, vanilla extract, and lemon zest. Mix these ingredients until you obtain a smooth, creamy mixture, which should take about 2-3 minutes. This creamy filling is essential in capturing the classic flavors of traditional cannoli, and will elevate your cookies.
Step 4: Form the Dough
Gradually add the dry flour mixture to the wet ingredients, stirring gently until a soft dough forms. This should take about 2-4 minutes. Be careful not to overmix; you want your Cannoli Cookies to remain light and airy. Once combined, cover the dough with plastic wrap and let it rest for 30 minutes at room temperature.
Step 5: Roll and Cut the Dough
After the dough has rested, lightly flour your work surface and roll the dough out to about ¼ inch thick. Use a sharp knife or pizza cutter to cut the dough into rectangles measuring 2×3 inches. Aim for uniform shapes so that all Cannoli Cookies bake evenly, enhancing their delightful appeal.
Step 6: Prepare the Filling
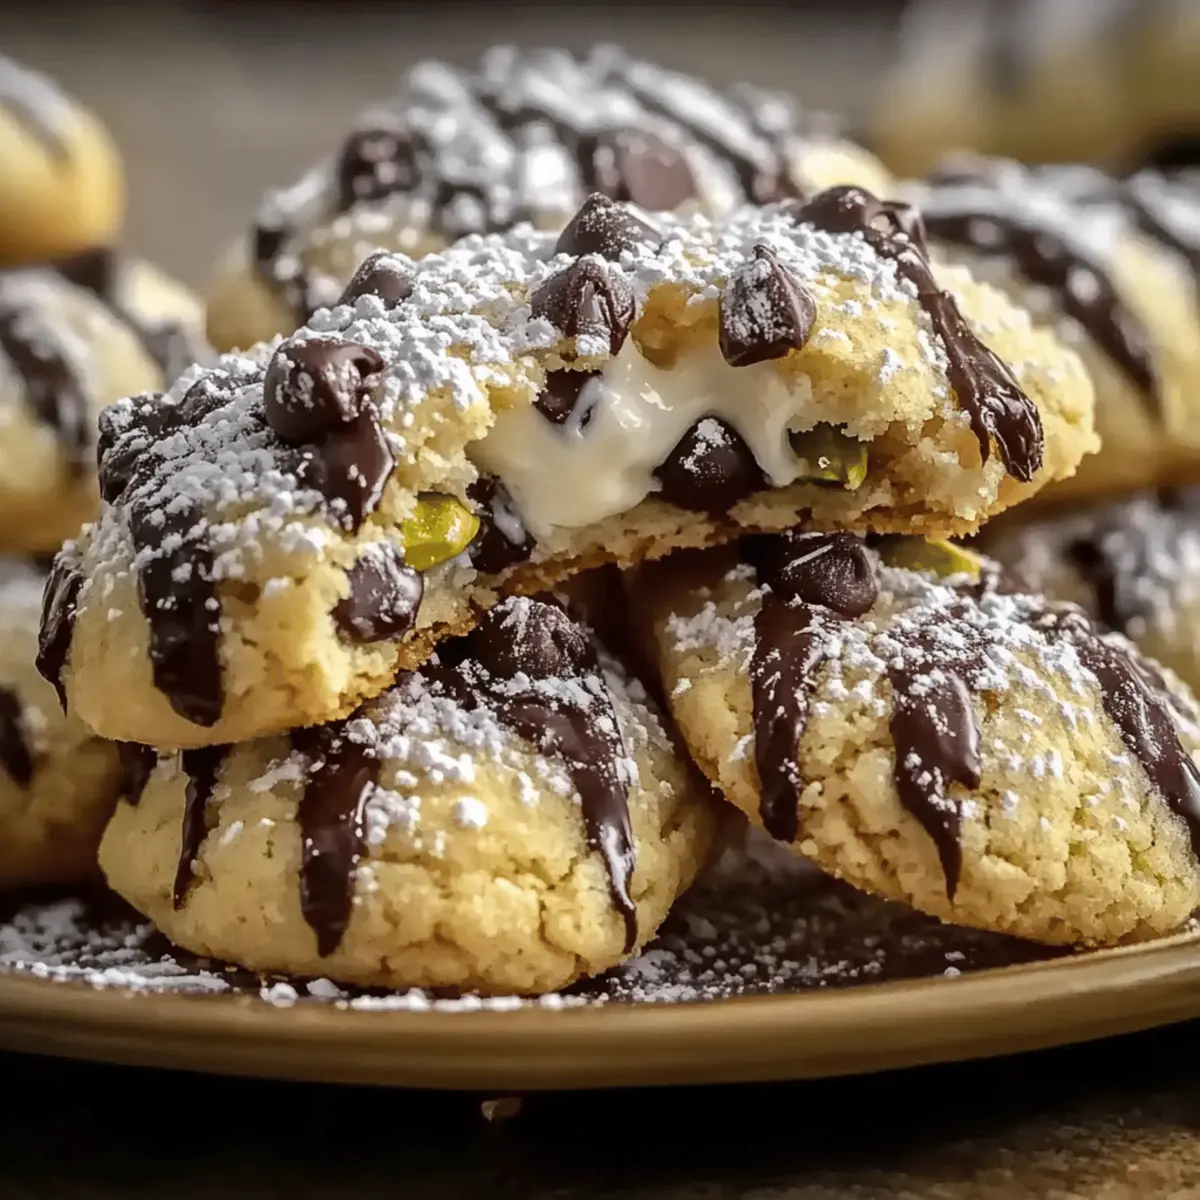
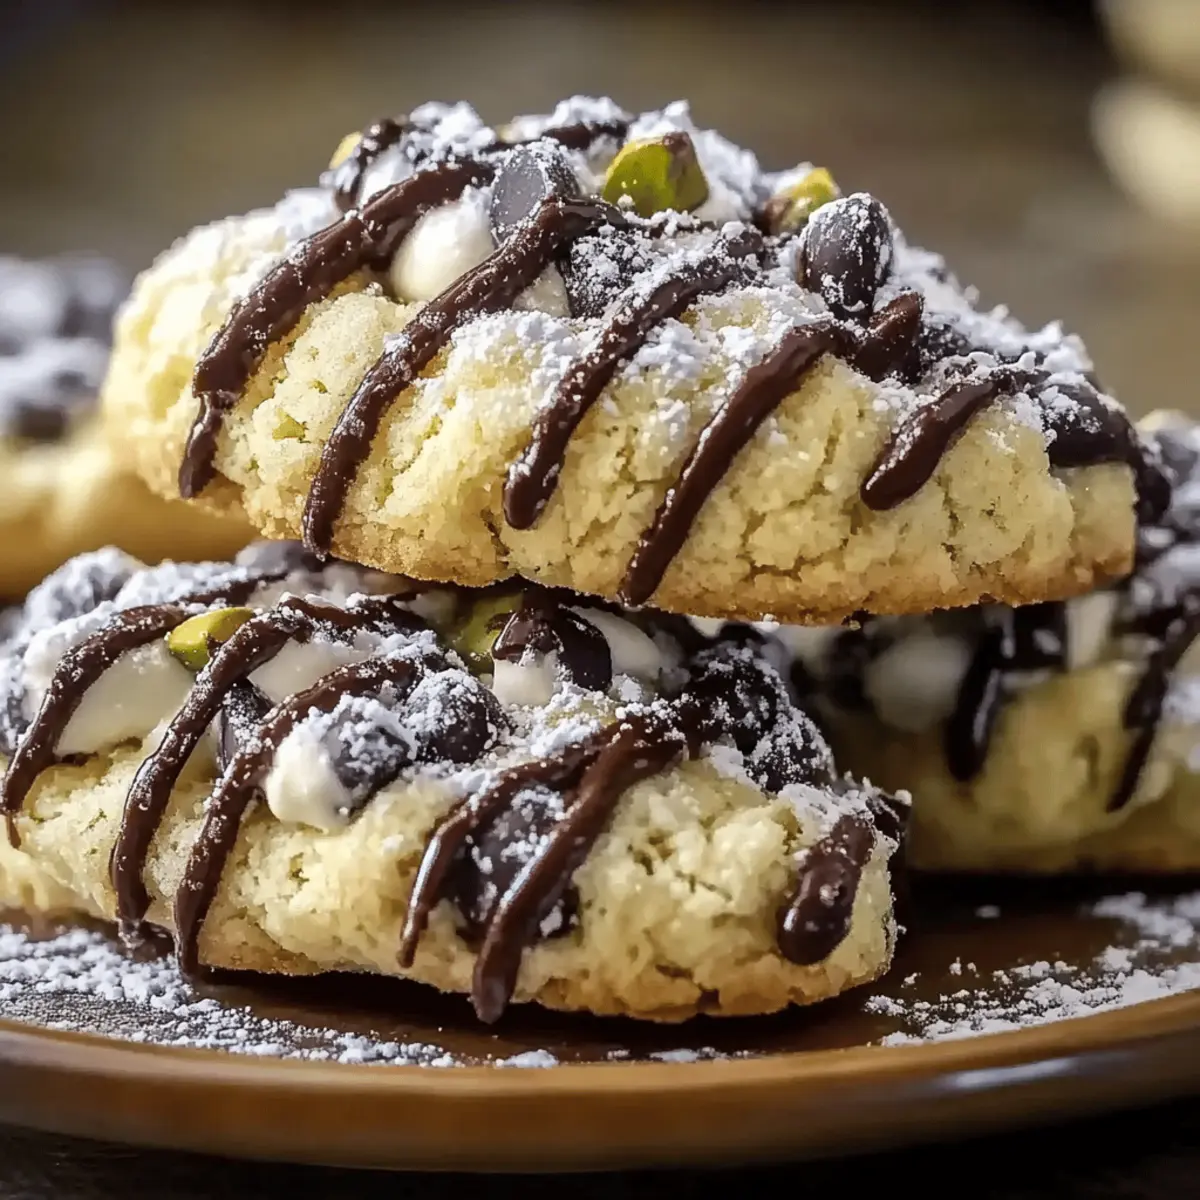
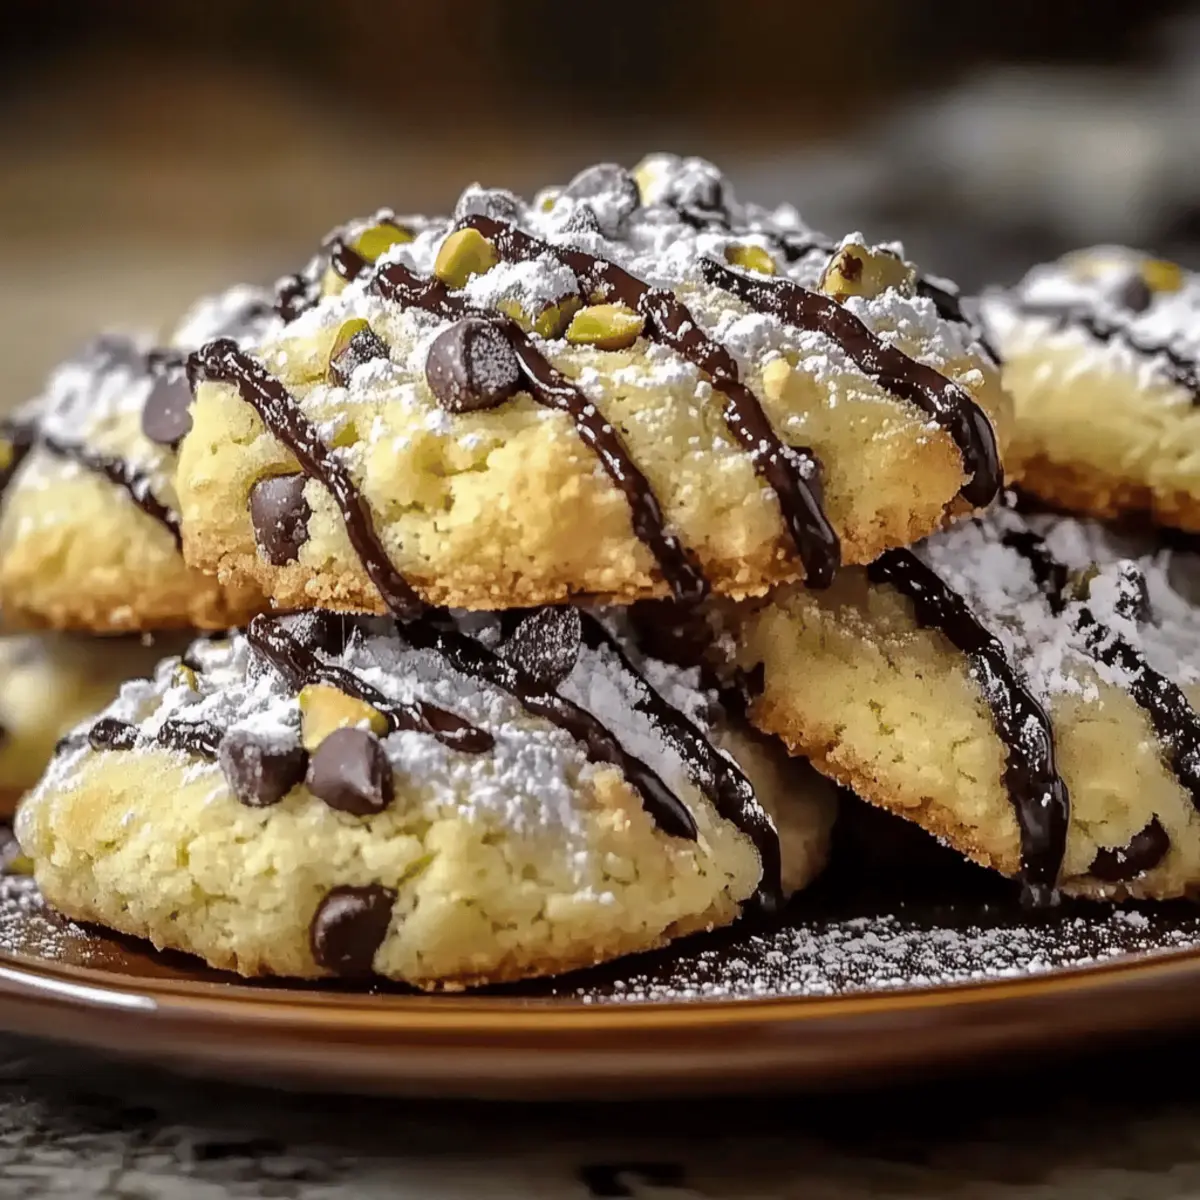
In a clean bowl, mix together the ricotta, mini chocolate chips, and chopped pistachios to create the creamy filling. Stir until well combined, and make sure the mixture is thick enough to hold its shape. You’ll be using this luscious filling to bring an extra layer of joy to your Cannoli Cookies.
Step 7: Fill the Cookies
Place a generous spoonful of the ricotta filling in the center of each rectangle. Carefully fold the dough over the filling and pinch the edges tightly to seal in the delightful mixture. This step is crucial to ensure that the filling doesn’t leak out while baking, preserving the integrity of your Cannoli Cookies.
Step 8: Bake the Cookies
Arrange the filled cookies on the prepared baking sheets and bake them in the preheated oven for 15-18 minutes or until they turn a lovely golden brown. Keep an eye on them; removing the cookies just at the right moment will ensure they remain soft inside and crispy outside.
Step 9: Cool Down
Once baked, allow the Cannoli Cookies to cool on the baking sheets for about 5 minutes before transferring them to a wire rack. Cooling them will help set their shape and ensure that you can handle them without breaking. This step also gives you a moment to admire your delicious creation!
Step 10: Final Touch and Serve
Before serving, dust the cooled Cannoli Cookies with powdered sugar for a beautiful presentation. This final touch not only elevates their appearance but adds a sweet, delicate note. Serve them warm or at room temperature, and watch as everyone indulges in these irresistible treats!
How to Store and Freeze Cannoli Cookies
Room Temperature: Store cooled Cannoli Cookies in an airtight container at room temperature for up to 3 days. This keeps them fresh while maintaining their delightful texture.
Fridge: If you want to extend their freshness, you can refrigerate the cookies for up to a week. Just be sure to wrap them tightly to avoid drying out.
Freezer: For longer storage, freeze unbaked Cannoli Cookies by placing them on a baking sheet until firm, then transferring to a freezer-safe bag. Bake directly from frozen when you’re ready for a quick treat!
Reheating: To enjoy leftover cookies, warm them briefly in the oven at 300°F (150°C) for about 5 minutes. This will restore their delightful crispiness while keeping the creamy filling intact.
Expert Tips for Cannoli Cookies
- Drain Ricotta: Let ricotta drain for at least 30 minutes to remove excess moisture; this prevents soggy Cannoli Cookies.
- ** Watch Baking Time:** Remove cookies from the oven as soon as they turn golden; overbaking will lead to dryness.
- Flour Quality: For best texture, sift flour twice before use—this helps the dough remain light and airy.
- Seal Edges Well: Pinch edges tightly to prevent filling from leaking during baking; a good seal is key to a perfect cookie.
- Experiment with Fillings: Feel free to swap in different mix-ins, like nuts or flavored chips; creativity can elevate your Cannoli Cookies!
Cannoli Cookies Customizations
Get ready to unleash your creativity in the kitchen and make these irresistible Cannoli Cookies truly your own!
- Gluten-Free: Substitute almond flour for all-purpose flour for a delicious gluten-free version that doesn’t compromise on flavor.
- Creamier Filling: Swap ricotta for mascarpone cheese, creating an even richer and creamier filling that melts in your mouth.
- Citrus Twist: Replace lemon zest with orange zest for a unique citrusy flavor that adds a refreshing twist to each bite.
- Spiced Delight: Add a pinch of cinnamon or nutmeg to the dough for a warm aroma and flavor that evokes the essence of cozy desserts.
- Chocolate Lovers: Use dark chocolate chips instead of mini chocolate chips for a deeper chocolate flavor that harmonizes beautifully with the creamy filling.
- Nut Variations: Replace chopped pistachios with walnuts or almonds for a different crunch; each nut adds its distinct flavor, enhancing the overall cookie.
- Dairy-Free: For a dairy-free option, use a plant-based cream cheese in place of ricotta, while making sure to adjust any moisture levels needed in the dough.
- Fruity Add-Ins: Add dried fruits like cherries or apricots in the filling for a pop of sweetness that complements the rich flavors beautifully.
With these variations, your Cannoli Cookies can be a delightful embodiment of your personal tastes. And while you’re enjoying this Italian-inspired creation, why not try them alongside a cup of coffee? You can also explore other delicious options, such as our Chocolate Oat Cookies for even more sweet inspiration!
What to Serve with Cannoli Cookies
Transport your taste buds to Italy as you enjoy these delightful treats, perfectly paired for a memorable meal.
-
Espresso: The bold, rich flavor of espresso perfectly complements the sweetness of Cannoli Cookies, creating a delightful harmony. A sip of this robust coffee elevates the entire dessert experience, making it feel indulgent.
-
Homemade Whipped Cream: Light and airy, this simple yet luxurious topping enhances each bite of cookie with creamy goodness. Add a hint of vanilla or a sprinkle of cocoa for an exquisite twist that enhances the flavors of the cannoli filling.
-
Fruit Salad: A fresh fruit salad brings brightness to the table, balancing the richness of the cookies. The juiciness of berries or citrus can cleanse the palate and offer a refreshing contrast.
-
Mini Cannoli: For an extra touch of fun, serve mini cannoli alongside your cookies. The classic flavors merge beautifully, creating a dessert platter that delights the senses.
-
Gelato: Offer a scoop of creamy gelato in flavors like pistachio or almond. The smooth texture and cold temperature create a luscious pairing that melts in your mouth alongside the warm, crisp cookies.
-
Italian Dessert Wine: A glass of sweet dessert wine, like Vin Santo, pairs wonderfully with Cannoli Cookies, enhancing their flavors while adding a sophisticated finish to your meal. The sweetness complements both the cookie and the creamy filling beautifully.
Make Ahead Options
These Cannoli Cookies are a fantastic choice for busy home cooks looking to save time without sacrificing flavor! You can prepare the dough up to 24 hours in advance; simply cover it tightly with plastic wrap and refrigerate. The creamy filling can also be made ahead and stored in the fridge for up to 3 days—just remember to give it a gentle stir before filling the cookies to keep it smooth and luscious. When you’re ready to bake, roll and cut the dough, fill each piece with your chilled filling, and bake as directed for cookies that taste fresh and delightful! With this make-ahead strategy, you’ll have delicious Cannoli Cookies to enjoy with minimal effort.
Cannoli Cookies Recipe FAQs
How do I choose the right ripeness of ricotta cheese?
Absolutely! When selecting ricotta cheese for your Cannoli Cookies, look for a product that’s fresh and creamy. Avoid anything that appears overly watery or has dark spots, as this indicates poor quality. Ideally, the cheese should be smooth and slightly firm to the touch.
What’s the best way to store Cannoli Cookies?
To keep your Cannoli Cookies fresh, store them in an airtight container at room temperature for up to 3 days. If you’re thinking ahead, you can refrigerate them for up to a week. Just make sure they are well-wrapped to prevent drying out—nobody likes a sad cookie!
Can I freeze Cannoli Cookies?
You can absolutely freeze Cannoli Cookies! For best results, freeze the unbaked cookies by placing them on a baking sheet lined with parchment paper until they are firm. Once hardened, transfer them to a freezer-safe bag or container. When you’re ready to bake, simply take them out and pop them directly into the oven—no need to thaw!
What should I do if my cookies come out too dry?
Very! If your Cannoli Cookies turn out too dry, first check your baking time; removing them just as they reach golden brown is crucial. You can also add a little more moisture to your filling next time. If using ricotta, ensure it’s not too wet by draining excess liquid prior to mixing. A little experimentation and careful monitoring will lead you to that perfect cookie!
Are Cannoli Cookies safe for pets or anyone with allergies?
While Cannoli Cookies are delicious for human consumption, they are not safe for pets due to ingredients like chocolate and sugar that can be harmful to them. If you have allergies to dairy or gluten, consider using gluten-free flour and a dairy-free cheese alternative, such as almond cream or coconut yogurt, for a safer, enjoyable treat. As always, check labels for any cross-contamination warnings.
How long can I keep baked Cannoli Cookies in the fridge?
Baked Cannoli Cookies can stay fresh in the fridge for up to one week. Make sure to store them in an airtight container to maintain their delightful texture and flavor. Before serving, you might want to heat them in the oven at a low temperature for a few minutes to revive their crispiness—trust me, it’s worth it!
Delicious Cannoli Cookies That Bring Italian Flavors Home
Ingredients
Equipment
Method
- Step 1: Preheat the Oven. Preheat your oven to 350°F (175°C). Line your baking sheets with parchment paper.
- Step 2: Prepare the Dry Ingredients. Whisk together the flour and sugar in a mixing bowl until fully blended.
- Step 3: Mix the Wet Ingredients. In a separate bowl, combine ricotta, egg, vanilla, and lemon zest until smooth.
- Step 4: Form the Dough. Gradually add the dry mixture to the wet, stirring until a soft dough forms. Let it rest for 30 minutes.
- Step 5: Roll and Cut the Dough. Roll the dough out to ¼ inch thick and cut into rectangles (2×3 inches).
- Step 6: Prepare the Filling. Mix the ricotta, chocolate chips, and pistachios in a clean bowl.
- Step 7: Fill the Cookies. Place filling in the center of each rectangle and seal the edges tightly.
- Step 8: Bake the Cookies. Bake for 15-18 minutes until golden brown.
- Step 9: Cool Down. Allow the cookies to cool on the baking sheets for 5 minutes.
- Step 10: Final Touch and Serve. Dust with powdered sugar and serve warm or at room temperature.
Leave a Reply