
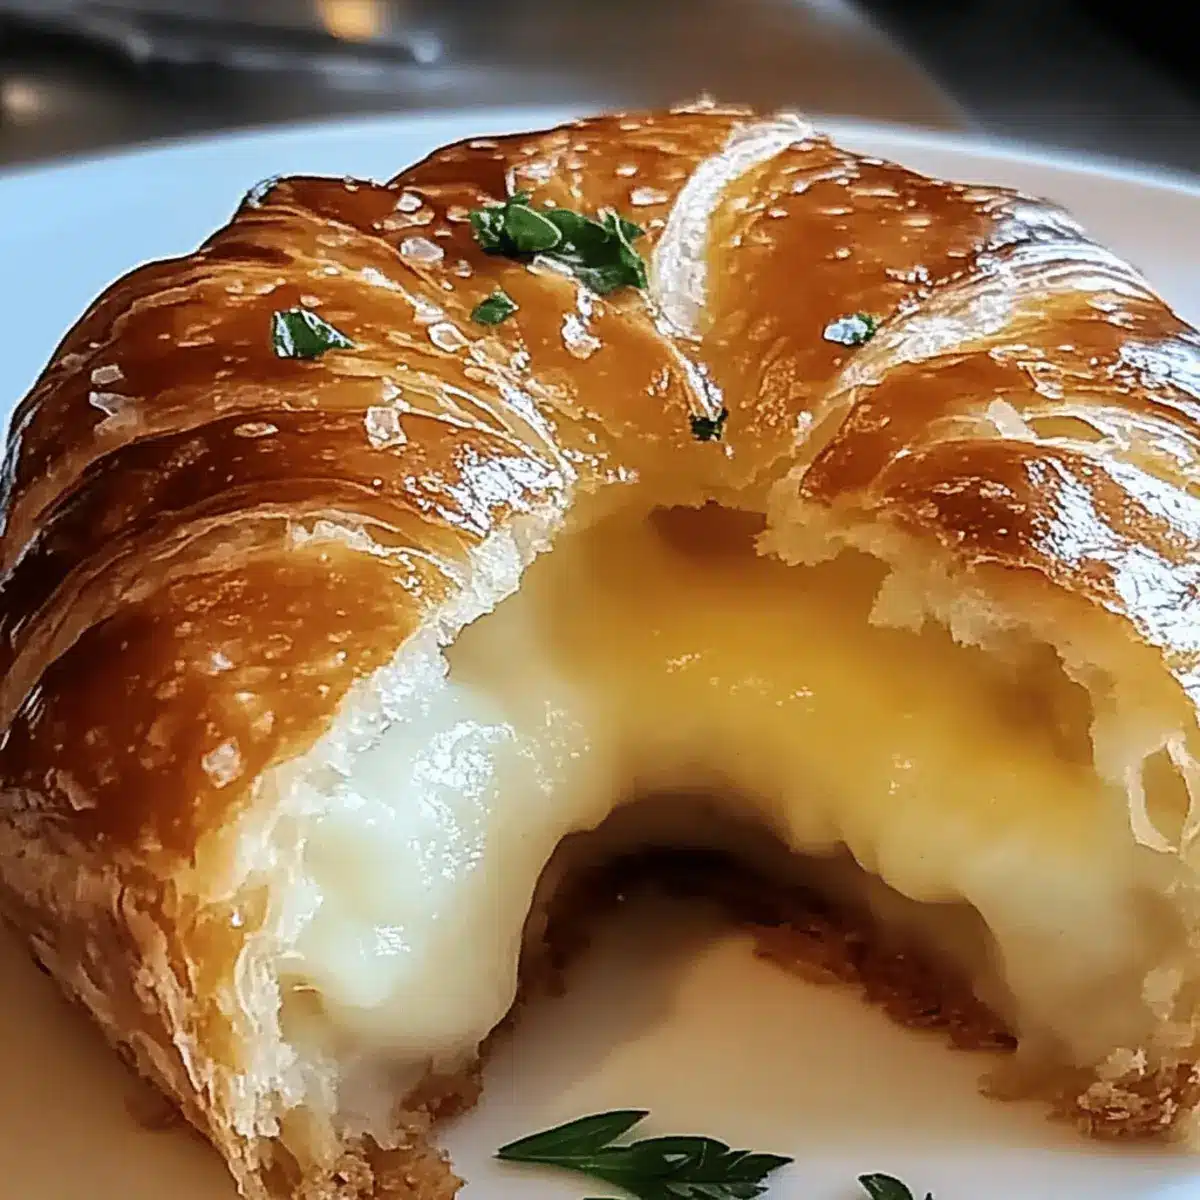
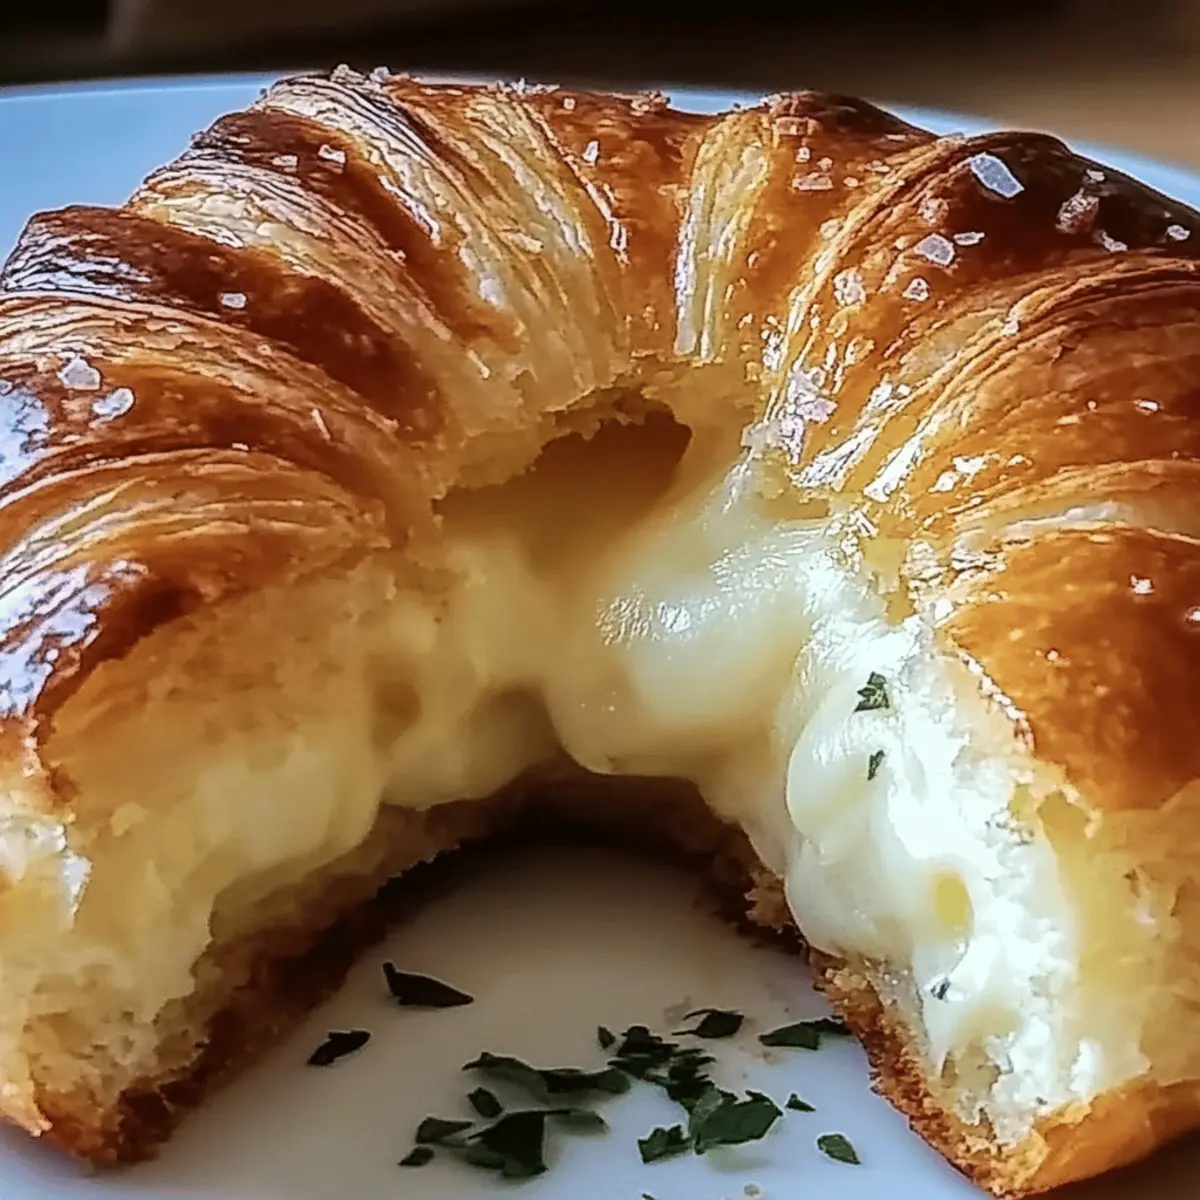
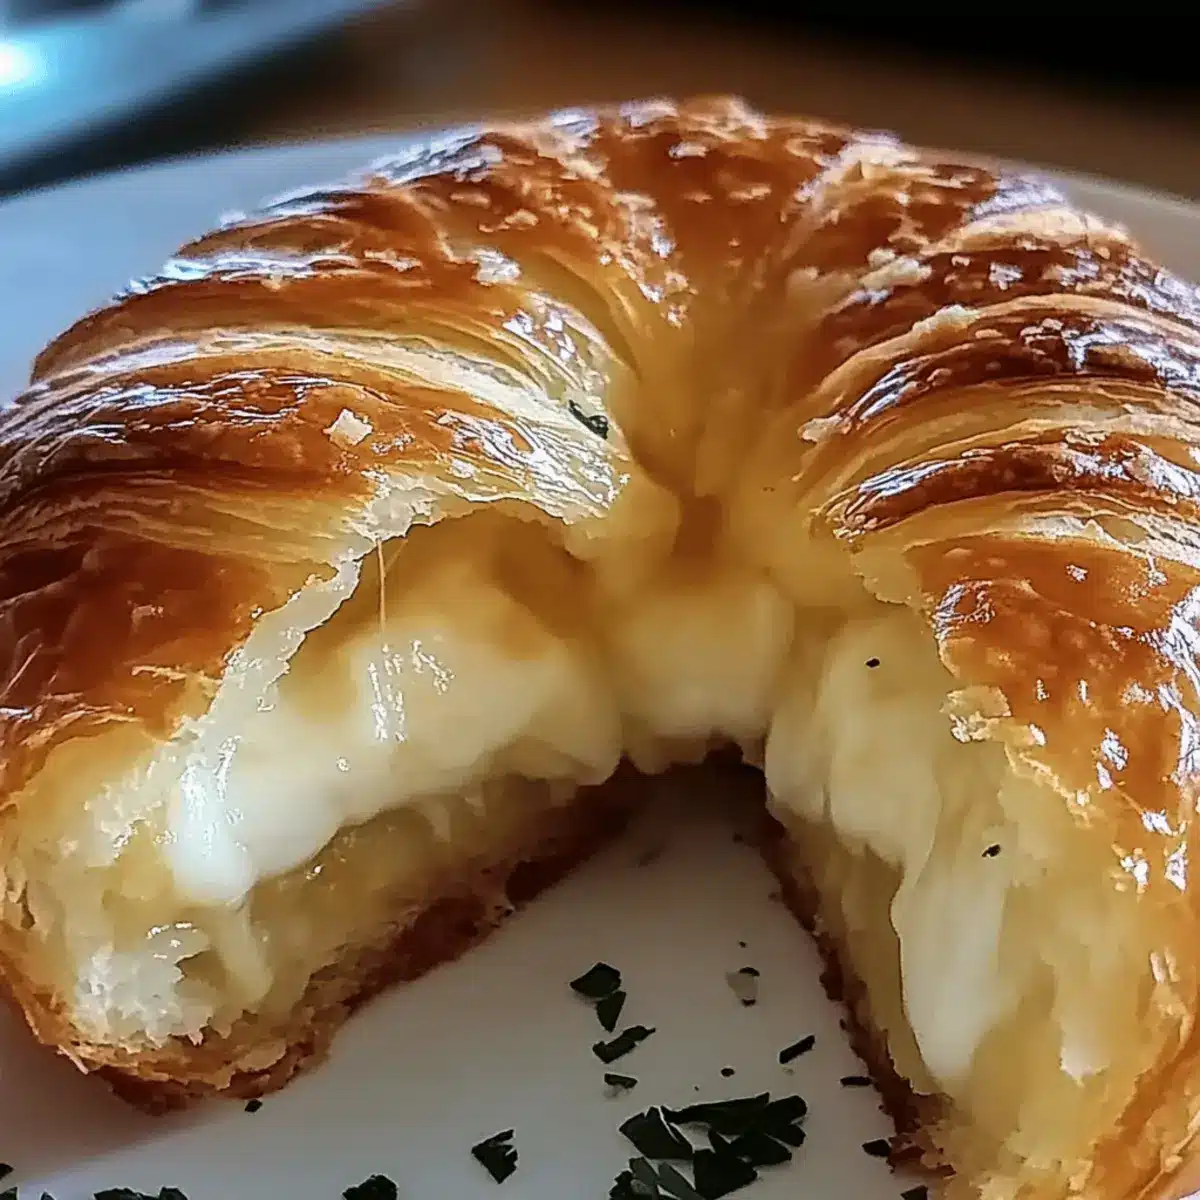
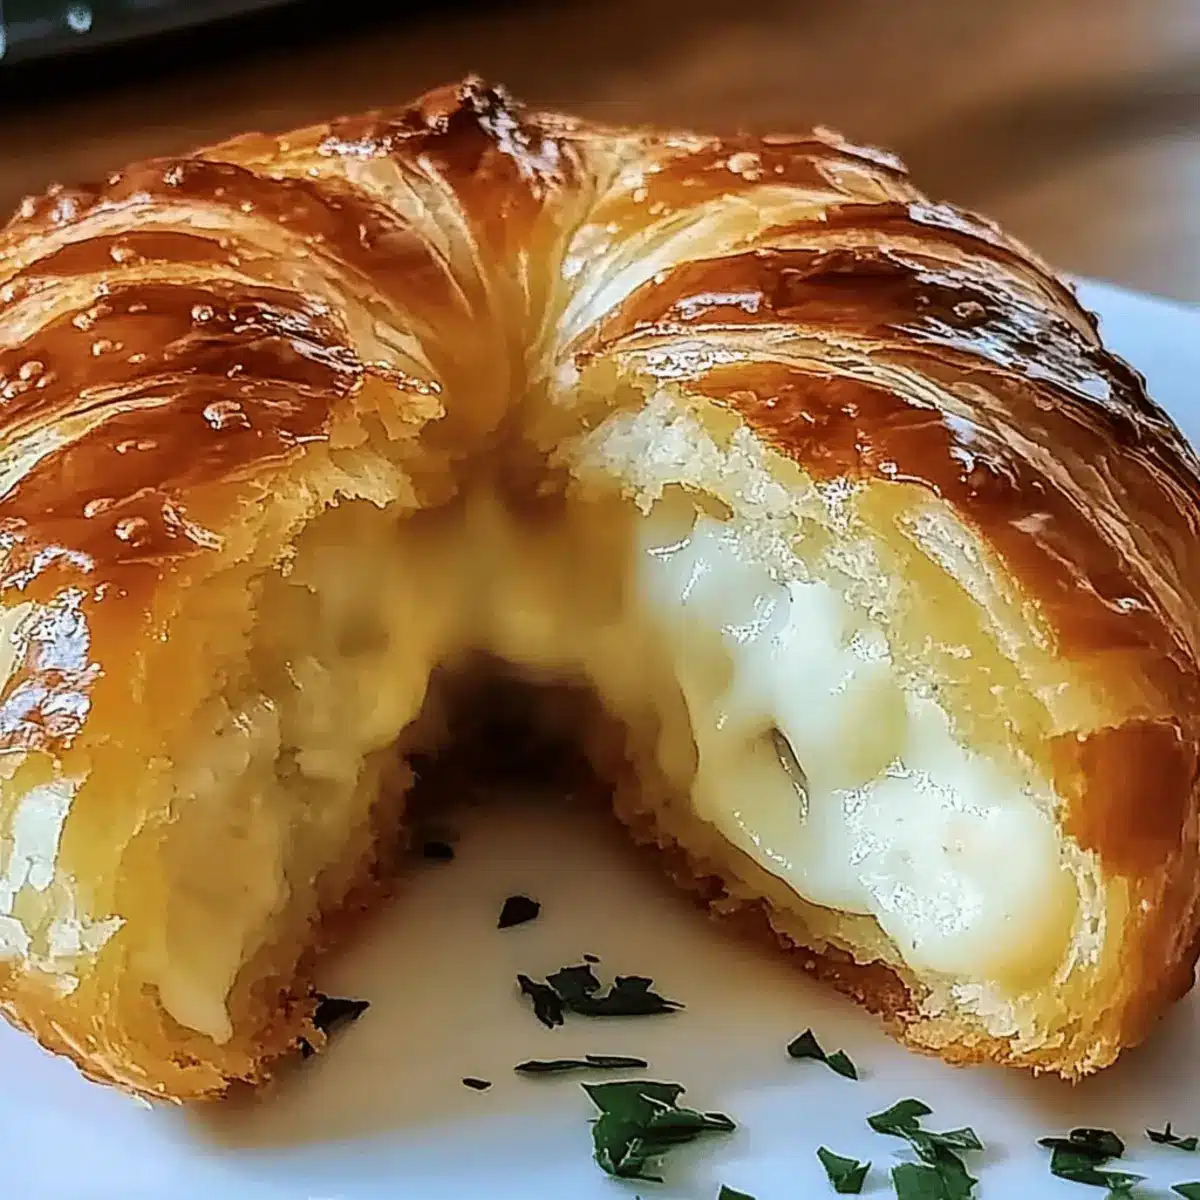
As I stood in my kitchen, the intoxicating aroma of garlic began to dance through the air, beckoning curiosity and cravings alike. That’s when I knew it was time to whip up my latest obsession: Cheesy Garlic Cruffins. These delightful pastries merge fluffy, golden dough with a savory blend of rich mozzarella and fragrant garlic, making for the perfect breakfast treat or afternoon snack. With just 24 minutes of prep time, you can create something that feels gourmet yet is wonderfully simple—ideal for impressing guests or simply indulging yourself. Trust me, once you pop one of these bad boys into your mouth, you’ll find it hard to resist returning for seconds. Ready to elevate your snack game? Let’s get baking!
Why is the Cheesy Garlic Cruffin a Must-Try?
Irresistible Flavor: The fusion of garlic and melting cheese creates a savory experience that will tantalize your taste buds. Every bite is a warm hug straight from the oven!
Quick and Easy: Whip these up in just 24 minutes—perfect for busy mornings or last-minute gatherings.
Perfectly Pillowy Texture: These cruffins boast a fluffy interior that contrasts beautifully with their golden, crispy exterior.
Versatile Enjoyment: Enjoy them warm as a snack, or serve them at brunch alongside a side of your favorite marinara sauce—delectable!
Crowd-Pleaser: Ideal for gatherings, these Cheesy Garlic Cruffins will impress anyone—whether they’re a home chef or just someone looking for a delicious bite. Pair them with a light salad or opt for something like Tomato Garlic Pasta for a complete meal!
Cheesy Garlic Cruffin Ingredients
• The perfect start for delicious cruffins!
For the Dough
- Warm Milk – Activates yeast for a well-risen dough; almond milk can be used for a dairy-free version.
- Active Dry Yeast – Essential leavening agent; ensure it’s fresh for best results.
- Granulated Sugar – Balances flavors and feeds the yeast; consider using honey instead.
- All-Purpose Flour – Provides structure and texture; substituting with bread flour gives a chewier bite.
- Salt – Enhances the overall flavor of the dough.
- Unsalted Butter (melted) – Adds richness and moisture; coconut oil can work for a dairy-free twist.
- Large Egg – Binds ingredients together, adding richness to your cruffin.
For the Filling
- Garlic (minced) – Infuses the cruffins with a strong aromatic flavor; fresh garlic is crucial!
- Shredded Mozzarella Cheese – Imparts a delightful cheesiness and gooey stretch; Gouda also makes a wonderful substitute.
- Grated Parmesan Cheese – Adds savory depth; pecorino Romano offers a stronger flavor alternative.
- Chopped Fresh Parsley (optional) – A touch of freshness to brighten the filling; can be omitted if not available.
- Garlic Powder – Boosts the garlic essence; fresh minced garlic can replace it for more intensity.
Step‑by‑Step Instructions for Cheesy Garlic Cruffin
Step 1: Prepare the Dough
In a small bowl, combine 1 cup of warm milk, 2 ¼ teaspoons of active dry yeast, and 1 tablespoon of granulated sugar. Allow this mixture to sit for about 5 minutes until it becomes foamy, indicating that the yeast is activated. This step is crucial for a fluffy Cheesy Garlic Cruffin.
Step 2: Mix Dry Ingredients
In a large mixing bowl, whisk together 3 cups of all-purpose flour and 1 teaspoon of salt. This forms the dry base for your cruffins. The combination of flour and salt ensures that the dough will have a rich flavor and the right structure to hold all the savory cheese.
Step 3: Combine Ingredients
Pour the yeast mixture into the dry ingredients, followed by ⅓ cup of melted unsalted butter and 1 large egg. Mix together using a wooden spoon or your hands until a shaggy dough forms. Make sure to incorporate all the flour to create a cohesive mixture.
Step 4: Knead the Dough
Transfer the dough to a lightly floured surface and knead for 5-7 minutes. You want the dough to become smooth and elastic, which is essential for a good rise and lovely texture in your Cheesy Garlic Cruffins. If it sticks, add a little more flour as needed.
Step 5: First Rise
Place the kneaded dough in a greased bowl, covering it with a clean kitchen towel or plastic wrap. Leave it in a warm place to rise for about 1 hour or until it has doubled in size. The warmth activates the yeast, allowing the dough to become airy and light.
Step 6: Prepare Filling
While the dough is rising, mix 1 cup of minced garlic, 1 cup of shredded mozzarella, ½ cup of grated parmesan, 1 teaspoon of garlic powder, and optional chopped parsley in a separate bowl. This flavorful filling will be the heart of your Cheesy Garlic Cruffin, providing a cheesy, aromatic burst in every bite.
Step 7: Roll Out the Dough
Once the dough has risen, punch it down gently to release the air, then roll it out on a floured surface into a rectangle about ¼ inch thick. This thinness ensures you can easily layer in the cheesy filling, creating those appealing spirals.
Step 8: Add Filling
Spread the prepared cheese mixture evenly over the rolled-out dough, making sure to cover it completely. The filling is what makes these Cheesy Garlic Cruffins irresistibly delicious, so take your time to distribute it well.
Step 9: Form the Cruffin
Starting from one edge of the rectangle, tightly roll the dough into a log shape. Once rolled, slice the log into 12 equal pieces. These slices will become the individual Cheesy Garlic Cruffins, with a delightful spiraled appearance.
Step 10: Arrange in Muffin Tin
Twist each piece into a spiral shape and place them vertically in a greased muffin tin. The greasing helps with easy removal later, and this arrangement allows them to rise beautifully while baking, creating that cruffin form.
Step 11: Second Rise
Cover the muffin tin with a towel and let the cruffins rise for another 30 minutes. This second rise is essential for a light and fluffy texture that you’ll love in your Cheesy Garlic Cruffins.
Step 12: Preheat the Oven
While the cruffins are rising, preheat your oven to 375°F (190°C). A well-preheated oven ensures the cruffins start baking immediately, giving them a nice golden finish and keeping them fluffy inside.
Step 13: Egg Wash
Before baking, brush the tops of each cruffin with a beaten egg. This step adds a beautiful golden color and shine, elevating the visual appeal of your finished Cheesy Garlic Cruffins.
Step 14: Bake
Place the muffin tin in the preheated oven and bake for 25-30 minutes, or until the cruffins are golden brown and puffed up. Keep an eye on them as the aroma fills your kitchen—it’s hard to resist!
Step 15: Cool
Once baked, remove the Cheesy Garlic Cruffins from the oven and let them cool in the pan for 10-15 minutes. This resting time allows the fluffy layers to set, making them easier to remove and enjoy!
Cheesy Garlic Cruffin Variations
Customize this delightful recipe to make it your own, adding your favorite flavors and ingredients!
- Dairy-Free: Substitute the melted butter with coconut oil and use almond milk instead of regular milk for a dairy-free option.
- Cheese Swap: Replace mozzarella with aged cheddar for a sharper flavor that adds depth to every bite.
- Added Greens: Incorporate cooked spinach or arugula into the filling mixture for a fresh, vibrant twist that complements the cheese beautifully.
- Herb Infusion: Mix in some fresh thyme or rosemary with the cheese filling for an aromatic boost. These herbs elevate the flavor profile and offer a delightful fragrance.
- Spicy Kick: Add finely chopped jalapeños or a sprinkle of red pepper flakes to the filling for a little heat. This enhances the flavor and makes each bite a delicious adventure.
- Smoky Flavor: Introduce some smoked gouda into the cheese mix for a unique twist—this brings a rich, smoky essence that transforms the classic cruffin.
- Nutty Texture: Throw in some toasted pine nuts or walnuts to the filling. This offers a delightful crunch that complements the soft, fluffy dough perfectly.
- Sweet Surprise: Consider adding a touch of honey into the filling for a sweet-savory balance, or serve with a drizzle of honey after baking to tantalize your taste buds.
Transform your baking adventures by trying these suggestions, or serve these Cheesy Garlic Cruffins with a side of Tomato Garlic Pasta or Cheesy Ground Beef and Potatoes for a lovely meal experience!
What to Serve with Cheesy Garlic Cruffin
Indulging in Cheesy Garlic Cruffins is one thing, but pairing them with the right sides can truly elevate your meal experience.
-
Fresh Garden Salad:
A crisp salad bursting with seasonal veggies provides a refreshing contrast to the warm, cheesy cruffins, balancing the richness beautifully. -
Marinara Sauce:
The classic pairing! A warm bowl of marinara offers a tangy dip that enhances the garlic-rich flavors of the cruffins—perfect for a savory bite. -
Creamy Tomato Soup:
Serve these cruffins alongside a bowl of velvety tomato soup for a delightful twist. The creamy texture complements the fluffiness of the cruffins perfectly. -
Herbed Quinoa:
Light and nutritious, herbed quinoa adds a nutty flavor that pairs wonderfully with the garlic essence of the cruffins. It’s a wholesome side that keeps things interesting! -
Roasted Vegetables:
Colorful roasted vegetables bring a touch of sweetness and earthy flavor, making the savory cruffins shine even brighter on your plate. -
Sparkling Lemonade:
A refreshing drink option! The citrus notes of sparkling lemonade cleanse the palate between bites, enhancing the savory goodness of the Cheesy Garlic Cruffins. -
Chardonnay:
If you’re inclined to sip, a glass of chilled Chardonnay balances the cheesy richness and adds elegance to your meal. It’s a match made in culinary heaven! -
Garlic Butter Spread:
Elevate your cruffins even further with a smear of garlic butter. It enriches each bite and makes for an indulgent snacking experience that’s hard to resist!
Make Ahead Options
These Cheesy Garlic Cruffins are a fantastic option for meal prep! You can prepare the dough and filling up to 24 hours in advance. Simply follow all steps until the second rise, then cover the muffin tin and refrigerate. This helps develop the flavors without compromising quality. When you’re ready to serve, bring the cruffins to room temperature and allow them to rise again for about 30 minutes before brushing with egg wash and baking. Alternatively, you can fully bake the cruffins and store them in an airtight container for up to 3 days. Reheat them in the oven for that freshly baked taste. Enjoy the benefits of preparing your Cheesy Garlic Cruffins ahead, saving you time and effort on busy days!
Expert Tips for Cheesy Garlic Cruffin
-
Yeast Activation: Make sure the milk is warm, like a cozy bath for your yeast. Too hot and you could kill it—remember, yeast craves warmth, not a sauna!
-
Knead with Care: Knead the dough until it’s smooth and elastic. This ensures the gluten is well-developed, resulting in fluffy Cheesy Garlic Cruffins.
-
Rising Times: Don’t rush the rising process; let your dough rise in a warm spot for optimal texture. It’s worth the wait for airy, light pastries!
-
Egg Wash Glow: Don’t skip the egg wash! It gives your cruffins that gorgeous golden color that’s irresistible.
-
Fluff and Fold: When rolling the filled dough, make sure to roll tightly to keep all that cheesy goodness inside every spiral.
-
Cooling Time: Let them cool slightly in the pan before transferring to a wire rack. This prevents them from getting soggy and keeps that perfect texture!
How to Store and Freeze Cheesy Garlic Cruffin
Room Temperature: Store your Cheesy Garlic Cruffins in an airtight container for up to 2 days. They’ll stay warm and fresh, ready to enjoy whenever you crave a savory snack.
Fridge: If you want to keep them longer, store the cruffins in the fridge for up to 5 days. Just remember to reheat them before serving for a delightful taste revival!
Freezer: For longer storage, freeze cruffins for up to 3 months. Wrap each one tightly in plastic wrap and place them in a freezer bag. Thaw in the fridge overnight and reheat before enjoying.
Reheating: To bring back the delicious warmth and gooey texture, reheat cruffins in the oven at 350°F (175°C) for about 10 minutes, or until warmed through.
Cheesy Garlic Cruffin Recipe FAQs
How do I select the best garlic for the filling?
When choosing garlic, look for bulbs that are firm and free from soft spots or dark blemishes. Fresh garlic should have tight, dry skin, indicating it’s still potent. If you notice any dark spots or sprouting cloves, it’s best to choose another bulb for a stronger flavor in your Cheesy Garlic Cruffins.
What’s the best way to store leftover Cheesy Garlic Cruffins?
Store your Cheesy Garlic Cruffins in an airtight container at room temperature for up to 2 days. If you want to keep them longer, you can refrigerate them for up to 5 days. Just remember to reheat them in the oven before serving to restore that delightful texture!
Can I freeze the Cheesy Garlic Cruffins?
Absolutely! To freeze, wrap each cruffin tightly in plastic wrap, then place them in a freezer bag. They will stay fresh for up to 3 months. To enjoy, simply thaw overnight in the fridge and reheat in a preheated oven at 350°F (175°C) for about 10 minutes until warmed through.
Why is my dough not rising properly?
If your dough isn’t rising, it could be due to using milk that’s too hot or not warm enough when activating the yeast. Ideally, it should be like a warm bath. Additionally, ensure your yeast is fresh and within its expiration date. Ensure you also place the dough in a warm, draft-free area for the best results.
Are there any dietary considerations for the Cheesy Garlic Cruffin?
Yes, if you’re cooking for someone with allergies, you can adapt the recipe accordingly. For a dairy-free version, use almond milk and coconut oil instead of butter. For gluten-free cruffins, consider using a gluten-free flour blend. Always check labels on cheese and other products to ensure they meet your guests’ dietary needs.
Can I use self-rising flour instead of all-purpose flour?
While it’s possible to use self-rising flour, you should omit the additional salt and yeast since self-rising flour already contains these. However, using all-purpose flour allows for more control over the texture and flavor of your Cheesy Garlic Cruffins.
Cheesy Garlic Cruffin: Your New Favorite Savory Snack
Ingredients
Equipment
Method
- In a small bowl, combine warm milk, active dry yeast, and granulated sugar. Allow this mixture to sit for about 5 minutes until it becomes foamy.
- In a large mixing bowl, whisk together all-purpose flour and salt.
- Pour the yeast mixture into the dry ingredients, followed by melted unsalted butter and large egg. Mix until a shaggy dough forms.
- Transfer the dough to a floured surface and knead for 5-7 minutes until smooth and elastic.
- Place the dough in a greased bowl, covering it to rise for about 1 hour or until doubled in size.
- In a separate bowl, mix minced garlic, shredded mozzarella, grated parmesan, garlic powder, and optional parsley.
- Roll out the risen dough into a rectangle about ¼ inch thick.
- Spread the cheese mixture evenly over the rolled-out dough.
- Roll the dough tightly into a log shape and slice into 12 pieces.
- Twist each piece into a spiral shape and place them in a greased muffin tin.
- Cover the muffin tin and let the cruffins rise for another 30 minutes.
- Preheat your oven to 375°F (190°C).
- Brush the tops of each cruffin with a beaten egg.
- Bake for 25-30 minutes or until golden brown and puffed up.
- Let the Cheesy Garlic Cruffins cool in the pan for 10-15 minutes.
Leave a Reply