
While standing in my kitchen, the rich aroma of melting chocolate enveloped me like a comforting hug. The moment I decided to whisk up a batch of Silky Dark Chocolate Pudding, I felt a wave of nostalgia wash over me—a reminder of simpler times spent enjoying this classic dessert. This homemade chocolate pudding is not just an indulgent treat; it’s a quick and easy recipe that you can whip up in no time. Plus, it’s completely customizable with your favorite toppings, making it a perfect addition to cozy evenings or an impressive finish for dinner parties. Ready to dive into a world of velvety decadence? Let’s unlock the secrets to creating the ultimate chocolate pudding, shall we?
Why is this pudding so delightful?
Creamy, Velvety Texture: Each spoonful of this Silky Dark Chocolate Pudding offers an irresistible melt-in-your-mouth experience that brings back treasured memories.
Quick to Make: With just a handful of ingredients and simple steps, this recipe is designed for busy weekdays or spontaneous dessert cravings.
Customizable Goodness: Feel free to get creative! Top it with homemade whipped cream, fresh berries, or even a sprinkle of cinnamon for a delightful twist. Don’t forget to check out my Mango Chia Pudding for an equally delicious option!
Dairy-Free Options: Want to enjoy this treat without the dairy? Substitute almond or oat milk, and you’re good to go!
Crowd-Pleasing Favorite: It’s a dessert everyone can appreciate—perfect for family gatherings or dinner parties, sure to impress all chocolate lovers.
Nostalgic Comfort: Evoking fond memories, this pudding is not just dessert; it’s a slice of childhood that you can share and savor with loved ones.
Chocolate Pudding Ingredients
• Make this classic recipe shine!
For the Pudding
- Whole Milk – Adds richness and creaminess; can substitute with almond or oat milk for a dairy-free version.
- Heavy Cream – Enhances texture and flavor; replace with additional whole milk for a lighter pudding.
- Granulated Sugar – Provides just the right sweetness; coconut sugar or sugar substitutes work for lower-calorie options.
- Unsweetened Cocoa Powder – The main source of chocolate flavor; always use high-quality cocoa for the best results.
- Cornstarch – Acts as a thickening agent for a smooth consistency; ensures there are no lumps in your pudding.
- Salt – Elevates the overall flavor; it’s optional but highly recommended.
- Egg Yolks – Contributes to the pudding’s rich texture; for a vegan option, use a cornstarch slurry instead.
- Unsalted Butter – Adds a lovely creaminess; feel free to omit it for a dairy-free treat.
- Vanilla Extract – Provides comforting aromatic flavor; real vanilla or vanilla bean paste enhances the aroma delightfully.
- Dark Chocolate (60% cacao or higher) – Intensifies chocolate flavor and smoothness; semi-sweet chocolate can be used as an alternative.
For Topping Options
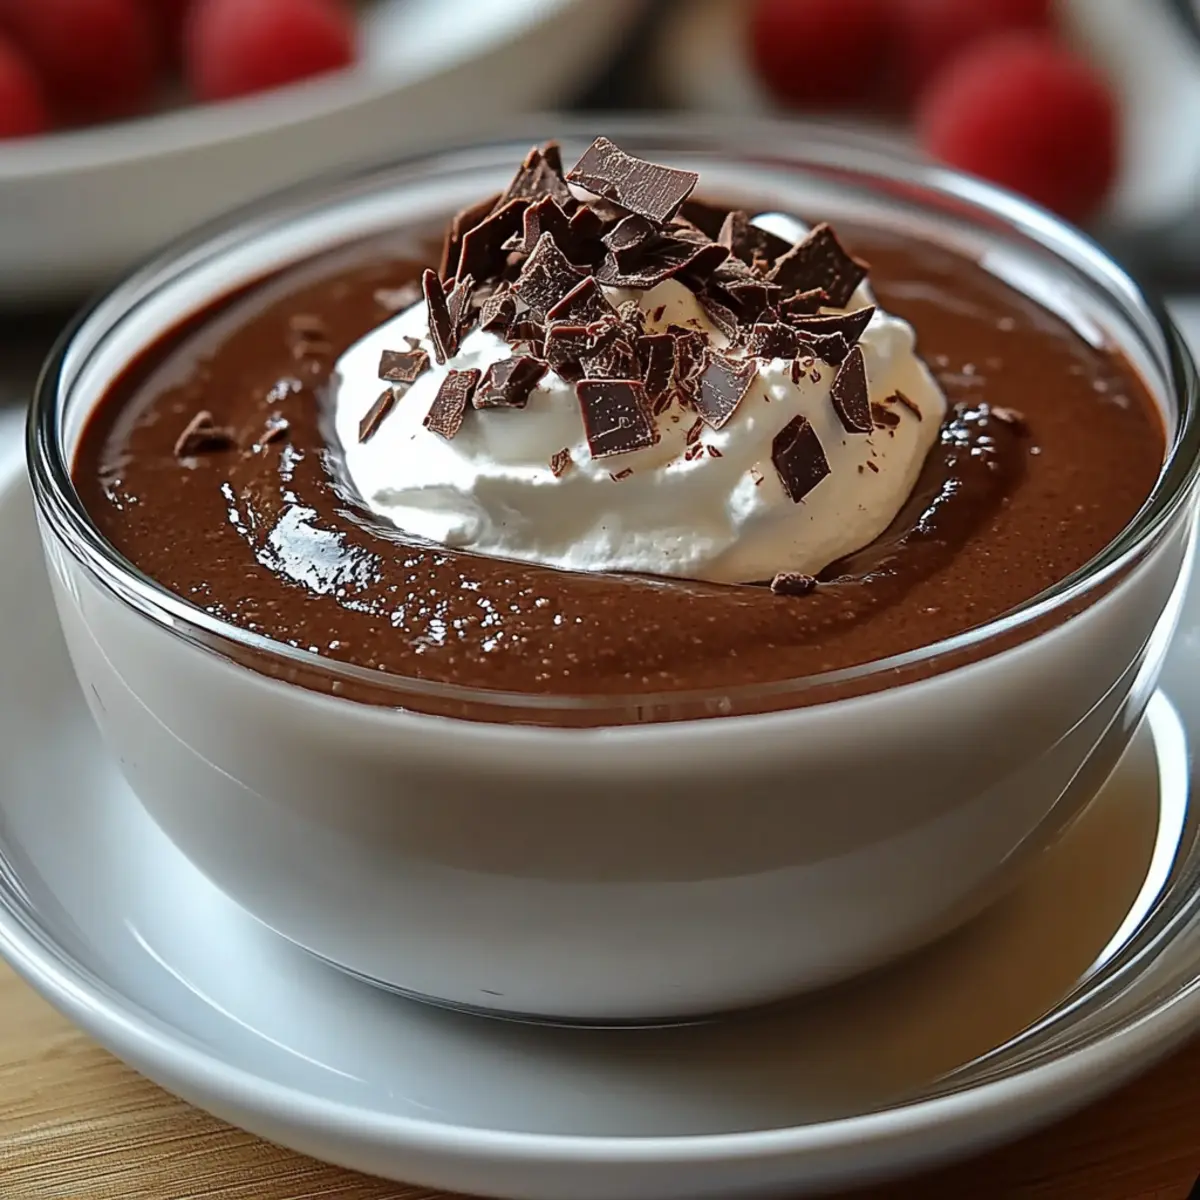
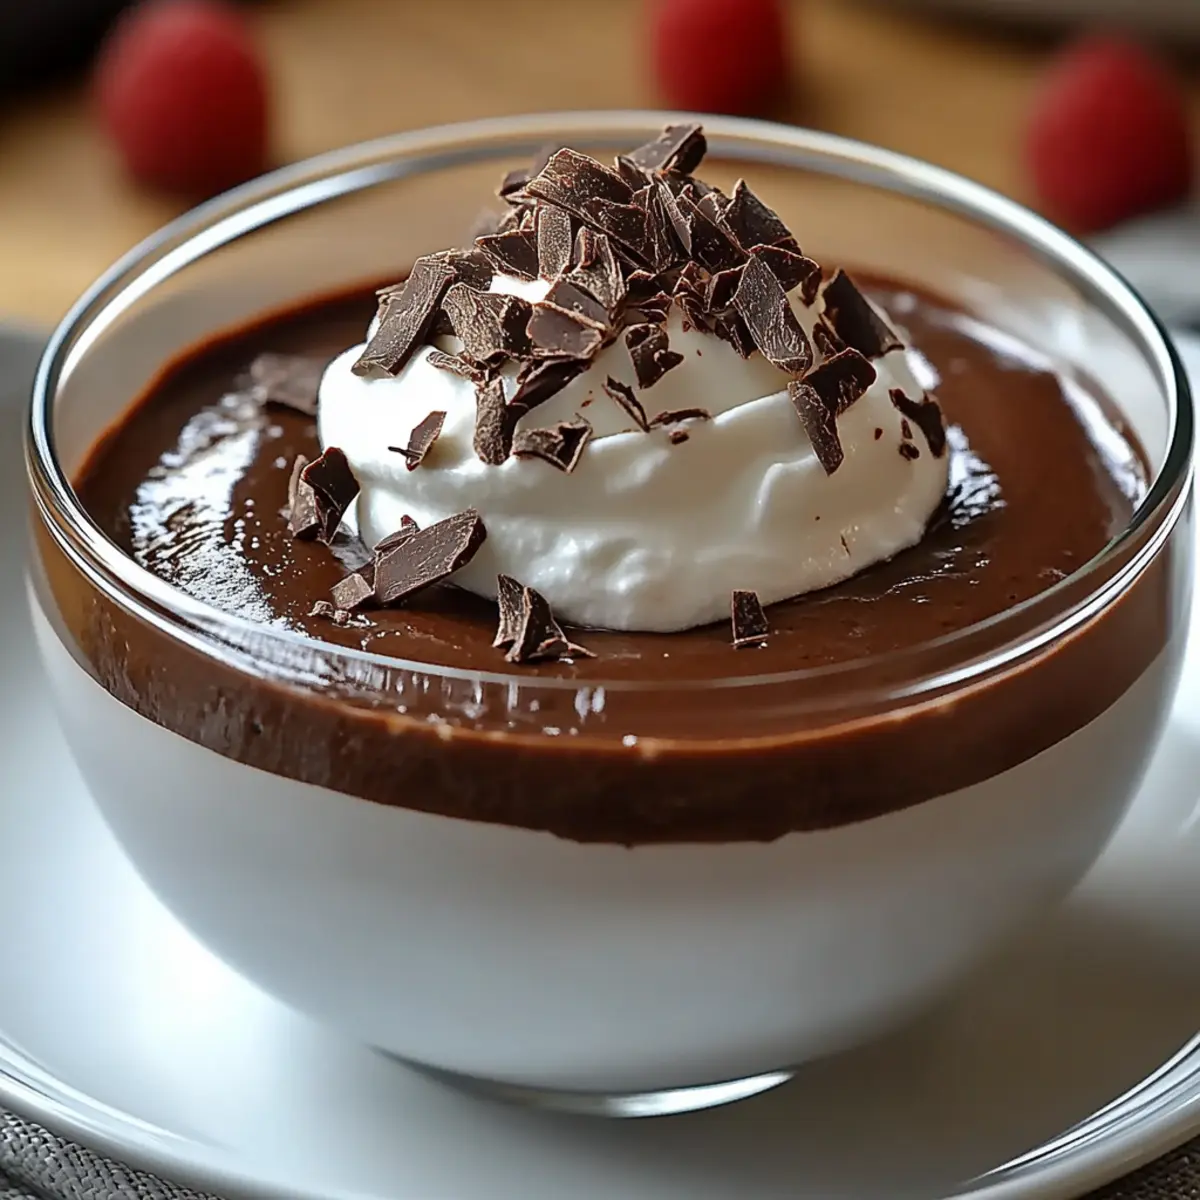
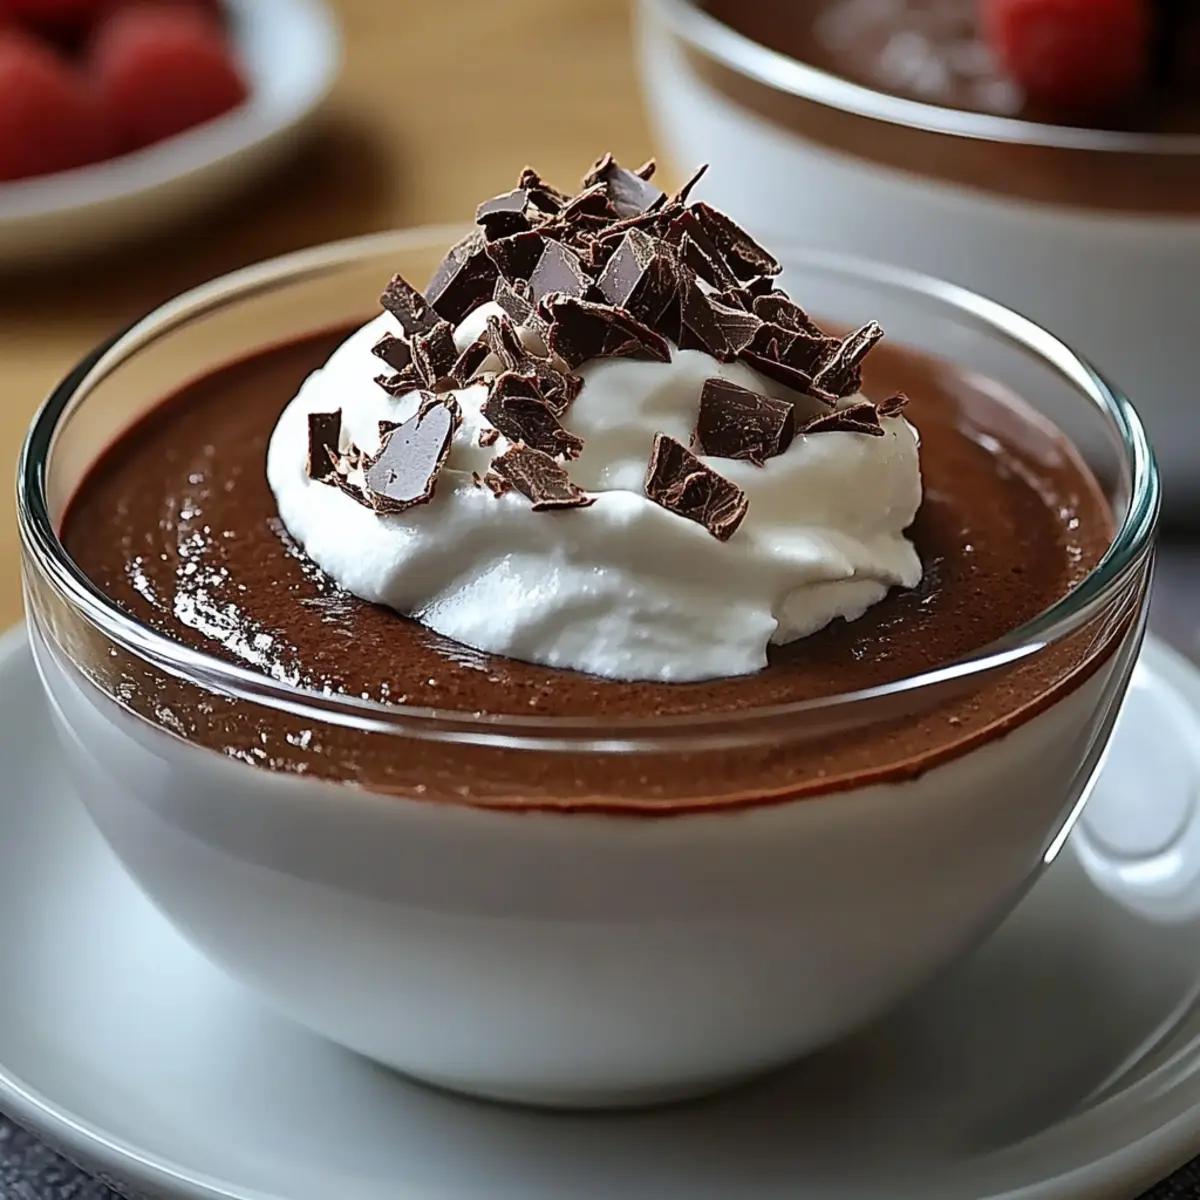
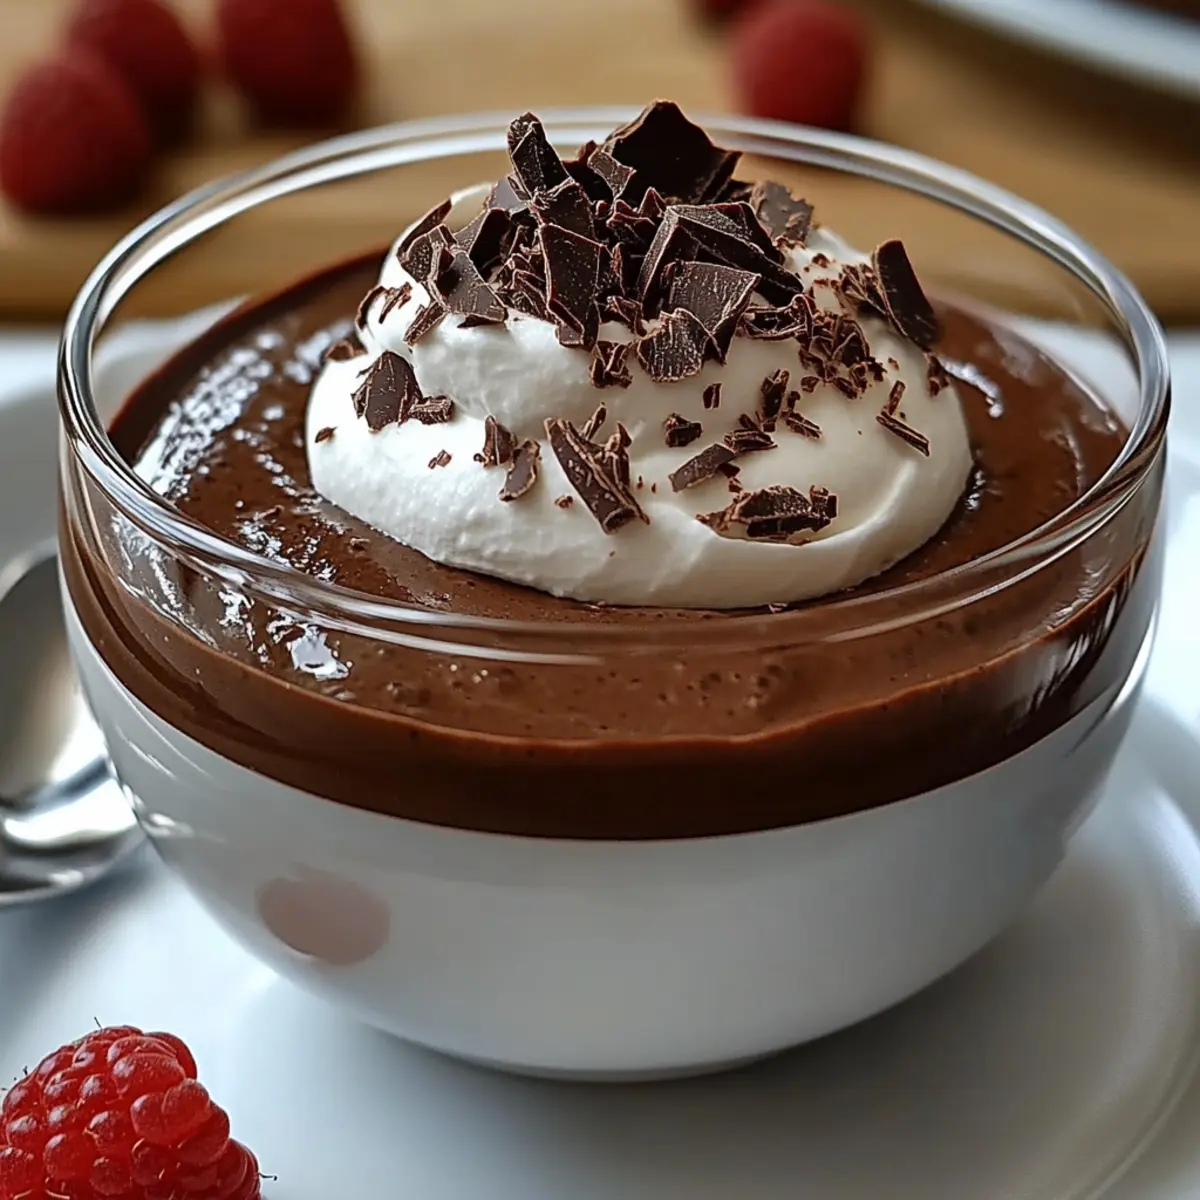
- Whipped Cream – The best is made fresh at home for a fluffy finish.
- Chocolate Shavings – Create beautiful curls using a vegetable peeler for a decorative touch.
- Fresh Berries – Strawberries or raspberries pair wonderfully with chocolate; consider their vibrant color and tangy flavor.
- Cinnamon – A sprinkle adds warmth and complexity; perfect for a unique twist.
Step‑by‑Step Instructions for Silky Dark Chocolate Pudding
Step 1: Whisk the Dry Ingredients
In a medium saucepan, combine the granulated sugar, unsweetened cocoa powder, cornstarch, and salt. Use a whisk to blend these dry ingredients together smoothly and evenly, ensuring there are no lumps. This creates the foundation for your indulgent Silky Dark Chocolate Pudding, so take a moment to mix well before moving on.
Step 2: Incorporate the Wet Ingredients
Gradually whisk in the whole milk and heavy cream into the dry mixture until it reaches a smooth consistency. Place the saucepan over medium heat, stirring constantly to avoid any clumps forming. In about 2-3 minutes, you’ll notice the mixture starting to warm up and thin out, setting the stage for a rich, creamy pudding.
Step 3: Temper the Egg Yolks
In a separate bowl, lightly whisk the egg yolks to increase their temperature before adding to the pudding. To do this, scoop out a spoonful of the warm pudding mixture and slowly mix it with the yolks. This step prevents the eggs from scrambling. Gradually add the tempered yolks back into the saucepan, whisking thoroughly to combine smoothly.
Step 4: Thicken the Pudding
Continue cooking the mixture over medium heat, stirring constantly with a spatula, until it thickens and starts to bubble gently, which usually takes about 7-10 minutes. You’ll know it’s ready once it coats the back of your spatula and achieves a luxurious, velvety sheen—this means your Silky Dark Chocolate Pudding is coming together perfectly.
Step 5: Add the Final Touches
Remove the saucepan from heat and stir in the chopped dark chocolate, unsalted butter, and vanilla extract. Keep stirring until the chocolate has fully melted, enriching the pudding with its deep flavor. The mixture should be glossy and smooth, showcasing the rich cocoa essence that defines your silky chocolate pudding.
Step 6: Chill the Pudding
Pour the chocolate pudding into serving dishes. To prevent a skin from forming on top, gently press a piece of plastic wrap onto the surface of each portion. Chill the pudding in the refrigerator for at least 2 hours. This step is crucial for allowing the flavors to meld beautifully, resulting in the ideal texture and taste.
Step 7: Serve with Toppings
Once chilled, your Silky Dark Chocolate Pudding is ready to shine! Garnish with homemade whipped cream, chocolate shavings, or a handful of fresh berries for added flavor and visual appeal. Feel free to sprinkle a touch of cinnamon on top for a delightful twist—your homemade chocolate pudding is sure to impress!
What to Serve with Silky Dark Chocolate Pudding
Elevate your dessert experience with some delightful accompaniments that will complement the rich, creamy goodness of your chocolate creation.
-
Fresh Berries: The tartness of strawberries or raspberries contrasts beautifully with the sweetness of the pudding, adding a burst of freshness.
-
Homemade Whipped Cream: Light and fluffy, a dollop of whipped cream enhances the luxurious texture, making every bite even more indulgent.
-
Chocolate Shavings: Create a visual feast with chocolate curls. They not only look elegant but add an extra layer of delectable chocolate flavor.
-
Cinnamon Dust: A simple sprinkle of cinnamon adds warmth and spice, elevating the overall flavor profile of the pudding.
-
Espresso Shots: For coffee lovers, a shot of espresso pairs exceptionally well, intensifying the chocolate flavor and providing a delightful contrast.
-
Shortbread Cookies: Their buttery crispness offers a pleasing textural contrast, making each spoonful of pudding even more enjoyable.
-
Vanilla Ice Cream: A scoop of creamy vanilla ice cream complements the intense chocolate, providing a delightful temperature contrast.
Indulge in these pairings for a truly unforgettable chocolate pudding experience!
Make Ahead Options
These Silky Dark Chocolate Pudding cups are perfect for meal prep, giving you a delicious dessert ready to go whenever you need it! You can prepare the pudding base up to 24 hours in advance; simply follow the instructions to cook and chill. After pouring the pudding into serving dishes, press plastic wrap directly onto the surface to prevent skin formation, then refrigerate. When you’re ready to serve, just remove the wrap and add your favorite toppings like whipped cream, chocolate shavings, or fresh berries. This way, your Silky Dark Chocolate Pudding stays just as delicious, saving you time for those busy weeknights or last-minute gatherings!
How to Store and Freeze Chocolate Pudding
Fridge: Keep your homemade chocolate pudding in an airtight container for up to 4 days. Be sure to press plastic wrap directly onto the surface to prevent skin formation.
Freezer: If you’d like to freeze the pudding, portion it into freezer-safe containers. It can be frozen for up to 2 months; simply thaw in the refrigerator before serving.
Reheating: To serve after freezing, let your chocolate pudding thaw completely in the fridge. If it appears too thick, whisk in a splash of milk to restore its creamy consistency.
Make Ahead: You can prepare this Silky Dark Chocolate Pudding a day in advance. Just remember to store it properly to keep it fresh and ready to impress.
Helpful Tricks for Chocolate Pudding
Quality Ingredients: Use high-quality chocolate (60-70% cacao) to ensure that your chocolate pudding has the richest flavor and creamy texture.
Slow and Steady Heat: Cook your pudding over medium heat and stir continuously to prevent lumps and ensure it thickens evenly without burning.
Tempering Eggs: Gradually introduce warm pudding mixture to the egg yolks to avoid scrambling. This step is crucial for achieving a silky texture in your chocolate pudding.
Prevent Skin Formation: Press plastic wrap directly onto the surface of the pudding before chilling to avoid that unwanted skin on top.
Creative Toppings: Don’t hesitate to experiment! Top with flavored whipped cream, fresh fruits, or even a pinch of sea salt for added depth of flavor.
Chocolate Pudding Variations to Try
Feel free to experiment and make this Silky Dark Chocolate Pudding your own with these fun and delicious variations!
-
Dairy-Free: Substitute whole milk and heavy cream with almond or oat milk for a creamy, dairy-free delight.
-
Flavored Chocolate: Swap dark chocolate for semi-sweet or even milk chocolate, adjusting sweetness to your liking. This change can lighten the flavor profile while still satisfying your chocolate cravings.
-
Spiced Up: Add a pinch of cayenne pepper or a dash of espresso powder to give your pudding an unexpected depth and warmth. The warmth of spice combined with chocolate will leave everyone wanting more!
-
Nutty Twist: Incorporate some finely ground almonds or hazelnuts into the pudding to add crunch and a nutty flavor. This extra texture elevates the entire experience, making each spoonful even more delightful.
-
Fruit Infusion: Mix in some pureed fruit, such as raspberries or strawberries, into the pudding base before chilling. The fruity addition will offer a refreshing contrast to the rich chocolate.
-
Vegan Option: For a truly vegan treat, use a cornstarch slurry instead of egg yolks. This ensures a creamy, thick texture without dairy or animal products.
-
Gourmet Toppings: Instead of standard whipped cream, try topping your pudding with a swirl of flavored whipped cream, like vanilla bean, or even coconut cream for a tropical flair.
-
Caramel Drizzle: Drizzle homemade or store-bought caramel sauce on top for that sweet and salty combination that pairs beautifully with chocolate. It adds complexity and richness to your classic dessert.
No matter how you customize it, this homemade chocolate pudding is bound to delight! And if you’re looking for more indulgent options, why not check out my recipe for Vegan Chocolate Mousse or explore a lighter treat like Mango Chia Pudding? Your dessert adventures await!
Silky Dark Chocolate Pudding Recipe FAQs
What type of chocolate should I use for the best flavor?
Absolutely! For the richest flavor and texture, I recommend using high-quality dark chocolate with 60-70% cacao. This chocolate will provide a deep cocoa essence that elevates your pudding experience, ensuring each spoonful is decadent and satisfying.
How can I ensure my chocolate pudding doesn’t have lumps?
Very important! To avoid lumps, stir continuously while cooking your pudding over medium heat. Begin by whisking together the dry ingredients thoroughly, then gradually whisk in the wet ingredients. This technique helps ensure everything is smoothly combined and creates a velvety consistency.
What’s the best way to store chocolate pudding?
You can keep your Silky Dark Chocolate Pudding in an airtight container in the refrigerator for up to 4 days. To prevent skin formation, press plastic wrap directly against the surface of the pudding before sealing it up. This extra step is key for maintaining that luscious texture.
Can I freeze chocolate pudding? How?
Yes, you can freeze your chocolate pudding! Simply portion it into freezer-safe containers, leaving a bit of space at the top as it can expand when frozen. It can be stored for up to 2 months. When you’re ready to enjoy it, thaw it in the refrigerator overnight. If it seems too thick after thawing, whisk in a splash of milk to restore its creamy consistency.
Are there any dietary considerations for this recipe?
Absolutely! If you’re looking for a dairy-free option, you can substitute whole milk and heavy cream with almond or oat milk. For a vegan alternative, simply replace the egg yolks with a cornstarch slurry (1 tablespoon cornstarch mixed with 2 tablespoons of water). This allows everyone to enjoy the creamy deliciousness of your homemade pudding.
Creamy Homemade Chocolate Pudding That Melts in Your Mouth
Ingredients
Equipment
Method
- Whisk the granulated sugar, unsweetened cocoa powder, cornstarch, and salt in a medium saucepan until smooth and even.
- Gradually whisk in the whole milk and heavy cream. Heat over medium heat, stirring constantly until it warms and thins.
- Lightly whisk the egg yolks in a separate bowl. Gradually mix a spoonful of warm pudding into the yolks to temper, then add back to the saucepan.
- Continue cooking over medium heat, stirring until it thickens and starts to bubble, about 7-10 minutes.
- Remove from heat and stir in the chopped dark chocolate, unsalted butter, and vanilla extract until melted and smooth.
- Pour pudding into serving dishes, press plastic wrap on top to avoid skin, and chill for at least 2 hours.
- Once chilled, garnish with whipped cream, chocolate shavings, fresh berries, and a sprinkle of cinnamon before serving.
Leave a Reply