
As I stood in the kitchen, the zest of fresh oranges filled the air, wrapping me in a warm citrus hug like a memory from childhood. That’s when I decided to whip up a batch of Classic Homemade Orange Candy, a treat that’s as joyful as it is simple. This delightful recipe not only brings a burst of brightness to your day but also transforms your kitchen into a haven of nostalgia. Imagine crafting your own candy that’s fresh, chewy, and perfect for sharing—ideal for gift-giving or indulging your sweet tooth. With minimal effort and just a handful of ingredients, you can create a homemade delight that beats any store-bought option. Are you ready to experience the sweet satisfaction of making your own candy? Let’s dive in!

Why Make Classic Homemade Orange Candy?
Nostalgic Flavor: Each bite is a throwback to delightful childhood candy moments, evoking cherished memories.
Simple Steps: With just a few ingredients and straightforward instructions, it’s a breeze for both novice and seasoned cooks.
Customizable Sweetness: Adjust the sugar to your liking, crafting the perfect treat tailored to your taste buds.
Versatile Enjoyment: These candies are perfect for gifting, party snacks, or a sweet indulgence to enjoy anytime. Pair them with herbal tea for an elegant touch.
Healthier Alternative: By using fresh oranges, you steer clear of artificial flavors, creating a treat that is both delicious and wholesome. Why not explore other delightful recipes like Patty Melt Comfort or Gyoza Homemade Japanese for your next cooking adventure?
Classic Homemade Orange Candy Ingredients
• Get ready to create a citrusy delight!
For the Candy Base
- Granulated Sugar – Primary sweetener that provides structure; regular sugar works, but brown sugar may add a unique flavor twist.
- Corn Syrup – Prevents crystallization and adds gloss; light Karo syrup can be used as a substitute if necessary.
- Water – Helps dissolve sugar to create the syrup foundation.
For the Citrus Flavor
- Fresh Oranges – Infuses the candy with vibrant flavor; don’t skip the zest for extra citrus punch! For convenience, bottled orange juice can be a stand-in, but the taste won’t be the same.
For Texture and Binding
- Unflavored Gelatin – Key for that chewy consistency; if you’re looking for a vegetarian alternative, agar-agar can be substituted (adjust quantity accordingly).
- Unsalted Butter – Adds richness and ensures a smooth finish in the candy.
Indulge in the delightful process of crafting your very own Classic Homemade Orange Candy, where every ingredient counts towards a sweet, nostalgic treat!
Step‑by‑Step Instructions for Classic Homemade Orange Candy
Step 1: Prepare Oranges
Start by zesting and juicing fresh oranges until you collect about 3/4 cup of juice. Use a microplane or fine grater for zesting and ensure to avoid the bitter white pith. This step is crucial as the fresh zest infuses the Classic Homemade Orange Candy with bright, citrusy notes. Set the zest aside for later use.
Step 2: Make Syrup
In a medium saucepan, combine the freshly squeezed orange juice, water, granulated sugar, and corn syrup. Heat the mixture over medium heat, stirring until the sugar dissolves completely. Allow it to simmer gently for about 10 minutes, watching for it to thicken slightly. You’ll know it’s ready when it coats the back of a spoon.
Step 3: Bloom Gelatin
While the syrup is simmering, take a small bowl and sprinkle unflavored gelatin over cool water. Let it sit for about 5 minutes, allowing the gelatin to absorb the water and expand. This blooming process is essential for ensuring your Classic Homemade Orange Candy has that perfect chewy texture when set.
Step 4: Combine
Once your syrup has thickened, stir in the bloomed gelatin until it’s completely dissolved. Then add the unsalted butter and the reserved orange zest, continuing to simmer the mixture for another 5 minutes. At this point, the butter should melt fully, enriching the candy with a smooth, silky finish and bright flavor.
Step 5: Cool Down
Remove the saucepan from heat and let the mixture cool at room temperature for 1-2 hours. Stir occasionally to prevent a skin from forming on the surface. Cooling is vital for achieving the right consistency in your Classic Homemade Orange Candy before moving on to setting it.
Step 6: Set the Candy
Grease an 8×8 inch dish or candy molds with a touch of butter for easy removal. Pour the cooled mixture into the prepared dish, smoothing the top with a spatula. Place it in the refrigerator for at least 4-6 hours, or until completely firm. This chilling step is crucial for your candy to hold its shape.
Step 7: Cut and Dust
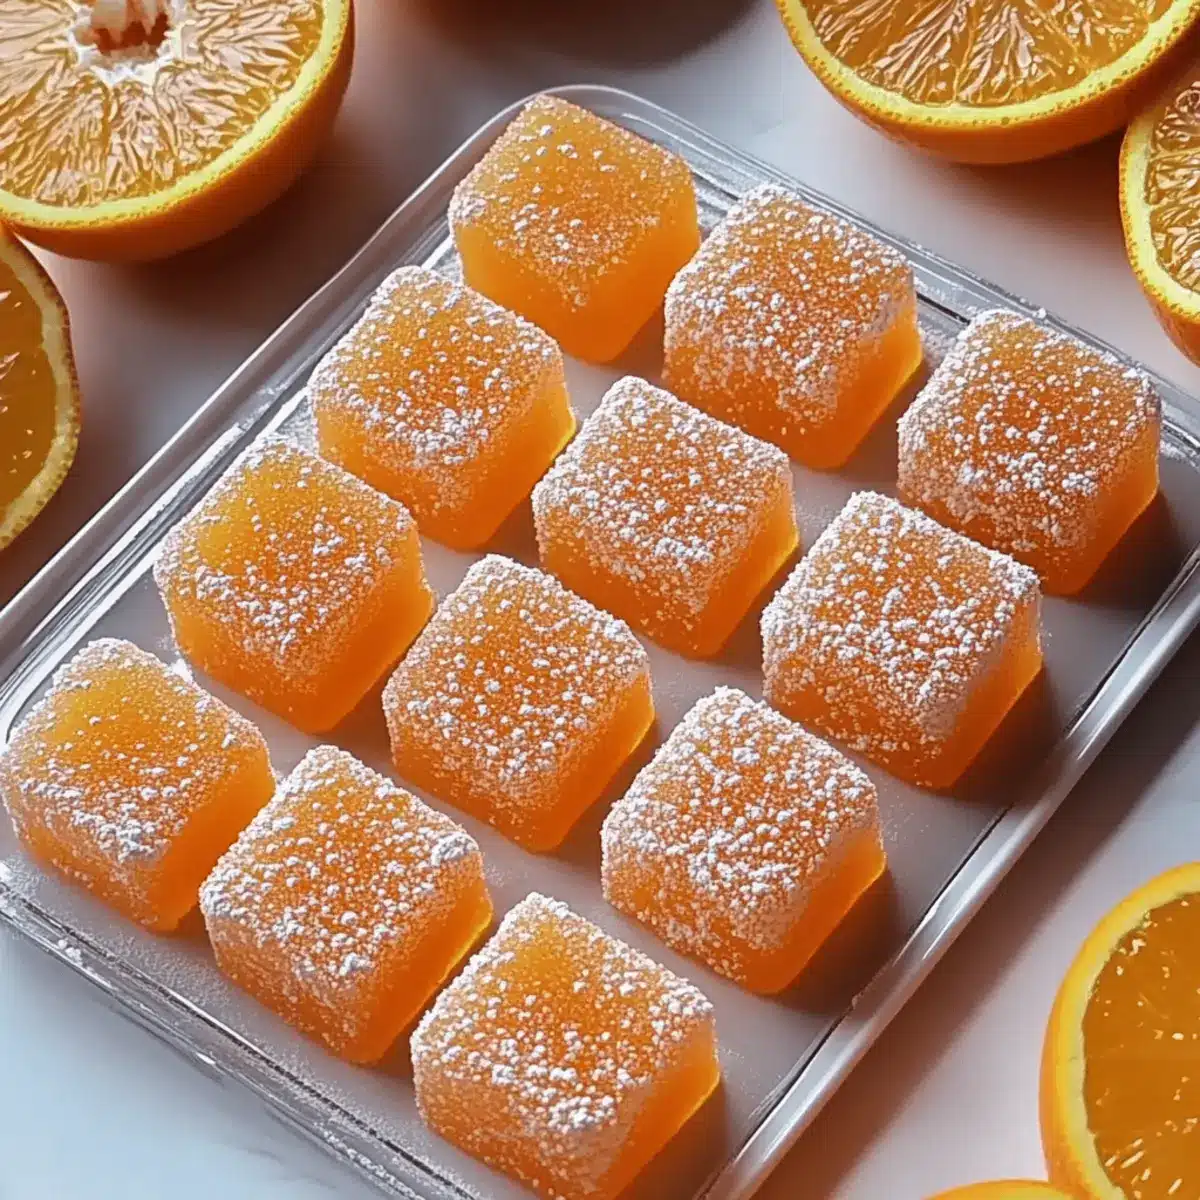
Once the candy has set, remove it from the refrigerator and carefully take it out of the dish. Cut it into small cubes with a sharp knife. To prevent sticking, toss the pieces in powdered sugar, ensuring they are lightly coated. This final touch not only prevents them from clumping but adds a delightful finishing touch to your Classic Homemade Orange Candy.

Storage Tips for Classic Homemade Orange Candy
-
Room Temperature: Store the candy in an airtight container at room temperature for up to a week. This keeps the texture soft and chewy while preserving the citrus flavor.
-
Fridge: If you prefer firmer candy, refrigerate in an airtight container for up to two weeks. Just remember to let it sit at room temperature for a few minutes before enjoying!
-
Freezer: Freeze the Classic Homemade Orange Candy in an airtight container or freezer bag for up to 2 months. Thaw it at room temperature when you’re ready to indulge again.
-
Reheating: There’s no need to reheat once you’ve made your Classic Homemade Orange Candy; it’s best enjoyed either fresh from the fridge or at room temperature for that delightful chewy bite.
Expert Tips for Classic Homemade Orange Candy
-
Zest Carefully: Only grate the outer colored part of the orange peel; the white pith underneath can introduce bitterness to your candy.
-
Check Syrup Thickness: Ensure the candy syrup thickens enough before pouring; it should coat the back of a spoon—too thin won’t set properly.
-
Avoid Cooling Rush: Let the mixture cool completely at room temperature to prevent cloudiness in your Classic Homemade Orange Candy. Patience is key!
-
Grease for Ease: Lightly butter your molds or dish to ensure a smooth removal process later—nobody wants to lose their hard work!
-
Let It Set: Allow the candy to chill in the fridge for a full 4-6 hours; this is crucial for achieving that perfect chewy texture.
Classic Homemade Orange Candy Variations
Feel free to get creative and make this recipe your own; the possibilities are as vibrant as the candy itself!
-
Citrus Twist: Try substituting fresh oranges with grapefruit, lemon, or lime for a fun, tangy variation. Each fruit brings a unique zest that will tickle your taste buds. Mix and match for a colorful citrus medley!
-
Fruit-Infused Candy: Add pureed fruit like strawberries or raspberries for an unexpected burst of flavor and lovely color. These fruity additions could complement the zesty oranges beautifully, inviting a whole new candy experience.
-
Flavored Extracts: Incorporate extracts such as vanilla, almond, or coconut during the combine step for extra depth. A simple splash can elevate your Classic Homemade Orange Candy to a delightful experience worthy of gourmet treatment!
-
Chocolate Coating: Dipping finished pieces in melted dark or white chocolate creates a decadent treat that pairs wonderfully with the citrus flavors. This rich addition transforms the candy into an indulgent dessert.
-
Nutty Crunch: Sprinkle crushed nuts, like pistachios or almonds, into the mixture before setting. This adds a lovely crunch and pairs beautifully with the softness of the candy for a delightful textural contrast.
-
Sour Zing: Add a bit of citric acid while simmering for an extra sour punch. It gives a tangy kick that can make these candies incredibly addictive, perfect for those who love a little tartness in their sweets!
-
Herbal Infusion: Experiment by steeping fresh herbs such as mint or basil in your syrup for a refreshing herbal note. This unique twist adds an aromatic quality that will surprise and delight your guests.
-
Spicy Kick: For those who enjoy heat, consider adding a pinch of cayenne pepper or chili powder into the syrup for a surprising twist. The heat against the sweet citrus can create an unforgettable flavor pairing.
No matter how you choose to customize your Classic Homemade Orange Candy, each variation will bring its own delightful charm—perfect for sharing or enjoying solo. And if you’re looking for more ways to spice up your culinary adventures, why not check out our recipes for Pan Fried Dumplings or explore the comforting flavors of Gyoza Homemade Japanese? Your kitchen magic is just a recipe away!
Make Ahead Options
These Classic Homemade Orange Candies are perfect for those busy days when you need a sweet treat on hand! You can prepare the syrup and combine it with the gelatin mixture up to 24 hours in advance; just refrigerate it until you’re ready to set the candy. To maintain the best flavor and texture, store the prepared mixture in an airtight container in the fridge. When you’re ready to serve, simply pour the cooled mixture into the greased dish or molds, allow to chill for at least 4-6 hours, and cut into cubes. You’ll enjoy the same delightful, chewy texture without the last-minute rush!
What to Serve with Classic Homemade Orange Candy?
As you savor the sweet delight of your handmade candy, think of what complements its zesty, chewy goodness for a delightful treat experience.
- Herbal Tea: The soothing warmth of herbal tea enhances the candy’s citrus notes, creating a perfect pairing for leisurely afternoons.
- Cheese Platter: Add a selection of creamy cheeses; their savory richness contrasts beautifully with the sweet, tangy flavor of the candy.
- Fresh Fruit Salad: A refreshing mix of seasonal fruits brightens your dessert table, balancing the sweetness of the orange candy with natural juiciness.
- Dark Chocolate Dipping Sauce: Rich and slightly bitter chocolate creates a luxurious pairing for your bright orange flavors, making each bite a taste sensation.
- Mixed Nuts: The nutty crunch adds texture and heartiness, providing a delightful contrast to the chewy, sweet candy experience.
- Sparkling Water: A bubbly drink refreshes your palate; pair it with a slice of orange for an elegant touch that mirrors the candy’s flavor.
- Fruit Sorbet: Serve a scoop of tangy fruit sorbet alongside; its cold texture complements the chewy candy, making for a cool summer snack.
- Gourmet Popcorn: Sweet and salty popcorn makes a fun, whimsical addition; it’s perfect for entertaining alongside your homemade treat.

Classic Homemade Orange Candy Recipe FAQs
How do I choose the best oranges for making candy?
Absolutely! For the best flavor, select oranges that are firm, heavy for their size, and have smooth, brightly colored skin without dark spots. Valencia oranges are ideal due to their juiciness, but Navel oranges work well too. Freshness is key to achieving that vibrant, citrusy flavor.
How should I store Classic Homemade Orange Candy?
Store the candy in an airtight container at room temperature for up to a week. If you prefer a firmer texture, refrigerate it for up to two weeks. Just remember to let it sit at room temperature for a few minutes before enjoying!
Can I freeze Classic Homemade Orange Candy?
Yes, you can absolutely freeze it! For optimal storage, place the candy in an airtight container or freezer bag, and it will last up to 2 months. When you’re ready to indulge, simply thaw it at room temperature for a soft, chewy treat that’s ready to enjoy.
What do I do if my candy doesn’t set properly?
Very! If your candy doesn’t set, it could be due to insufficient syrup thickness or not using enough gelatin. To troubleshoot, try remelting the mixture gently on the stove, then add a little more bloomed gelatin and stir until dissolved. Pour it back into the mold and refrigerate again until firm.
Are there any dietary considerations for Classic Homemade Orange Candy?
While this recipe is vegetarian-friendly, keep in mind it contains sugar and gelatin. If you’re looking for a plant-based alternative, consider using agar-agar instead of gelatin, adjusting the quantity as needed. Always check labels for potential allergens, especially with flavored extracts or coatings.
Can I customize the sweetness of the candy?
Absolutely! You can adjust the sugar content according to your taste. If you like it sweeter, slightly increase the sugar; if you prefer less sweetness, feel free to reduce it. The beauty of making Classic Homemade Orange Candy is that you can make it just the way you like it!
Classic Homemade Orange Candy: A Sweet Citrus Delight
Ingredients
Equipment
Method
- Zest and juice fresh oranges to collect about 3/4 cup of juice. Set the zest aside.
- Combine orange juice, water, granulated sugar, and corn syrup in a saucepan. Heat, stirring until sugar dissolves. Simmer for 10 minutes until thickened.
- Sprinkle gelatin over cool water in a small bowl and let sit for 5 minutes.
- Once syrup thickens, stir in bloomed gelatin, then add butter and reserved zest. Simmer for 5 minutes.
- Remove from heat and let cool for 1-2 hours, stirring occasionally.
- Grease an 8x8 inch dish and pour in the cooled mixture. Smooth with a spatula and refrigerate for 4-6 hours.
- Once set, cut the candy into small cubes and dust with powdered sugar to prevent sticking.
Leave a Reply