
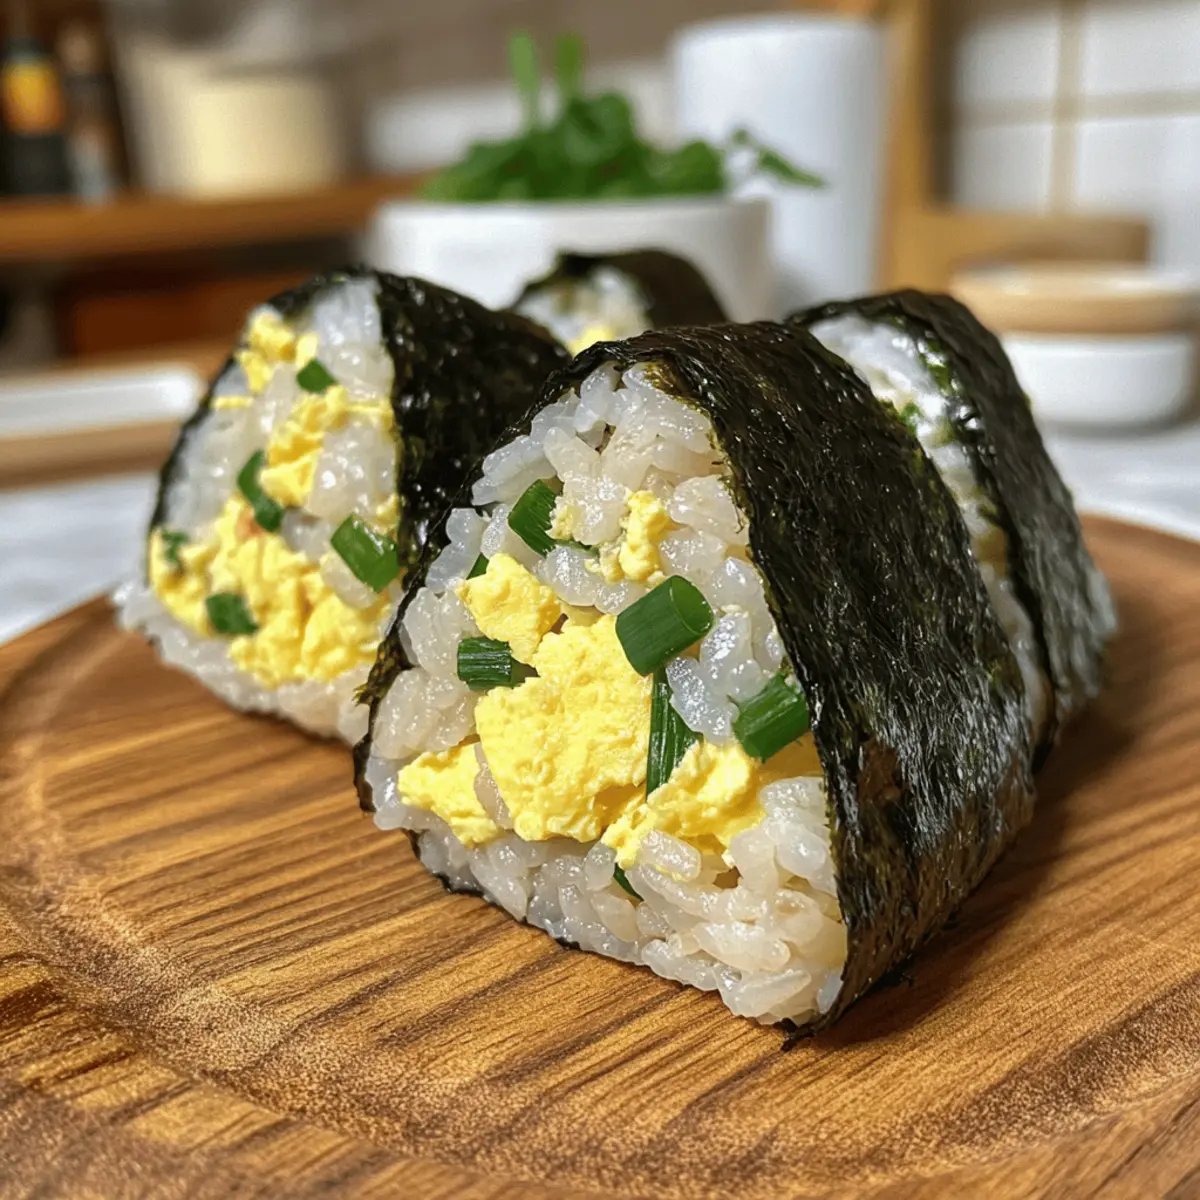
The first time I tasted Egg Onigiri, I was instantly transported to a sunlit picnic, where the delightful balance of fluffy scrambled eggs and fresh chives danced on my palate. This recipe is a fantastic solution for those hurried days when you’re craving something homemade yet quick to whip up. Not only is this Delicious Egg Onigiri perfect for lunchboxes or snacks, but it’s also incredibly versatile—allowing you to mix in your favorite ingredients for a unique twist. With minimal prep time and a handful of simple ingredients, this dish combines convenience with a heartfelt touch. Are you ready to take your taste buds on a flavorful adventure today?
Why is Egg Onigiri a Must-Try?
Deliciously Versatile: The beauty of this recipe lies in its adaptability—swap in your favorite ingredients to create a personal touch.
Quick and Easy: Perfect for those busy days, you can prepare these delightful snacks in no time.
Flavor-Packed: The combination of fluffy eggs and vibrant chives guarantees a satisfying flavor profile that will keep you coming back for more.
Customizable: Enhance your onigiri with proteins or veggies for a nutritious meal option.
Perfect for Any Occasion: Whether you’re hosting a picnic or need a quick lunchbox treat, this egg onigiri serves as the ideal bite-sized snack! If you’re also looking for something sweet, try these Baked Churro Bites.
Delicious Egg Onigiri Ingredients
For the Rice Mixture
• Cooked Rice – Use short-grain rice for the best texture and stickiness.
• Chives – Adds freshness and onion flavor; substitute with green onions if preferred.
• Eggs – Primary source of protein; they provide richness and texture. Use any style you like, such as scrambled or fried.
• Sesame Oil – Enhances flavor and adds nuttiness; optional, can be replaced with vegetable oil for a lighter flavor.
• Soy Sauce – Provides umami and seasoning; Tamari can be used as a gluten-free alternative.
• Mayonnaise – Adds creaminess to the rice mixture; Greek yogurt can be substituted for a lighter option.
For the Wrap
• Roasted Seaweed (Nori) – Serves as a wrap and adds umami; any sushi-grade seaweed works well.
With these simple yet essential ingredients, you’ll be on your way to crafting a Delicious Egg Onigiri that’s not only quick to make but also perfect for any occasion!
Step‑by‑Step Instructions for Delicious Egg Onigiri
Step 1: Chop the Chives
Begin by washing and finely chopping a handful of fresh chives; set them aside in a small bowl. Look for vibrant green color and a strong onion aroma, which will add a refreshing kick to your Delicious Egg Onigiri. A sharp knife will help you achieve uniform pieces, making mixing easier later.
Step 2: Whisk the Eggs
Crack two eggs into a mixing bowl and whisk them together with a pinch of salt until well combined, creating a smooth yellow mixture. This should take about 30 seconds. The eggs will provide a rich, creamy filling for your onigiri, so make sure they are fully blended for an even texture.
Step 3: Cook the Eggs
Heat a non-stick pan over medium heat and lightly coat the surface with a drizzle of cooking oil. Once hot, pour in the whisked eggs, allowing them to spread evenly. As the eggs begin to set, gently scramble with a spatula, breaking them into smaller pieces. Remove from heat when slightly undercooked but soft, about 2-3 minutes.
Step 4: Mix the Rice Mixture
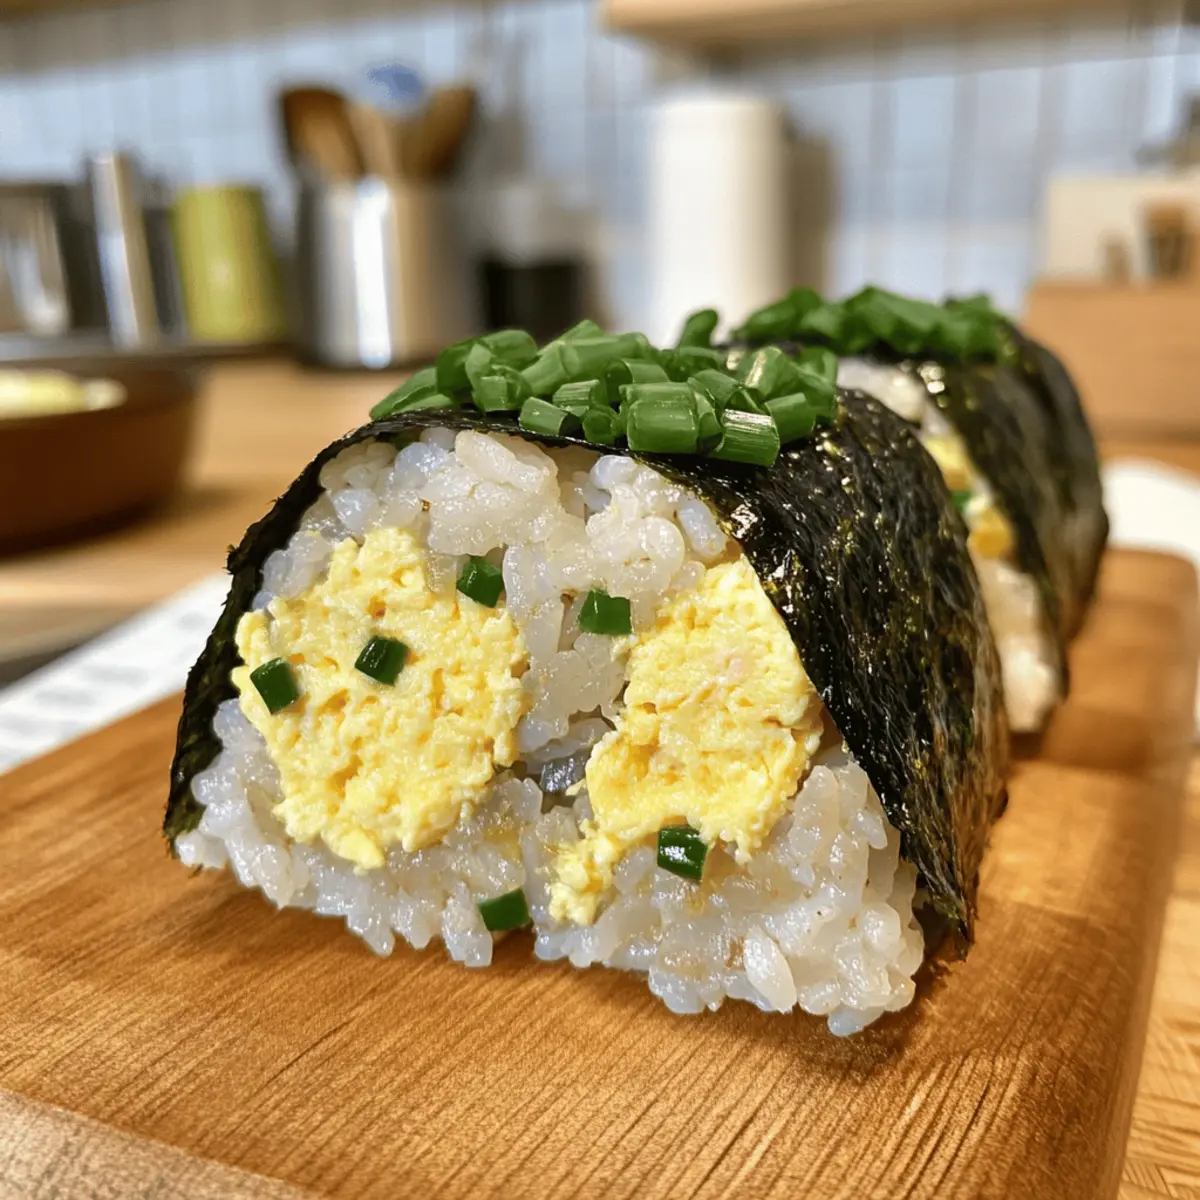
In a large bowl, combine 2 cups of cooked short-grain rice, the scrambled eggs, chopped chives, 1 tablespoon of sesame oil, 1 tablespoon of soy sauce, and 2 tablespoons of mayonnaise. Use your hands to mix everything thoroughly, ensuring the eggs and chives are evenly distributed throughout the warm rice, creating a cohesive filling for your Delicious Egg Onigiri.
Step 5: Prepare the Seaweed
Take sheets of roasted seaweed (nori) and cut them into rectangular pieces about 5cm by 8cm. This size will make them perfect for wrapping around your onigiri. Look for nori that is crisp and uniform in color, as this will enhance the presentation and flavor of your final dish.
Step 6: Shape the Onigiri
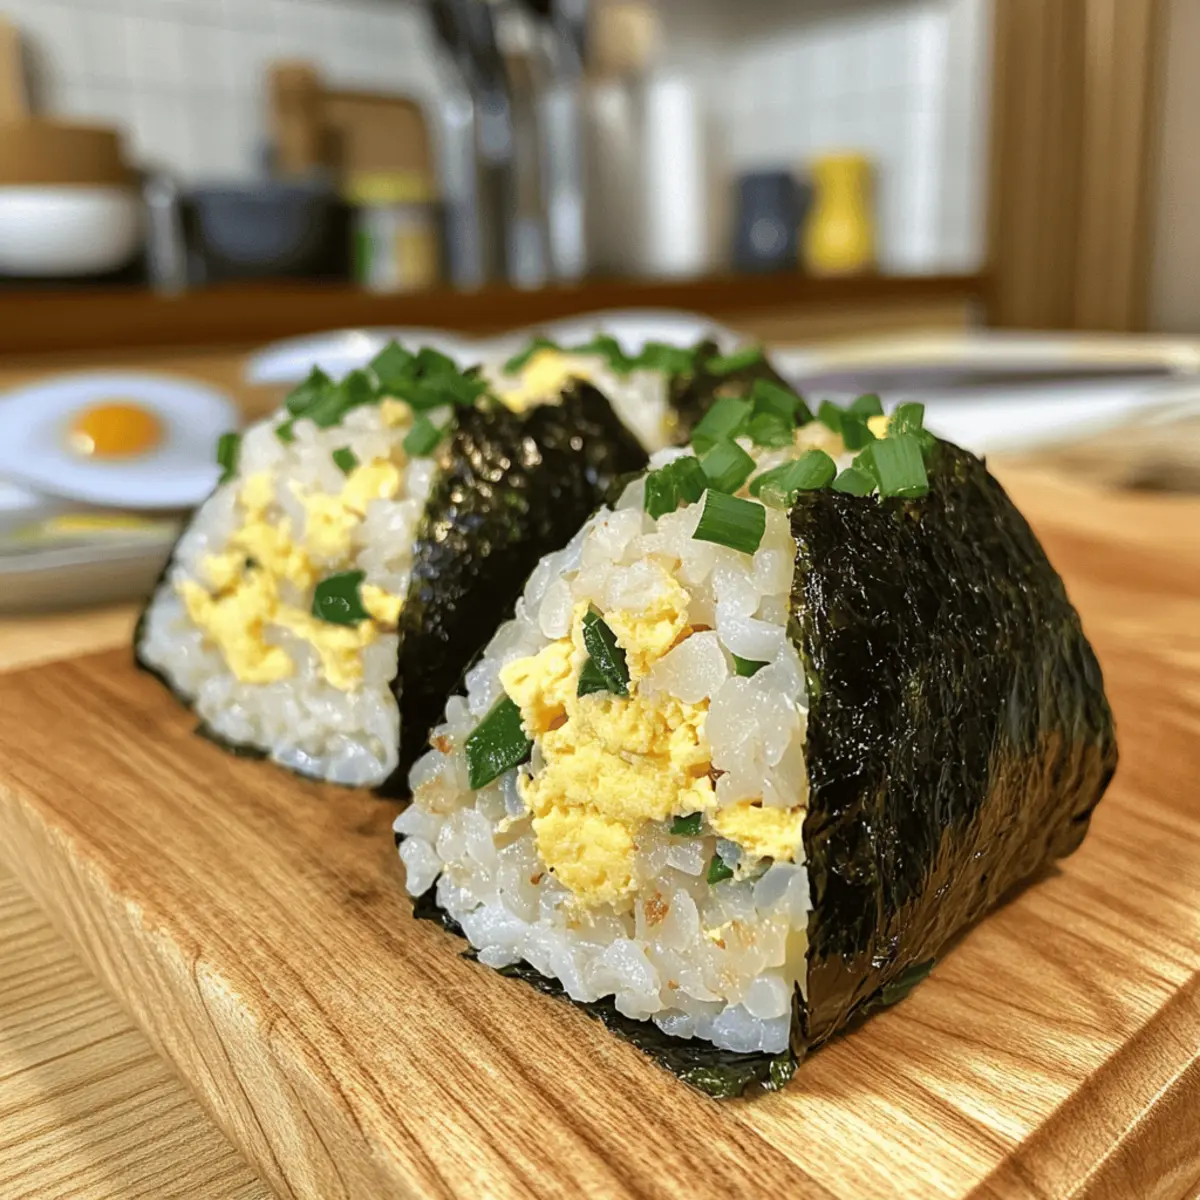
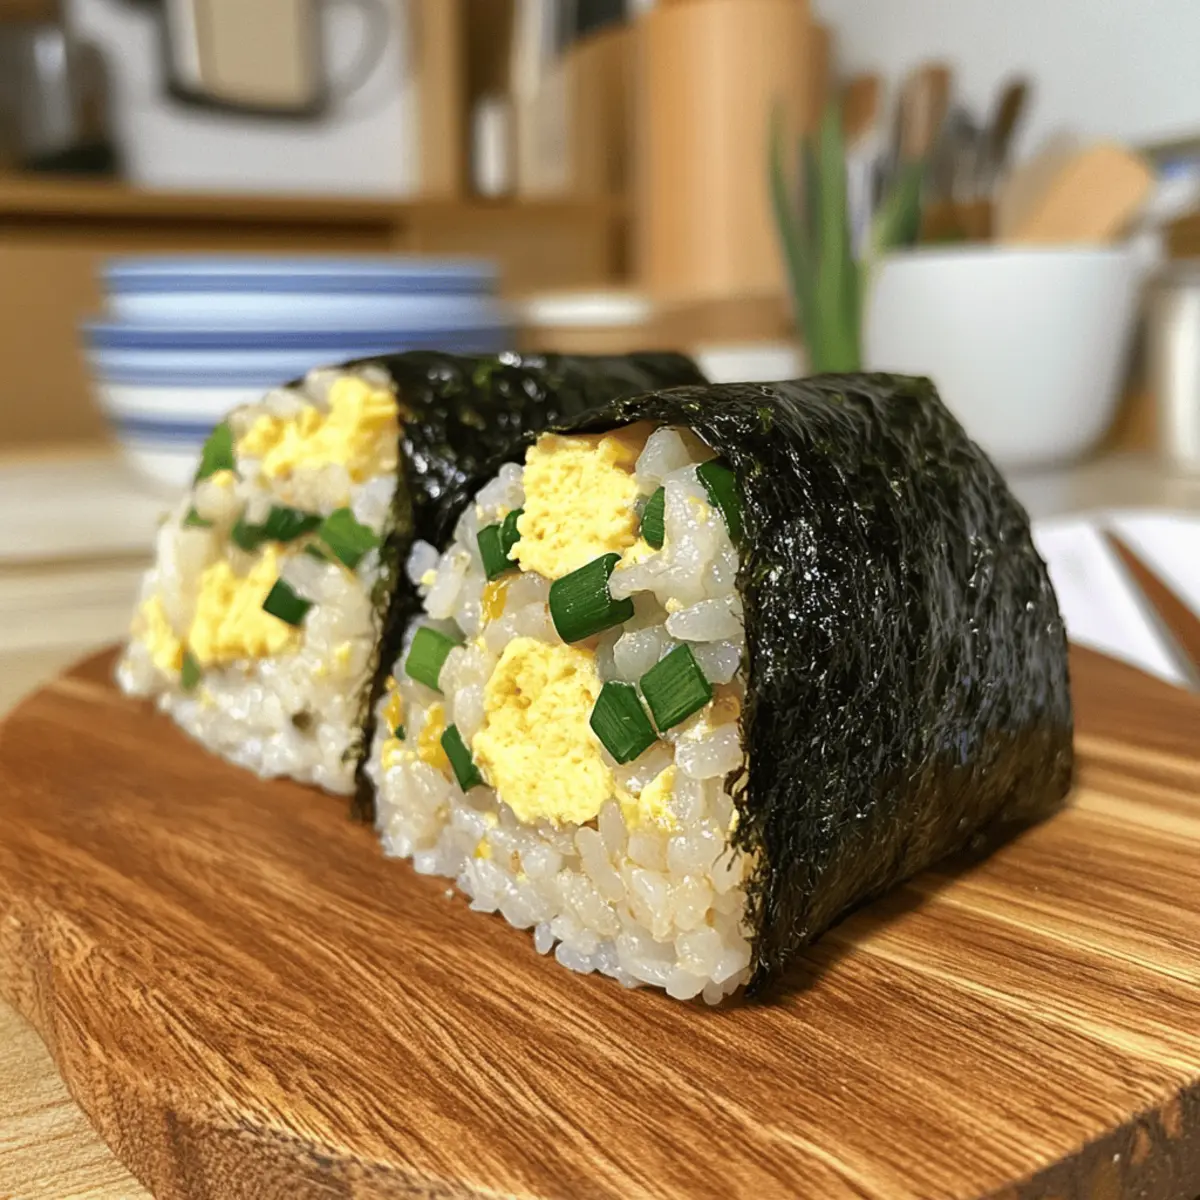
With gloved hands, take a portion of the rice mixture and shape it into a ball, then gently flatten it into a triangle, applying just enough pressure to hold it together without mashing it. Each onigiri should feel firm but not compacted, showcasing the fluffy texture that makes these snacks so delightful.
Step 7: Wrap in Seaweed
Place a piece of the cut seaweed at the base of each shaped triangle. Gently fold the seaweed around the bottom, which will add a lovely salty crunch to your Delicious Egg Onigiri. You can choose to leave the top exposed or wrap it fully, depending on your preference for seaweed.
Step 8: Serve and Enjoy
Your Delicious Egg Onigiri are ready to be served! Arrange them on a plate for a beautiful presentation; serve alongside pickled vegetables or a light soup for a complete meal. These delightful snacks are perfect for picnics, lunchboxes, or simply enjoying at home with family and friends.
Delicious Egg Onigiri Variations
Feel free to get creative and customize your Egg Onigiri to fit your tastes and dietary needs!
-
Bell Pepper Swap: Replace chives with diced bell peppers for a sweet crunch. The colors will brighten your onigiri and add a delightful twist.
-
Protein Boost: Add shredded chicken or tofu to the rice mixture for an extra protein kick. This makes it a heartier meal option!
-
Spicy Kick: Incorporate a dash of sriracha or chili flakes into the rice for a zesty heat. This will give your egg onigiri a fun, spicy flair.
-
Herbed Goodness: Try mixing in fresh herbs like cilantro or parsley alongside chives for a refreshing flavor boost. The aromatic herbs elevate the entire dish!
-
Creamy Alternative: Swap mayonnaise for Greek yogurt to lighten the dish while maintaining creaminess. This twist adds a tangy flavor that complements the eggs perfectly.
-
Flavorful Sauce: Mix in a tablespoon of teriyaki or hoisin sauce for a sweet-savory profile. This can take your Delicious Egg Onigiri to new savory heights!
-
Vegetable Medley: Toss in cooked corn or peas for a pop of sweetness and nutrition. It’s a fantastic way to sneak in extra veggies!
-
Sweet Ending: Consider a sweet rice variant by adding a pinch of sugar and crushed pineapple. Serve it with sweet nori for a delightful dessert twist.
Feeling adventurous? Pair your egg onigiri with some tasty Baked Eggplant for a complete meal, or enjoy them alongside Egg Cheese Toasts for a delicious breakfast!
Make Ahead Options
These Delicious Egg Onigiri are perfect for meal prep enthusiasts! You can prepare the rice mixture (rice, eggs, chives, sesame oil, soy sauce, and mayonnaise) up to 24 hours in advance, storing it in an airtight container to maintain freshness. You can also chop the chives and whisk the eggs ahead of time for an even quicker assembly. If you prefer to shape the onigiri later, just wait until serving to wrap them in roasted seaweed to prevent sogginess. When you’re ready to serve, simply form the mixture into triangles and wrap them, and you’ll have a delightful snack ready to enjoy with minimal effort!
What to Serve with Delicious Egg Onigiri?
The perfect meal is just around the corner when you pair these delightful bites with complementary sides and flavors.
-
Pickled Vegetables: The tangy crunch of pickled veggies adds a refreshing contrast, enhancing the savory onigiri experience. These vibrant bites brighten the plate and palate alike.
-
Light Miso Soup: A warm, soothing bowl of miso soup brings a comforting umami depth to the meal, balancing the textures of the fluffy onigiri’s center. The soup’s delicate flavor enriches the overall dining experience.
-
Crisp Salad: A fresh salad with a citrus vinaigrette introduces a zesty note that harmonizes beautifully with the savory elements. The crisp greens add a lovely contrast, making every bite feel light and vibrant.
-
Gyoza: These delicious dumplings offer a delightful crunch and savory filling that works harmoniously with the soft rice of the onigiri. The combination creates a satisfying variety of textures in one meal.
-
Green Tea: A warm cup of green tea refreshes and cleanses the palate, providing a gentle, earthy flavor that beautifully complements the onigiri. It’s the perfect, healthful drink to enhance your dining experience.
-
Fruit Salad: Bright, juicy fruits bring a sweet note to the table and create a lovely balance with the savory flavors of the dish. A colorful mix of seasonal fruits makes for a refreshing finale.
Elevate your delicious Egg Onigiri by exploring these pairing options to create a delightful and fulfilling meal that will leave everyone satisfied!
Expert Tips for Delicious Egg Onigiri
-
Don’t Overcook Eggs: Ensure your eggs remain soft and fluffy; overcooking can lead to a rubbery texture that detracts from your Delicious Egg Onigiri.
-
Use Wet Hands: To prevent the rice from sticking to your hands while shaping the onigiri, keep them slightly damp as you mold each piece.
-
Choose Fresh Ingredients: Fresh chives and high-quality nori elevate the flavor of your onigiri, enhancing both taste and presentation for a truly delicious treat.
-
Experiment with Fillings: Try different proteins or veggies for added flavor and variety. Ingredients like shredded chicken or avocados can take your Delicious Egg Onigiri to the next level.
-
Storage Tips: While best enjoyed fresh, if making ahead, store your onigiri in an airtight container for up to 2 days in the fridge to maintain freshness.
How to Store and Freeze Delicious Egg Onigiri
Fridge: Keep your Delicious Egg Onigiri in an airtight container for up to 2 days to maintain freshness. Make sure they are completely cool before storing.
Freezer: If you want to freeze them, wrap each onigiri tightly in plastic wrap and place them in a freezer-safe bag. They can be stored for up to 1 month.
Reheating: To enjoy your frozen onigiri, let them thaw in the fridge overnight. Reheat in a microwave for about 30 seconds or until warmed through, ensuring the eggs remain soft.
Serving Suggestion: Serve with a fresh side of pickled vegetables to enhance flavors, even if they’ve been stored!
Delicious Egg Onigiri Recipe FAQs
What type of rice is best for making Egg Onigiri?
I recommend using short-grain rice for the best texture and stickiness. It helps the onigiri hold their shape perfectly. If you don’t have short-grain rice, you can substitute it with medium-grain rice, but avoid long-grain varieties as they won’t adhere as well.
How should I store leftover Egg Onigiri?
You can keep your Delicious Egg Onigiri in an airtight container in the fridge for up to 2 days. Make sure they cool completely before storing to prevent moisture buildup, which can make them soggy. If you are storing for later consumption, place parchment paper between layers to reduce sticking.
Can I freeze Egg Onigiri? What’s the best way to do it?
Absolutely! To freeze your onigiri, wrap each one tightly in plastic wrap and place them in a freezer-safe bag. They can be stored this way for up to 1 month. When you want to enjoy them, let them thaw in the fridge overnight and reheat in the microwave for about 30 seconds. This helps retain the soft texture of the eggs.
What should I do if my eggs become rubbery while cooking?
Very! If your eggs end up overcooked and rubbery, it’s best to cook them on lower heat and watch them closely. Stir gently while cooking and remove them from heat as soon as they’re just set but still soft, which takes about 2-3 minutes. This way, they’ll be light and fluffy, perfect for the filling in your Delicious Egg Onigiri.
Are there any dietary considerations for Egg Onigiri?
Yes! If you or someone you are serving has dietary restrictions, there are alternatives. For a gluten-free version, use tamari instead of soy sauce. Additionally, if someone has an egg allergy, consider substituting the eggs with mashed avocado or chickpeas for similar texture, though the flavor profile will vary slightly.
How can I make Egg Onigiri more nutritious?
To enhance the nutritional value of your Delicious Egg Onigiri, consider adding diced bell peppers, cooked spinach, or shredded carrots to the rice mixture. You can also incorporate lean proteins like shredded chicken or tofu. These additions not only boost nutrients but also add vibrant colors to your snack!
Delicious Egg Onigiri: A Fun and Flavorful Snack Idea
Ingredients
Equipment
Method
- Chop the chives, wash and finely chop a handful, set aside.
- Whisk the eggs in a bowl with a pinch of salt until well combined.
- Cook the eggs in a non-stick pan, scrambling gently until slightly undercooked.
- Mix the rice mixture by combining cooked rice, scrambled eggs, chives, sesame oil, soy sauce, and mayonnaise in a large bowl.
- Prepare the seaweed by cutting it into rectangular pieces.
- Shape the onigiri by taking a portion of the rice mixture and forming it into a triangle.
- Wrap in seaweed by placing a piece at the base of each triangle and folding it around.
- Serve and enjoy your Delicious Egg Onigiri!
Leave a Reply