
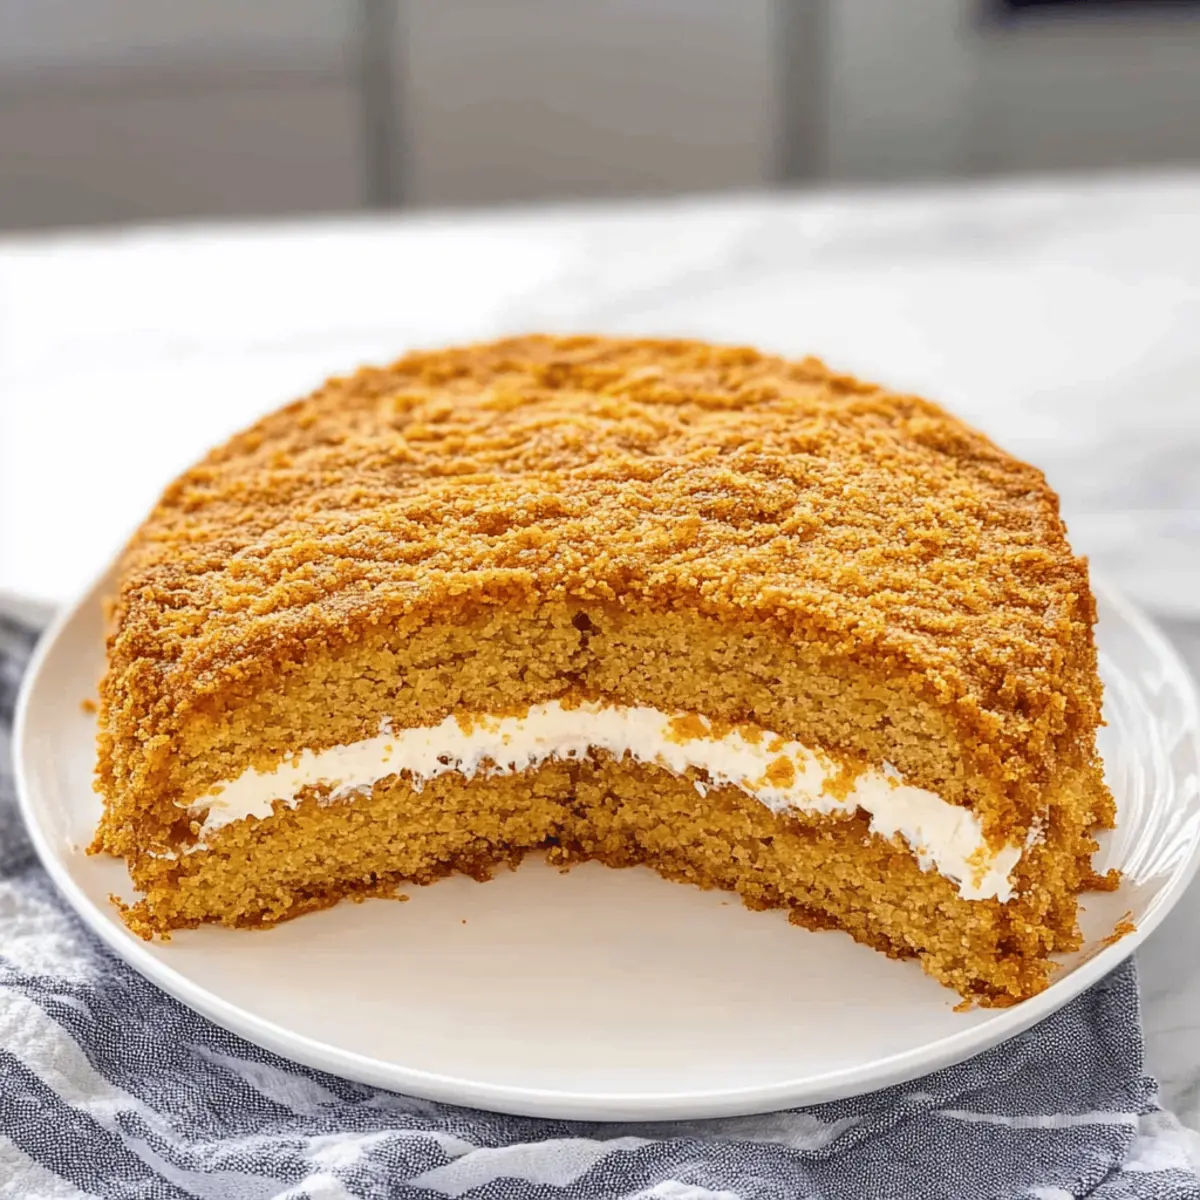
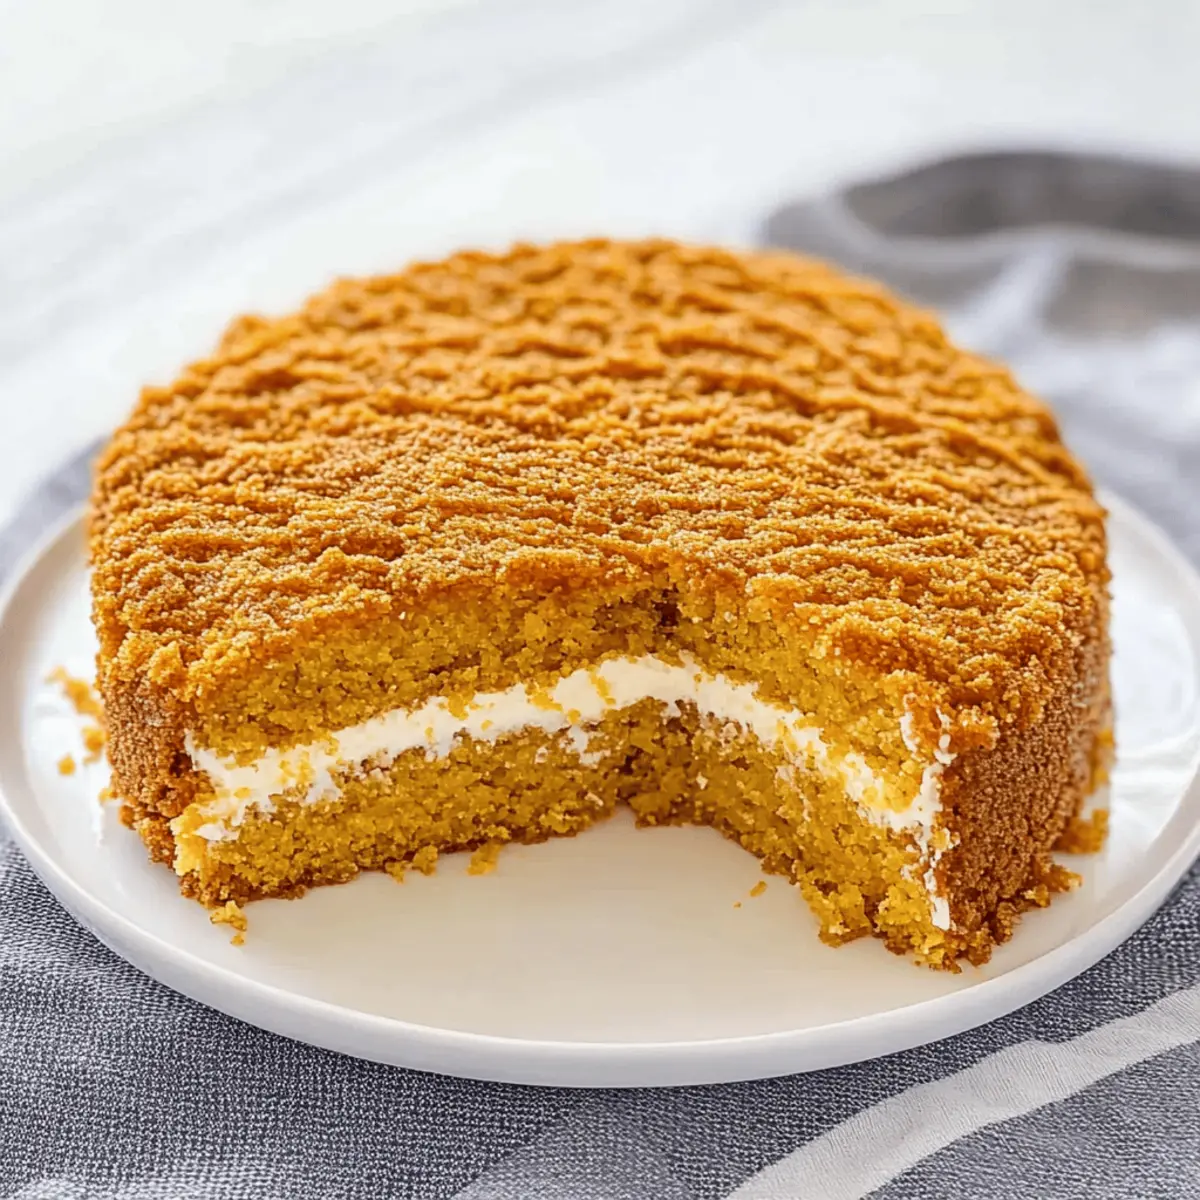
Scrolling through a cookbook, I stumbled upon a vibrant image of a Russian Honey Cake, or Medovik, and my curiosity piqued instantly. This cake, known for its delicate sponge layers and tangy sour cream frosting, has a way of blending sweetness with a hint of tartness that feels almost magical. The best part? Preparing this delightful dessert doesn’t have to eat up your weekend; it’s quick and adaptable, whether you prefer a sugar-free version or a gluten-free twist. Imagine serving a melt-in-your-mouth slice to friends or family over a warm cup of tea – it’s the perfect way to elevate any gathering! Curious about how to create this delightful, show-stopping dessert? Let me guide you through the process!

Why is Russian Honey Cake so special?
Indulgent, melt-in-your-mouth texture: The soft layers of traditional Russian Honey Cake (Medovik) are unmatched, providing a delightful bite that simply melts on your tongue.
Quick preparation: With a cooking process that’s both simple and efficient, you can whip up this cake in no time, making it perfect for spontaneous gatherings or last-minute celebrations.
Versatile variations: Whether you prefer a sugar-free option or gluten-free twist, this recipe caters to all preferences without sacrificing flavor. Imagine pairing it with your choice of honey for unique tastes!
Crowd-pleaser: No matter the occasion, this delightful dessert is bound to wow your guests, much like a slice of White Chocolate Cake or Toffee Crunch Cake.
Perfectly paired: Serve this after a savory meal or alongside a warming cup of coffee for an ideal treat that transforms any moment into a memorable experience!
Russian Honey Cake Ingredients
For the Cake Layers
• Eggs – These provide essential structure and moisture for your Russian Honey Cake.
• Clover Honey – Acts as the primary sweetener; raw honey enhances the flavor and sweetness beautifully.
• All-Purpose Flour – Gives your cake the needed structure; consider gluten-free flour if preferred.
• Baking Soda – Helps the cake rise for that adored airy texture; can be substituted with baking powder if necessary.
• White Distilled Vinegar – Activates baking soda, ensuring fluffy layers; lemon juice works well as a substitute.
For the Frosting
• Cool Whip – A light topping that adds sweetness; swap for homemade whipped cream for a sugar-free option.
• Sour Cream (Daisy brand) – Provides a tangy balance to the sweetness; Greek yogurt can serve as a great alternative.
For Decoration
• Leftover Cake Crumbs – Perfect for garnishing; save scraps from the cut layers to create delightful crumbs!
Let’s dive into the magic of making this mouthwatering Russian Honey Cake!
Step‑by‑Step Instructions for Russian Honey Cake
Step 1: Preheat the Oven
Begin by preheating your oven to 350°F (175°C). While it warms up, prepare your workspace by lining an inverted 18″ x 13″ baking sheet with parchment paper. This will help the cake layers release easily once baked, ensuring a smooth assembly for your Russian Honey Cake.
Step 2: Prepare the Batter
In a mixing bowl, beat together the eggs and clover honey until the mixture is light and frothy, which should take around 2 minutes. This step is crucial as it incorporates air into the batter, making your cake layers airy. Once lightened, set it aside while you move on to the next step.
Step 3: Mix in Baking Ingredients
In a separate small bowl, dissolve the baking soda in white distilled vinegar, creating a fizzy reaction that will help your cake rise. Quickly add this mixture to the egg and honey blend. Then gently fold in the all-purpose flour until just combined, taking care not to overmix the batter for the best texture in your Russian Honey Cake.
Step 4: Bake the Cake Layers
Spread ½ cup of the batter evenly onto your prepared baking sheet. Bake for about 7 minutes, or until the top is lightly golden and springy to the touch. Repeat this process to create four layers, ensuring they cool completely after baking so they can be easily handled during assembly.
Step 5: Cut and Prepare Layers
Once the layers have cooled, carefully remove them from the parchment paper. Use a sharp knife to cut each layer into 7-8” circles, setting aside the scraps to make crumbs for decoration later on. This neatness will help create a beautiful presentation for your Russian Honey Cake.
Step 6: Create Cake Crumbs
Take any leftover cake scraps and bake them at a low temperature of 275°F (135°C) for about 5-10 minutes. Keep a close eye on them; you want them to dry out without browning too much. After baking, crush the scraps finely to make delightful crumbs for decorating the finished cake.
Step 7: Prepare the Frosting
In a medium bowl, mix together the Cool Whip and sour cream until well combined and smooth. This frosting offers a sweet yet tangy contrast to the soft layers of your Russian Honey Cake. Make sure all ingredients are well blended to ensure a creamy consistency.
Step 8: Assemble the Cake
Now it’s time to layer! Place one of the cake circles on a serving platter, and spread a generous layer of frosting on top. Repeat this process with the remaining circles, stacking them neatly. Once assembled, coat the sides and top of the entire cake with the remaining frosting to create a luscious finish.
Step 9: Garnish and Refrigerate
Sprinkle the reserved cake crumbs over the top and sides of your assembled Russian Honey Cake for a delightful touch and added texture. Cover the cake with plastic wrap or a cake dome and refrigerate it overnight or for at least 1 hour before serving. This chilling time allows the flavors to meld beautifully!
Make Ahead Options
These Russian Honey Cake layers are perfect for meal prep enthusiasts! You can bake the sponge layers up to 3 days in advance; just ensure they are completely cooled before wrapping them tightly in plastic wrap to prevent them from drying out. For even more convenience, you can also prepare the frosting mixture (Cool Whip and sour cream) and store it in the refrigerator for up to 24 hours. When you’re ready to assemble the cake, simply layer the cooled cake circles with the frosting, and coat the top and sides before garnishing with cake crumbs. This approach allows for maximum flavor, making your Russian Honey Cake just as delicious and giving you more time to enjoy your gathering!
Expert Tips for Russian Honey Cake
- Act Fast: Work quickly with the batter, as it thickens if left too long, impacting the texture of your Russian Honey Cake.
- Layer Thickness: Ensure layers are thin for the best absorption of frosting; if too thick, they may become dry—adjust baking time if necessary.
- Double It Up: Planning to serve a crowd? Double the recipe and bake it as a rectangular cake for an easier presentation.
- Parchment Paper: Always utilize parchment paper for easy removal of baked layers, reducing the risk of tearing—especially important for thinner layers.
- Chill Time: Don’t skip the refrigeration step! Letting the cake chill allows the flavors to deepen and the layers to soak up the frosting, enhancing taste and texture.
How to Store and Freeze Russian Honey Cake
Fridge: Keep your assembled Russian Honey Cake in an airtight container in the refrigerator for up to 3 days to maintain its moisture and flavor.
Freezer: If you want to extend its life, you can freeze the entire cake for up to 3 months. Wrap it tightly in plastic wrap and aluminum foil to prevent freezer burn.
Reheating: To enjoy leftover cake, let it thaw in the fridge overnight and serve it straight from there; this ensures the frosting and layers retain their delightful texture.
Slicing: For best results when serving, use a sharp knife dipped in warm water between slices; this helps maintain the cake’s fresh look and feel.
Russian Honey Cake Variations & Substitutions
Customize your Russian Honey Cake experience and let your creativity shine through these delicious possibilities!
-
Sugar-Free: Swap Cool Whip for sugar-free whipped cream to craft a dessert that’s gentle on sugar intake.
-
Gluten-Free: Substitute all-purpose flour with a gluten-free flour blend for a cake everyone can enjoy!
-
Different Honey: Experiment with various types of honey like buckwheat or wildflower for unique flavor profiles. Each honey brings its own character, adding a personalized touch to your cake.
-
Frosting Flavor Boost: Add vanilla extract or almond extract to the frosting for an extra layer of flavor that dances on your taste buds.
-
Colorful Twist: Incorporate a layer of fresh berries between cake layers for a vibrant color contrast and fruity burst of flavor.
With all these delightful variations, you have endless possibilities! If you’re craving more sweet adventures, be sure to check out my Ube Mochi Cake for a fun twist or indulge in the decadent Matcha Cupcakes Deliciously to surprise your guests with something extraordinary!
What to Serve with Russian Honey Cake?
Indulging in a slice of Russian Honey Cake will leave you dreaming of delightful pairings that enhance its flavors and textures.
-
Steaming Cup of Tea: The warm notes of herbal or black tea perfectly complement the sweetness, creating a cozy experience.
-
Rich Coffee: A robust cup of coffee offsets the cake’s sweetness, making it the perfect afternoon treat while mingling with friends.
-
Fresh Berries: Juicy raspberries or strawberries add a bright, tart contrast, balancing the rich honey layers beautifully for a refreshing touch.
-
Whipped Cream: A dollop of lightly sweetened whipped cream can elevate the dessert, providing a creamy texture that’s simply irresistible.
-
Chocolate Drizzle: Drizzling some melted dark chocolate adds a rich layer of flavor, enhancing the cake’s sweetness while introducing a luxurious touch.
-
Lemon Sorbet: The bright, zesty flavor of lemon sorbet cleanses the palate and lightens the dessert after a rich meal.
-
Nutty Biscotti: Crunchy biscotti provide a satisfying texture contrast and are perfect for dipping into your coffee or tea while enjoying that cake.
-
Chilled Moscato: This sweet and sparkling wine offers a light, fruity finish that pairs wonderfully with the honey of the cake.
-
Citrus Salad: A refreshing citrus salad brightens the dessert table with its acidity, making for a vibrant pairing that balances the cake’s richness.
These options not only enhance your experience of the Russian Honey Cake but also create a heartfelt moment for you and your guests to savor together.

Russian Honey Cake Recipe FAQs
How do I choose ripe ingredients for Russian Honey Cake?
Absolutely! For the best results, ensure your eggs are fresh and at room temperature for optimal mixing. When selecting honey, raw clover honey provides superior flavor and natural sweetness. If you’re using flour, opt for a fresh package; it should be free of lumps and have a neutral smell. For sour cream, choose a full-fat version for a creamier texture in your frosting.
How should I store my Russian Honey Cake?
Very simply! Store your assembled Russian Honey Cake in an airtight container in the refrigerator for up to 3 days. This helps maintain its moisture and keeps the flavors vibrant. If you notice the edges drying, a light layer of frosting can also help.
Can I freeze Russian Honey Cake?
Yes, indeed! To freeze your Russian Honey Cake, wrap it tightly in plastic wrap and then in aluminum foil to prevent freezer burn. It can be safely frozen for up to 3 months. When you’re ready to enjoy, simply transfer it to the fridge overnight to thaw. Avoid freezing the layers separately, as they can become sticky and lose texture.
What if my cake layers are too thick?
No worries! If you find that your cake layers have turned out thicker than expected, you can adjust baking times slightly. Bake for a few more minutes until the layers are springy and cooked through. It’s essential to ensure even thickness in your layers for the best absorption of frosting. If you feel your layers are uneven, use a serrated knife to carefully level them before stacking.
Are there any dietary considerations I should be aware of for Russian Honey Cake?
Absolutely! If you’re catering to gluten-free diets, you can substitute all-purpose flour with a gluten-free blend, though the texture may vary. When it comes to the frosting, swap Cool Whip with homemade whipped cream to make it sugar-free. Additionally, if you’re serving this cake to kids or pets, please keep in mind that honey should be avoided for babies under one year due to the risk of botulism. Always check for allergies related to any ingredients.
How long should I chill the assembled cake before serving?
Good question! Ideally, you should refrigerate your Russian Honey Cake overnight for the best flavor infusion and texture. However, if you’re short on time, chilling for at least one hour will still allow the layers to absorb some of that tangy frosting, giving you a delightful dessert ready to serve quickly!
Indulge in Russian Honey Cake – A Delightful, Easy Treat
Ingredients
Equipment
Method
- Preheat your oven to 350°F (175°C) and line an inverted 18' x 13' baking sheet with parchment paper.
- In a mixing bowl, beat together the eggs and clover honey until light and frothy, about 2 minutes.
- In a separate bowl, dissolve baking soda in vinegar, then add to the egg mixture. Fold in all-purpose flour until just combined.
- Spread ½ cup of batter onto the prepared baking sheet and bake for about 7 minutes. Repeat to create four layers.
- Once cool, cut each layer into 7-8' circles and set aside the scraps.
- Bake leftover scraps at 275°F (135°C) for 5-10 minutes, then crush finely for decorative crumbs.
- Mix together Cool Whip and sour cream until smooth for the frosting.
- Layer the cake: spread frosting between each layer and coat the top and sides.
- Garnish with crumbs and refrigerate for at least 1 hour before serving.
Leave a Reply