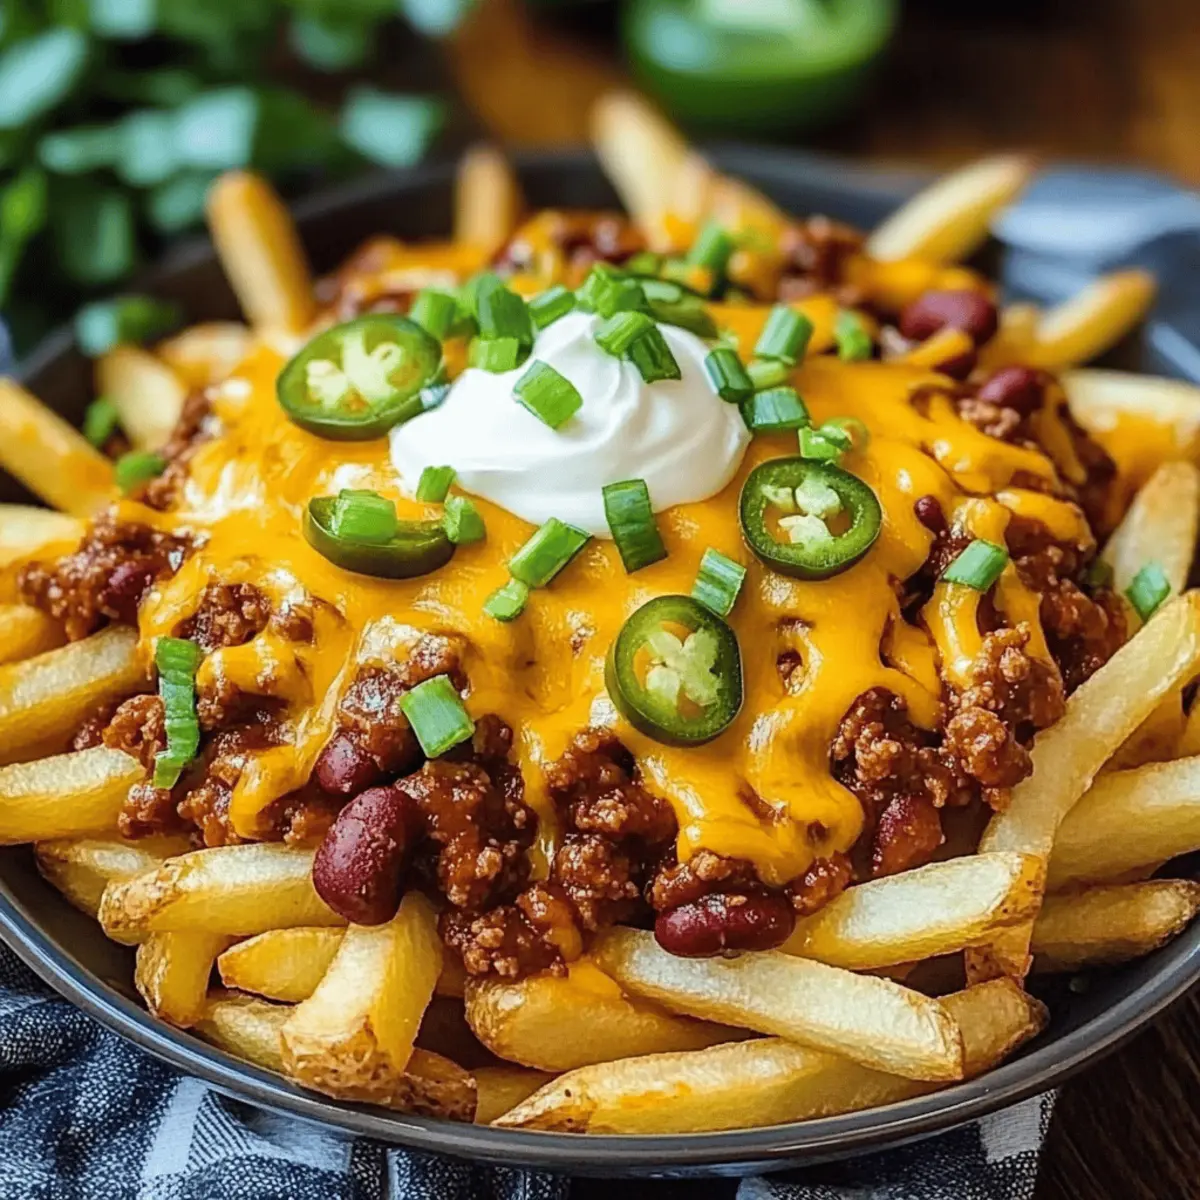
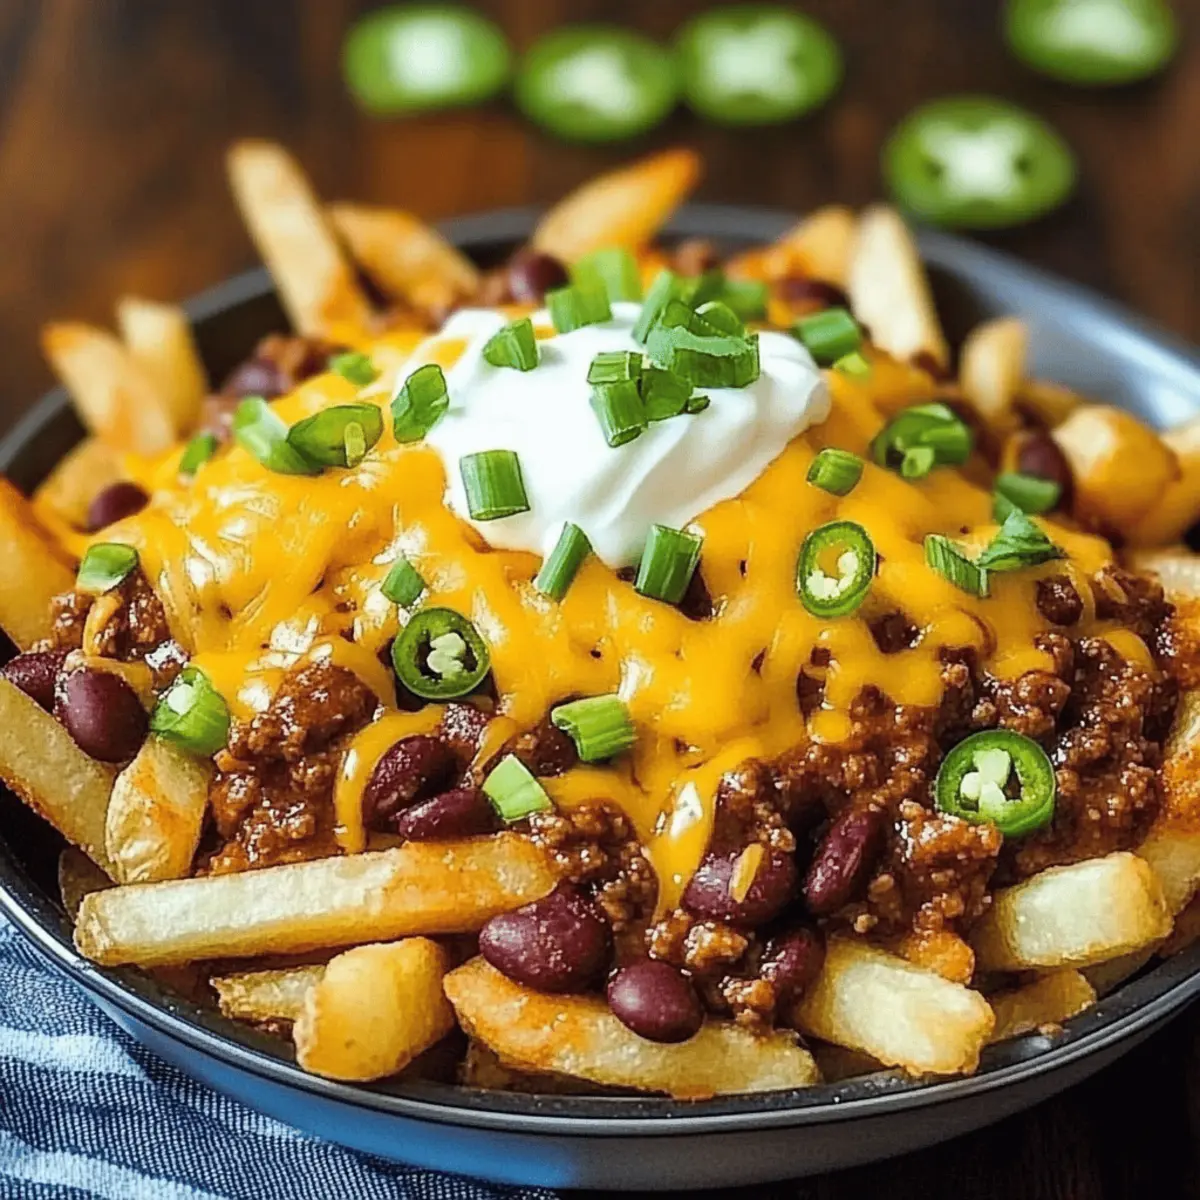
As I stepped into my kitchen, the aroma of sizzling spices began to dance around me, transporting me to my favorite local diner. Today, I’m whipping up a plate of crispy fries with chili—a comfort food classic that never fails to warm the heart. These Ultimate Chili Cheese Fries are not just about crunch; they bring together savory homemade chili and a gooey cheese layer that makes for the perfect evening treat. Whether you’re gearing up for game day or simply craving an indulgent dinner, this dish is as versatile as it is delicious. With a make-ahead option, you can savor every moment without feeling rushed. Curious about how to make your evenings more cozy and flavorful? Let’s dive into this scrumptious recipe!

Why are Chili Cheese Fries So Irresistible?
Comfort in Every Bite: These Chili Cheese Fries are the ultimate indulgence, combining crispy fries with warm, hearty chili for a flavor explosion.
Make-Ahead Magic: Perfect for busy evenings, prepare the chili in advance and warm it up whenever hunger strikes.
Flexible Variations: Whether you prefer the classic beef chili or a kosher vegetarian option, this recipe accommodates everyone.
Crowd-Pleasing Appeal: Impress friends and family with a dish that effortlessly fits game nights or casual gatherings.
Heaps of Flavor: With zesty spices and savory toppings, each mouthful is a delightful experience you’ll want to repeat, just like our Crispy Chicken Sandwich or Pan Fried Dumplings!
Crispy Fries with Chili Ingredients
For the Fries
• Frozen French Fries – Use thick-cut fries for the best texture; homemade fries add an extra crispiness.
For the Chili
• Ground Beef – Adds depth and richness; substitute with plant-based meat for a vegetarian version.
• Onion – Use diced yellow or white onion to enhance the flavor profile with sweetness.
• Garlic – Freshly minced garlic boosts aroma and taste; it’s an essential flavor enhancer.
• Chili Beans or Kidney Beans – Packed with protein; make sure to rinse them to cut down on sodium.
• Diced Tomatoes – Fresh or canned tomatoes bring juicy brightness; drain excess liquid for the right consistency.
• Tomato Sauce – Adds moisture and flavor, enriching the chili’s base.
• Chili Powder – The main spice for warmth; adjust the amount according to your heat preference.
• Ground Cumin – Infuses an earthy note into the chili; it’s vital for depth of flavor.
• Smoked Paprika – Imparts a subtle smokiness; feel free to use regular paprika if needed.
• Salt and Pepper – Essential for balancing flavors; season to taste.
For Assembly
• Shredded Cheddar Cheese – This classic cheese melts beautifully; try Monterey Jack for a different texture.
• Sour Cream – Introduces a creamy tang; use it as a delightful garnish.
• Chopped Green Onions – Sprinkle them on top for a fresh crunch and pop of color.
• Jalapeño Slices (Optional) – Add extra heat and flavor for those who enjoy a spicy kick.
Elevate your dining experience with these crispy fries with chili, making sure each ingredient shines in this comforting dish!
Step‑by‑Step Instructions for Crispy Fries with Chili
Step 1: Preheat the Oven
Begin by preheating your oven to 425°F (220°C). This high temperature is crucial for achieving perfectly crispy fries. While your oven warms up, you can prepare your baking sheet by lining it with parchment paper, making cleanup easier and preventing sticking.
Step 2: Bake the Fries
Once the oven is ready, spread your frozen French fries in a single layer on the prepared baking sheet. Bake them according to the package instructions, usually around 25-30 minutes, until they turn golden brown and crispy. Halfway through, give them a toss to ensure even cooking and a delightful crunch.
Step 3: Brown the Ground Beef
While the fries are baking, heat a large skillet over medium heat. Add the ground beef to the skillet and cook it for about 5-7 minutes, stirring frequently, until browned. Drain any excess fat to keep your chili hearty yet balanced, ready for flavor enhancement.
Step 4: Sauté the Onions and Garlic
Next, add the diced onion and minced garlic to the skillet with the browned beef. Sauté these ingredients for about 3-4 minutes, stirring occasionally, until the onions become translucent and fragrant. This step builds a solid flavor base for your chili.
Step 5: Mix in the Remaining Ingredients
Stir in the chili beans, diced tomatoes, tomato sauce, chili powder, ground cumin, smoked paprika, salt, and pepper. Bring the mixture to a gentle simmer over low heat. Allow the chili to simmer for about 10-15 minutes, stirring occasionally, until it thickens and the flavors meld beautifully.
Step 6: Assemble the Chili Cheese Fries
Once the fries are done baking and the chili is thickened, it’s time to assemble your dish. Arrange the crispy fries on a serving platter and generously pour the warm chili over the top. Sprinkle a generous layer of shredded cheese on the chili, ensuring every bite is cheesy and satisfying.
Step 7: Broil for Perfect Melt
Place the assembled fries under the broiler for about 1-2 minutes, watching closely as the cheese melts and bubbles. This step adds an irresistible gooeyness to your Crispy Fries with Chili, signaling that they are almost ready to be devoured.
Step 8: Garnish and Serve
Finally, take your crispy fries with chili out of the oven and finish by adding dollops of sour cream, a sprinkle of chopped green onions, and optional jalapeño slices for an added kick. Serve immediately and enjoy the comforting flavors of this ultimate comfort food delight!

How to Store and Freeze Chili Cheese Fries
Fridge: Store leftover crispy fries with chili in an airtight container for up to 3 days. Reheat in an oven for crispiness rather than a microwave to preserve texture.
Freezer: For longer storage, freeze the chili separately in an airtight container for up to 3 months. The fries are best enjoyed fresh, but you can freeze cooked fries if necessary—just reheat from frozen.
Reheating: To enjoy your stored chili cheese fries, thaw the chili in the fridge overnight and reheat it on the stovetop. Broil the fries briefly in the oven for that crispy touch before assembling.
Make-Ahead Tips: Assemble and freeze unbaked fries topped with chili and cheese for an easy, quick meal. Bake from frozen, adjusting cooking time as needed.
Make Ahead Options
These Crispy Fries with Chili are ideal for meal prep, allowing you to enjoy delicious comfort food without a last-minute rush! You can prepare the chili up to 3 days in advance; simply cook it as directed, let it cool, and store it in an airtight container in the refrigerator. For longer storage, the chili can be frozen for up to 3 months—be sure to thaw it overnight in the fridge before reheating. To maintain texture, bake your fries fresh when you’re ready to serve. Just reheat the chili gently on the stove before pouring it over crispy fries, and finish with cheese under the broiler for that perfect melt. Enjoy your cozy night in with minimal hassle!
What to Serve with Crispy Fries with Chili
Creating the perfect plate to accompany these Crispy Fries with Chili can elevate your dining experience, transforming a simple meal into something truly memorable.
-
Creamy Coleslaw: This cool, crunchy salad cuts through the richness, balancing flavors while adding a delightful crunch to each bite.
-
Garlic Breadsticks: Soft and buttery, these are perfect for sopping up any extra chili, adding a comforting element to your meal.
-
Spicy Pickles: Add a zesty kick with tangy, crunchy pickles that enhance the flavors of the chili and provide a delightful contrast.
-
Guacamole and Chips: The creamy texture of guacamole paired with crispy tortilla chips creates a perfect dip that complements your chili fries beautifully.
-
Cornbread Muffins: Sweet and moist, these muffins offer a homestyle touch that pairs perfectly with the savory chili while adding a delightful sweetness to the mix.
-
Ice-Cold Beer: A refreshing lager or pale ale is the perfect beverage to wash down your chili fries, with its crispness cutting through the richness of the dish.
-
Chocolate Brownies: For dessert, indulge in fudgy brownies that offer a sweet finish to your meal, making every bite of your hearty chili fries all the more worthwhile.
Expert Tips for Crispy Fries with Chili
Fry Selection: Choose thick-cut frozen fries for a satisfying crunch; homemade fries can elevate this dish even more.
Grate Cheese: For the best melt, grate cheese from a block instead of using pre-shredded options, which contain anti-caking agents.
Chili Variations: Experiment with spices or add a splash of hot sauce to the chili for extra warmth, and remember, it can also be made vegetarian.
Make-Ahead Convenience: Prepare the chili in advance and refrigerate; it keeps well for 1-2 days and can be frozen for up to 3 months.
Serving Style: Set up a chili cheese fry bar at gatherings, allowing guests to customize their toppings, making the experience more interactive and fun!
Crispy Fries with Chili: Customizable Delights
Feel free to transform your chili cheese fries into a personalized masterpiece that tantalizes your taste buds and warms your heart!
-
Vegetarian Chili: Substitute ground beef with plant-based meat, lentils, or extra beans for a hearty meatless option.
-
Cheese Swap: Experiment with different cheeses like smoked gouda or a blend of cheddar and Monterey Jack for a unique flavor twist.
-
Extra Veggies: Boost nutrition by adding diced bell peppers, zucchini, or mushrooms to the chili mix. These will enhance the texture and taste!
-
Spice It Up: For those who crave heat, mix in diced jalapeños or a splash of hot sauce to ignite your chili’s flavor.
-
Topping Variety: Top your dish with sliced avocados, fresh pico de gallo, or even crumbled tortilla chips for a delicious textural contrast.
-
Homemade Fries: Consider making your fries from scratch! Soak sliced potatoes in cold water to enhance crispiness before your frying or baking journey.
-
Chili Cheese Fries Bar: Host a gathering and let guests build their own bowls with various toppings and sauces. This interactive approach makes for a fun dining experience.
Each variation invites you to indulge in the comforting flavors that make chili cheese fries a beloved favorite. For more delightful recipes, don’t forget to check out our mouthwatering Baked Eggplant New or satisfying Sweet Potato Cubes.

Crispy Fries with Chili Recipe FAQs
What’s the best way to select frozen French fries for this dish?
Absolutely! For the crispiest result, choose thick-cut frozen French fries. They create a satisfying crunch and can hold up to the chili toppings without getting soggy. If you have the time, you can also make homemade fries—just remember to soak cut potatoes in cold water for about 30 minutes before frying to remove excess starch.
How should I store leftover chili cheese fries?
Leftover crispy fries with chili can be stored in an airtight container in the refrigerator for up to 3 days. To reheat, it’s best to use an oven, as this will help keep the fries crispy. Preheat your oven to 350°F (175°C) and place the fries on a baking sheet for about 10-15 minutes. This way, you can enjoy them almost as if they were freshly made!
Can I freeze the chili for later use?
Very! You can definitely freeze the chili for up to 3 months. Make sure to cool it completely before transferring it to an airtight container. When you’re ready to enjoy it again, thaw the chili in the refrigerator overnight and reheat it on the stovetop until warmed through. You can reheat the fries separately in the oven while the chili is warming.
What should I do if my chili is too thick?
If your chili turns out too thick after simmering, don’t fret! Simply add a bit of water or low-sodium broth, a splash at a time, while stirring until you reach your desired consistency. This will keep the chili creamy and delicious without undermining its flavors.
Is this recipe suitable for vegetarians?
Absolutely! To make this dish vegetarian-friendly, swap out the ground beef for plant-based meat alternatives or increase the amount of chili beans and add extra vegetables like lentils or mushrooms. You can enjoy this comforting dish without missing out on any flavor!
How can I prepare this dish in advance?
You can prepare the chili one to two days ahead and store it in the refrigerator. For a no-fuss meal option, consider assembling the unbaked fries topped with chili and cheese in a freezer-safe dish. Cover it tightly and freeze. When ready to enjoy, bake it straight from the freezer—just adjust the cooking time as necessary!

Crispy Fries with Chili: The Ultimate Comfort Food Delight
Ingredients
Equipment
Method
- Preheat your oven to 425°F (220°C) and prepare a baking sheet with parchment paper.
- Spread frozen French fries in a single layer on the prepared baking sheet and bake according to package instructions, about 25-30 minutes.
- While the fries are baking, heat a skillet over medium heat, add ground beef and cook for 5-7 minutes until browned, draining excess fat.
- Add diced onion and minced garlic to the skillet and sauté for 3-4 minutes until onions are translucent.
- Mix in chili beans, diced tomatoes, tomato sauce, chili powder, ground cumin, smoked paprika, salt, and pepper; let simmer for 10-15 minutes.
- Assemble the dish by placing fries on a platter, pouring chili over, and topping with shredded cheese.
- Broil assembled fries for 1-2 minutes until cheese melts.
- Garnish with sour cream, chopped green onions, and jalapeño slices, then serve immediately.

Leave a Reply